How to Draw a Golf Player: Easy 10-Step Guide
Ready to hit the green? This tutorial is perfect for young artists ages 6+ who want to draw a golfer in action. You will only need a pencil, an eraser, and your favorite coloring supplies to bring this sporty character to life.
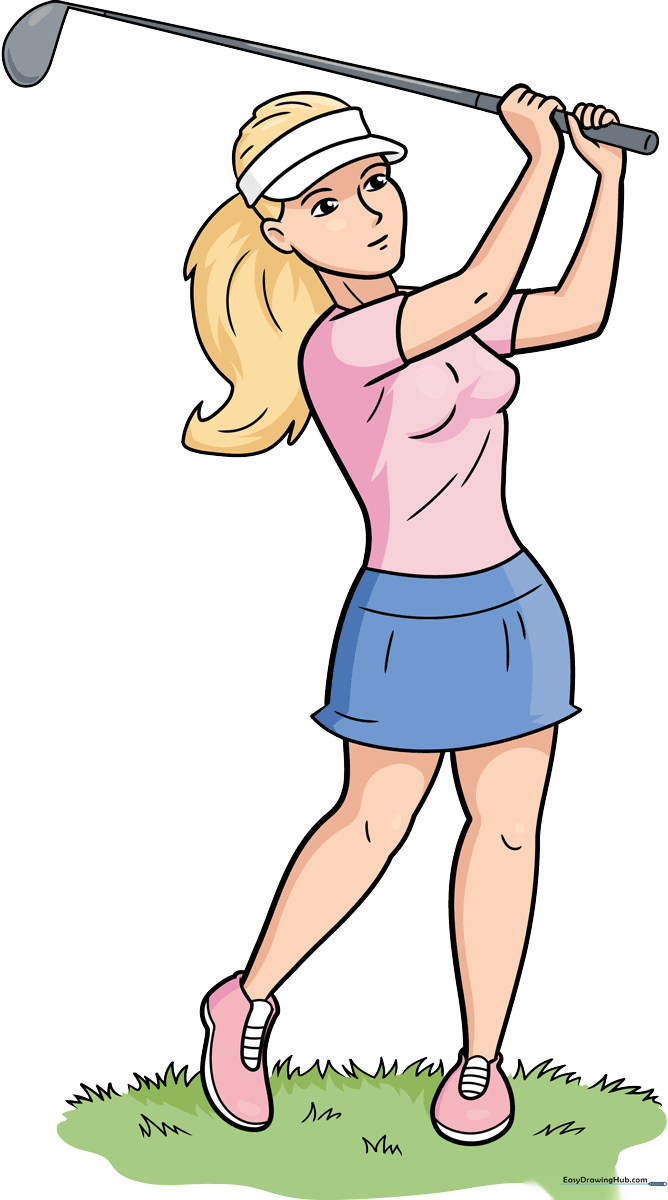
🎯 Final Result
Step-by-Step Instructions
Step 1: Sketching the Head and Face
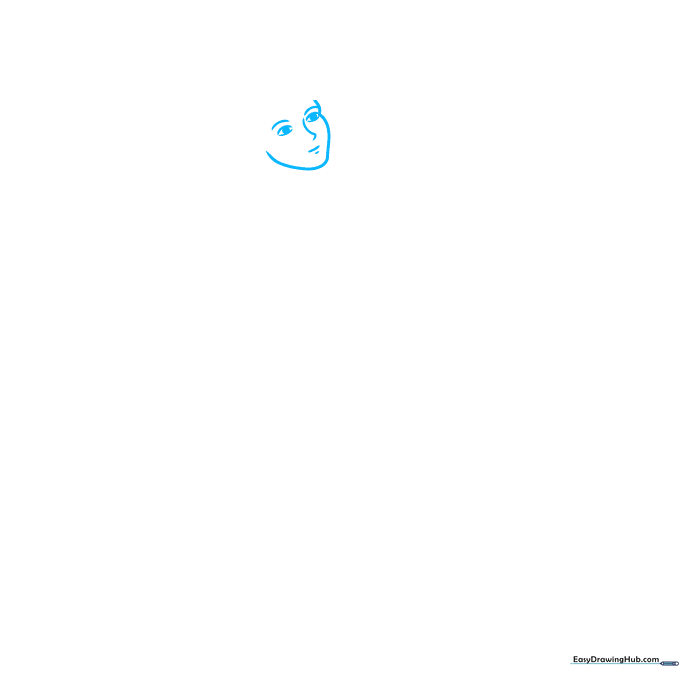
Lightly sketch two lemon-shaped eyes with circles inside for pupils. Add a small triangle for the nose and dashes for the mouth and eyebrows. Frame the face with an incomplete heart shape. Teacher's Tip: Keep your pencil lines very faint so you can easily erase any stray marks later.
Step 2: Adding the Golf Visor
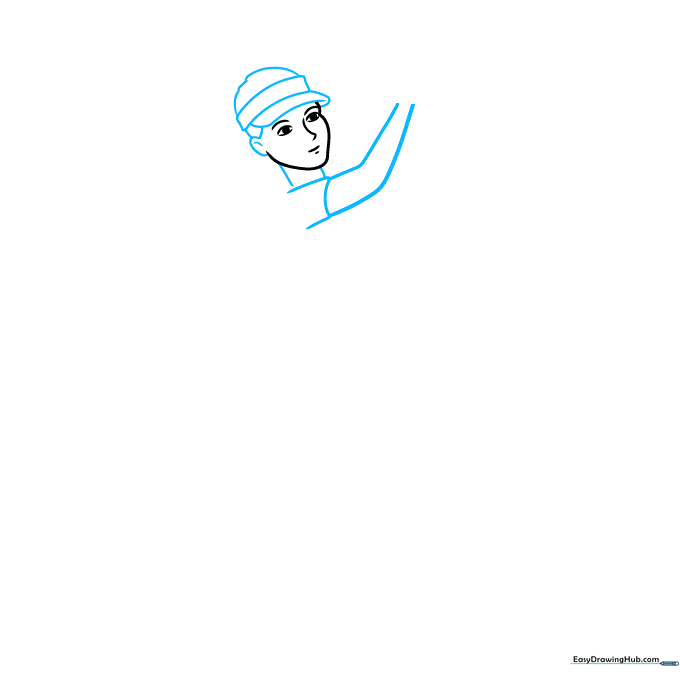
Draw a small oval for the ear, then sketch a dome shape on top of the head for the hat. Add a curved rectangle for the brim and a bent line for the visor. Teacher's Tip: Think of the visor as a 'shield' for the eyes—keep the curve consistent with the shape of the forehead.
Step 3: Sketching the Arms

Draw two lines beneath the head for the neck. For the arms, sketch two long V-shapes with a curve on the left. Teacher's Tip: Use loose, flowing lines to suggest the golfer is mid-swing.
Step 4: Drawing the Hands and Club
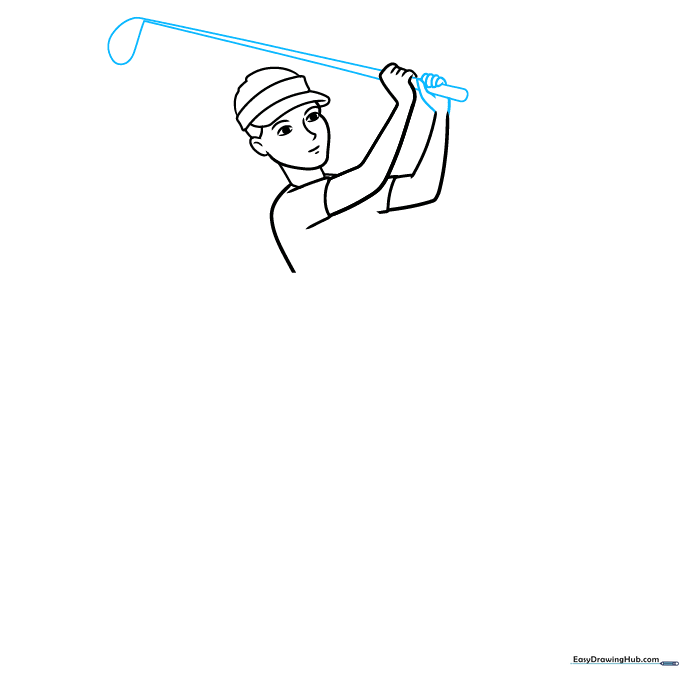
Repeat the arm shape on the right side. Outline the shoulders and draw the hands using a diagonal line and four small rectangles for fingers. Sketch a long, thin triangle reaching upward for the golf club. Teacher's Tip: Keep the fingers close together to make the grip look realistic.
Step 5: Designing the Outfit
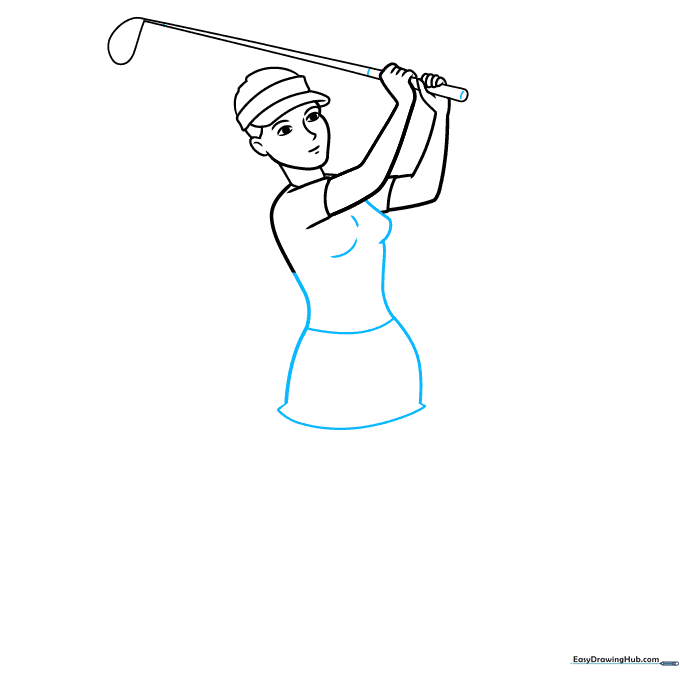
Draw curves on the chest for the shirt, and add two wavy vertical lines for the skirt. Connect them with horizontal curves and add two small triangles at the hem. Teacher's Tip: Adding these small triangles creates the look of pleats in the fabric.
Step 6: Drawing the Legs and Shoes
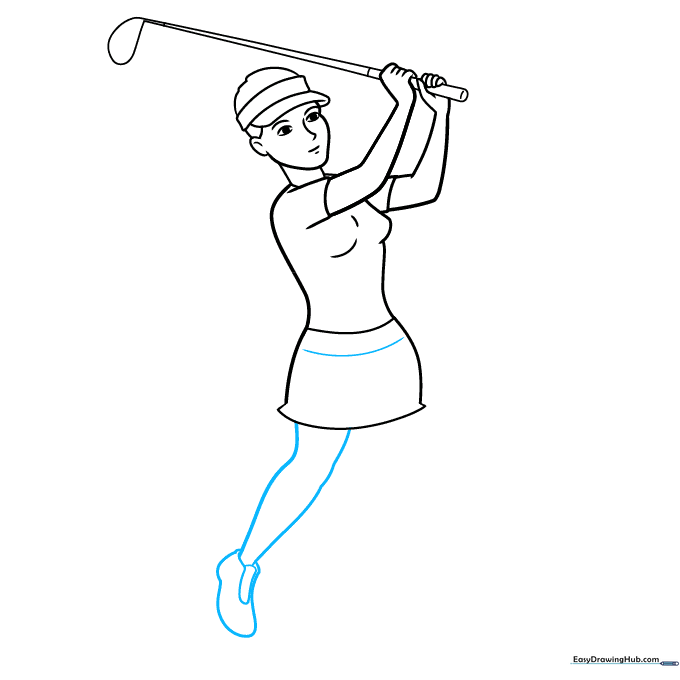
Sketch the left leg with two vertical curves. Outline the shoe as an oval with a small bump on the side, and add a banana shape on top for the laces. Teacher's Tip: The 'banana' shape helps define the tongue of the shoe.
Step 7: Completing the Stance
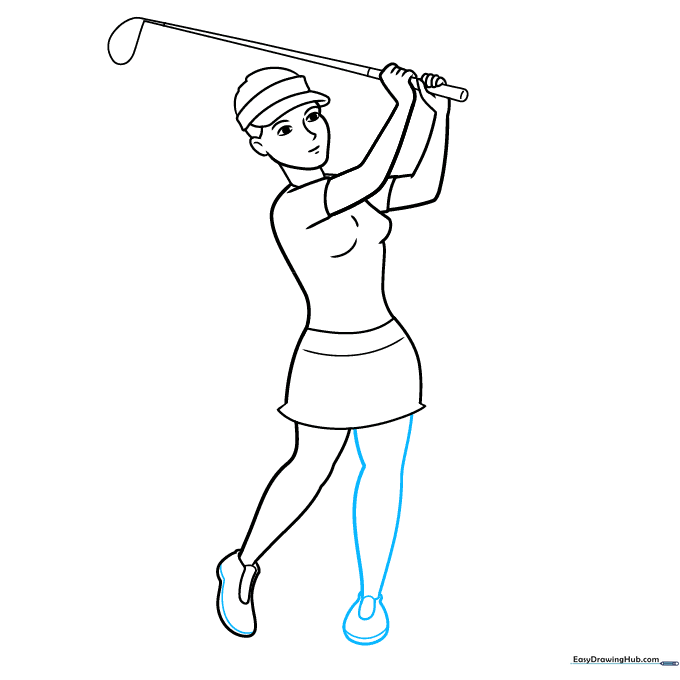
Draw the sole of the left shoe. On the right side, draw the second leg with two curved lines and add the shoe using simple ovals. Teacher's Tip: Ensure the feet are spaced apart to show the golfer is balanced and ready to swing.
Step 8: Adding Texture and Details
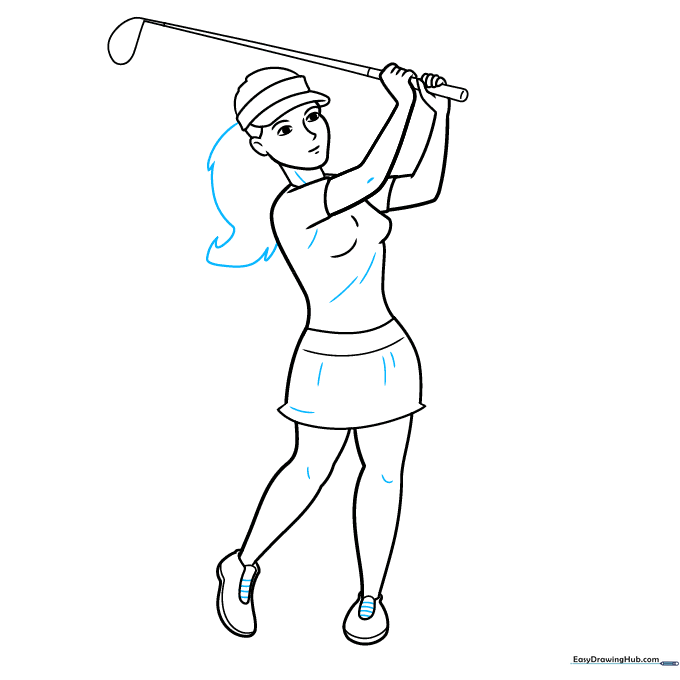
Add small lines inside the neck, arms, knees, and clothing to show folds. On the left, draw loose, sketchy triangles to suggest movement. Teacher's Tip: Use these small lines to give your drawing depth and a sense of fabric texture.
Step 9: Final Touches and Grass
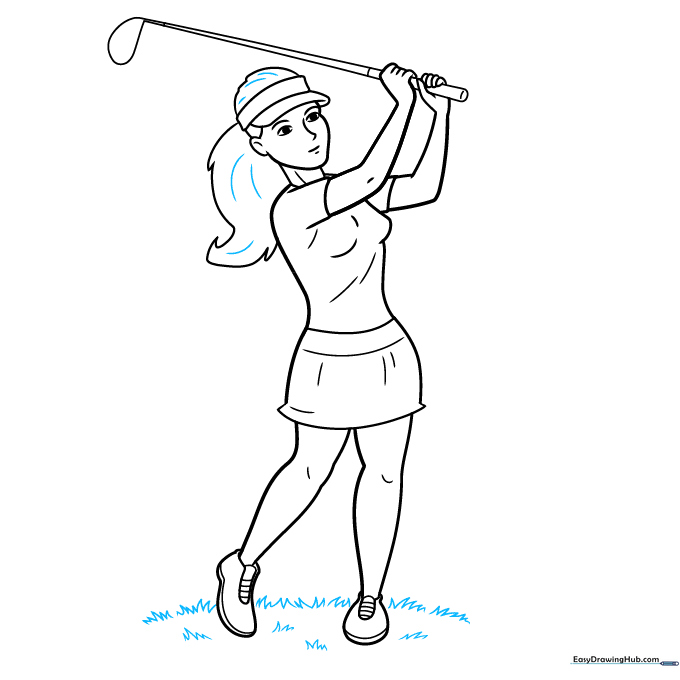
Add dashes for hair texture. For the grass, draw patches of loose, sketchy triangles that look like tiny flames. Finally, trace over your pencil lines with a black pen or marker. Teacher's Tip: Use a confident, steady hand when outlining to make your character pop!
Step 10: Bring Your Golfer to Life with Color
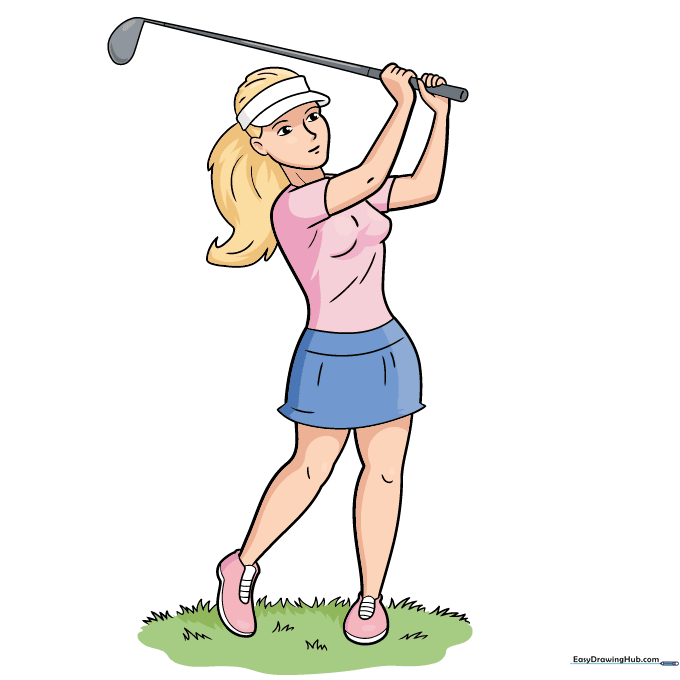
Time to color! Use your favorite shades for the hair and skin. Try pink for the top, blue for the skirt, white for the hat, and green for the grass. Teacher's Tip: Use a light grey for the golf club to give it a metallic, shiny look.
More Tutorials


