How to Draw a Golf Club Bag: Easy 10-Step Guide
Ready to hit the green? This tutorial is perfect for young sports fans ages 6+ looking to build their confidence with structured shapes. All you need is a pencil, an eraser, and some paper to get started. Follow along to master the geometry behind a professional-looking golf bag.
🎯 Final Result
Step-by-Step Instructions
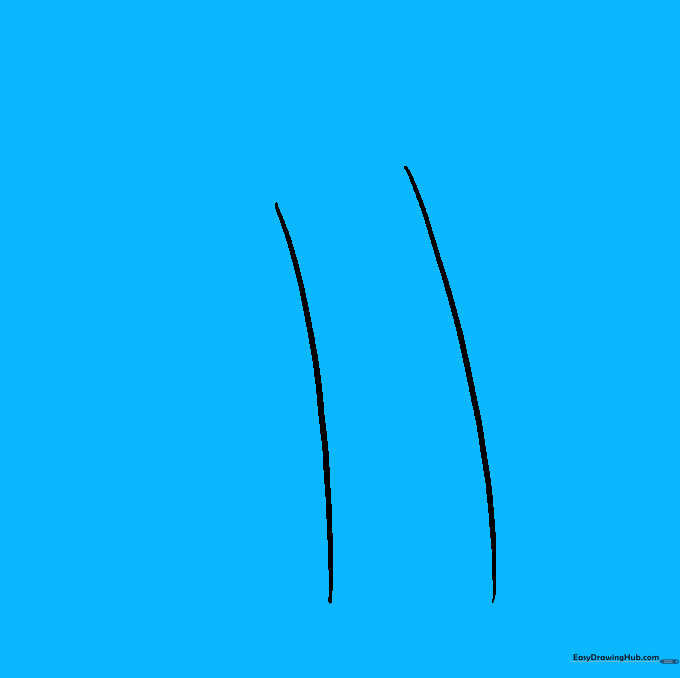
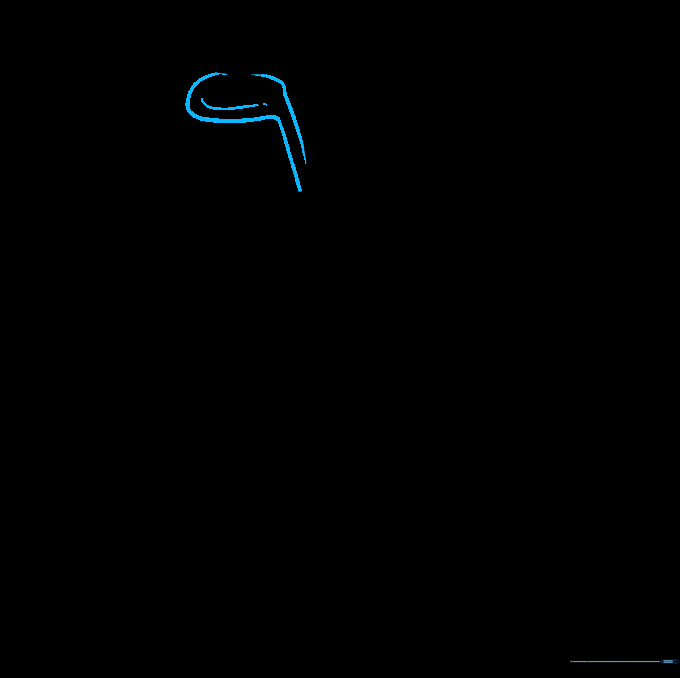
Step 1: Sketching the Main Body

Draw two long, parallel vertical lines to create the main structure of the bag. Teacher's Tip: Keep your pencil pressure light so you can easily adjust the width if it looks a bit too skinny!
Step 2: Defining the Base
Connect the bottom of your vertical lines with a soft curve, then add a rounded rectangle shape beneath it to form the base. Tip: Think of this like the bottom of a soda can—it needs to look sturdy enough to stand up!
Step 3: Creating the Opening
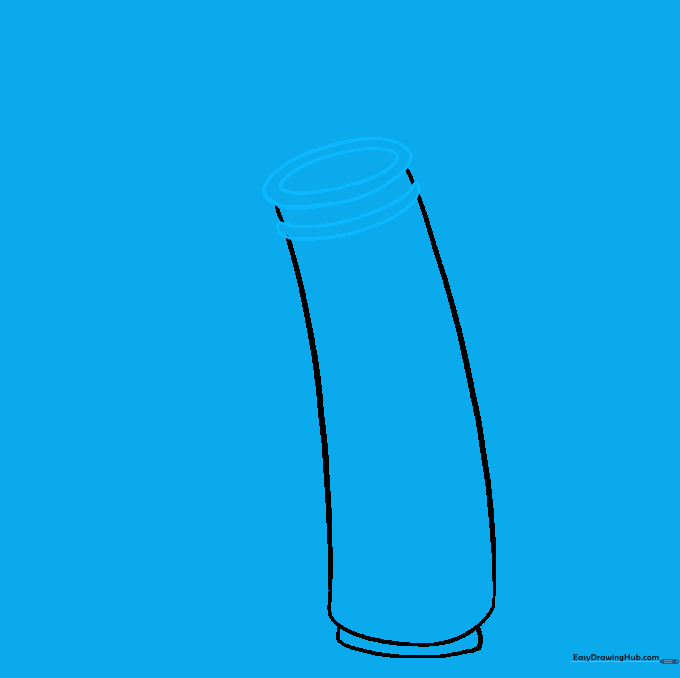
Draw a large oval at the top, and place a smaller oval inside it to represent the bag's opening. Add two narrow lines just below the top to create a decorative band. Tip: Use slow, steady strokes for the ovals to keep them symmetrical.
Step 4: Adding the Handle
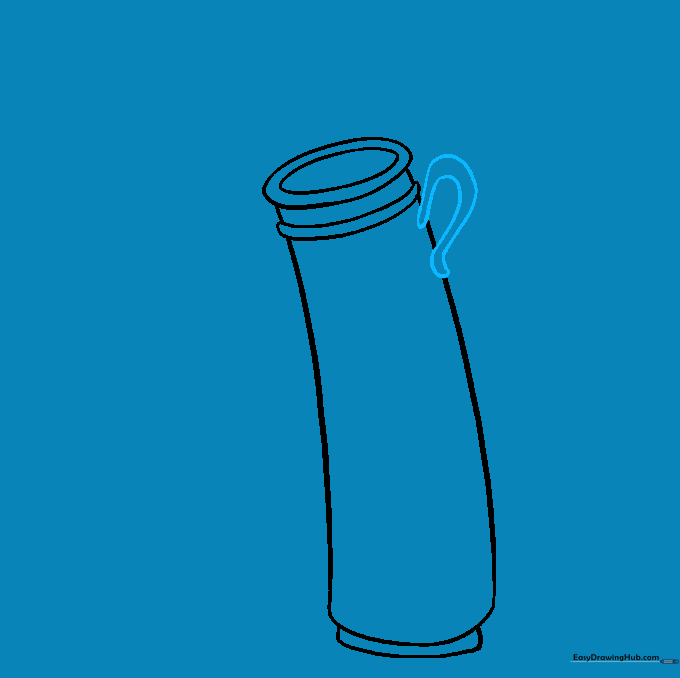
Sketch a small 'C' shape near the top to form the handle. Tip: If you make a mistake, use your eraser to clean up the lines inside the handle so it looks like it's attached to the outside of the bag.
Step 5: Sketching the Shoulder Strap
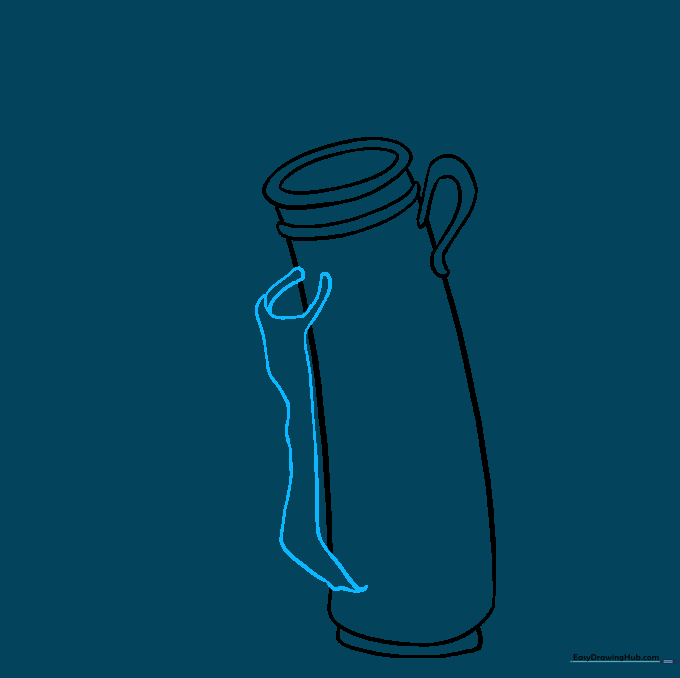
Draw a long, curved rectangular shape along the side for the strap. Connect it to the bag with two small lines. Tip: Imagine the strap is made of fabric; keep the lines slightly curved to show it has weight.
Step 6: Refining the Strap

Add a long curved line inside the strap to give it depth and detail. Tip: This small detail makes the strap look 3D rather than flat on the page.
Step 7: Drawing the First Club
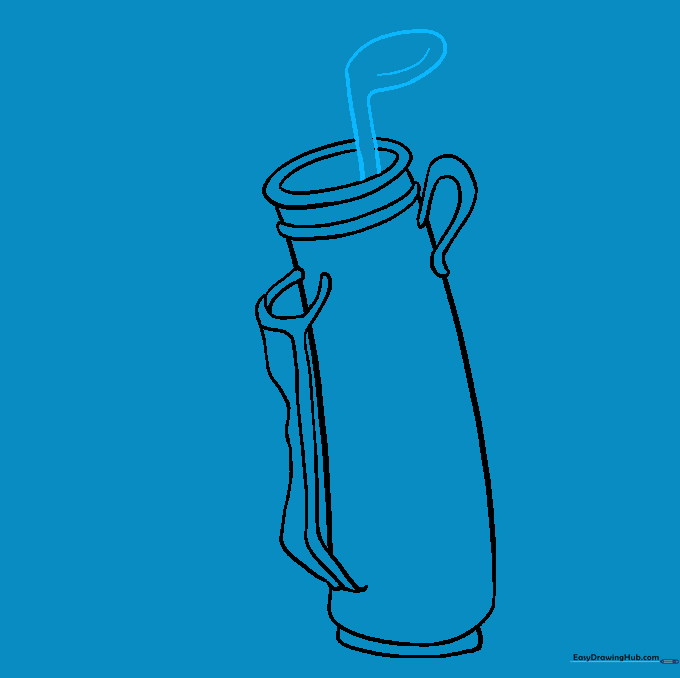
Extend two parallel lines upward from the bag opening, then cap them with a small oval. Add a tiny curve to the head of the club. Tip: Keep the club handle straight to contrast with the curved bag.
Step 8: Adding the Second Club
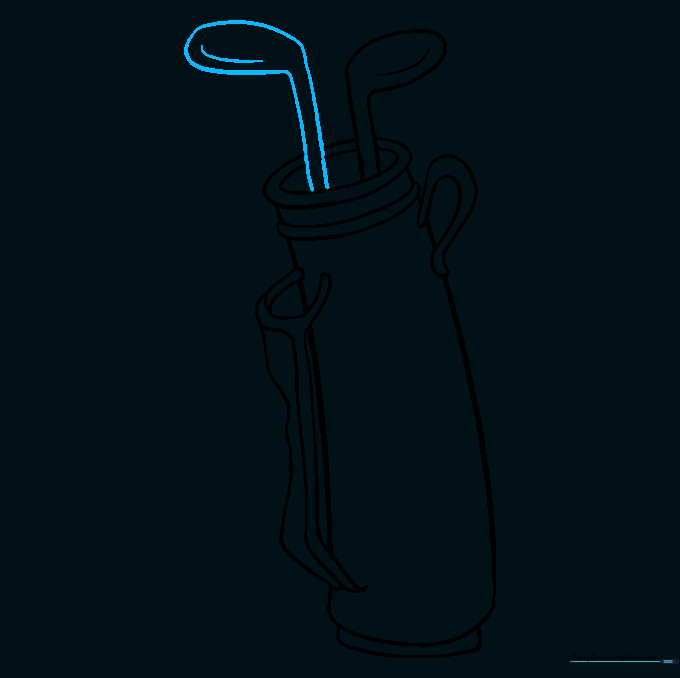
Repeat the process to draw a second club next to the first one. Tip: Try to make the club heads slightly different heights to make your drawing look more natural.
Step 9: Adding the Third Club
Add a third club to fill out the bag. Tip: Ensure you erase any overlapping lines where the clubs meet the bag opening so the drawing looks clean.
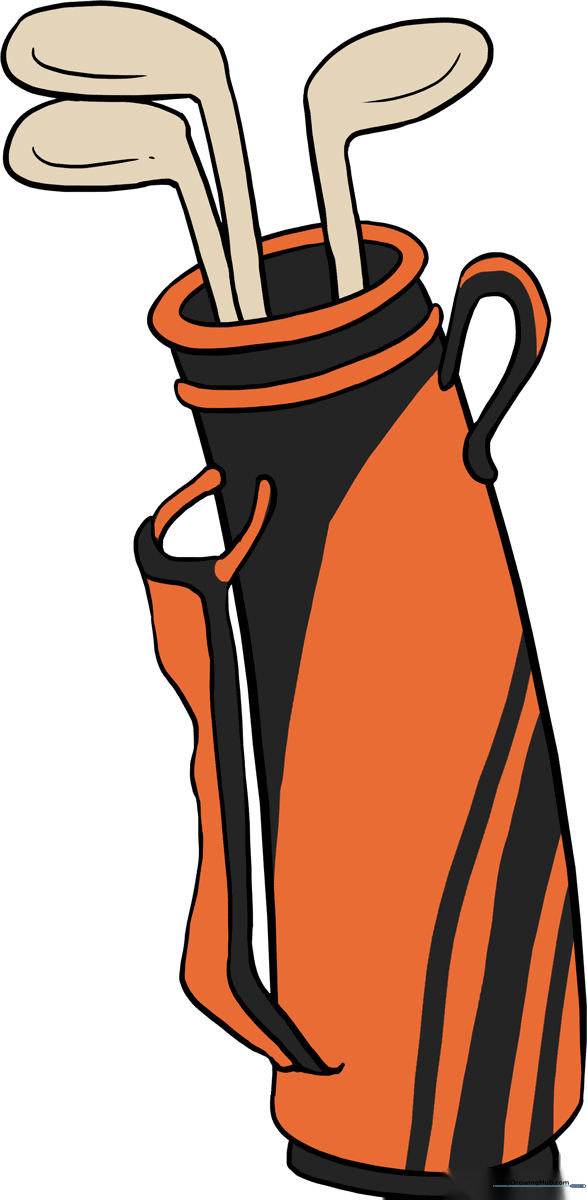
Step 10: Coloring Your Masterpiece

Bring your drawing to life with color! Use bold colors for the bag and metallic grays for the club heads. Tip: Use a darker shade on one side of the bag to create a simple shadow effect.
More Tutorials


