How to Draw a Golden Retriever Face: Easy 9-Step Guide
Capture the gentle expression of a Golden Retriever with this beginner-friendly drawing guide. Designed for ages 5 and up, this activity requires only a pencil, paper, and an eraser to build confidence in sketching animal features. Follow along to master the art of drawing soft, furry textures and expressive canine eyes.
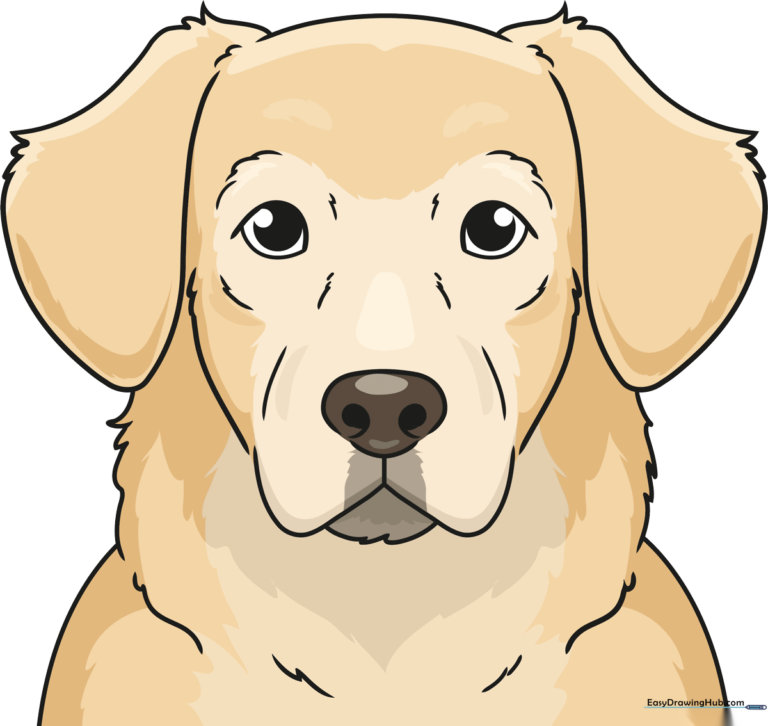
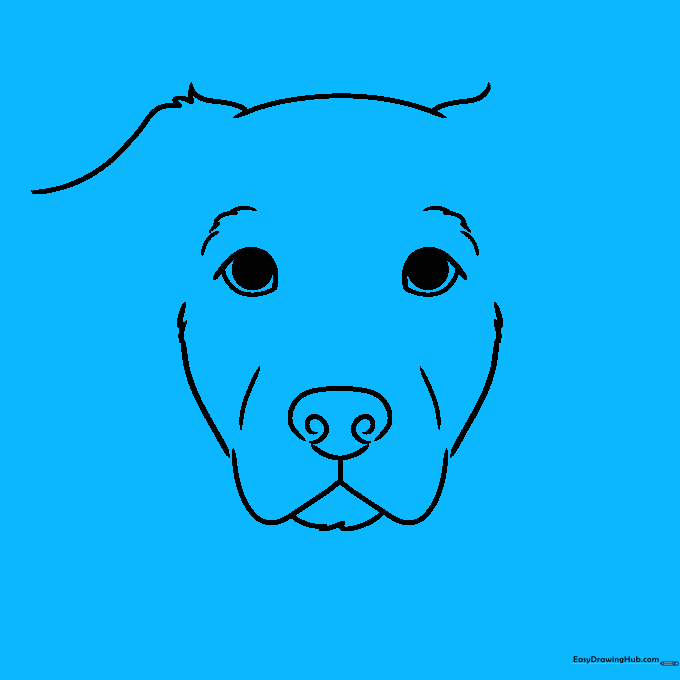
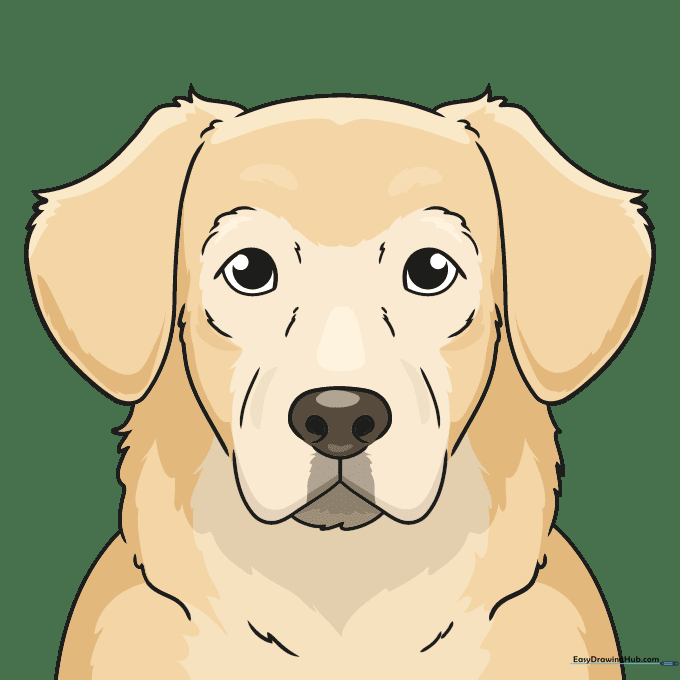
🎯 Final Result
Step-by-Step Instructions
Step 1: Sketching the Expressive Eyes

Draw two curved lines for each eye, overlapping them at the outer corners to create a gentle shape. Shade a large, solid circle in the center of each for the pupils. Teacher's Tip: Keep your pencil pressure light so you can easily adjust the eye placement if needed.
Step 2: Shaping the Nose

Create the nose using two separate curved lines that don't quite touch. Add spiral-shaped lines inside for the nostrils. Teacher's Tip: Think of the nose as a rounded triangle; keeping the lines slightly separated makes it look more realistic.
Step 3: Defining the Muzzle
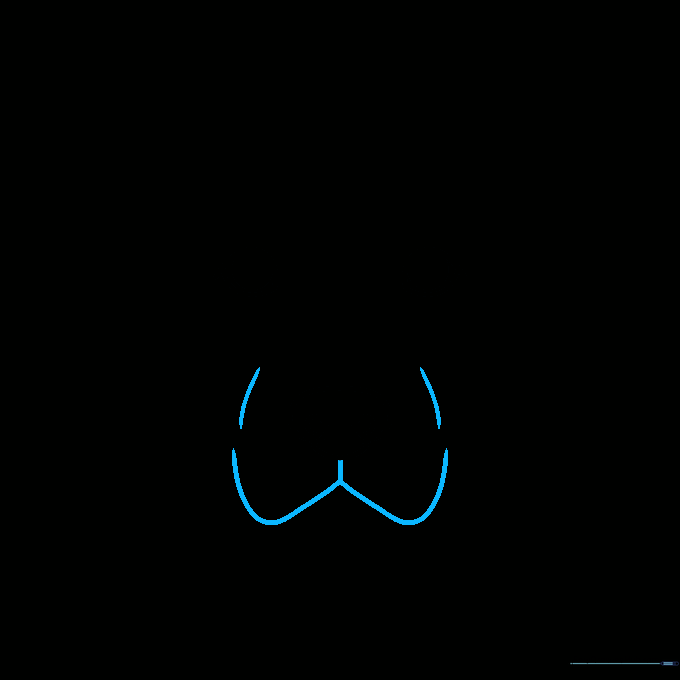
Draw an inverted 'Y' shape below the nose, angling the tips upward, and add curved lines above them to form the snout. Teacher's Tip: This 'Y' shape is the anchor for the dog's mouth, so make sure it is centered perfectly under the nose.
Step 4: Adding Fur Texture
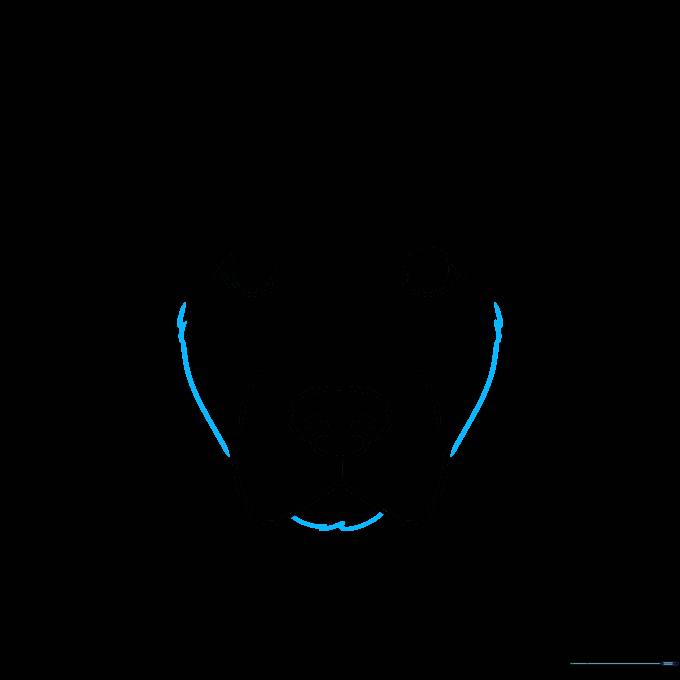
Outline the sides of the head and chin using overlapping, short curved lines. Teacher's Tip: Use quick, flicking motions with your pencil to create the jagged, furry look of a Golden Retriever's coat.
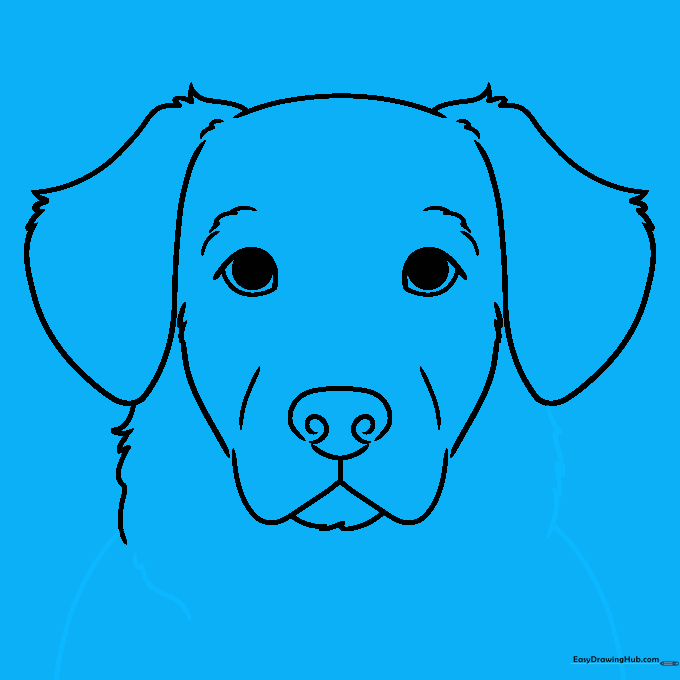
Step 5: Brows and Head Shape
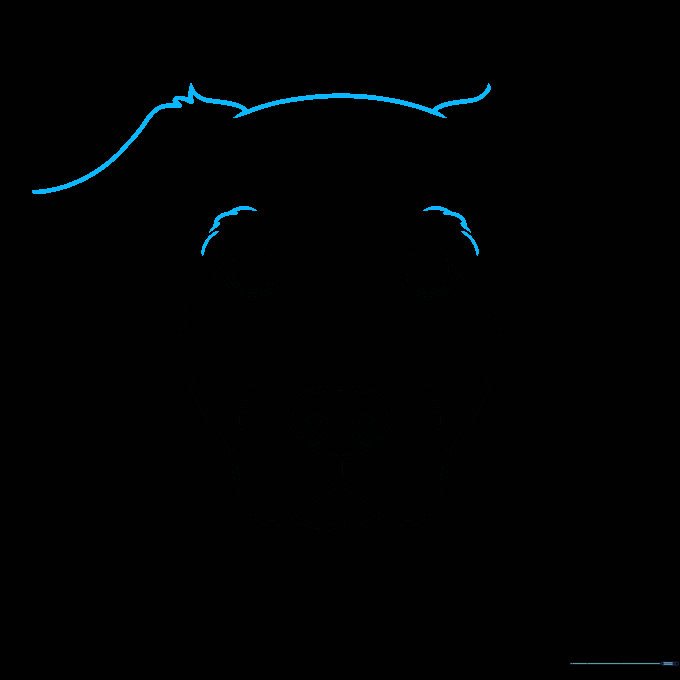
Draw overlapping curves above the eyes for brows, then sketch the top of the head. Extend lines downward to start the ears. Teacher's Tip: The tufts of fur at the top of the head give the dog a friendly, soft appearance.
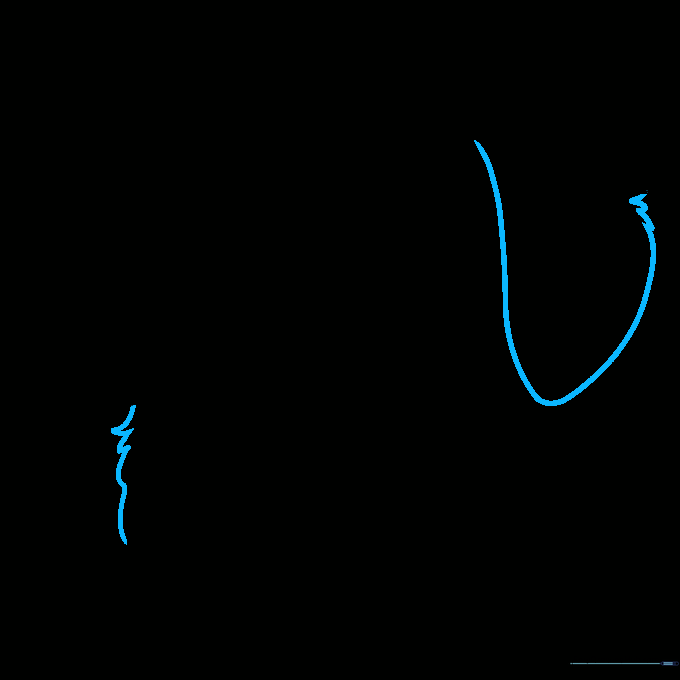
Step 6: Completing the Ears
Continue the ears with long, flowing curved lines, adding jagged points at the edges to represent fur texture. Teacher's Tip: Golden Retriever ears are floppy; make sure your lines curve downward naturally.
Step 7: Drawing the Neck
Sketch the sides of the neck using lines of varying lengths that meet at sharp, furry points. Teacher's Tip: Varying the length of your lines makes the fur look more realistic and less like a solid block.
Step 8: Chest and Ruff Details
Continue the neck and chest area with overlapping, jagged curves to build volume. Teacher's Tip: Imagine the ruff of the neck as a thick collar of fur—don't be afraid to make the lines a bit messy!
Step 9: Final Touches
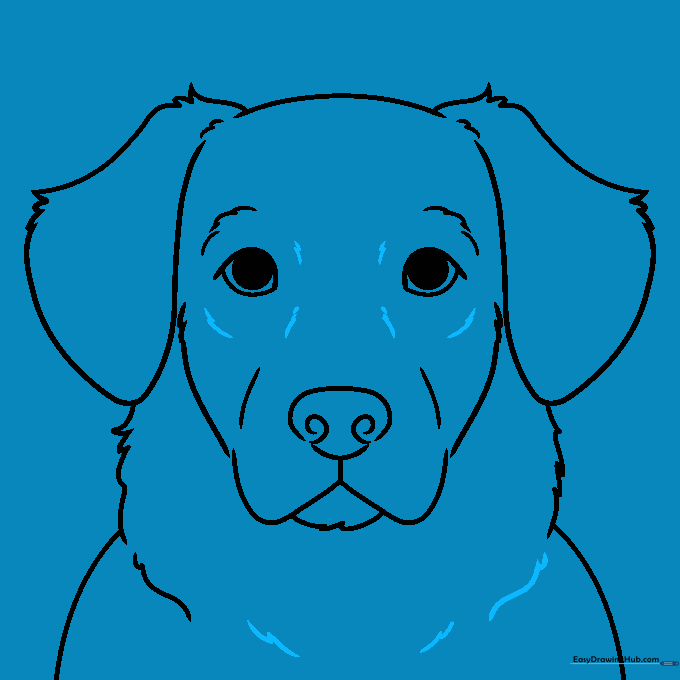
Refine the face and ruff with short, jagged lines to unify the drawing. Teacher's Tip: Before coloring, erase any stray guidelines to make your final sketch look clean and professional.
Step 10: Coloring Your Masterpiece
Bring your dog to life with color! Use warm, sandy blonde tones for the fur and a soft brown for the nose. Teacher's Tip: Use light pressure with your colored pencils to create a soft, blended look typical of Golden Retrievers.
More Tutorials


