How to Draw a Golden Retriever: Easy 10-Step Guide
Bring your favorite furry friend to life with this easy, step-by-step tutorial designed for artists ages 5 and up. All you need is a pencil, an eraser, and a piece of paper to get started. By the end of this lesson, you will master the basic shapes that form a happy, sitting Golden Retriever.
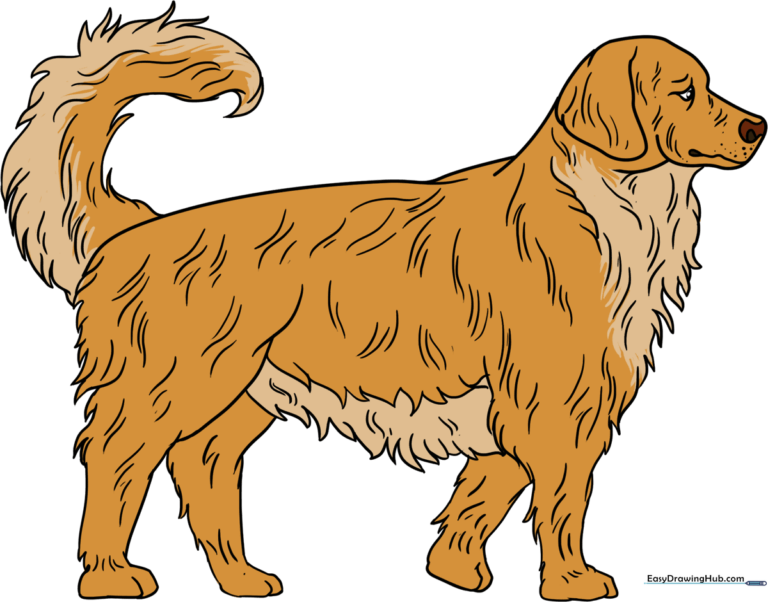
🎯 Final Result
Step-by-Step Instructions
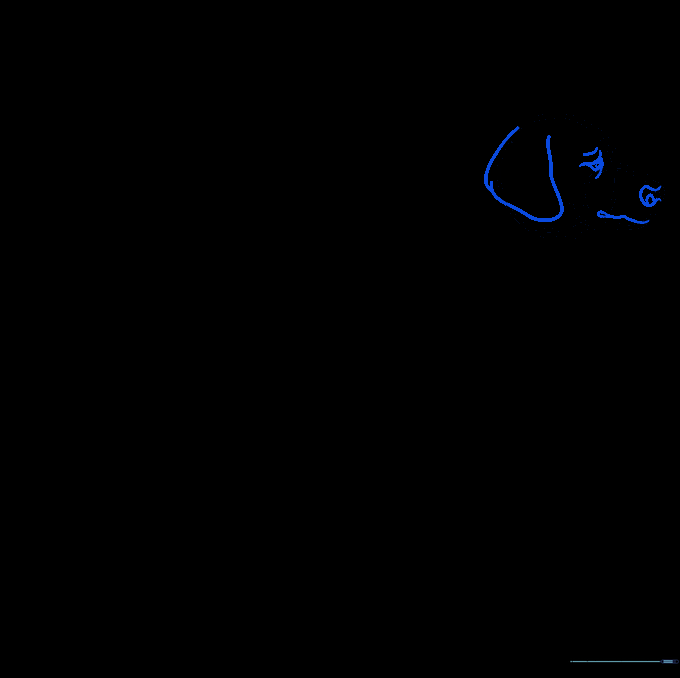
Step 1: Sketching the Head Base

Draw a light circle for the head and a smaller overlapping oval for the muzzle. Teacher's Tip: Keep these shapes light and airy; they are just guides to help you place the facial features correctly.
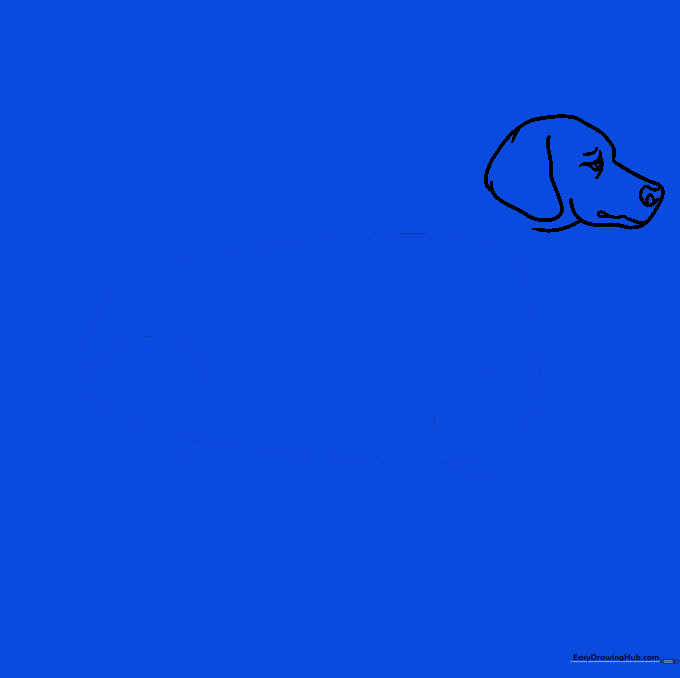
Step 2: Defining the Profile

Use smooth, curved lines to connect the head and muzzle shapes. Focus on the slope of the forehead and the curve of the lower jaw. Tip: Think of the dog's profile as a gentle 'S' curve.
Step 3: Adding Facial Features
Sketch the floppy ear, the triangular eye, and the nose. For the nose, draw a small circle inside a rounded shape. Tip: Golden Retrievers have very expressive eyes—keep the brow line soft to make him look friendly.
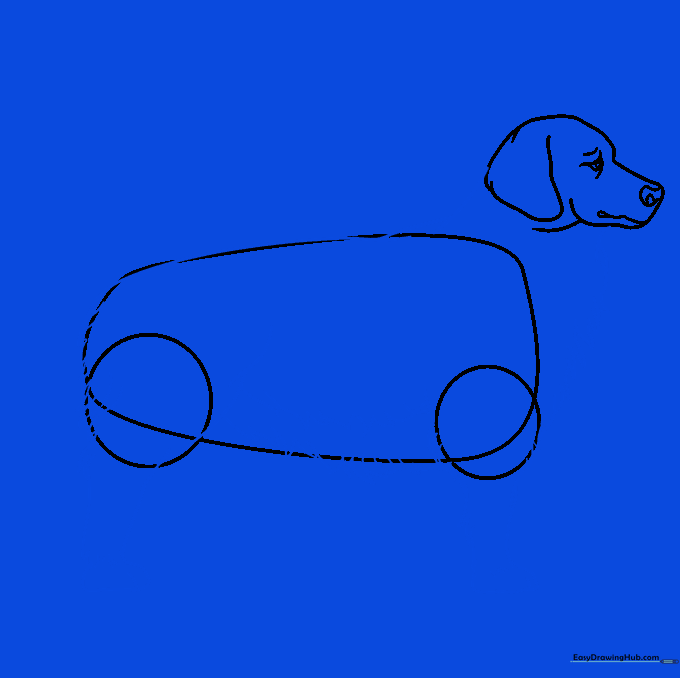
Step 4: Body Foundations
Erase your head guide lines. Draw a large, rounded shape for the body and two circles at the bottom for the paws. Tip: Make sure the body shape is large enough to support the head!
Step 5: Creating Furry Texture
Use short, jagged lines to create the look of fur around the neck and belly. Sketch the legs using your circles as a guide. Tip: Use quick, flicking motions with your pencil to make the fur look realistic and soft.
Step 6: Drawing the Foreleg
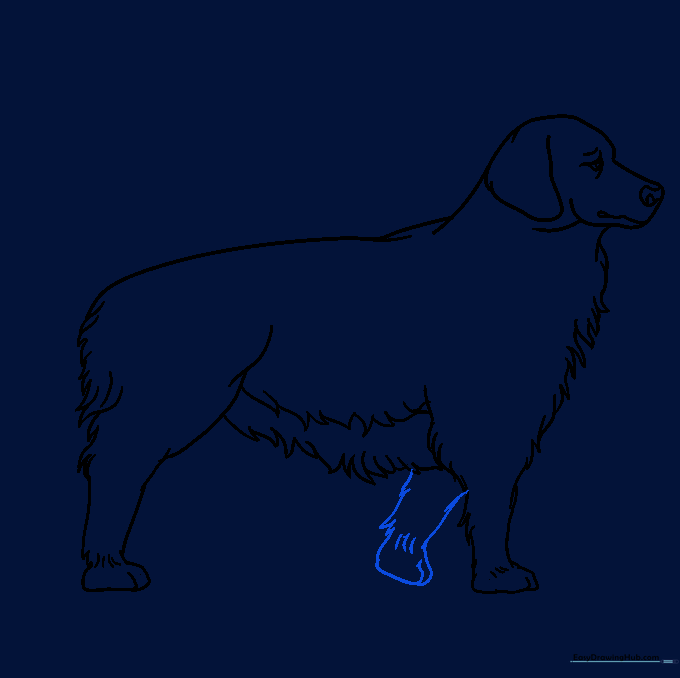
Add the far foreleg using the same jagged fur technique. Don't forget the small lines at the ankle to show the paw structure. Tip: Keep the lines consistent with the rest of the body's fur.
Step 7: Adding the Rear Leg
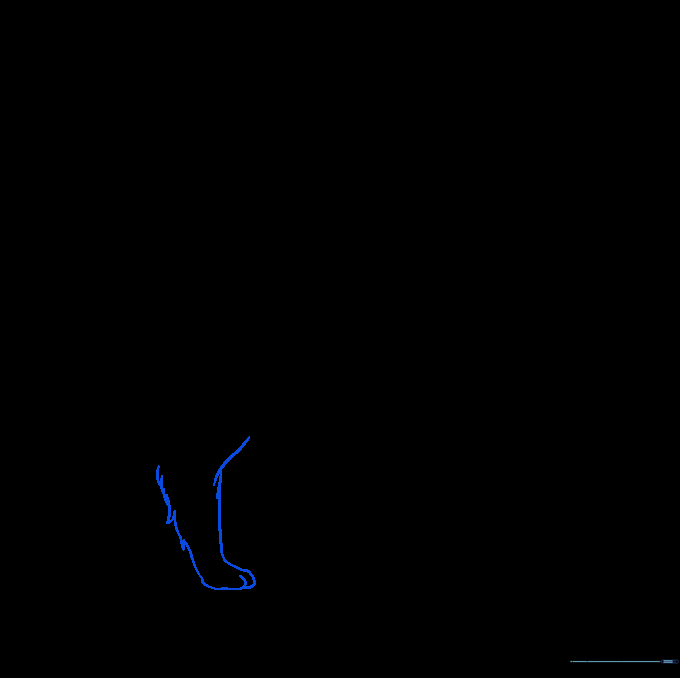
Sketch the remaining rear leg using jagged, furry lines. This adds depth to your drawing. Tip: Ensure the leg looks like it is tucked behind the body for a natural sitting pose.
Step 8: The Fluffy Tail
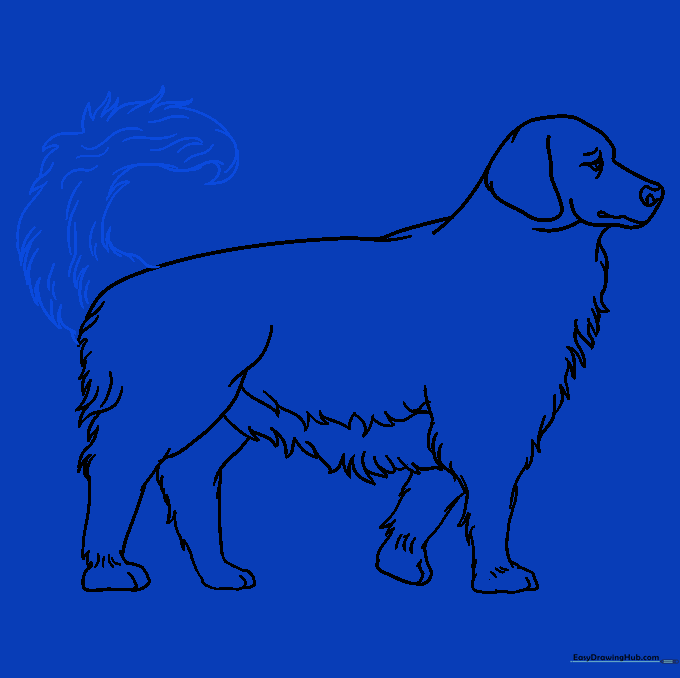
Draw a curled, bushy tail using overlapping curved lines. Add extra jagged points to make it look soft and waggy. Tip: A Golden Retriever's tail is a signature feature—make it look nice and full!
Step 9: Final Fur Details
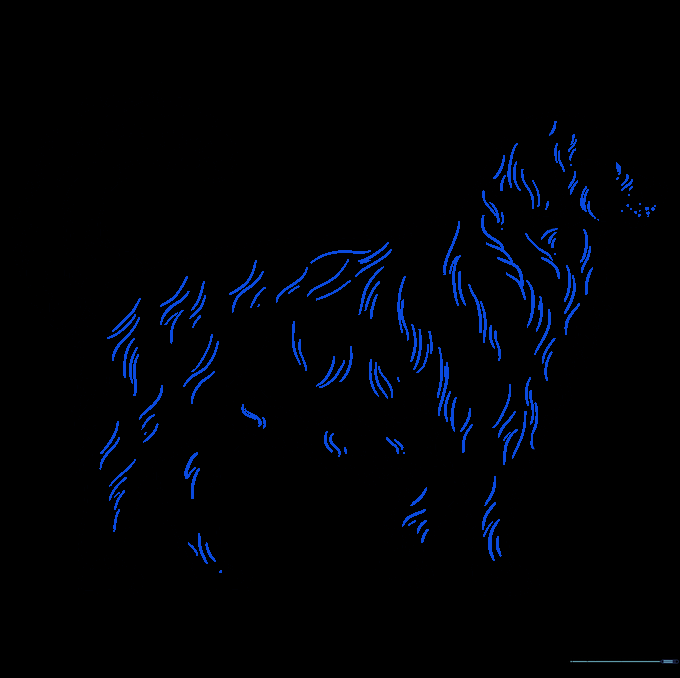
Add small, scattered curved lines across the body to give the coat a realistic texture. Tip: Don't overdo it; just a few lines here and there will suggest a thick, golden coat.
Step 10: Coloring Your Masterpiece
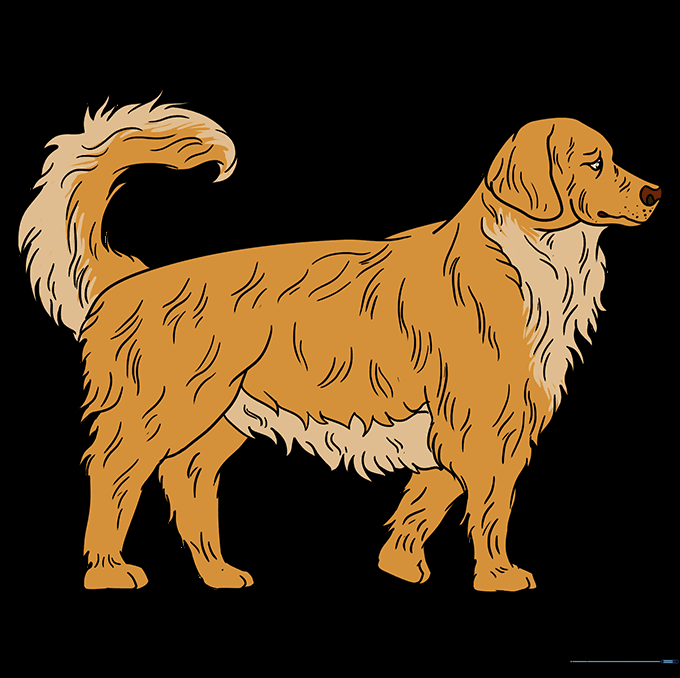
Bring your dog to life with color! Use shades of cream, gold, and light brown. Tip: Use a lighter color for the belly and chest to show the natural highlights of the breed.
More Tutorials


