How to Draw a Glass Frog: Easy 10-Step Guide for Kids
Ready to bring a rainforest wonder to life? This tutorial is perfect for young artists ages 6+ who want to master animal anatomy. You will only need a pencil, an eraser, and your favorite markers to create this translucent-inspired amphibian.
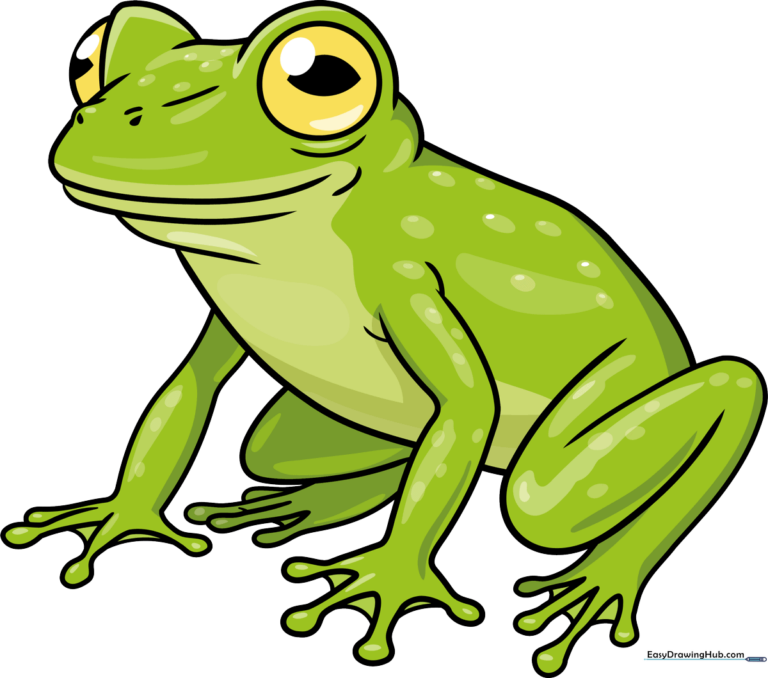
🎯 Final Result
Step-by-Step Instructions
Step 1: Sketching the Eye and Snout

Start by drawing a circle for the eye. Inside, add a double-pointed shape for the pupil. Teacher's Tip: Keep your pencil pressure light here so you can easily adjust the frog's expression later.
Step 2: Defining the Head and Neck
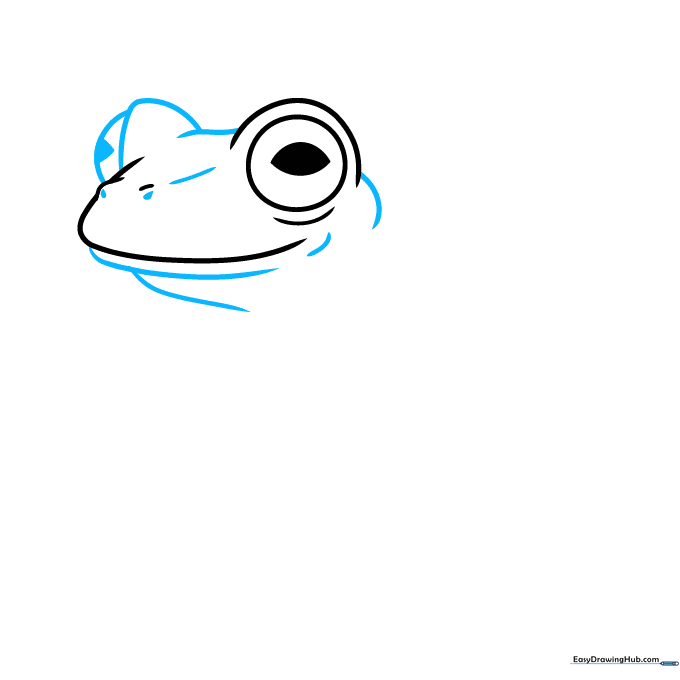
Use smooth, curved lines to connect the eye ridge to the back of the head and the lower jaw. Add a small teardrop shape at the nostril. Tip: Think of the head shape as a soft, rounded triangle.
Step 3: Starting the Foreleg
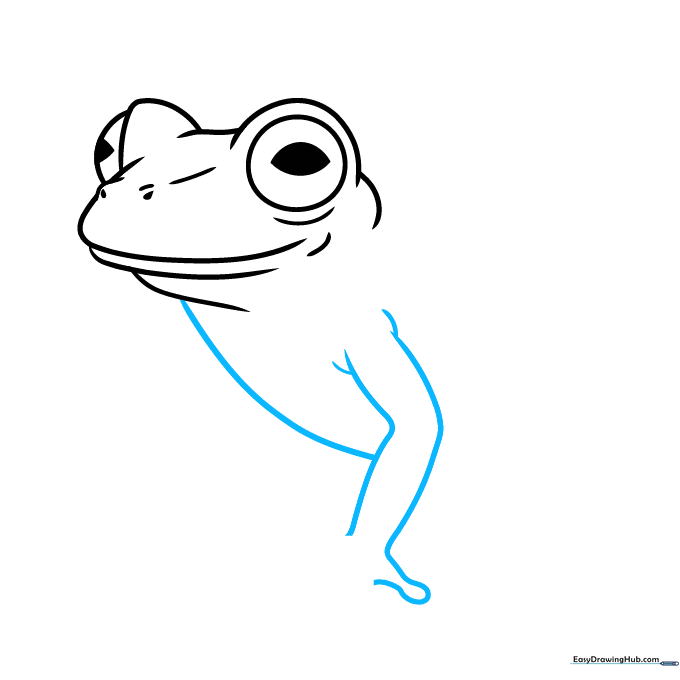
Draw long, flowing lines for the chest and the sides of the foreleg. Keep the lines fluid to mimic the frog's natural, flexible posture.
Step 4: Adding Front Toes
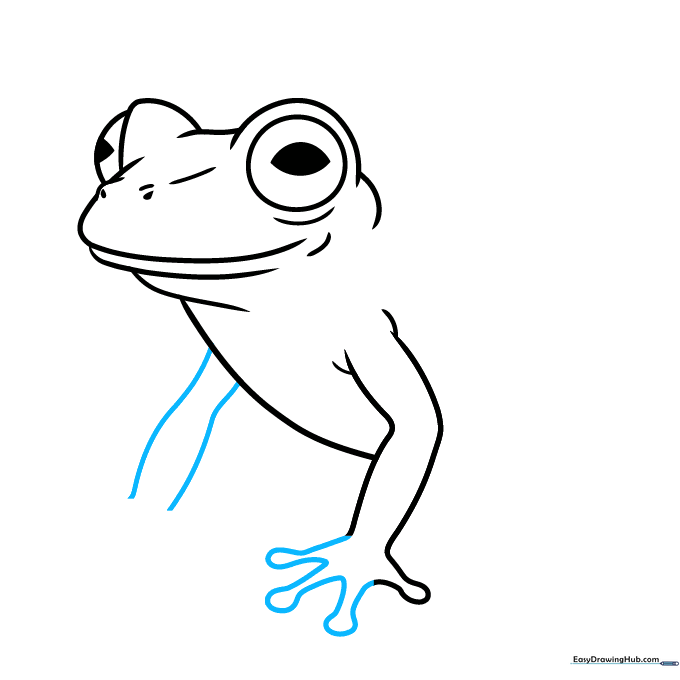
Finish the first leg by adding rounded tips to the toes. Then, sketch the start of the second foreleg. Tip: Remember that frog toes are slightly bulbous at the ends, which helps them grip leaves!
Step 5: Shaping the Back
Use overlapping curved lines to finish the toes, then draw a long, sweeping line for the frog's back. This creates the characteristic hunched-over look of a resting frog.
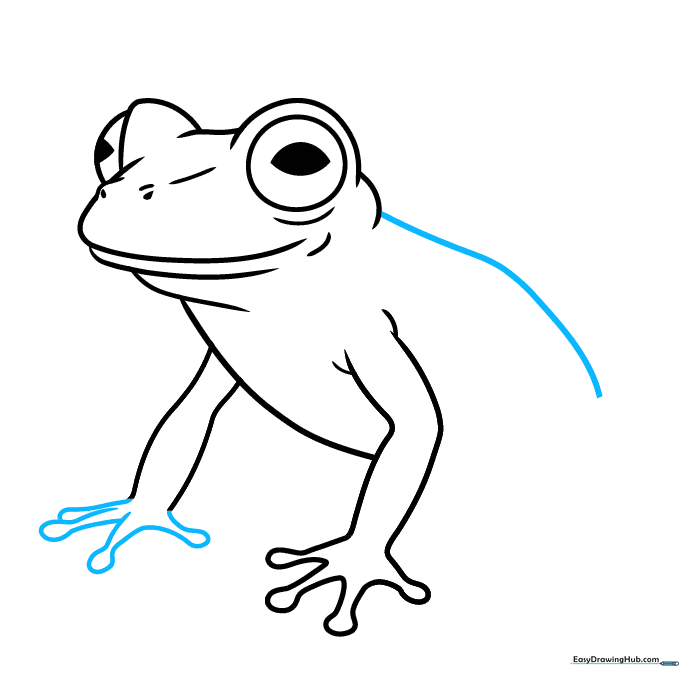
Step 6: Drawing the Rear Leg
Draw the crouching rear leg using a series of short and long curves. This is where the frog gets its power for jumping! Keep the belly line soft and rounded.
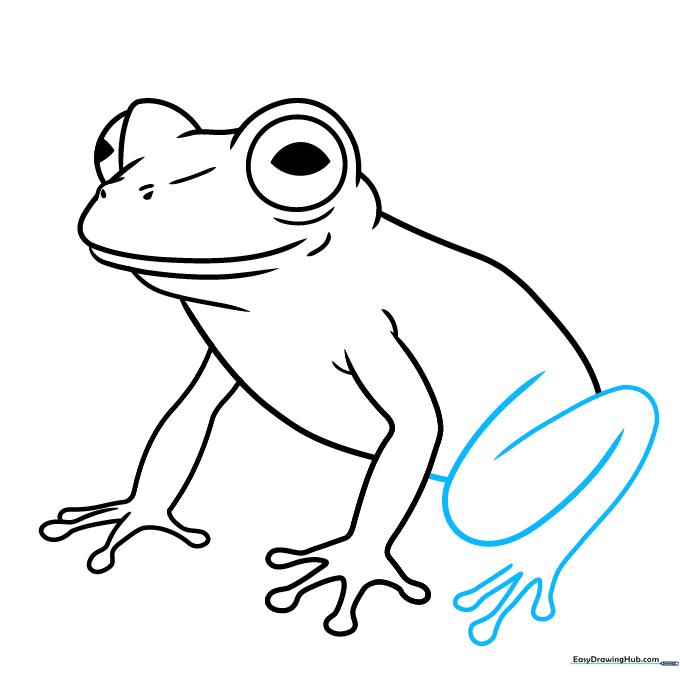
Step 7: Defining the Feet
Complete the first rear foot and start the second. Use a triangular shape for the knee and double back your lines to form the toes. Tip: Don't worry if the toes look a bit uneven; nature is rarely perfectly symmetrical!
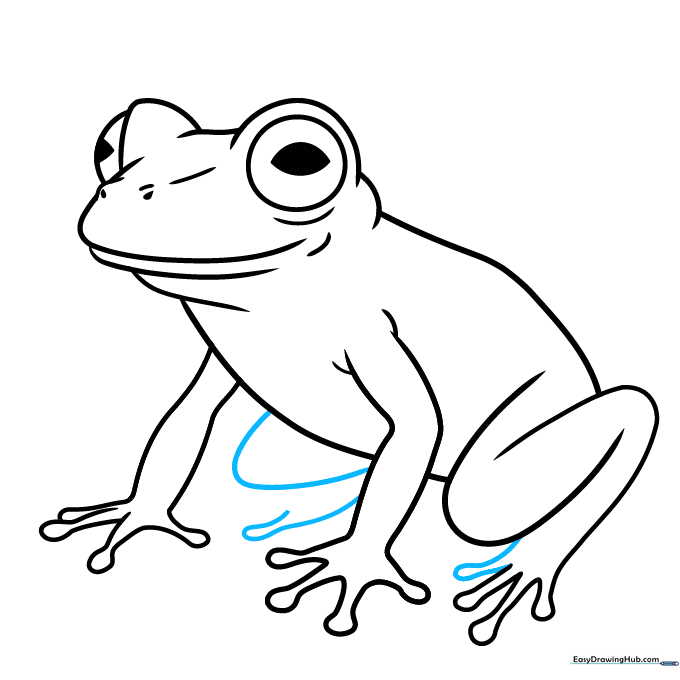
Step 8: Adding Webbing Details
Finish the rear toes and add small, curved lines between the front toes to show the webbing. This makes your frog look ready to swim or climb.
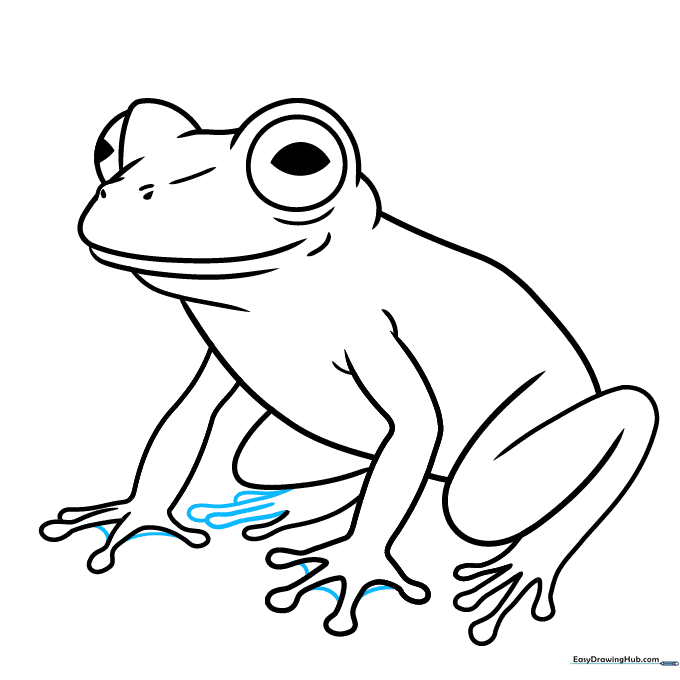
Step 9: Adding Skin Texture
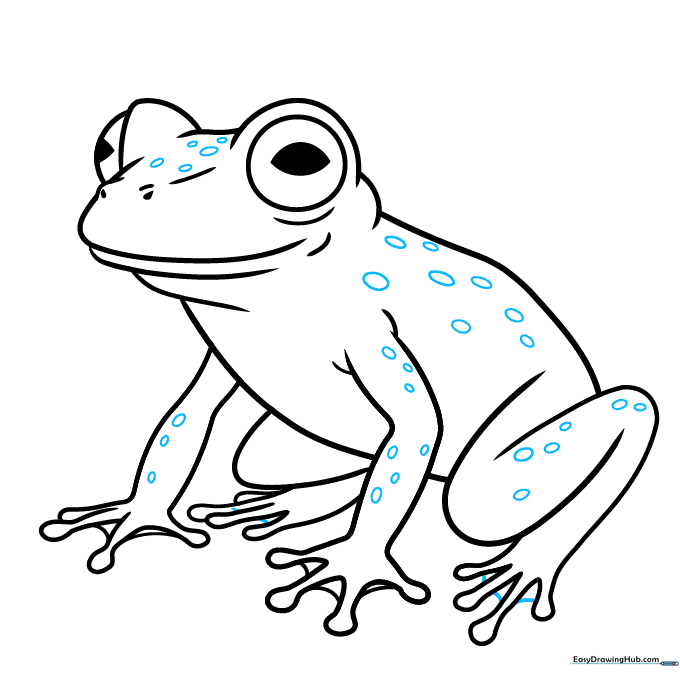
Add webbing to the rear feet. Then, lightly sketch small, scattered ovals across the head, back, and legs to represent the frog's unique skin texture.
Step 10: Bringing Your Frog to Life with Color
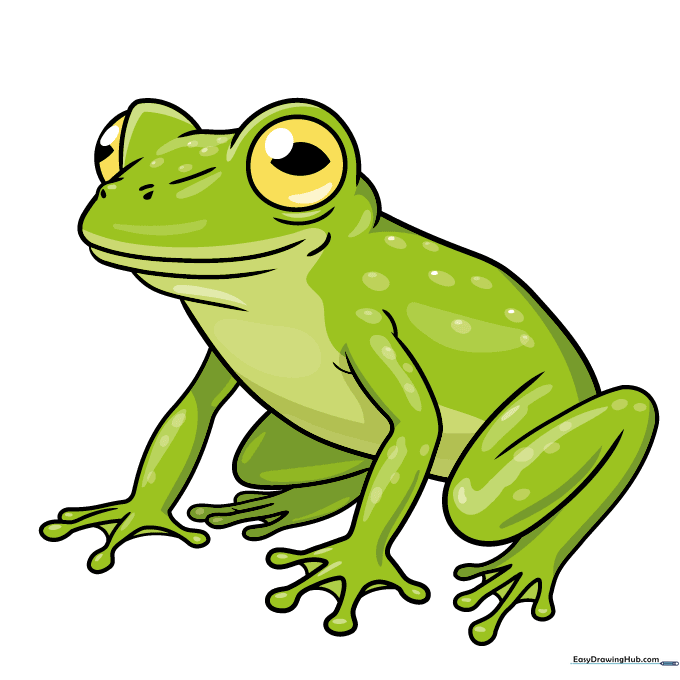
Your outline is complete! Use light greens for the body and soft yellows for the spots. If you want to be extra creative, use a light blue or white to hint at the translucent belly.
More Tutorials


