How to Draw a Girl Sitting: Easy 10-Step Guide
Ready to bring a character to life? This tutorial is perfect for young artists ages 6+ looking to practice drawing people in a relaxed, seated pose. You will only need a pencil, an eraser, and a piece of paper to get started. Follow along to master basic proportions and character structure.
🎯 Final Result

Step-by-Step Instructions
Step 1: Sketching the Face Shape

Start by lightly outlining the girl's face. Use smooth, curved lines to define the cheeks and chin. Teacher's Tip: Keep your pencil pressure very light here so you can easily adjust the shape if it looks a bit lopsided!
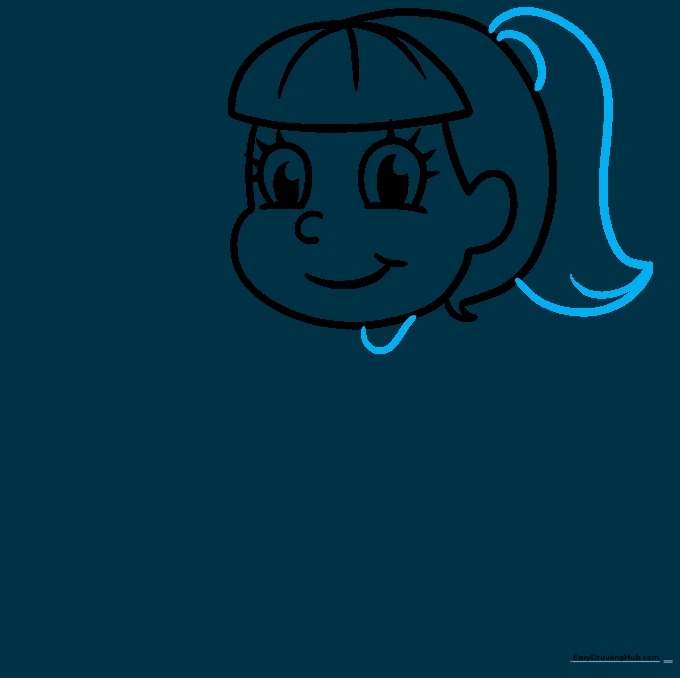
Step 2: Adding the Hairline

Draw a soft half-circle above the forehead for the bangs, then connect them to the ears with curved lines. Add a small curl at the base of the neck. Teacher's Tip: Use short, quick strokes to make the hair look natural and flowy rather than stiff.
Step 3: Bringing the Face to Life

Add large, expressive eyes with pupils, eyelashes, a small nose, and a happy smile. Teacher's Tip: When drawing the eyes, leave a tiny white dot inside the pupil to create a 'sparkle' effect, making the character look friendly and bright.
Step 4: Sketching the Ponytail
Draw a hairband and a ponytail flowing from the back of the head. Add a few curved lines inside the ponytail to show texture. Teacher's Tip: Think of the ponytail as a soft, curved ribbon to help keep the shape balanced.
Step 5: Drawing the Arms and Hands
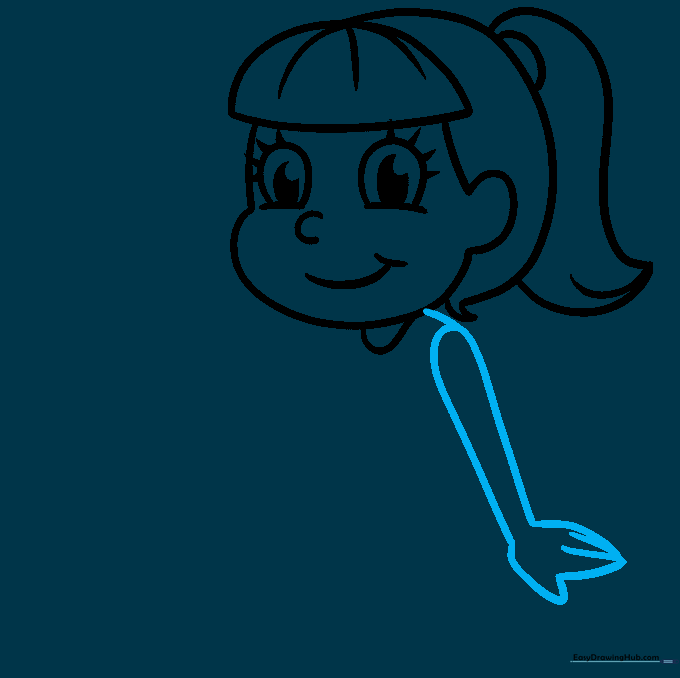
Sketch the shoulder, arm, and hand resting in a natural position. Teacher's Tip: Hands are tricky! Keep them simple by drawing a rounded shape for the palm and small bumps for the fingers.
Step 6: Defining the Torso
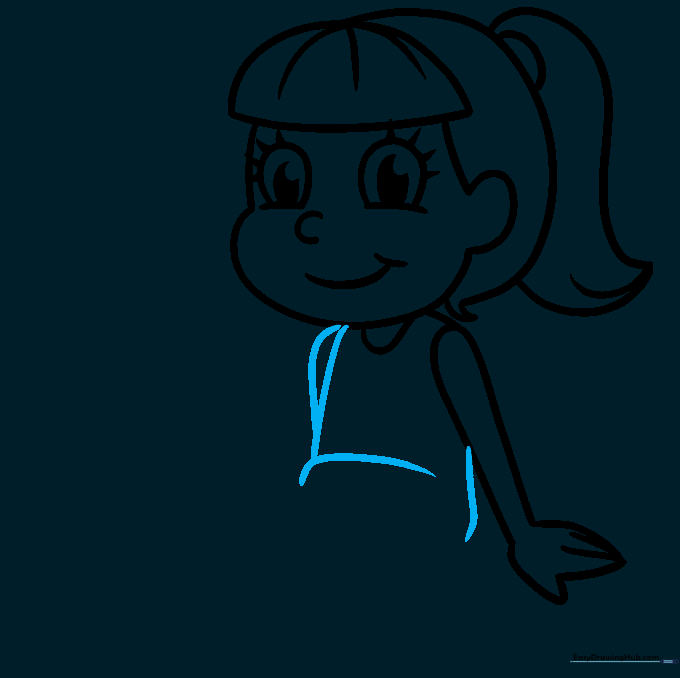
Use overlapping curved lines to draw the torso and the shoulder of the second arm. Teacher's Tip: Overlapping lines create depth, making your drawing look more 3D and less flat.
Step 7: Adding the Shorts
Draw the shorts using curved, quadrilateral shapes. Teacher's Tip: Since she is sitting, make sure the lines for the shorts look slightly bunched up to show the fabric folding.
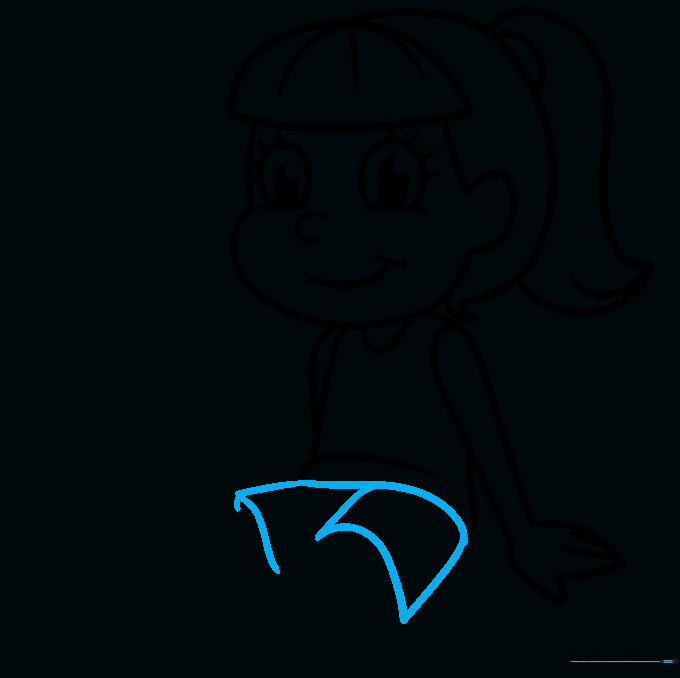
Step 8: Sketching the Legs and Shoes
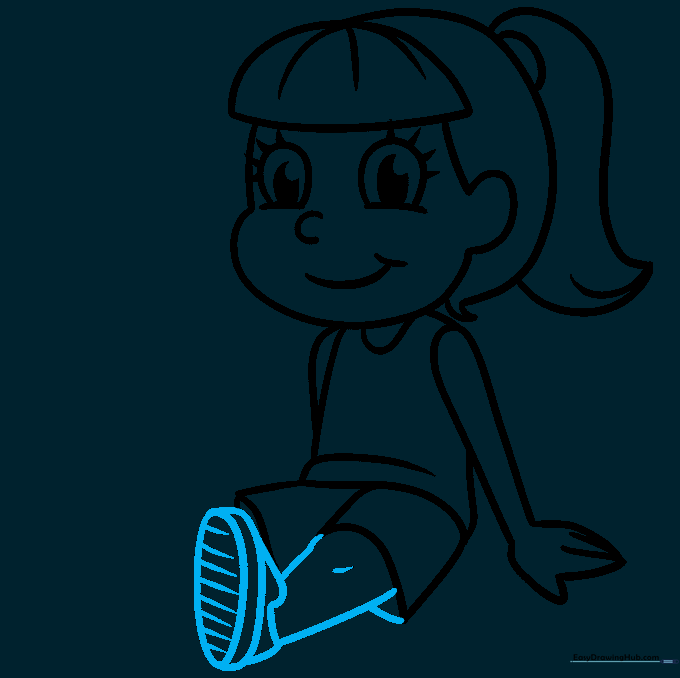
Outline the leg, adding a small line for the knee, and draw the sneaker. Add tread lines to the sole. Teacher's Tip: Adding tread lines on the shoe sole is a great way to add realistic detail to your cartoon characters.
Step 9: Completing the Pose
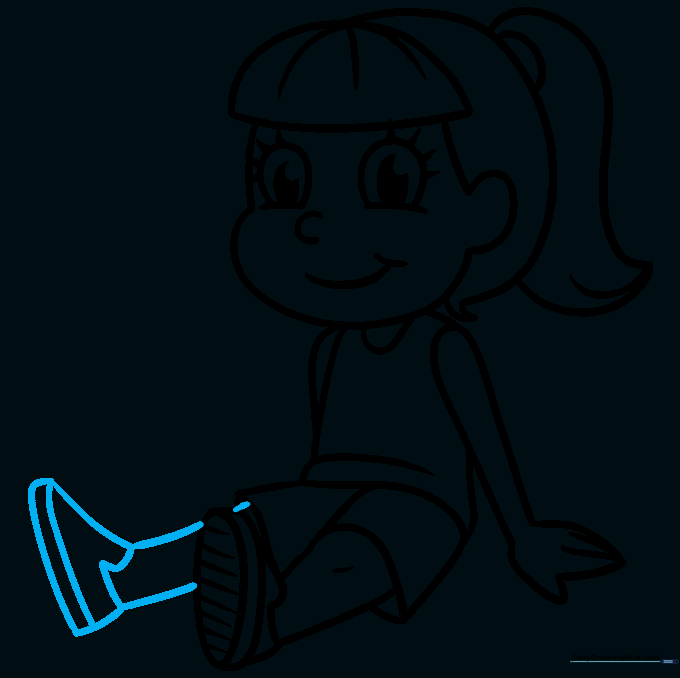
Draw the second leg and shoe to finish the sitting pose. Teacher's Tip: Check that both shoes are roughly the same size so your character looks balanced.
Step 10: Bring It to Life with Color

Color your drawing! Use your favorite markers or colored pencils to make your character pop. Teacher's Tip: Try using two shades of the same color on the hair to add highlights and shadows.
More Tutorials


