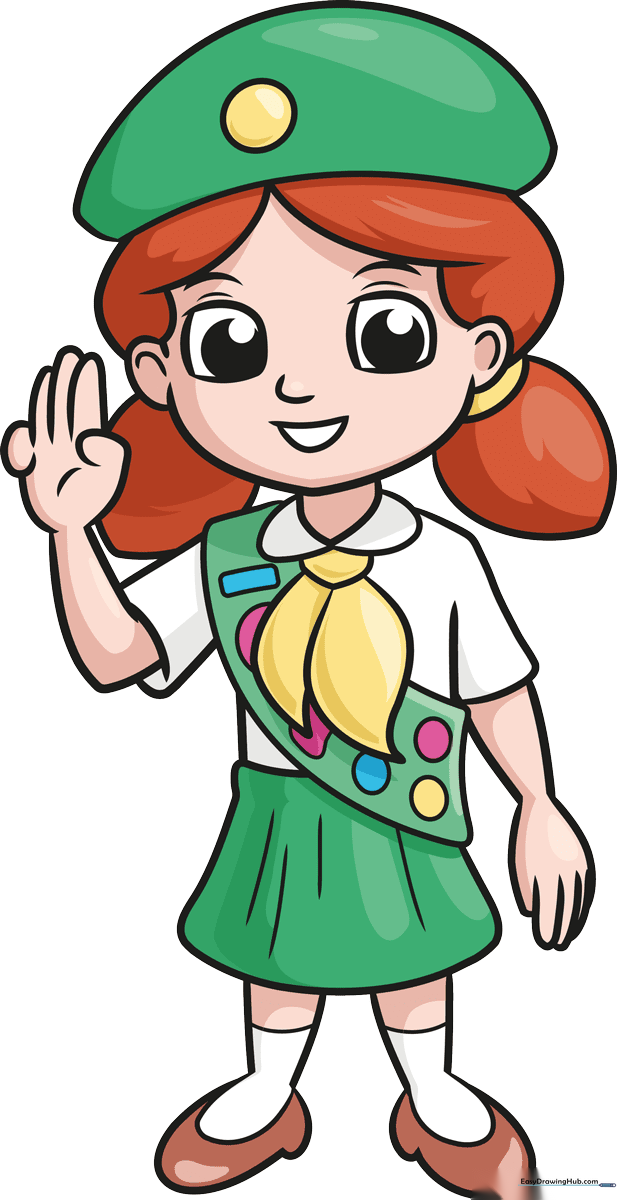
How to Draw a Girl Scout: Easy 10-Step Tutorial
Celebrate community spirit by learning to draw a Girl Scout! This tutorial is perfect for ages 6+ and requires only a pencil, eraser, and paper. Follow these simple steps to build your character from the head down, mastering basic shapes and proportions along the way.
🎯 Final Result
Step-by-Step Instructions
Step 1: Sketching the Face

Start by sketching the face. Use curved lines to create the anime-inspired eye shapes. Tip: Keep your pencil pressure light here; these are just guidelines for your character's expression.
Step 2: Defining the Head

Outline the face and ears with smooth, curved lines. Add a simple half-circle for a friendly smile. Tip: Make sure the ears align with the top and bottom of the eyes for correct facial proportions.
Step 3: Adding the Hair
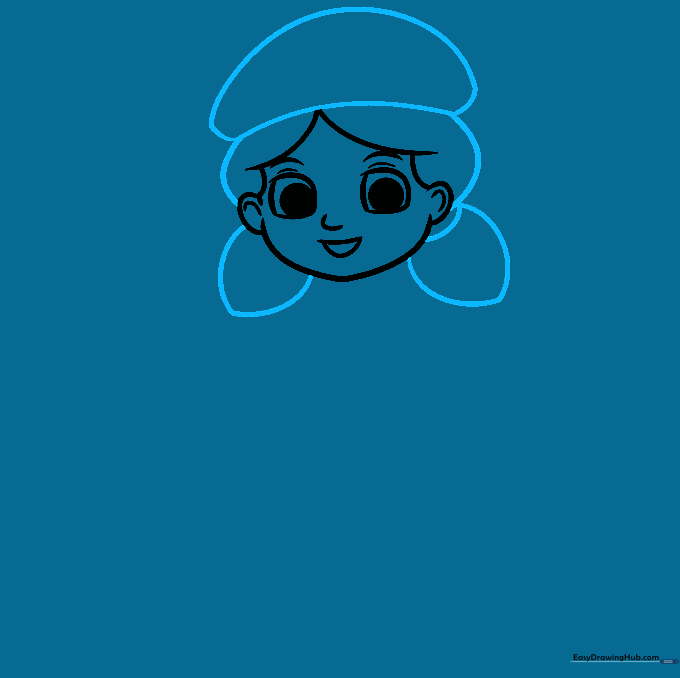
Draw the round shapes for the hair, hat, and ponytails. Tip: Use long, sweeping strokes for the hair to make it look soft and natural.
Step 4: Drawing the Uniform Collar
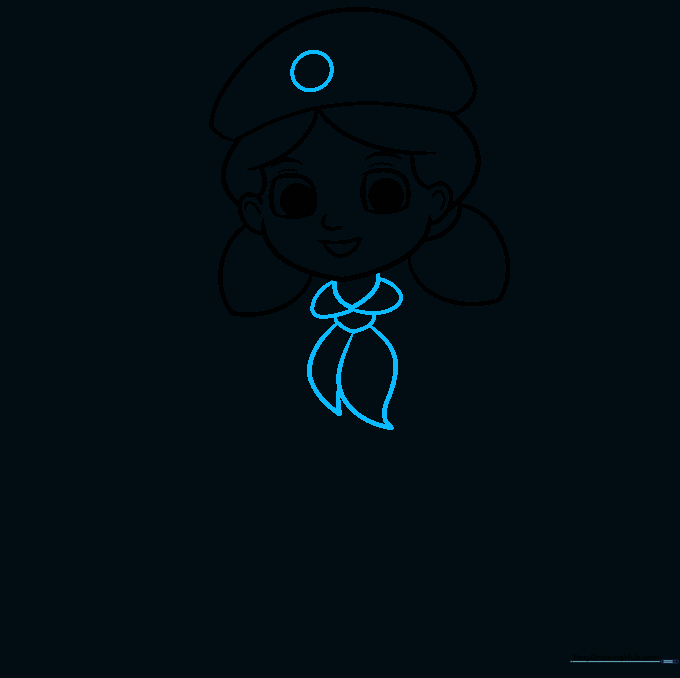
Add a circle to the hat, then draw the V-neck collar and scarf. Tip: The scarf knot should look like a small, rounded triangle to give it a realistic folded look.
Step 5: Sketching the Torso and Sash
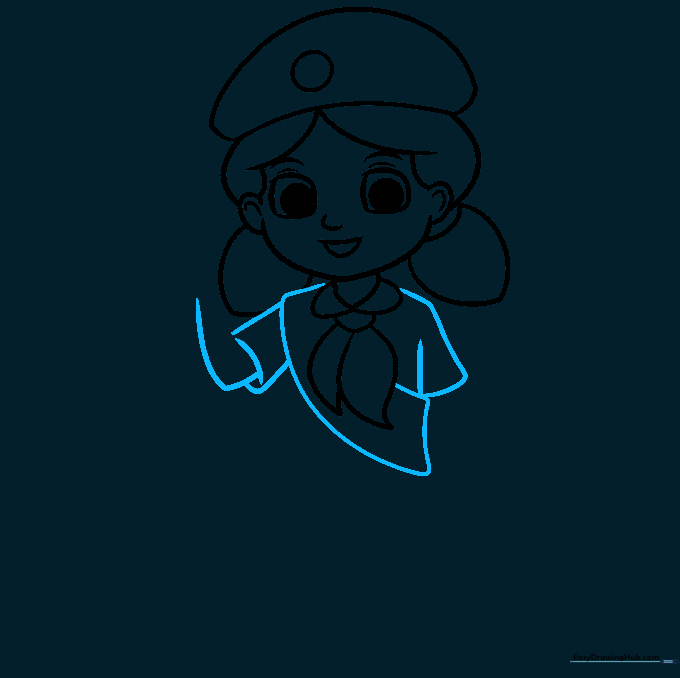
Draw the shirt, the iconic sash, and the arm reaching upward. Tip: Keep the sash diagonal across the chest to show where the badges will go later.
Step 6: The Girl Scout Salute
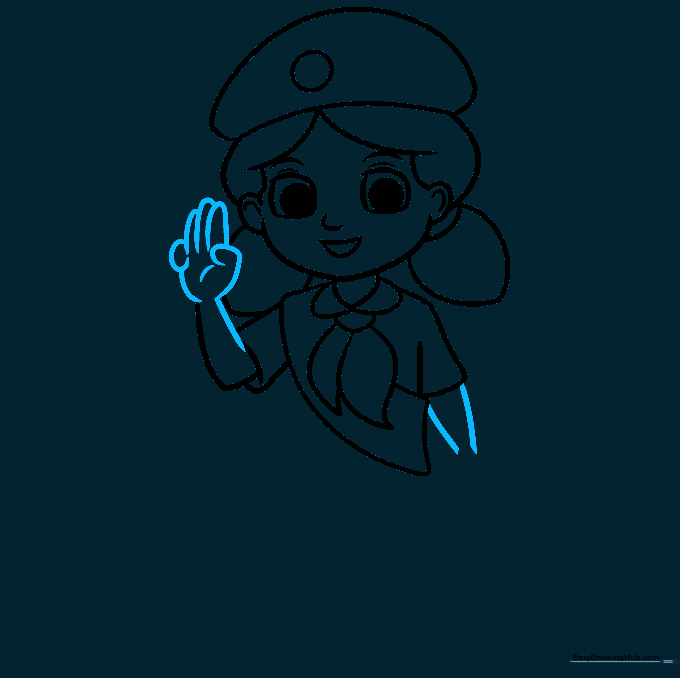
Draw the hand in the Girl Scout salute, with three fingers raised. Tip: Explain to the child that these three fingers represent the three parts of the Girl Scout Promise—a great way to connect art with character building!
Step 7: Drawing the Skirt
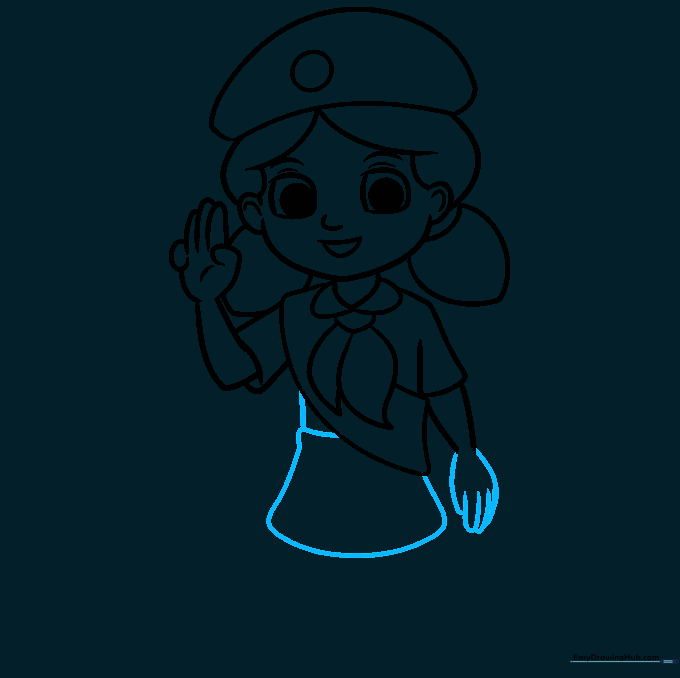
Draw the second hand and the bottom of the skirt. Tip: Use a slightly curved line for the hem of the skirt to give it a sense of movement.
Step 8: Adding Badges and Details
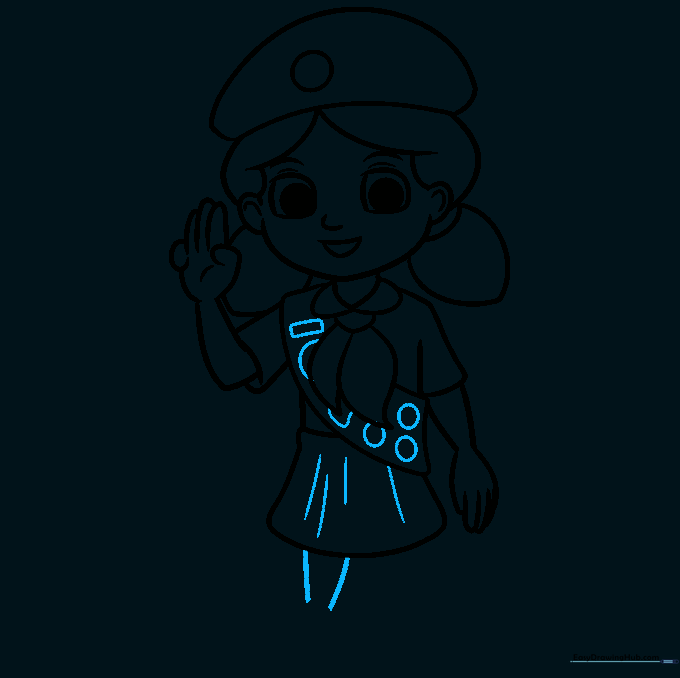
Add small circles and rectangles to the sash to represent badges. Draw lines on the skirt for fabric folds. Tip: Vary the shapes of the badges to make the sash look authentic.
Step 9: Drawing the Legs and Shoes
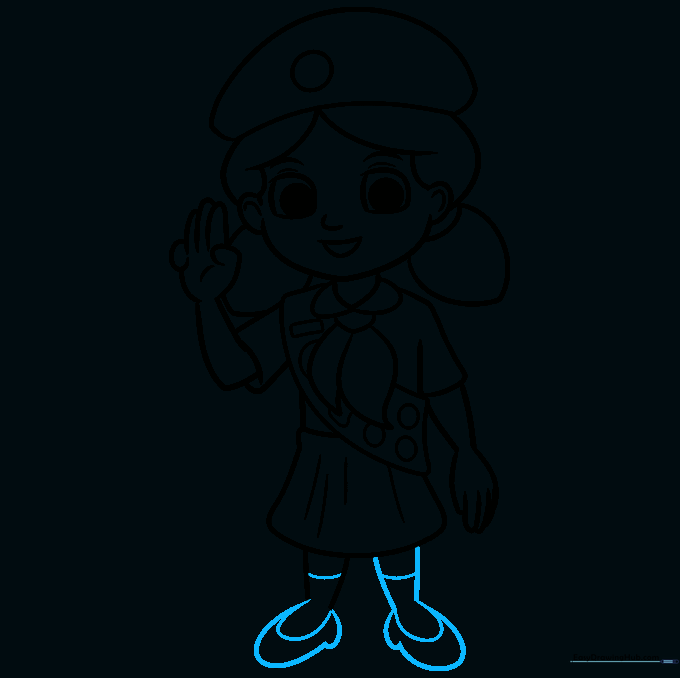
Draw the legs and simple shoes. Add a line across the legs to represent the top of the socks. Tip: Keep the legs parallel to ensure the character looks balanced.
Step 10: Coloring Your Drawing
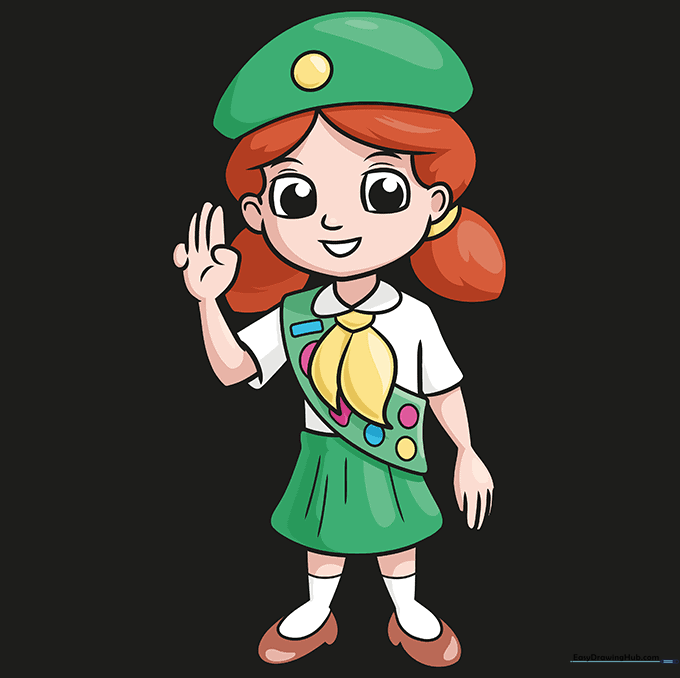
Time to color! Use green for a Junior uniform or brown for a Brownie uniform. Tip: Use a light touch with your colored pencils to blend colors smoothly.
More Tutorials


