How to Draw a Girl in Math Class: Easy Step-by-Step Guide
Bring a classroom scene to life with this fun character drawing! Designed for young artists ages 5 and up, this project requires only a pencil, paper, and an eraser. Follow these steps to practice facial proportions and simple figure drawing while celebrating the joy of learning.
🎯 Final Result

Step-by-Step Instructions
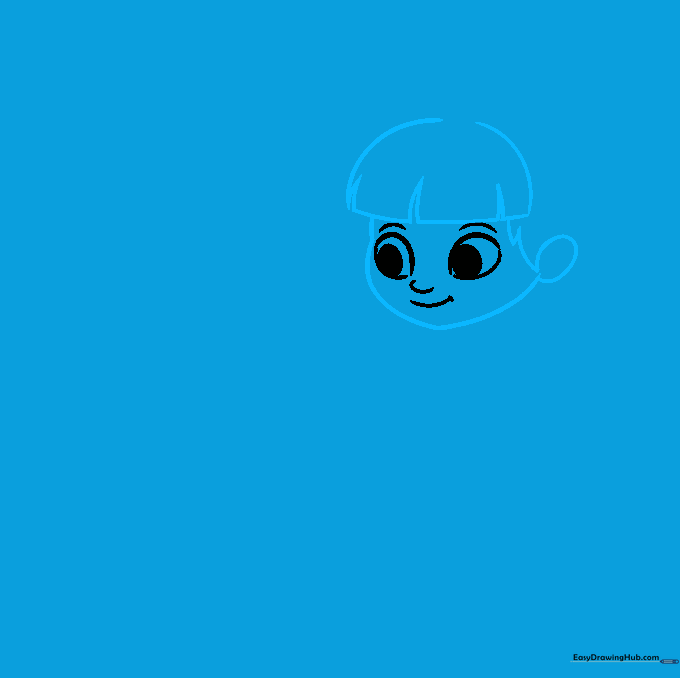
Step 1: Sketching the Facial Features

Draw the eyes, eyebrows, nose, and a cheerful smile using simple curved lines. Teacher's Tip: Keep your pencil pressure light here so you can easily adjust the expression if the eyes look a bit uneven.
Step 2: Framing the Face and Hair
Add the bangs above the eyes and outline the face with a smooth, curved line. Teacher's Tip: Use a 'C' shape for the ear; it acts as a perfect anchor point for where the hair meets the jawline.
Step 3: Styling the Ponytail

Complete the second ear and draw the hair pulled back into a ponytail. Teacher's Tip: Add a few extra curved lines inside the hair shape to give it texture and make it look soft and bouncy.
Step 4: Drawing the Shirt and Shoulders
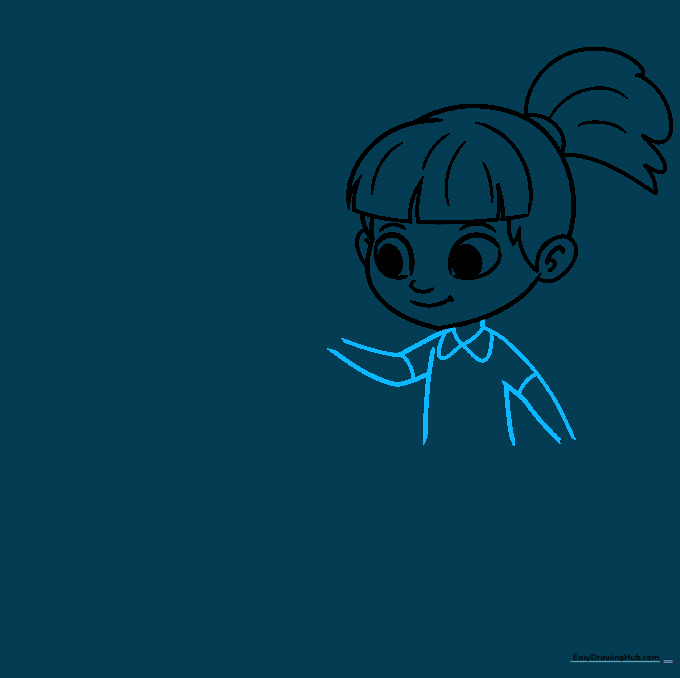
Sketch the neck, shoulders, and arms. Teacher's Tip: Draw a small 'V' at the neck to create a collar—this adds a nice professional touch to her school outfit.
Step 5: Adding the Chalk
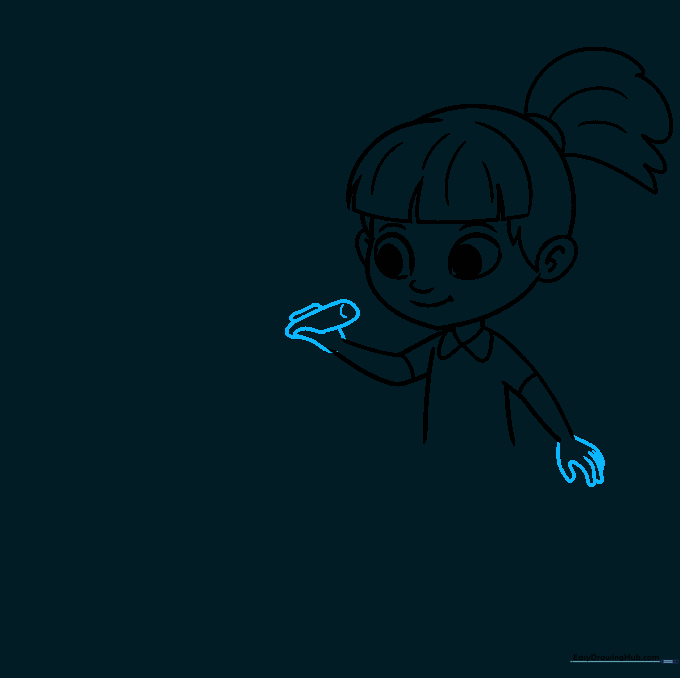
Draw the hands holding a small cylinder. Teacher's Tip: To make the chalk look 3D, add a tiny curved line at the bottom of the cylinder—it makes it look like a real object she's holding!
Step 6: Sketching the Skirt and Legs
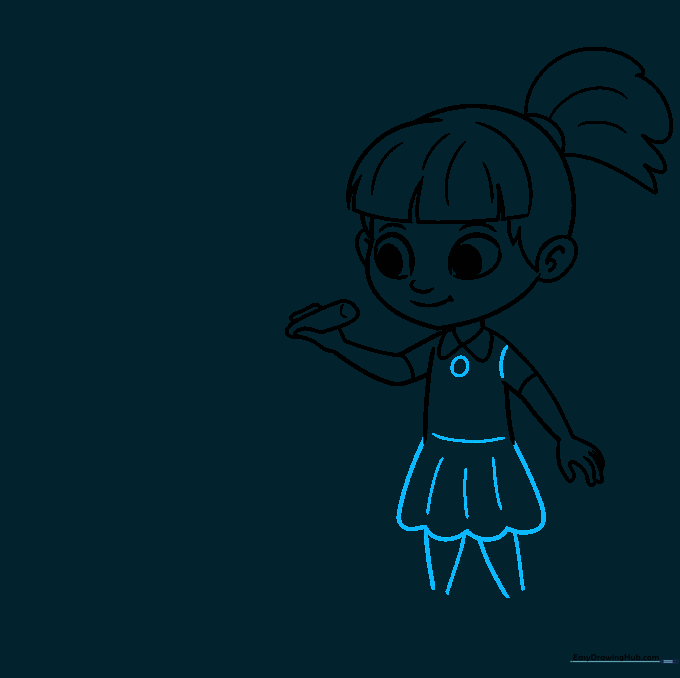
Draw the skirt with a scalloped bottom edge and add the legs extending downward. Teacher's Tip: Keep the legs parallel to each other to help the character look like she is standing firmly.
Step 7: Shoes and Chalkboard Base
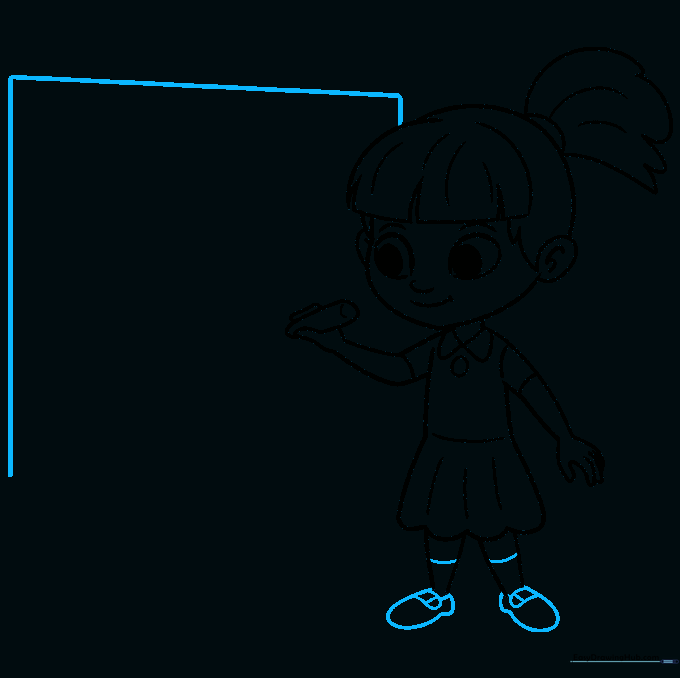
Draw the shoes with buckles and start the rectangular outline of the chalkboard behind her. Teacher's Tip: Use a ruler if you want the chalkboard lines to be perfectly straight, or keep them freehand for a more 'sketchbook' look.
Step 8: Detailing the Chalkboard
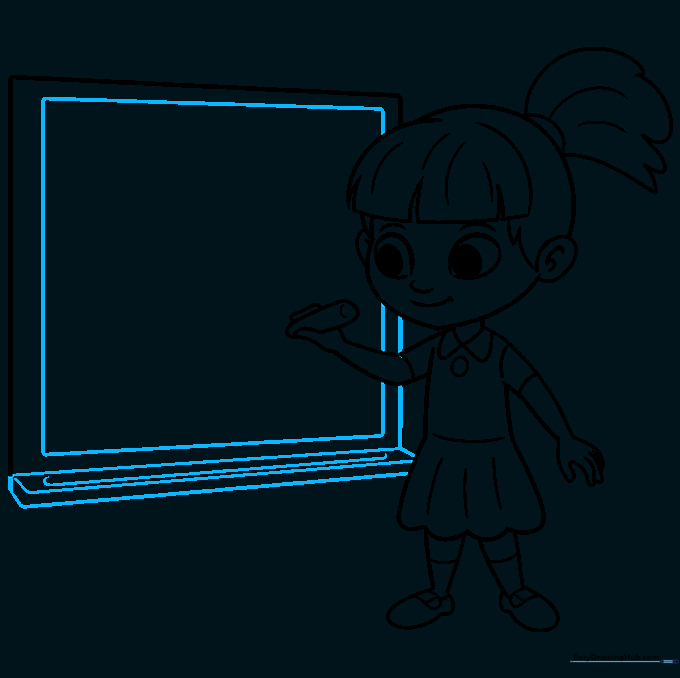
Add a smaller rectangle inside the board and a tray at the bottom. Teacher's Tip: Adding the tray makes the board look grounded and gives the viewer a sense of depth in the classroom setting.
Step 9: Adding Math Problems
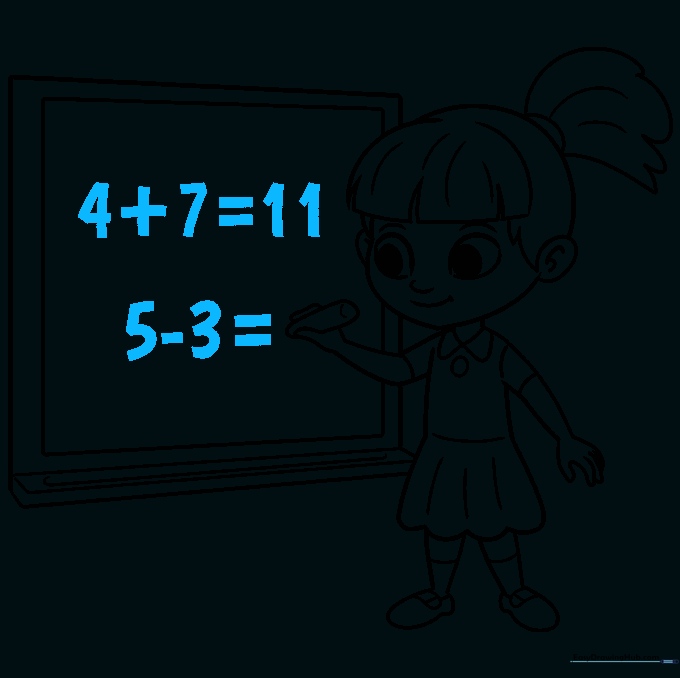
Write some fun math equations on the board! Teacher's Tip: Don't worry about perfect handwriting—the slightly wobbly look of chalk on a board adds character to your drawing.
Step 10: Adding Color
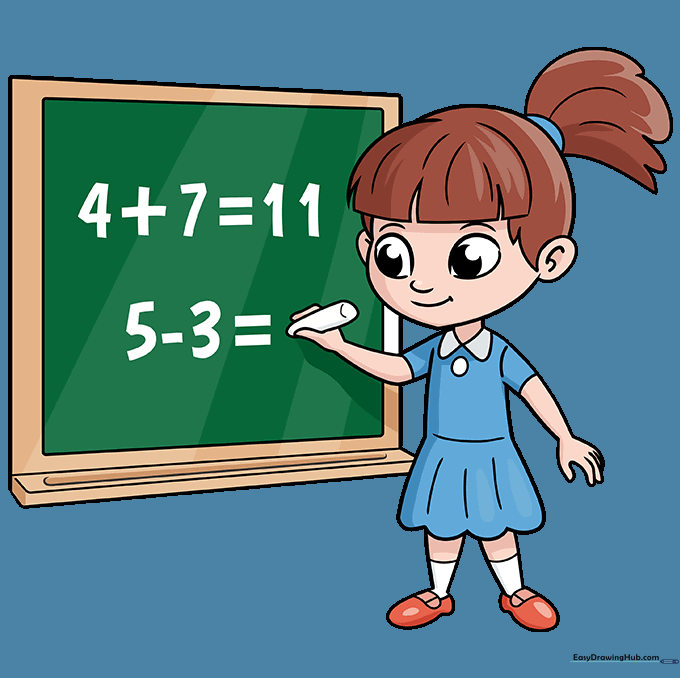
Bring your drawing to life with your favorite colors! Teacher's Tip: Use dark green or black for the chalkboard to make the white 'chalk' marks pop.
More Tutorials


