How to Draw a Gingerbread House: Easy 10-Step Guide
Bring the magic of the holidays to your sketchbook with this fun gingerbread house tutorial. Designed for young artists and beginners, this project uses basic geometric shapes to build a festive masterpiece. Grab your pencils and paper to start creating your own sweet, candy-covered cottage today.
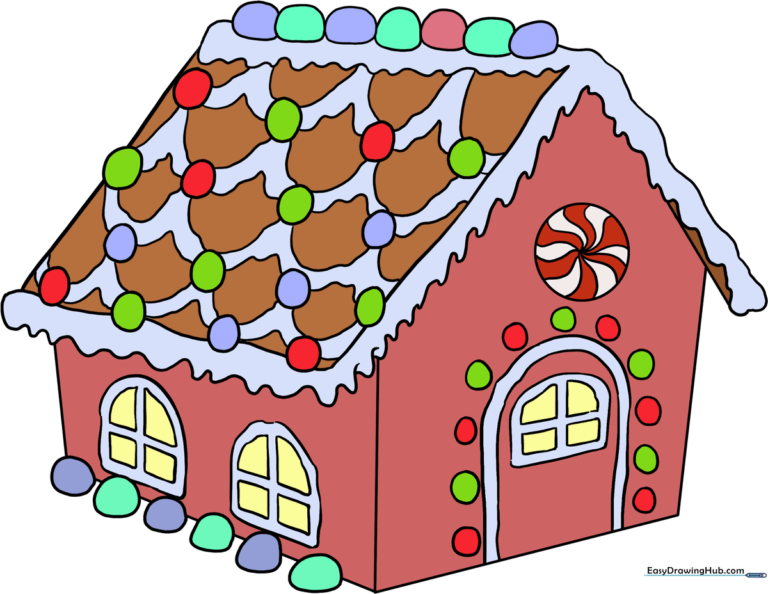
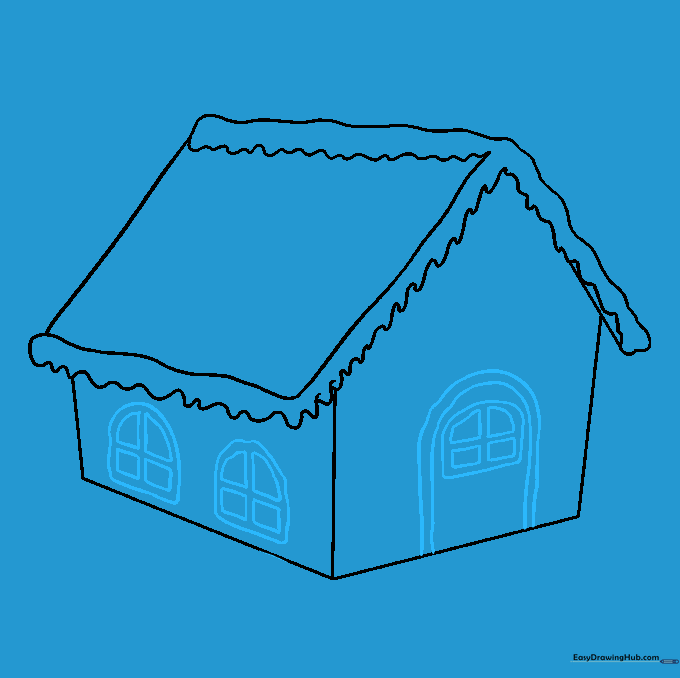
🎯 Final Result
Step-by-Step Instructions
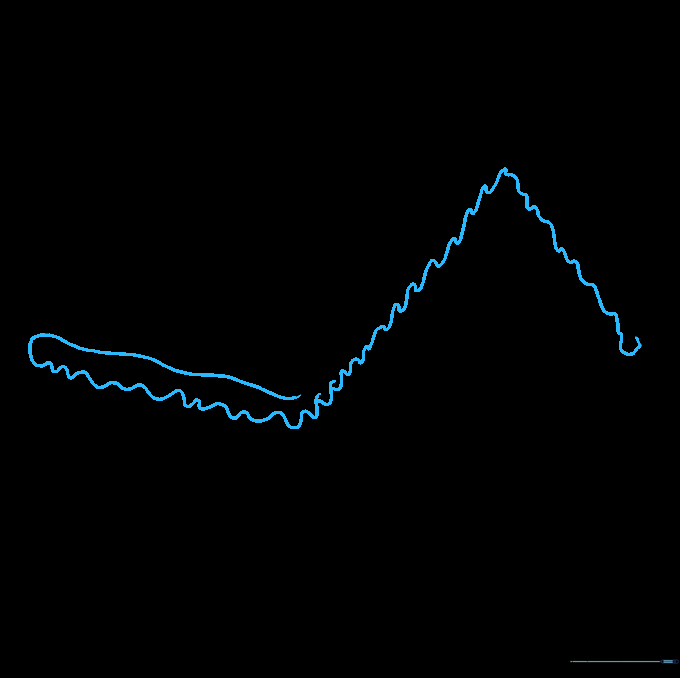
Step 1: Sketching the Roof Peak

Draw two slanted lines that meet at a point to form a triangle, leaving the bottom open. Tip: Make one side slightly longer than the other to give your house a whimsical, hand-baked look. Keep your pencil pressure light so you can easily adjust the shape later.
Step 2: Defining the Roofline

Extend a slightly wavy line from the peak to create the top edge of the roof, then draw a diagonal line downward for the opposite eave. Tip: Think of this as the 'crust' of the gingerbread; a little wobble in your line makes it look more organic and delicious.
Step 3: Adding Icing Details
Connect the eaves with a wavy line to close the roof side, then add a second wavy line along the edges to represent thick, dripping royal icing. Tip: Imagine the icing is heavy and soft—the more 'drips' you add, the more realistic your gingerbread house will look.
Step 4: Layering the Frosting
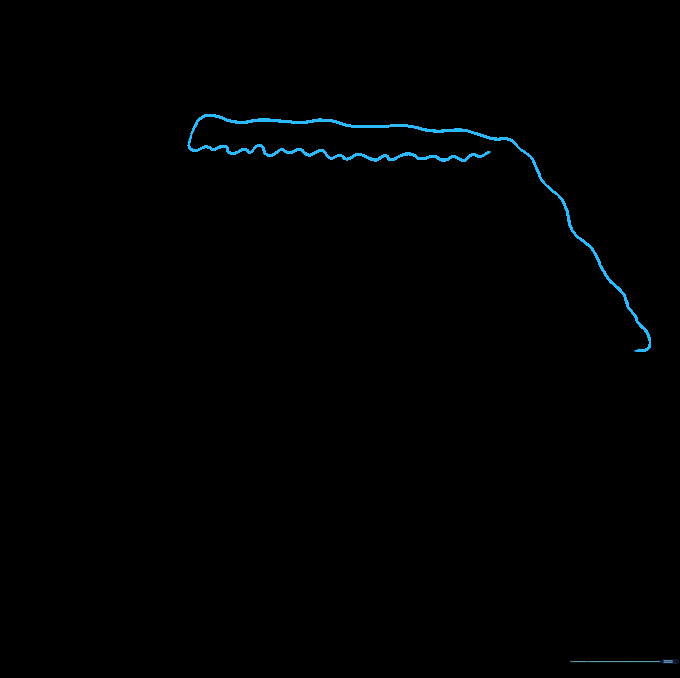
Draw another wavy line just below the roof peak, doubling it back to create a thick layer of adhesive icing. Tip: Use a steady hand here; this layer acts as the 'glue' for your roof, so make it look nice and thick.
Step 5: Cleaning the Roof

Carefully erase any overlapping lines from inside the icing areas. Tip: A clean eraser is your best friend! Removing these internal lines makes your drawing look professional and polished.
Step 6: Constructing the Walls
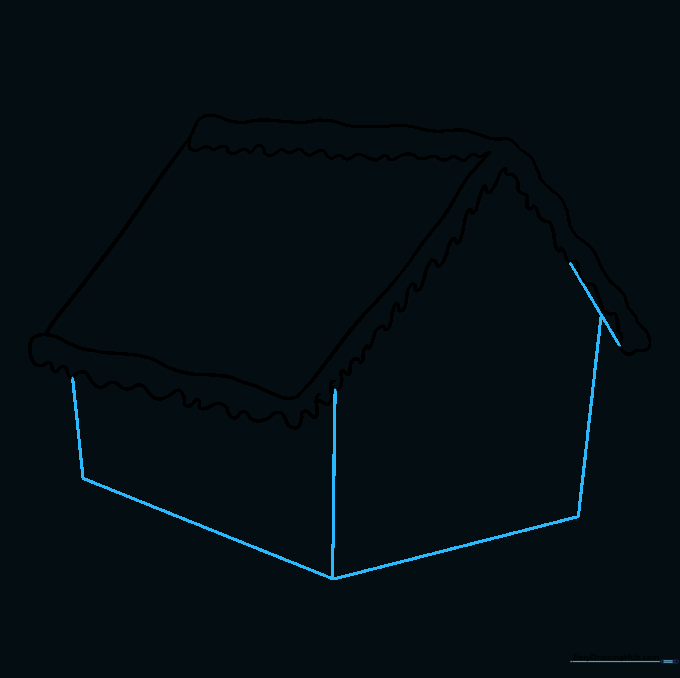
Draw straight vertical lines down from the roof corners and connect them at the bottom to form a sturdy, cube-like house base. Tip: Use a ruler if you want perfectly straight walls, or draw freehand for a charming, rustic gingerbread look.
Step 7: Adding Windows and Doors
Sketch rounded-top shapes for the door and windows. Add a 'T' or cross shape inside each window to create panes. Tip: Vary the sizes of your windows to make the house look more interesting and cozy.
Step 8: Decorating with Candy

Time to decorate! Draw small circles and rounded shapes along the roof and door frame to represent gumdrops. Tip: Don't worry about making them perfect; candy comes in all shapes and sizes, so have fun with the placement.
Step 9: Final Sweet Touches
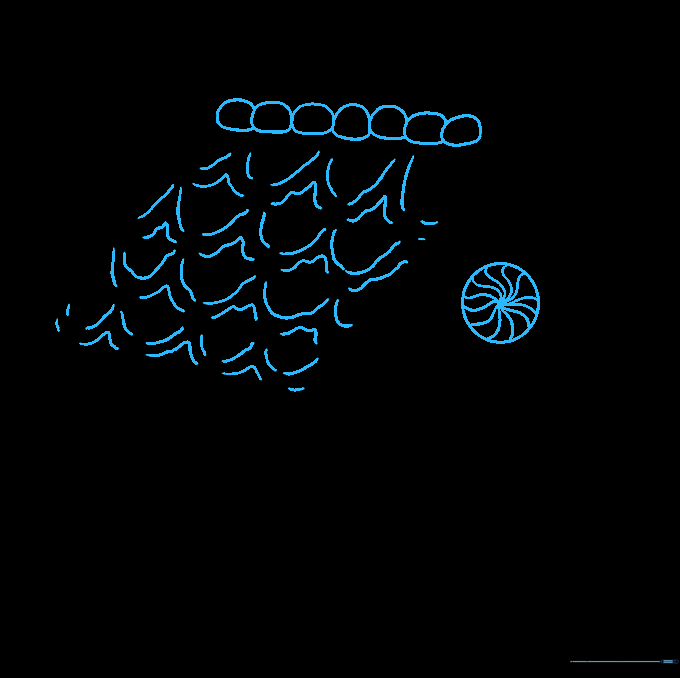
Connect your candies with wavy lines and add a peppermint window above the door. Tip: Use a circular motion to draw the peppermint swirl—it adds a great pop of detail to the front of your house.
Step 10: Bring It to Life with Color
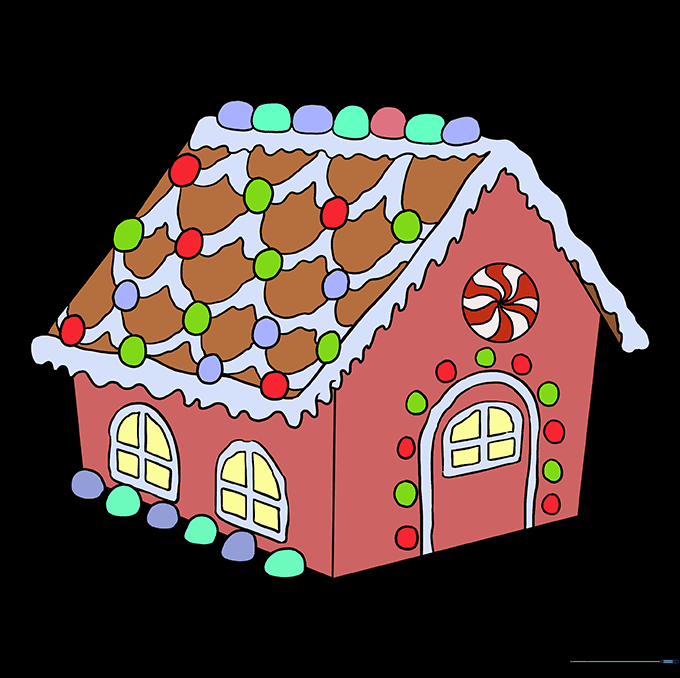
Now for the best part—coloring! Use warm browns for the gingerbread and bright, festive colors for your candy decorations. Tip: Try using markers for bold candy colors and colored pencils for the softer gingerbread texture.
More Tutorials


