How to Draw a Ghost: Easy 10-Step Tutorial for Kids
Ready to create a spooky-cute character? This tutorial is perfect for artists ages 5 and up. All you need is a pencil, an eraser, and a piece of paper to bring your own friendly ghost to life.
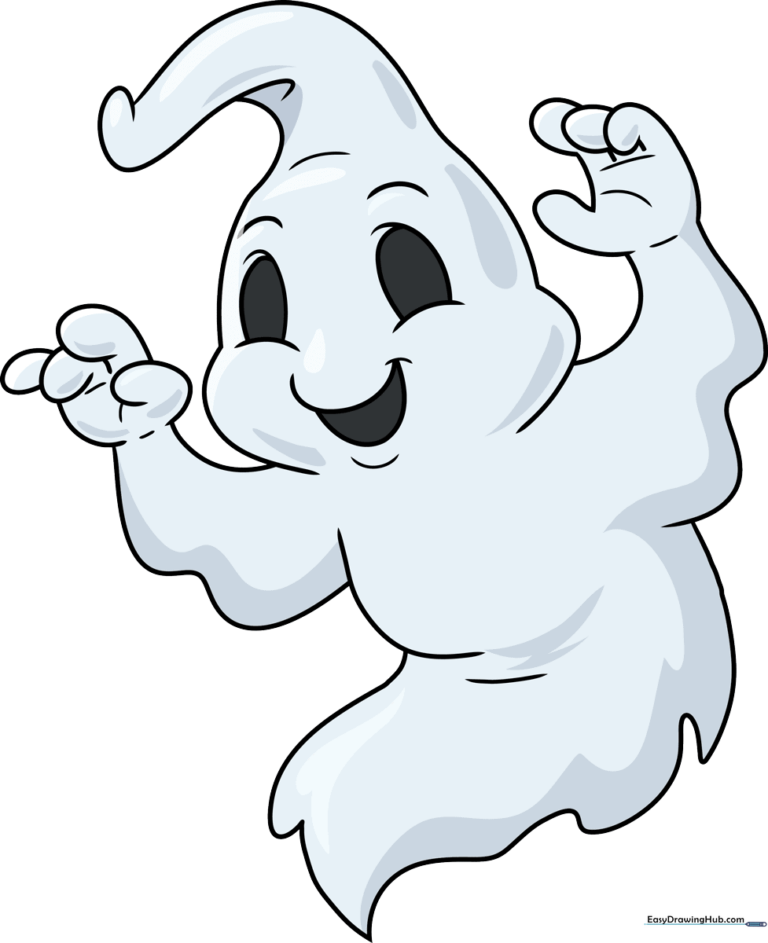
🎯 Final Result
Step-by-Step Instructions
Step 1: Sketching the Eye Sockets
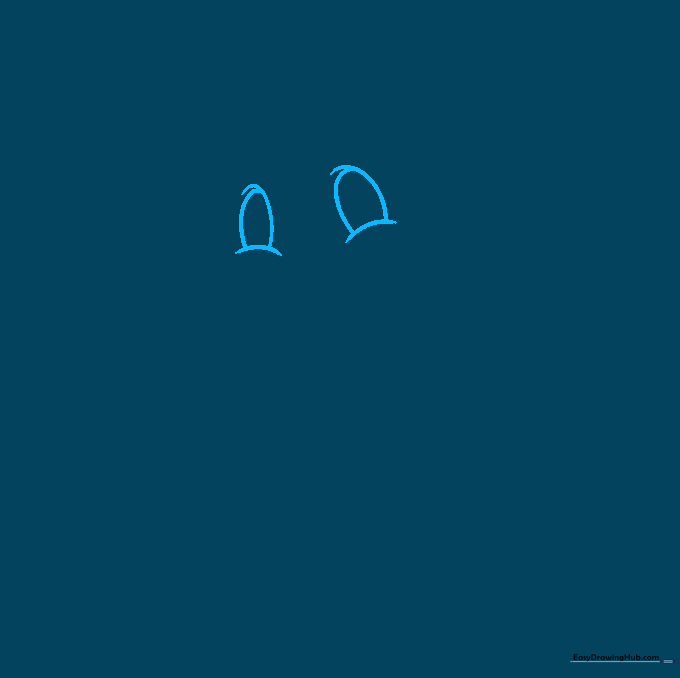
Draw two small, curved hills to start the eyes. Add ovals on top of these curves to give them depth. Teacher's Tip: Keep your pencil pressure light so you can easily adjust the shape if the eyes look uneven.
Step 2: Defining the Face
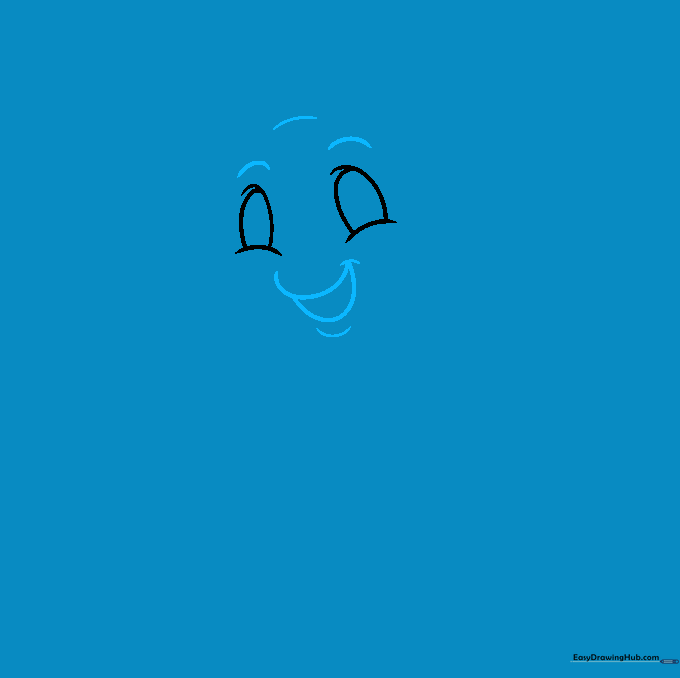
Add a half-circle under the eyes and a small curve for the mouth. Use tiny curved lines around the face to suggest a soft, ghostly expression. Tip: A smaller mouth often makes the ghost look more surprised and friendly!
Step 3: Shaping the Head
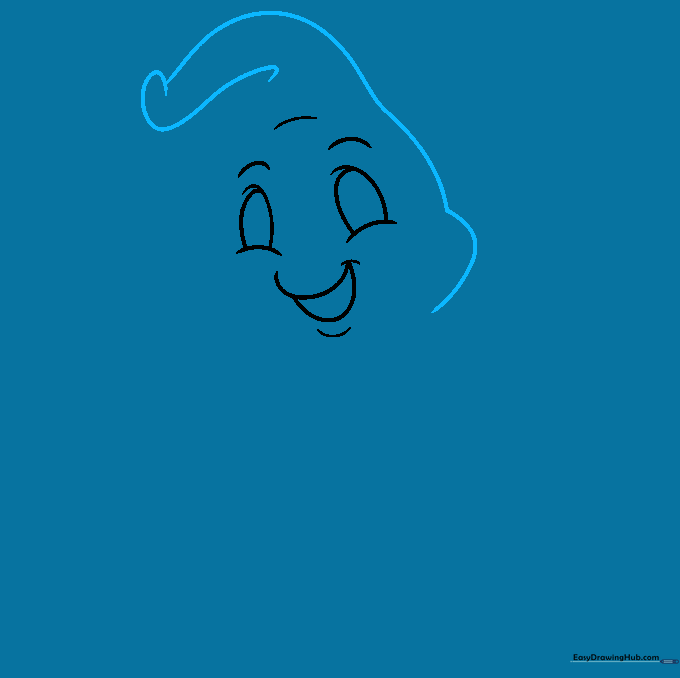
Draw a curved line from the right side up to the top of the head, creating a dome shape. Add a hook-like line to start the flowing 'ice cream swirl' effect. Tip: Don't worry about perfect symmetry; ghosts are fluid, floaty creatures!
Step 4: Balancing the Silhouette
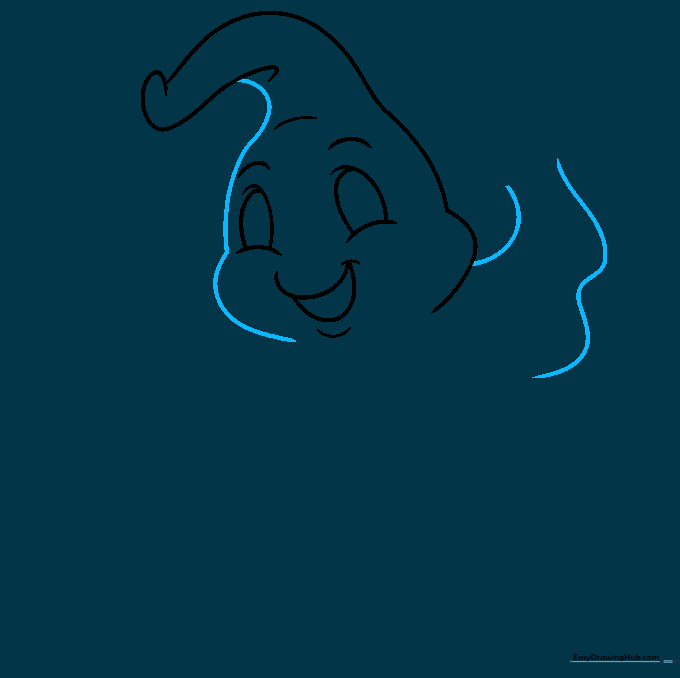
Repeat the curve on the left side to match the right. Add a squiggly line to create the bottom edge of the head. Tip: Use loose, wavy motions with your wrist to make the ghost look like it's moving through the air.
Step 5: Drawing the Hand
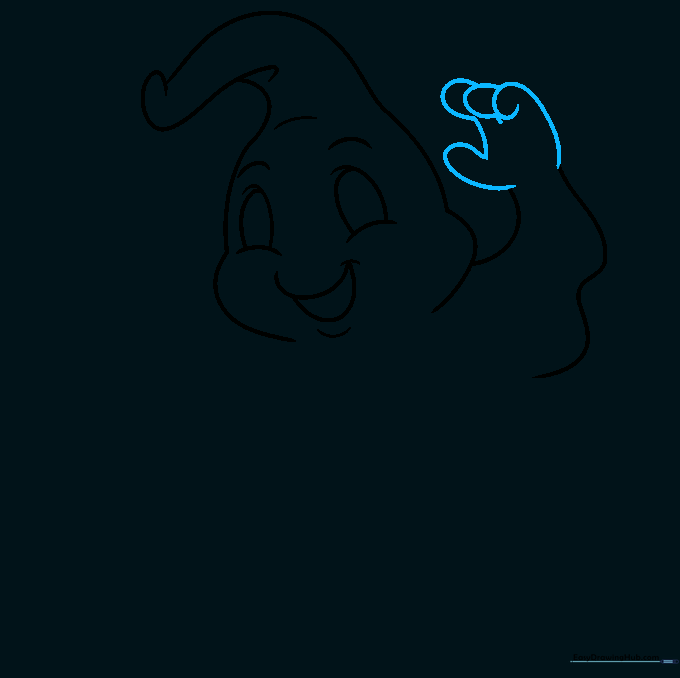
Draw a 'hot dog' shape for the thumb and three overlapping ovals for the fingers. Connect them with smooth lines. Tip: Overlapping shapes is a great way to show depth in your drawings!
Step 6: Adding Hand Details
Add small lines inside the hand for palm creases. On the right side, draw another loose oval and connect it to the head. Tip: Keep your lines soft to maintain the 'ghostly' feel.
Step 7: Refining the Second Hand
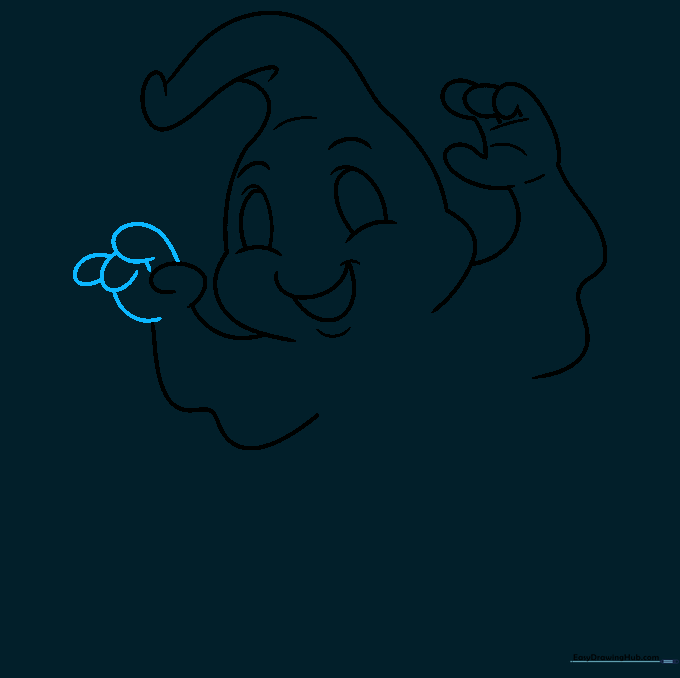
Draw more overlapping ovals for the second hand. Use a curved line to define the palm. Tip: Ensure the hand looks relaxed, not stiff, to match the friendly character design.
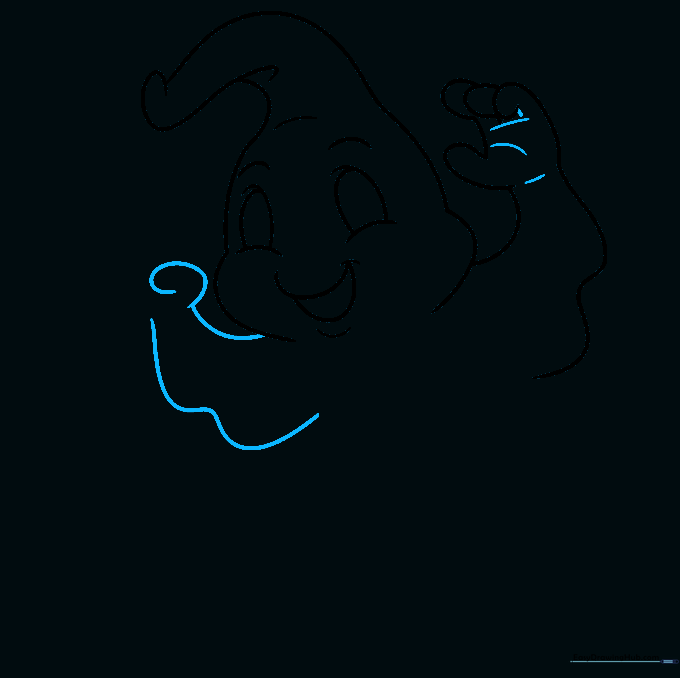
Step 8: Shaping the Torso
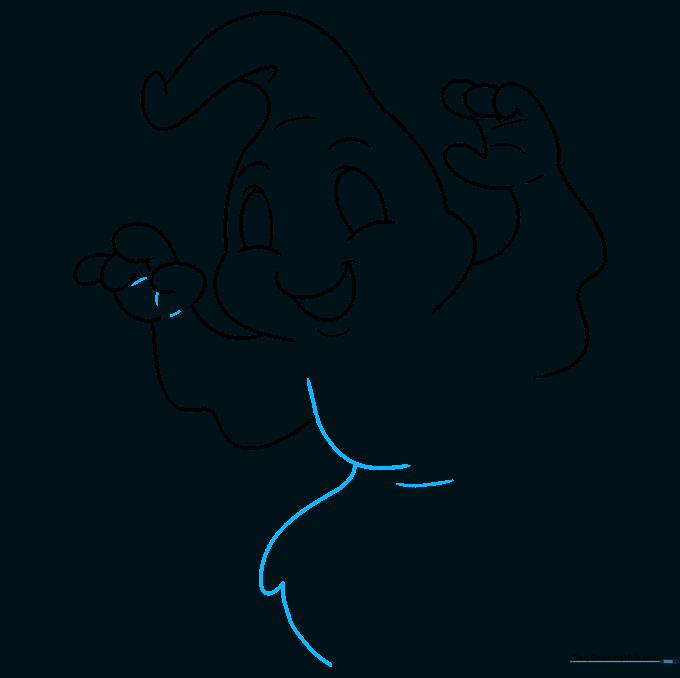
Sketch a sweeping curve for the chest, then another that swoops outward and points downward. Add a small line in the middle of the body. Tip: This 'swoop' creates the illusion of a flowing sheet.
Step 9: Finalizing the Body
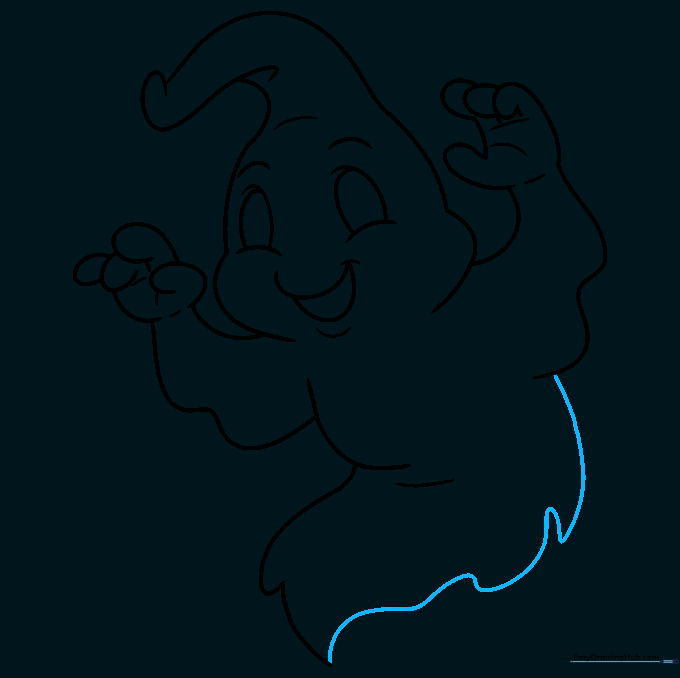
Complete the body with a single, continuous line that swirls into a point at the bottom. Tip: Use a jagged, uneven line at the base to make the ghost look like it's made of tattered fabric.
Step 10: Inking and Shading
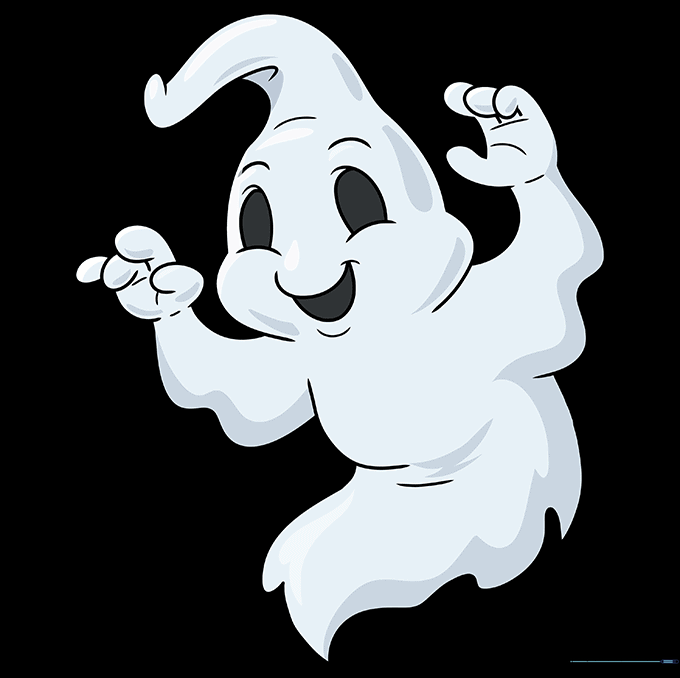
Outline your drawing with a dark marker and erase your pencil lines. Since ghosts are white, use light grey for shading and darker grey to add depth to the folds. Tip: Shadows are key to making your ghost look 3D!
More Tutorials


