How to Draw a Get Well Soon Card: Easy Step-by-Step Guide
Brighten someone's day with a handmade card! This tutorial is perfect for children ages 5 and up, requiring only a pencil, paper, and your favorite markers. Follow these simple steps to create a charming teddy bear card that builds confidence and artistic expression.
🎯 Final Result

Step-by-Step Instructions
Step 1: Sketching the Bear's Face
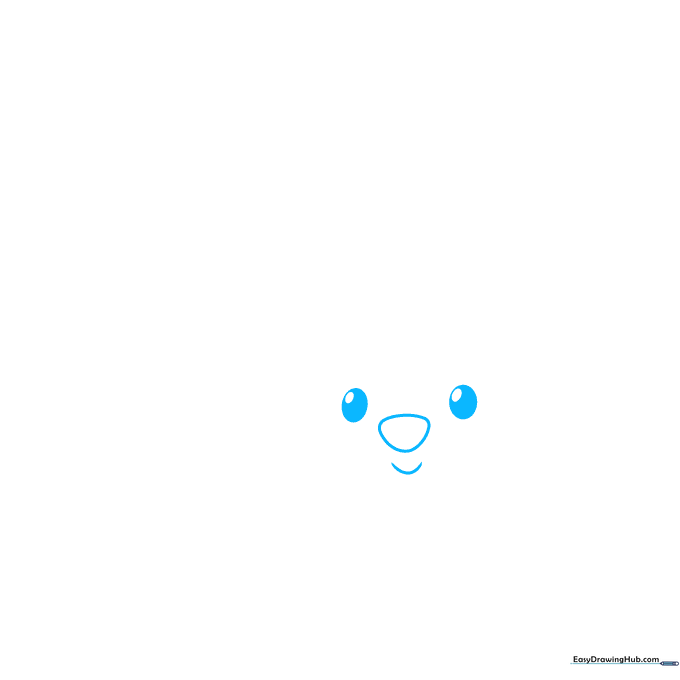
Start by drawing a rounded triangle for the nose and a 'U' shape for the smile. Add two ovals for the eyes with smaller circles inside. Teacher's Tip: Keep your pencil lines light so you can easily erase and adjust if the eyes aren't perfectly symmetrical.
Step 2: Defining the Head and Ears
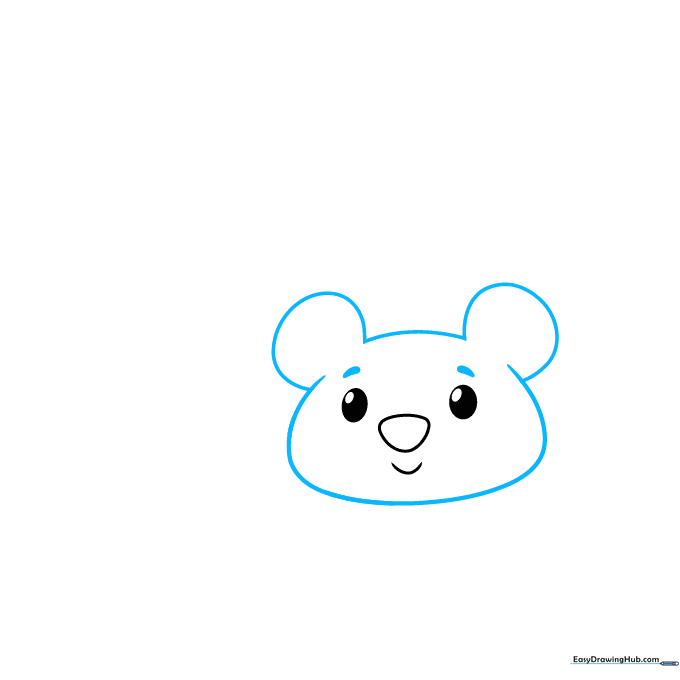
Add thick, expressive eyebrows above the eyes, then use soft, overlapping curved lines to outline the bear's head and rounded ears. Teacher's Tip: Use short, quick strokes to make the ears look soft and fuzzy.
Step 3: Adding the Thermometer
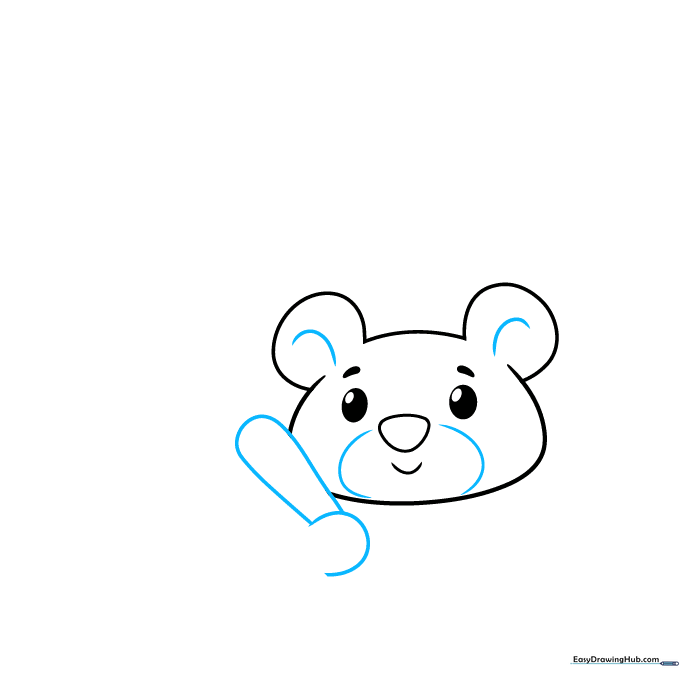
Add detail to the ears and muzzle with curved lines. Draw a 'U' shape for the paw, then extend a long, thin rectangle for the thermometer. Teacher's Tip: Make sure the thermometer is held at an angle so it looks like the bear is resting.
Step 4: Sketching the Body
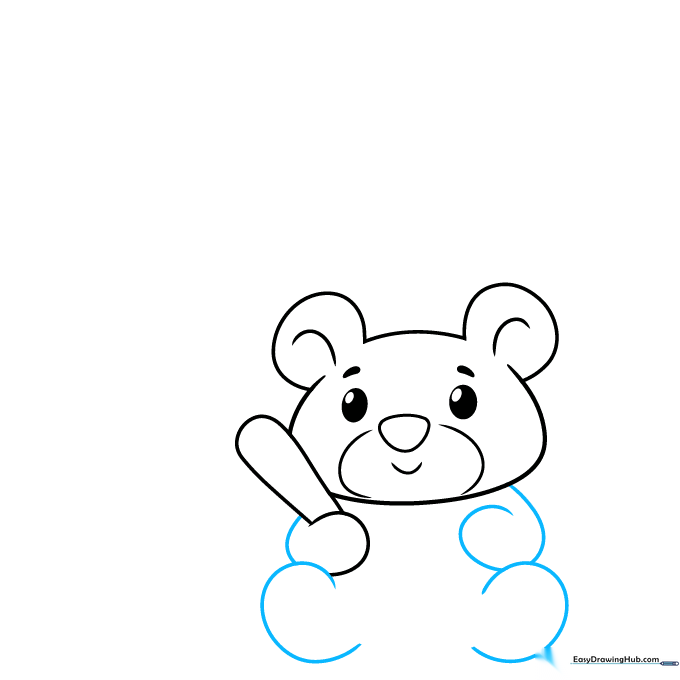
Use smooth, overlapping curved lines to sketch the bear's arms and legs. Teacher's Tip: Think of these as soft, rounded shapes—don't worry about perfect anatomy, keep it cute and cartoonish!
Step 5: Finishing the Bear's Details
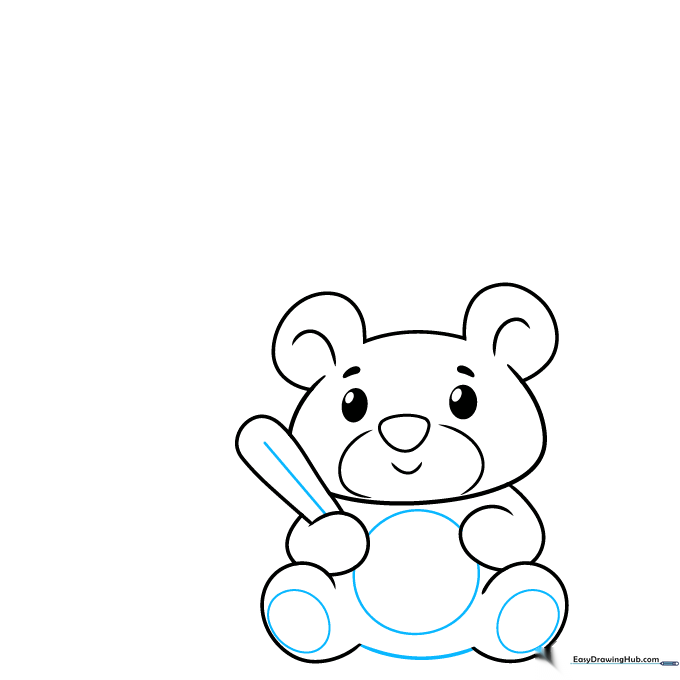
Connect the legs with a curved line and add circles for the belly and foot pads. Add a straight line down the center of the thermometer. Teacher's Tip: Use a ruler if you want the thermometer line to be perfectly straight, or freehand it for a more whimsical look.
Step 6: Adding the Balloon
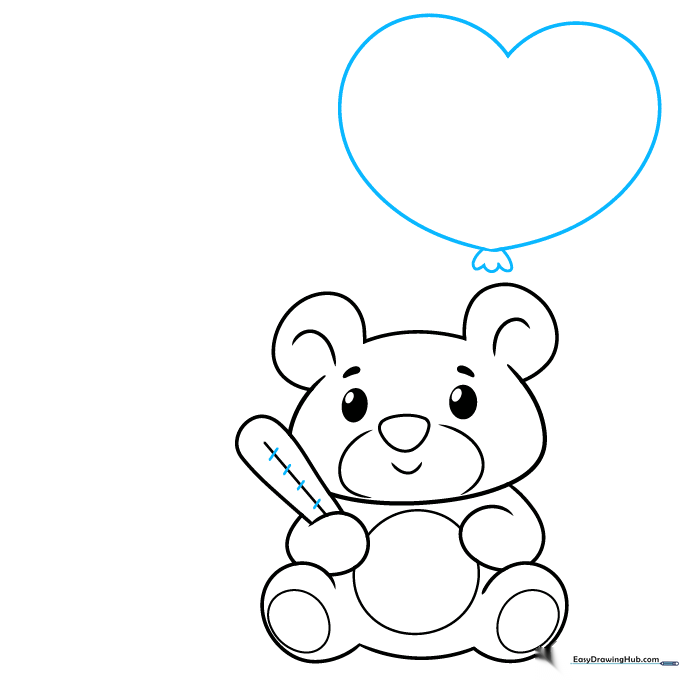
Add small horizontal lines to the thermometer. Draw a heart above the bear and an irregular oval shape below it to create a balloon. Teacher's Tip: Balloons are great for practicing smooth, continuous curves.
Step 7: Connecting the Balloon and Bandages
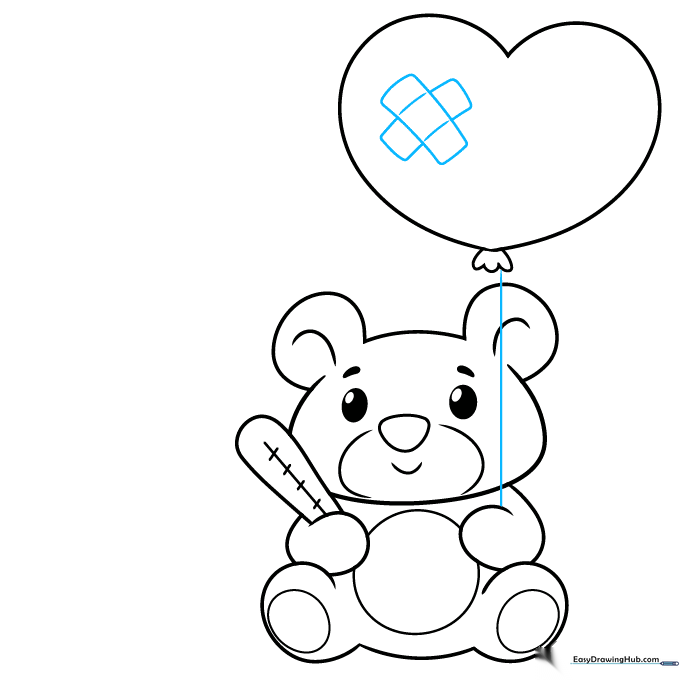
Draw a string from the balloon to the bear's hand. Add two crossing rectangles on the balloon to look like bandages. Teacher's Tip: The bandages add a fun, silly detail that makes the card feel more personal.
Step 8: Adding the 'GET WELL' Message

Write 'GET WELL' in bold, block letters above the bear. Teacher's Tip: Practice writing your letters on a separate piece of paper first to make sure they fit nicely in the space.
Step 9: Final Touches

Complete your message by writing 'SOON' in bold letters and adding three small hearts at the bottom. Teacher's Tip: Use different colors for the hearts to make the card pop!
Step 10: Coloring Your Creation

Your outline is complete! Now, bring it to life with bright markers or colored pencils. Teacher's Tip: A handmade card is a wonderful gift—deliver it in person to someone who needs a smile today.
More Tutorials


