How to Draw a Geranium: Easy 10-Step Flower Guide
Bring the beauty of spring indoors with this simple geranium drawing guide, perfect for artists ages 5 and up. All you need is a pencil, an eraser, and your favorite coloring supplies to get started. Follow these steps to master the art of drawing clustered petals and serrated leaves.
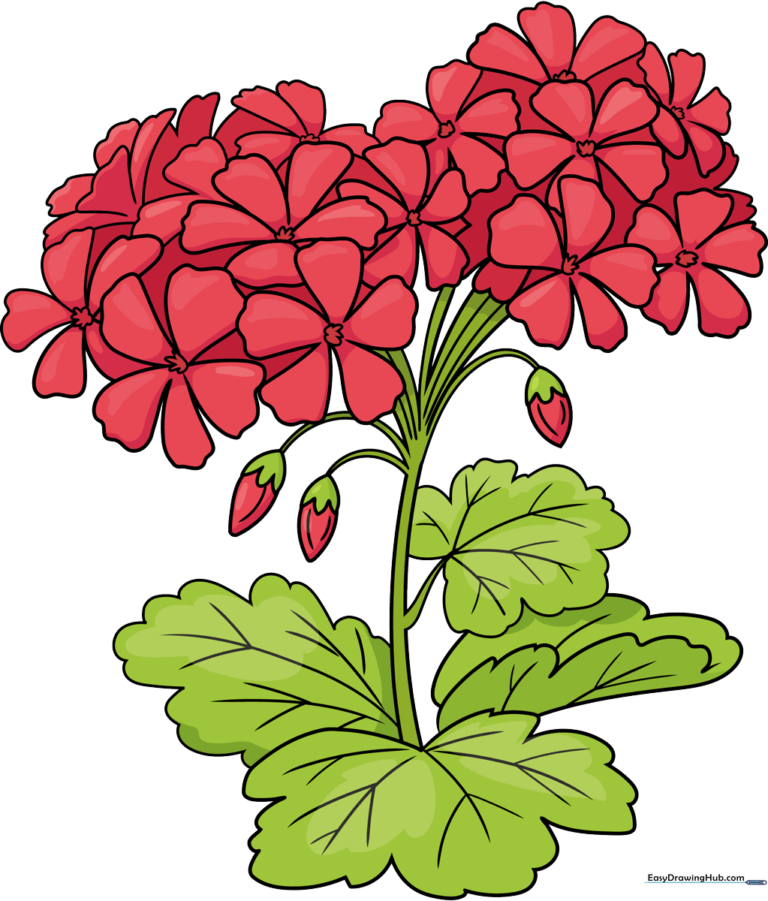
🎯 Final Result
Step-by-Step Instructions
Step 1: Sketching the First Blossom
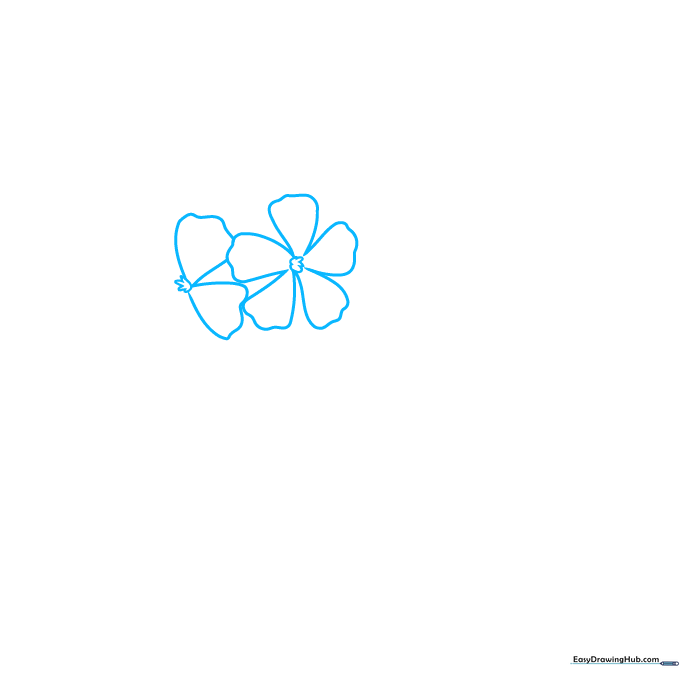
Start by drawing the center of your first flower using short, jagged lines that meet at points. Tip: Keep your pencil pressure light here so you can easily adjust the shape of the petals later.
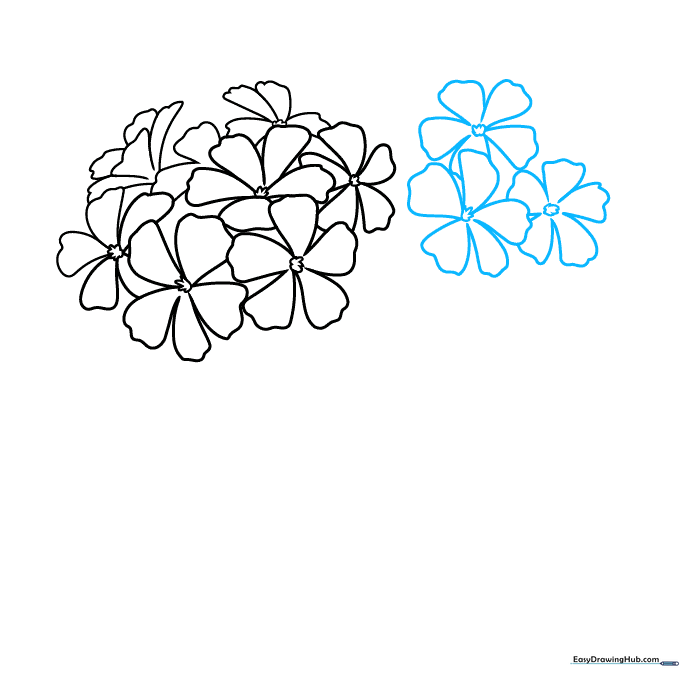
Step 2: Building the Flower Cluster
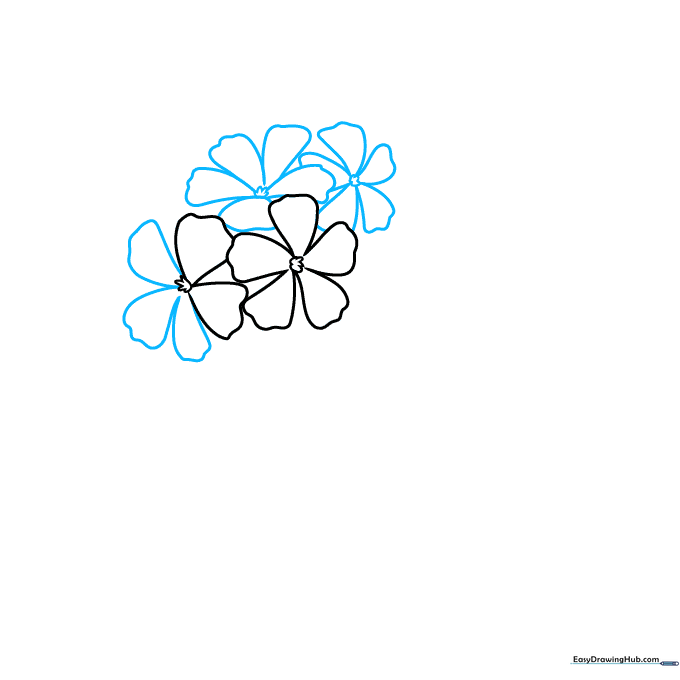
Add two more flowers to your cluster using the same starburst center technique. Tip: Vary the size of the petals slightly to make the bunch look more natural and organic.
Step 3: Adding Depth to the Blooms
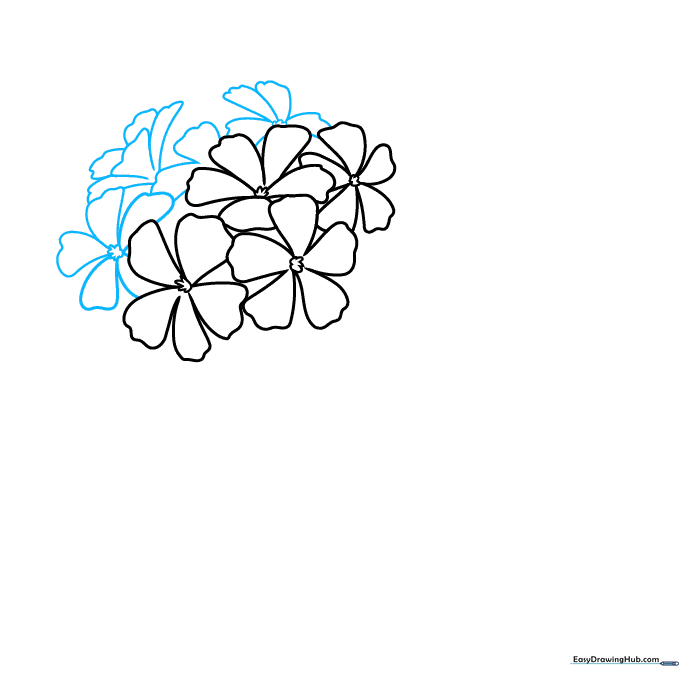
Continue adding flowers to fill out the bunch. Tip: Draw some petals at an angle to create the illusion that the flowers are facing different directions.
Step 4: Expanding the Flower Bunch
Keep adding more flowers until your cluster looks full and rounded. Tip: Don't worry about making every flower perfect; nature is full of little imperfections!
Step 5: Finishing the Flower Head
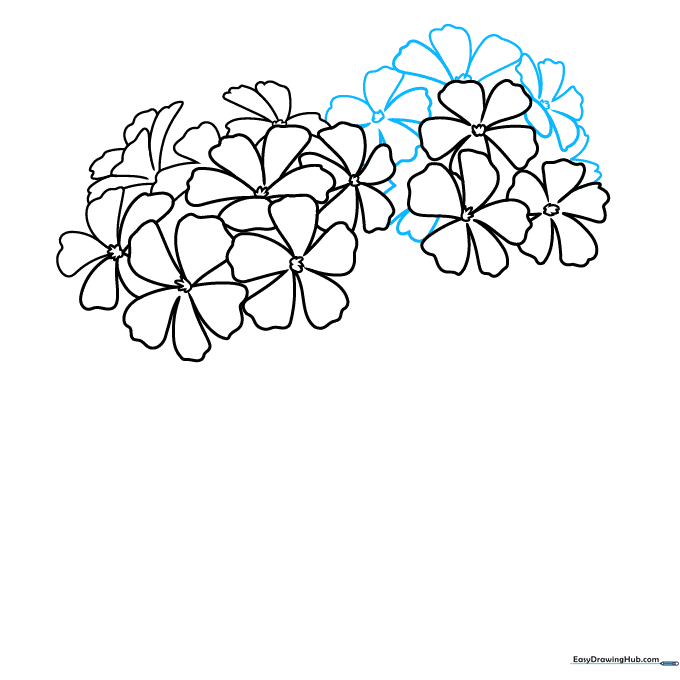
Add the final few blossoms to complete the second bunch. Tip: Use your eraser to clean up any overlapping lines that shouldn't be visible.
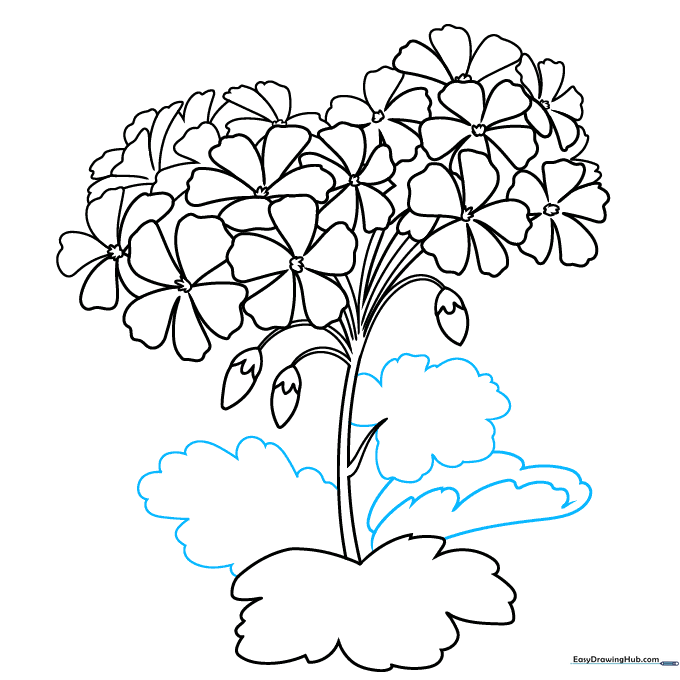
Step 6: Drawing Stems and Buds
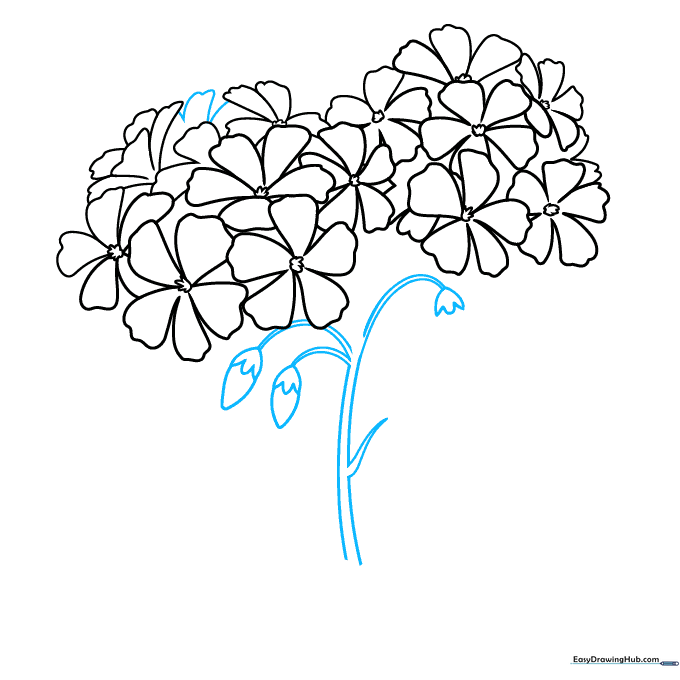
Draw the main stem using two parallel curved lines, and add small, pointed shapes for the unopened flower buds. Tip: Keep the stem lines smooth to contrast with the jagged edges of the petals.
Step 7: Adding the First Leaf
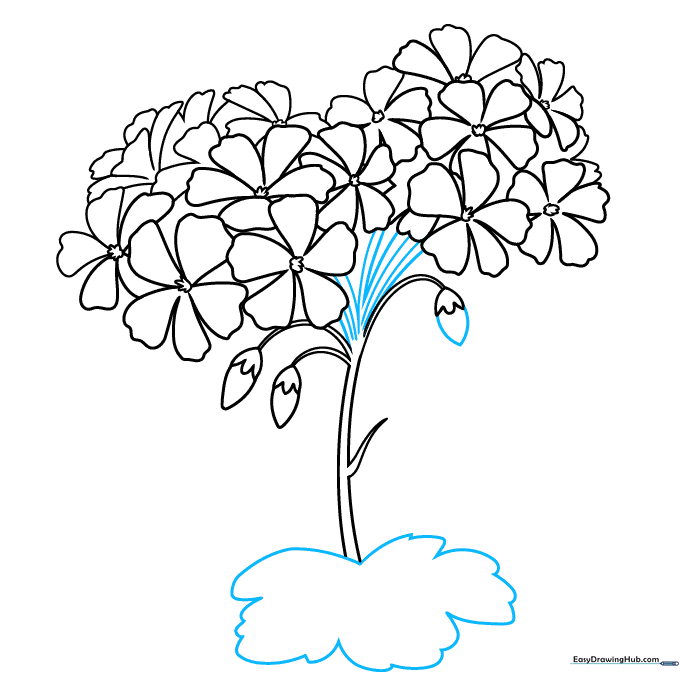
Connect the stems to the flowers and sketch a large, serrated leaf at the base. Tip: Use a 'zigzag' motion with your pencil to create the characteristic jagged edge of a geranium leaf.
Step 8: Layering More Leaves
Add a few more leaves behind the first one to create depth. Tip: Let the leaves overlap slightly to make your drawing look more three-dimensional.
Step 9: Adding Vein Details
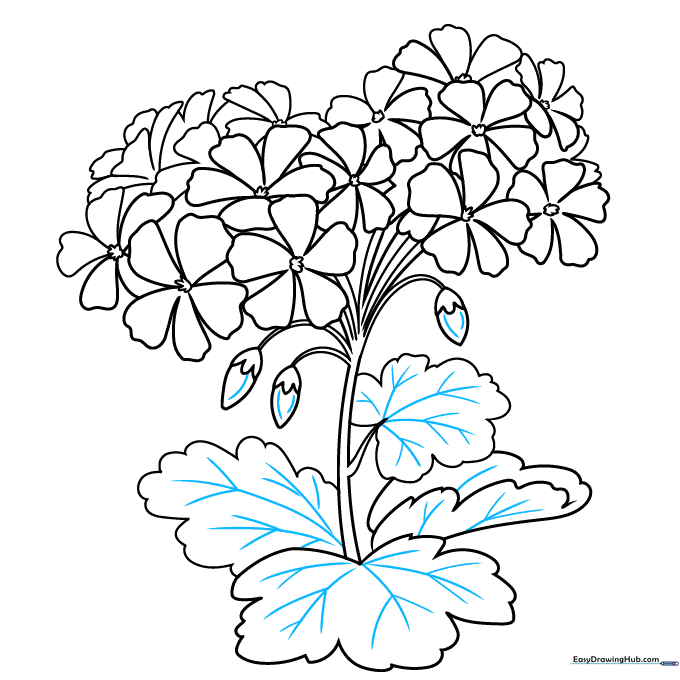
Draw fine lines within the leaves to represent veins. Tip: Start from the center of the leaf and branch outward for a realistic look.
Step 10: Bringing It to Life with Color
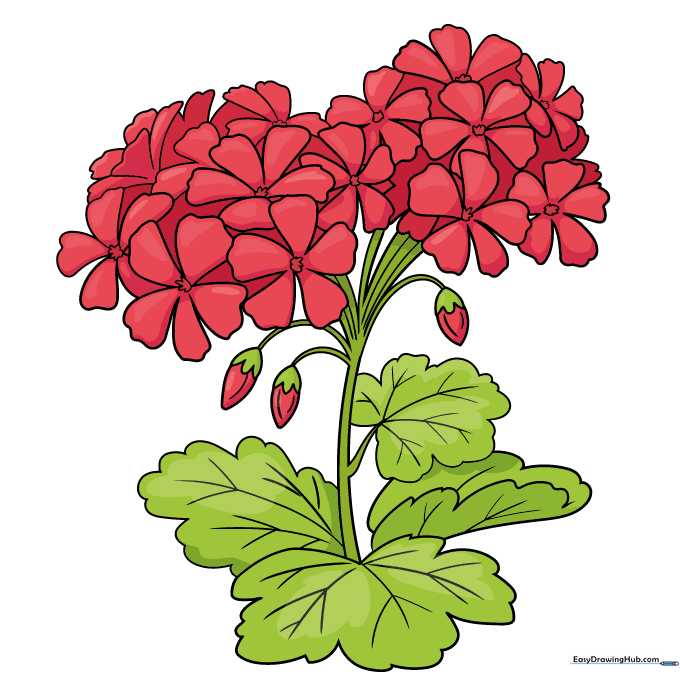
Your outline is complete! Now, add color. We chose a classic vibrant red, but feel free to experiment with pink, white, or coral. Tip: Use a darker shade of your chosen color near the center of the petals to add shadow and depth.
More Tutorials


