How to Draw a Gecko: Easy 10-Step Guide for Kids
Ready to bring a friendly reptile to life? This tutorial is perfect for young artists ages 5 and up. Grab a pencil, an eraser, and some paper to practice your line control and shape-building skills while creating your very own colorful gecko character.
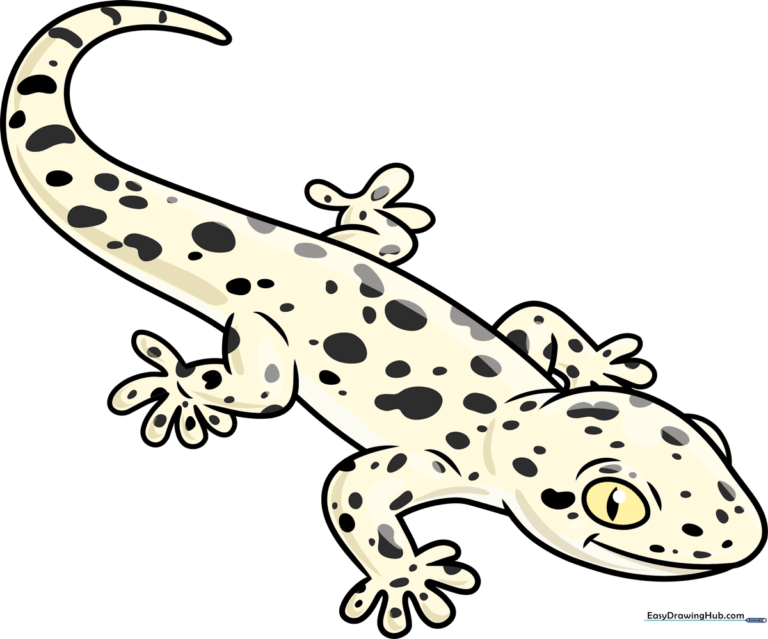
🎯 Final Result
Step-by-Step Instructions
Step 1: Sketching the Head

Start by sketching an incomplete egg shape for the head. Add a curved line for a friendly smile. Teacher's Tip: Keep your pencil pressure light here so you can easily refine the shape later.
Step 2: Adding Facial Features

Draw two oval eyes and shade in the pupils. Add a small circle for the nostril. Teacher's Tip: Placing the eyes slightly apart gives your gecko a curious, friendly expression.
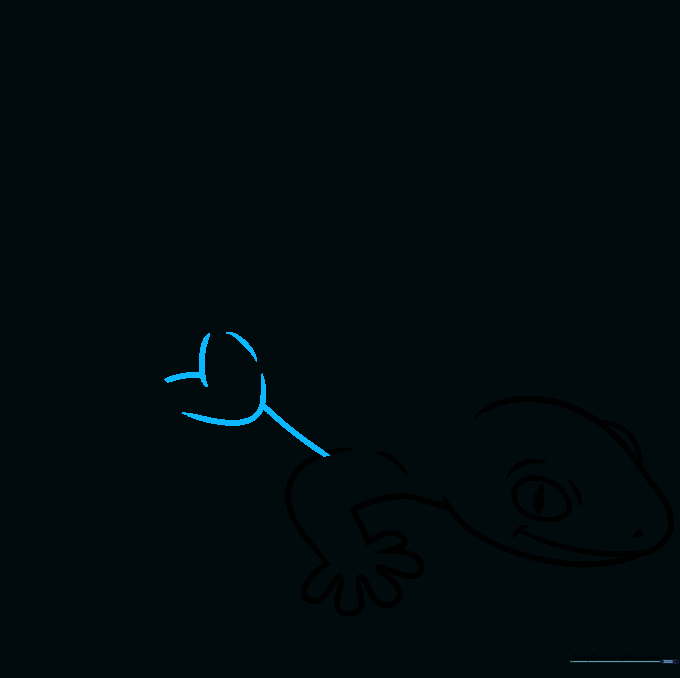
Step 3: Starting the Front Leg

Use curved lines to outline the first front leg, bent at the knee. Teacher's Tip: Think of the leg as a soft 'L' shape to help keep the proportions natural.
Step 4: Drawing the Toes

Use a series of connected 'U' shaped lines to create the toes. Teacher's Tip: Geckos have wide, sticky toes, so don't be afraid to make them look a bit rounded and chunky!
Step 5: Sketching the Body and Rear Leg
Extend a curved line for the belly and sketch the rear leg. Teacher's Tip: Keep the belly line slightly rounded to give your gecko a healthy, plump look.
Step 6: Adding Rear Toes

Repeat the 'U' shape technique for the back toes. Teacher's Tip: Ensure the back toes are slightly smaller than the front ones to create a sense of perspective.
Step 7: Drawing the Back and Tail
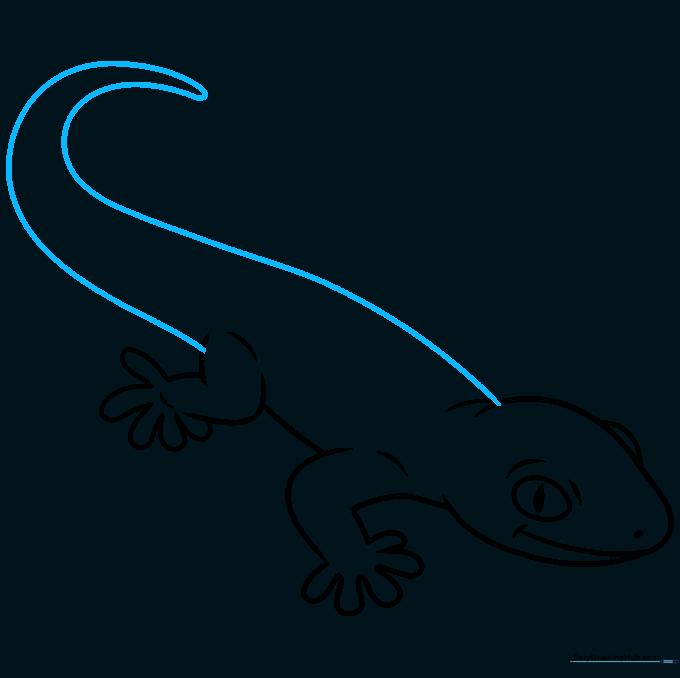
Draw a long, sweeping curved line for the back that tapers into a point for the tail. Teacher's Tip: A smooth, continuous motion helps make the tail look natural and flexible.
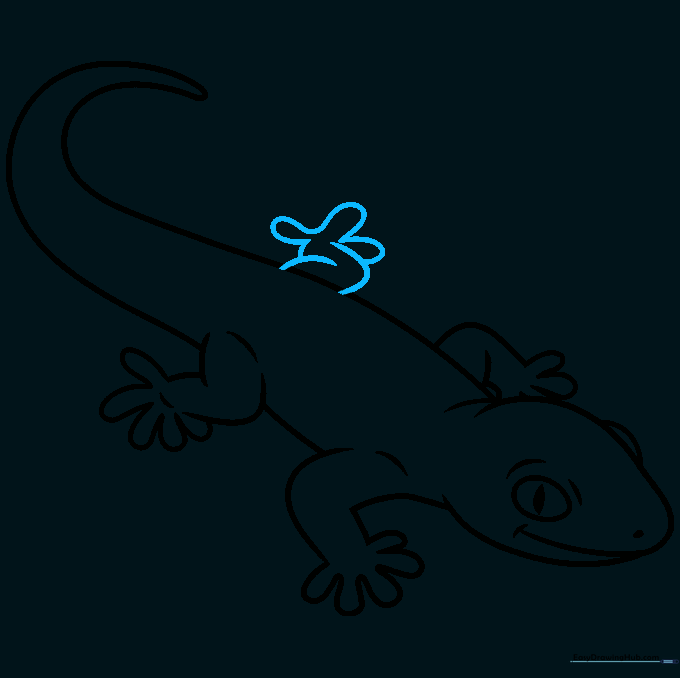
Step 8: Adding the Second Front Leg
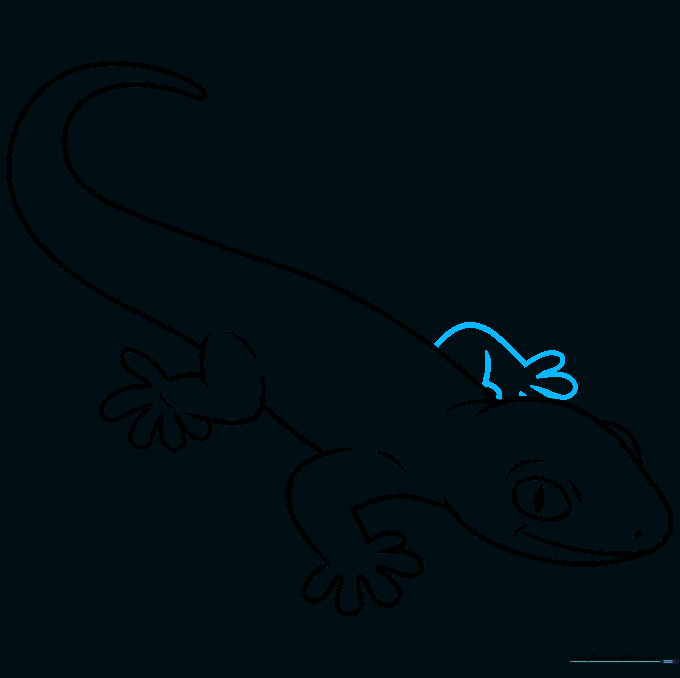
Draw the remaining front leg using the same curved lines and 'U' shaped toes. Teacher's Tip: Position this leg slightly behind the first to show depth.
Step 9: Finalizing the Outline
Draw the final rear leg to complete the body. Teacher's Tip: Check your drawing against the reference to ensure all four legs are visible and balanced.
Step 10: Bringing Your Gecko to Life with Color
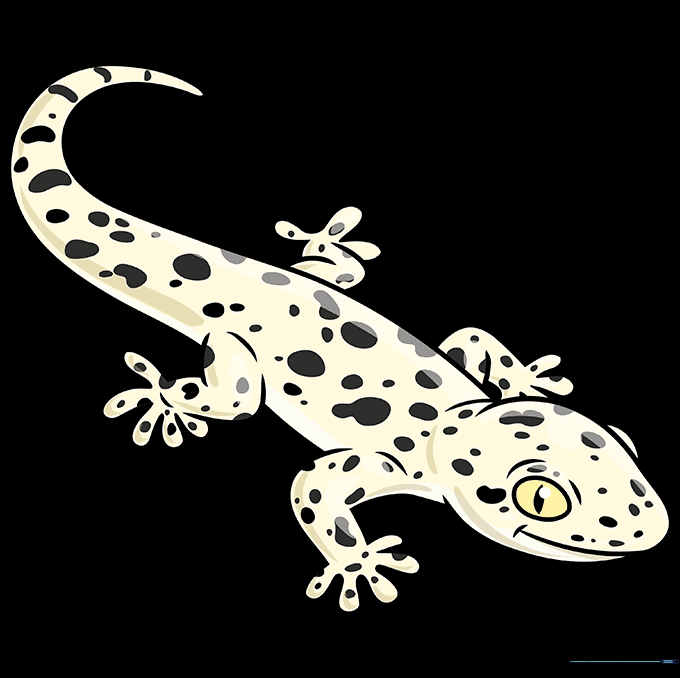
Add your favorite colors! Use spots or stripes to give your gecko personality. Teacher's Tip: Try using bright green for the body and orange for the toes to make it look like a real tropical gecko.
More Tutorials


