How to Draw a Garbage Truck: Easy 9-Step Guide for Kids
This step-by-step tutorial is perfect for young artists ages 5 and up who love big vehicles. All you need is a pencil, an eraser, and some paper to bring this city helper to life. Follow along to build confidence in your drawing skills while creating a fun, detailed truck.
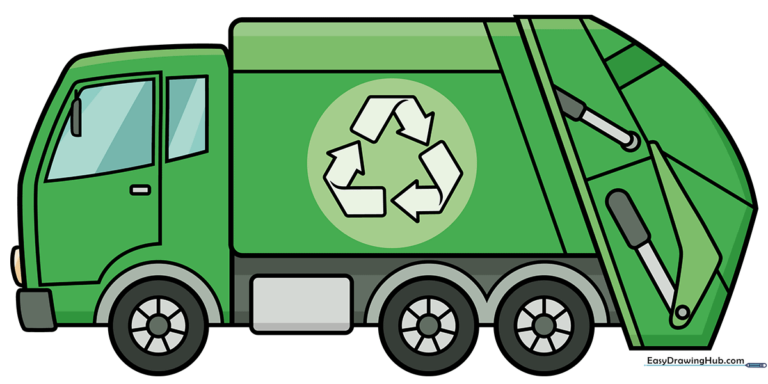
🎯 Final Result
Step-by-Step Instructions
Step 1: Sketching the Wheel and Bumper
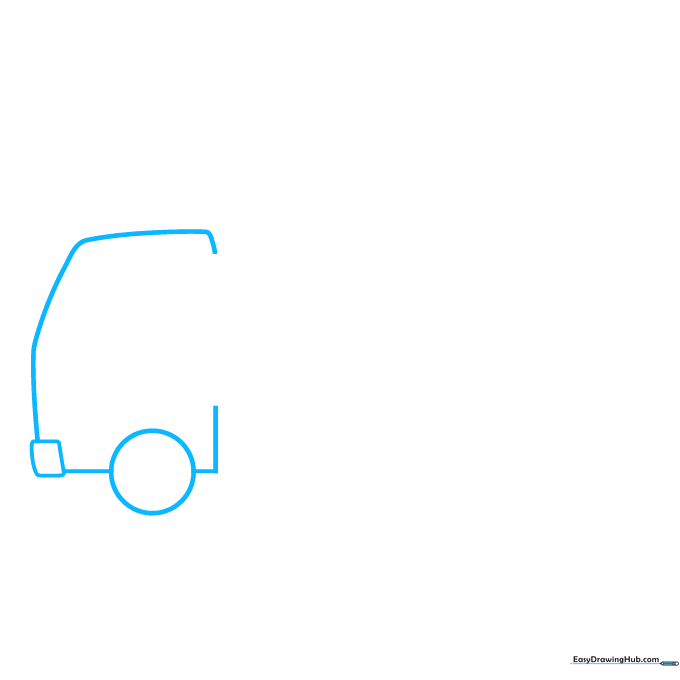
Start by drawing a circle for the front wheel. Add an 'L' shape for the frame and a small slanted square in front for the bumper. Tip: Keep the bumper small so the truck looks proportional to the wheel.
Step 2: Defining the Cab
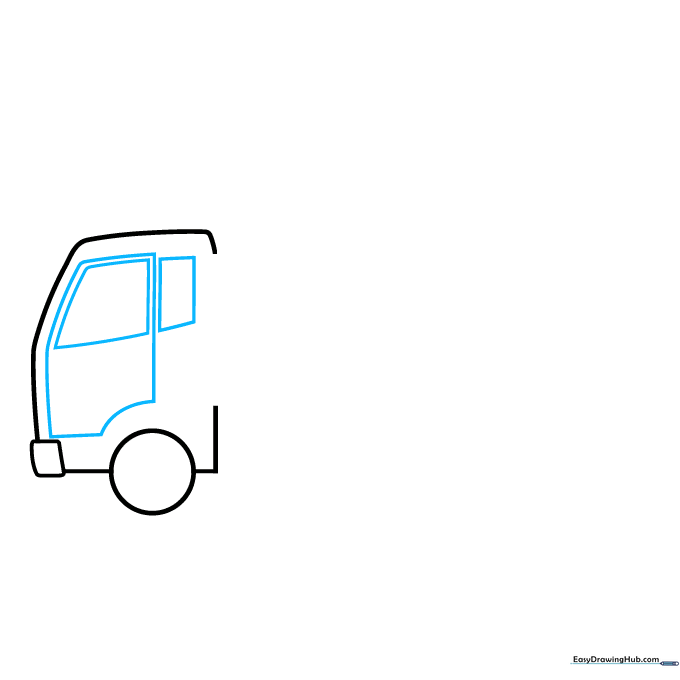
Draw the cab windows and door using simple rectangles. Leave one corner of the door slightly open or angled to give it a realistic truck look. Tip: Use a ruler if you want perfectly straight lines, but freehand is great for a cartoon style!
Step 3: Adding Details and Extra Wheels
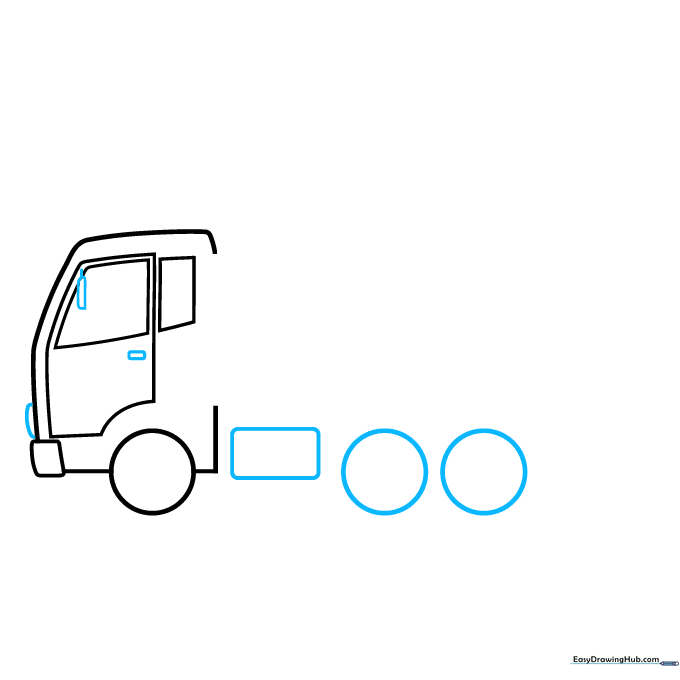
Add a door handle and a side mirror. Now, draw the rear wheels as two circles and connect them with a rectangular base. Tip: Make sure the wheels are aligned at the bottom so the truck looks like it's sitting flat on the road.
Step 4: Constructing the Container
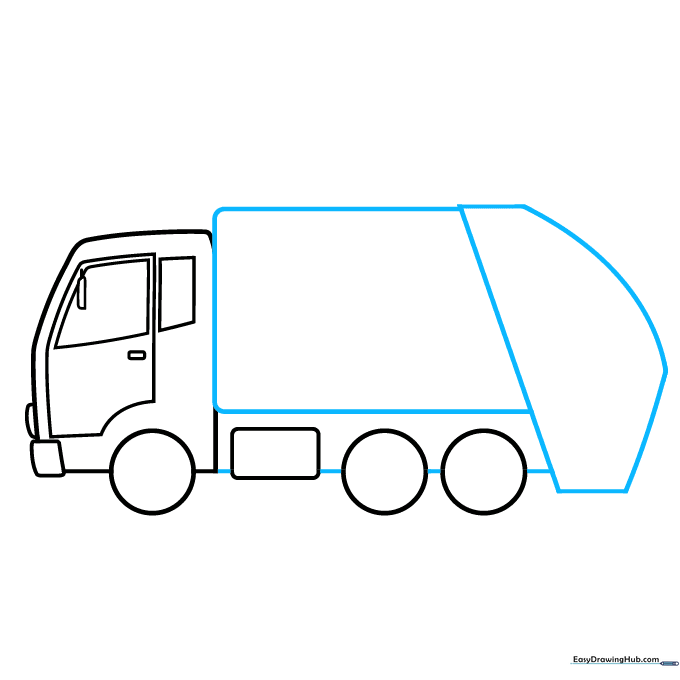
Sketch the large storage box behind the cab using long, straight lines. This is where the trash goes! Tip: Keep the top line parallel to the bottom line to ensure the container looks sturdy.
Step 5: Designing the Tailgate

Draw the back of the truck, known as the hopper. Use a boomerang shape for the lifting mechanism and add smaller rectangles for the tailgate. Tip: Think of this part like a giant scoop!
Step 6: Adding the Lifting Arms
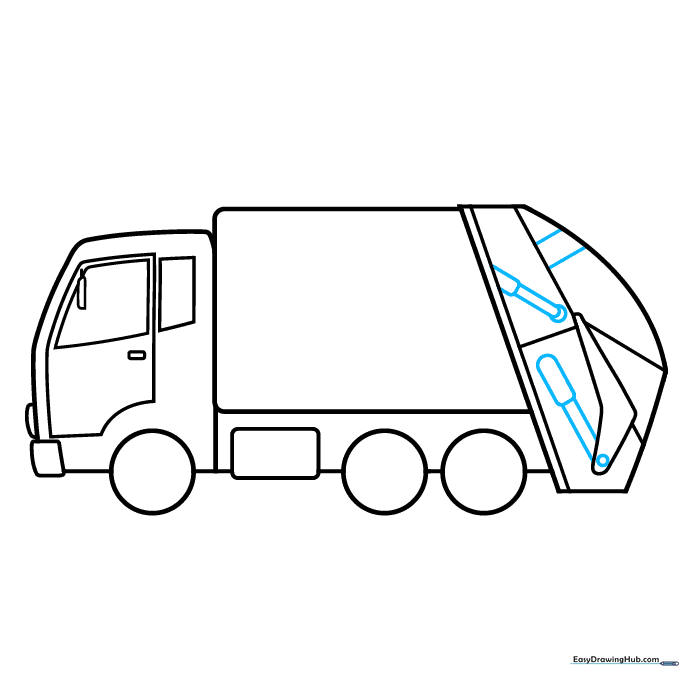
Draw the mechanical arms that lift the bins. Use curved lines for the joints and straight lines for the bars. Tip: Imagine how the arm moves up and down—draw the lines to show that hinge point.
Step 7: Refining the Box and Wheels
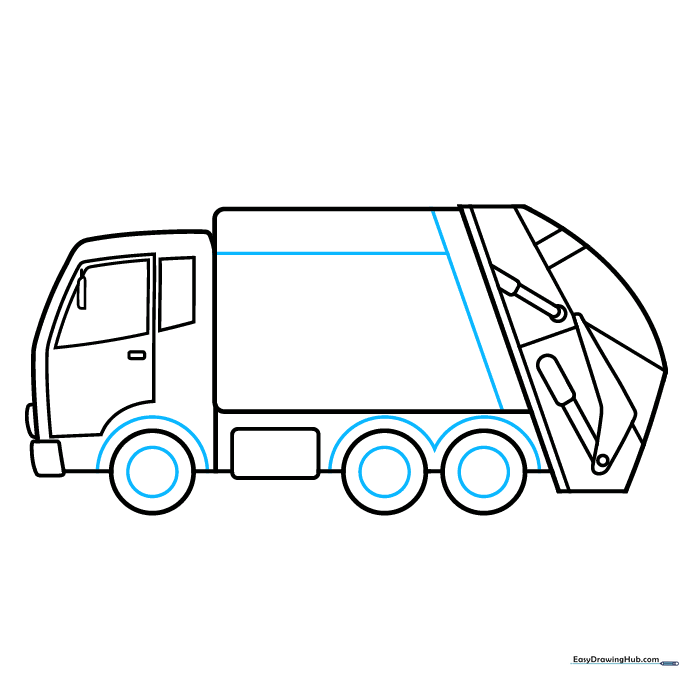
Add diagonal lines to the container to show panels. Draw a smaller circle inside each wheel to create the rims. Tip: Adding these small details makes your truck look much more professional.
Step 8: Adding Spokes and Recycling Symbol
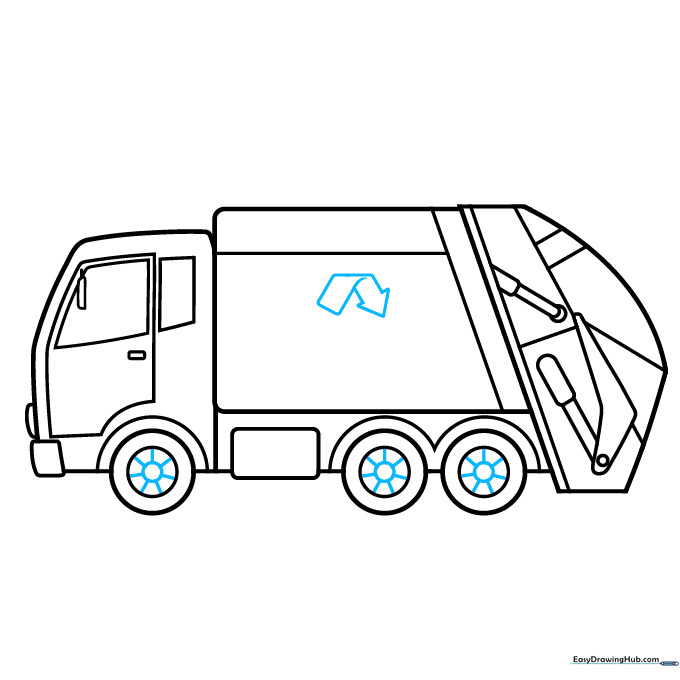
Draw spokes on the wheels and start sketching the recycling symbol on the side of the truck. Tip: The recycling symbol is just three folded arrows—take your time with the corners.
Step 9: Completing the Recycling Symbol
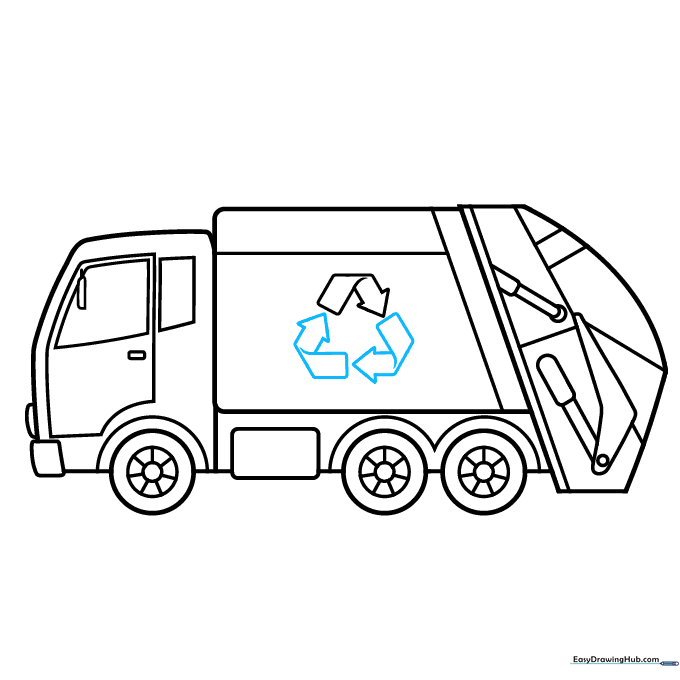
Finish the recycling symbol by adding the remaining arrows. Check your lines and erase any extra pencil marks. Tip: Darken your final outline with a pen or a darker pencil to make it pop!
Step 10: Adding Color
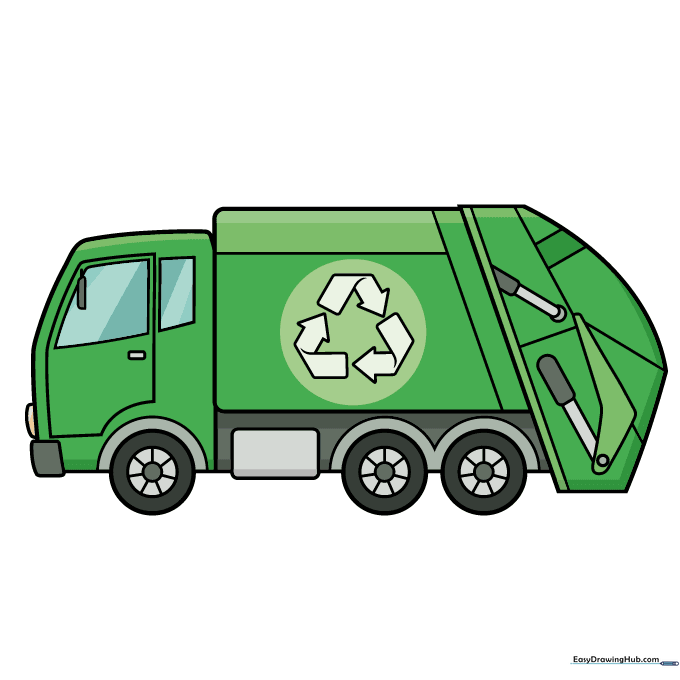
Now for the fun part! Color your truck. Green is a classic choice for recycling, but feel free to use any color you like. Tip: Use a darker shade of your main color to add shadows under the truck for a 3D effect.
More Tutorials


