How to Draw a Galaxy: Easy Step-by-Step Space Art Guide
Blast off into creativity with this beginner-friendly galaxy drawing guide, perfect for young artists ages 5 and up. You only need a pencil, paper, and your favorite coloring tools to create a stunning cosmic scene. Follow these simple steps to master basic shapes while building confidence in your artistic abilities.
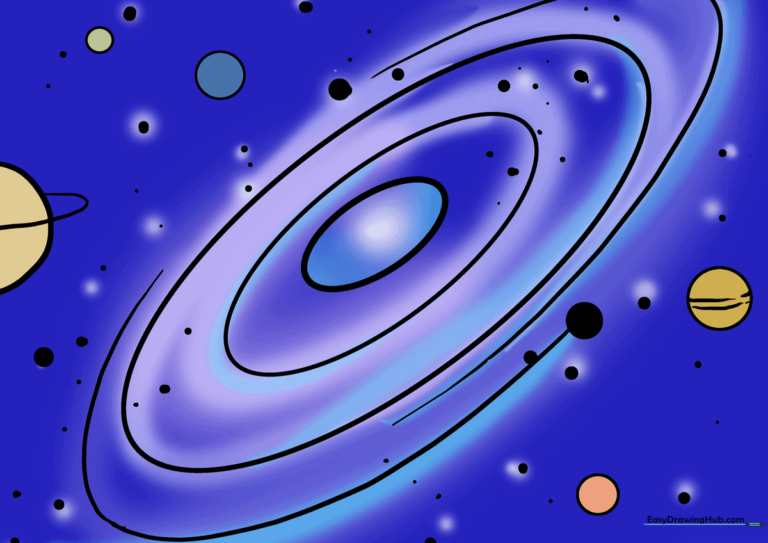
🎯 Final Result
Step-by-Step Instructions
Sketch the Galactic Core

Draw a small, tilted oval in the center of your page. Teacher's Tip: Keep your pencil grip loose to ensure the line is faint; this will be the heart of your galaxy.
Define the Outer Boundary
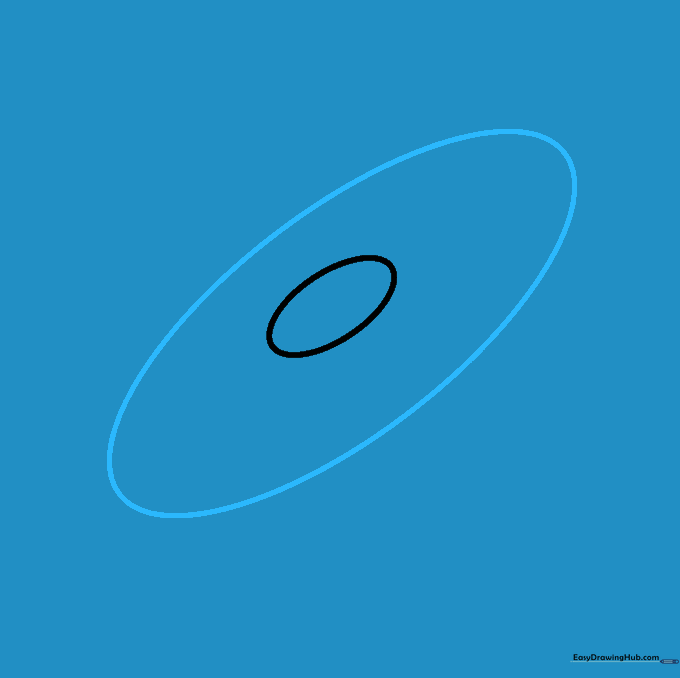
Draw a much larger oval surrounding the first one. Teacher's Tip: Imagine you are drawing a giant egg shape around your core to create the galaxy's main body.
Add Depth Layers
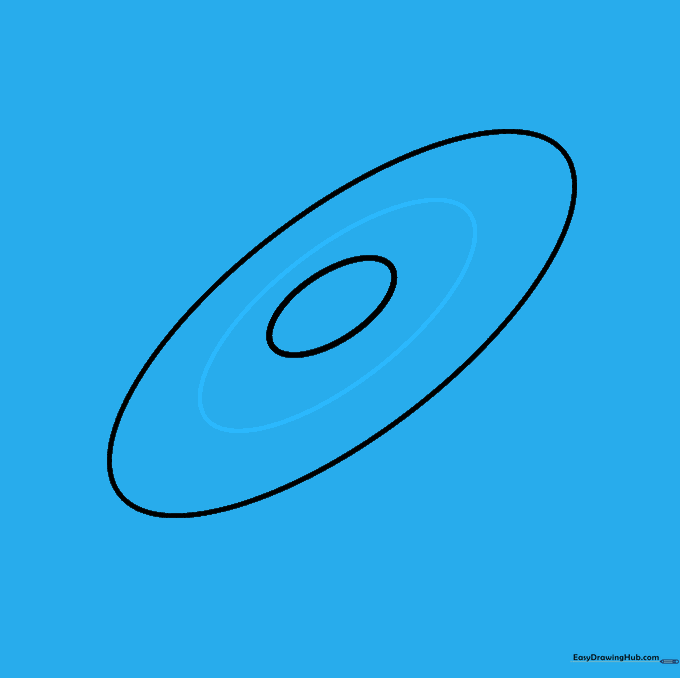
Draw a third tilted oval between the first two. Teacher's Tip: This creates the illusion of depth and movement, making your galaxy look like it is spinning.
Draw Spiral Arms
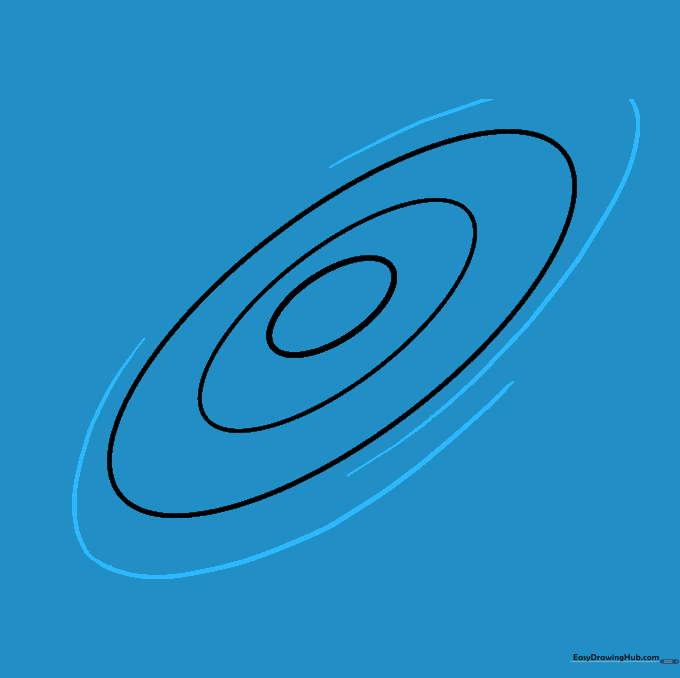
Add curved lines encircling the ovals. Ensure they overlap without touching. Teacher's Tip: Think of these as the 'arms' of the galaxy reaching out into space.
Place Your First Planet
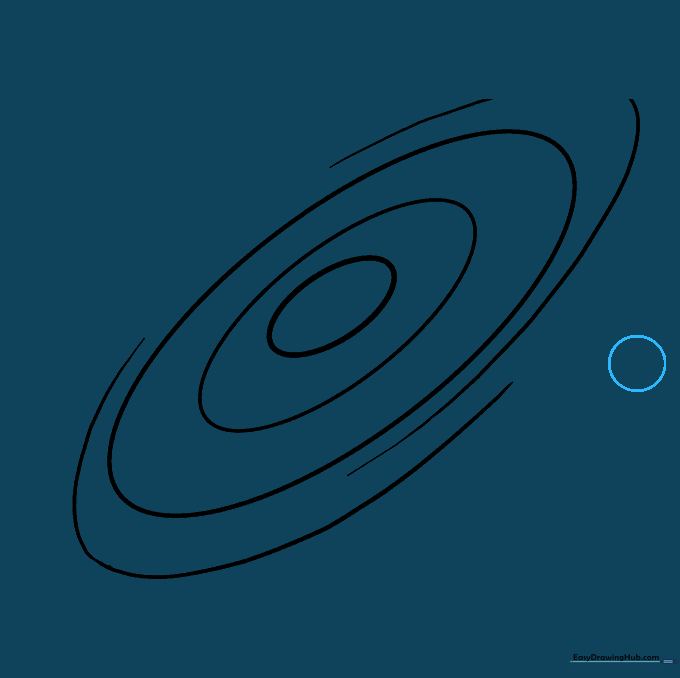
Draw a small circle to one side of the galaxy. Teacher's Tip: Placing it slightly overlapping the edge makes it look like it's part of the same scene.
Add a Second Planet
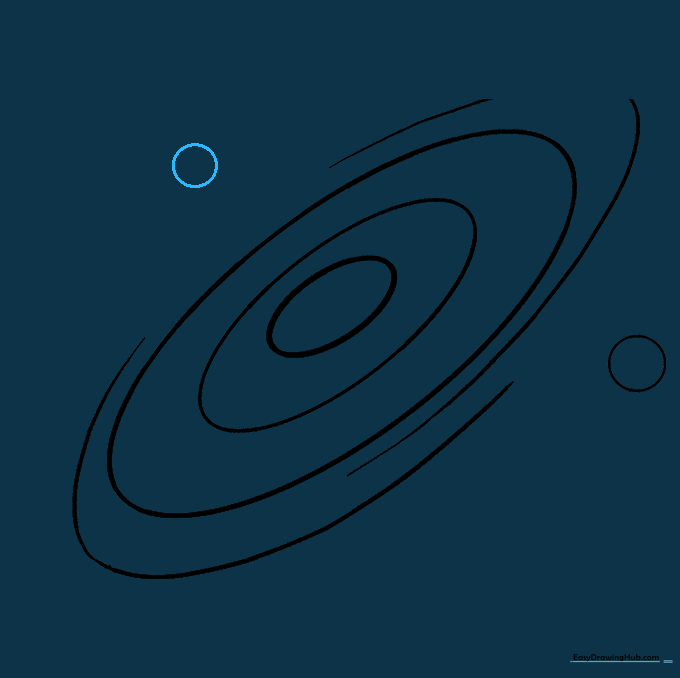
Draw another small circle on the opposite side. Teacher's Tip: Vary the size of your planets to create a sense of distance and scale.
Draw a Ringed Planet
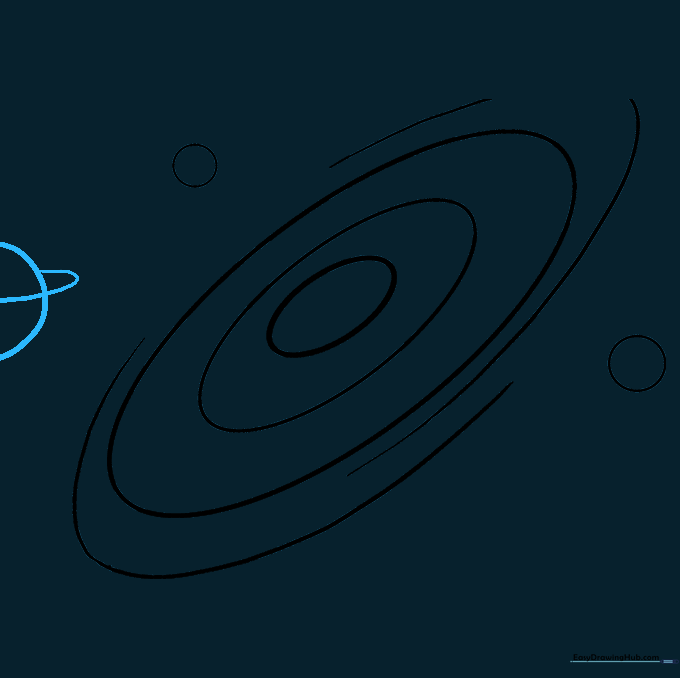
Draw a half-circle on the edge of the page and add a curved line around its middle for rings. Teacher's Tip: Use a light touch for the rings so they look delicate, like Saturn's.
Add Foreground Details
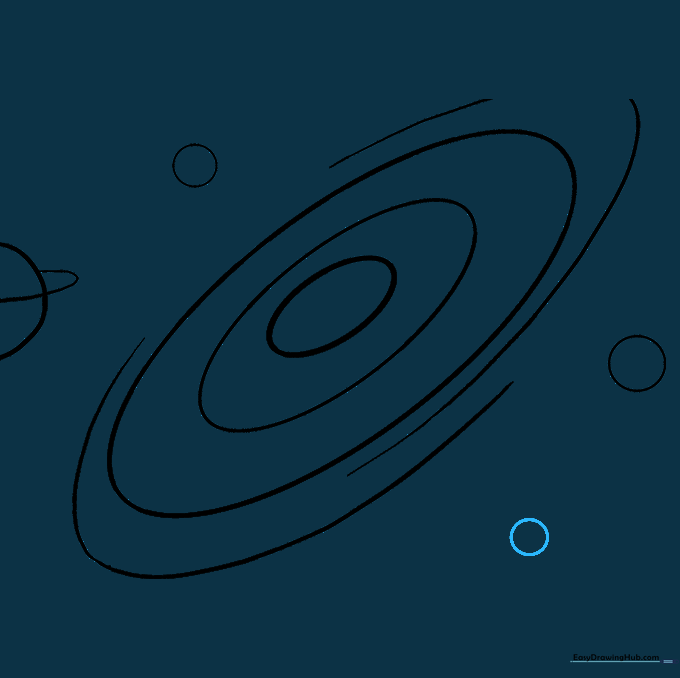
Draw one more small circle in the foreground. Teacher's Tip: Adding objects at different distances helps your drawing look more professional and '3D'.
Fill the Space with Stars
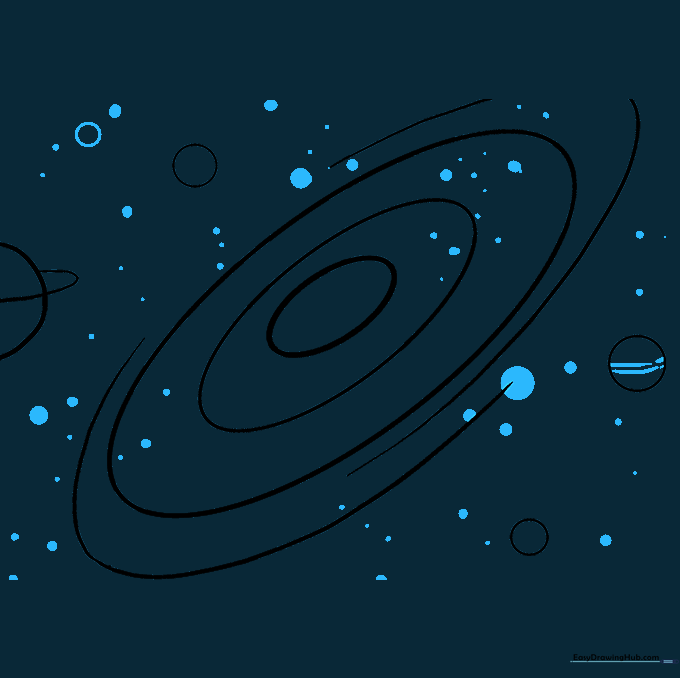
Bespeckle your drawing with dots and small circles of various sizes. Teacher's Tip: Use different pressures to make some stars look bright and others faint.
Color Your Galaxy
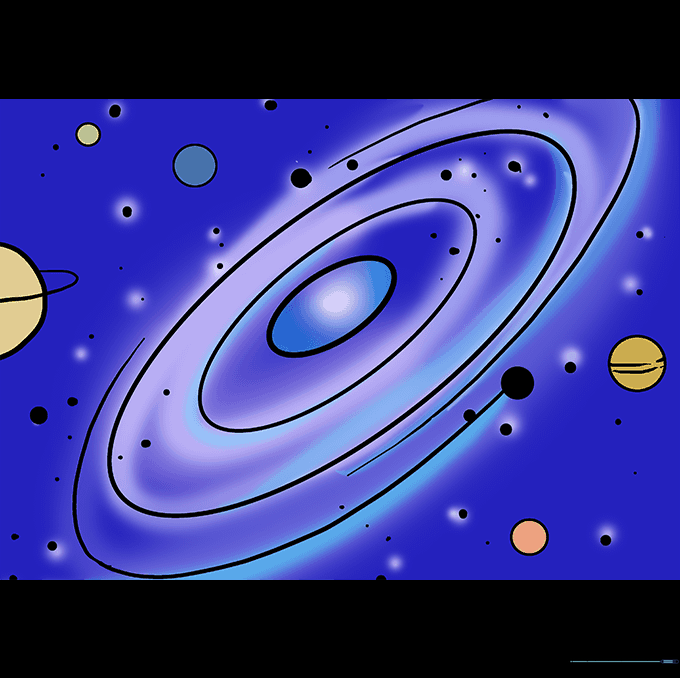
Use dark blues and purples for the background, and brighter colors for the planets. Teacher's Tip: Blend your colors to create a 'nebula' effect in the spiral arms.
More Tutorials


