How to Draw a Funny Taco: Easy 10-Step Cartoon Guide
Ready to add some personality to your sketchbook? This tutorial is perfect for artists ages 5 and up who want to practice character design. Grab a pencil, an eraser, and some markers to create your own expressive taco character in just a few minutes.
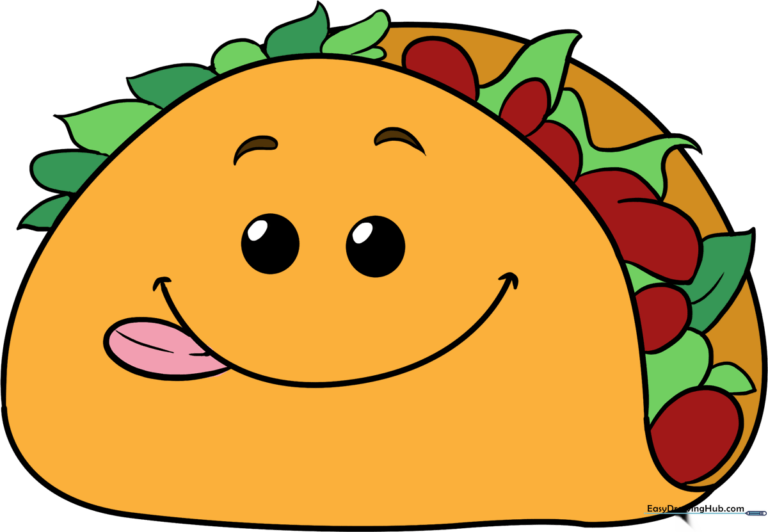
🎯 Final Result
Step-by-Step Instructions
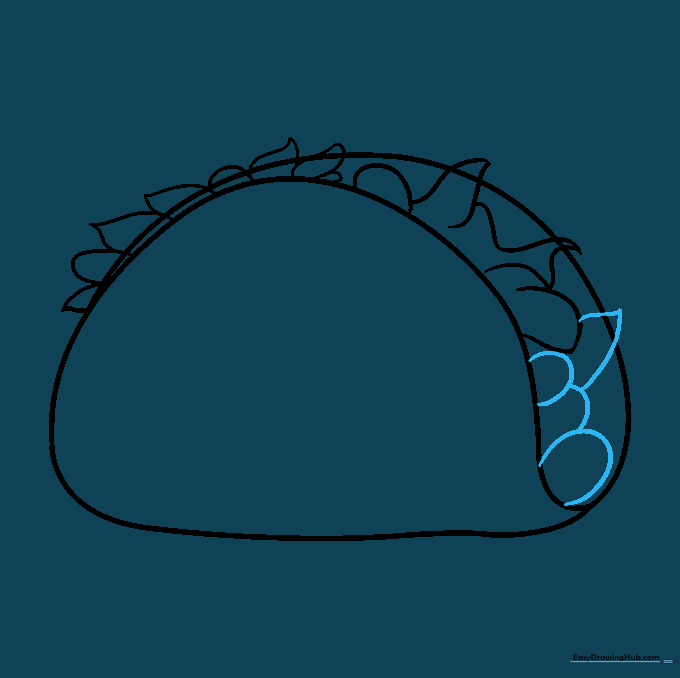
Step 1: Sketching the Taco Shell

Draw a large, wide half-circle facing downward. Teacher's Tip: Keep your pencil pressure light so you can easily adjust the shape if it looks a bit lopsided.
Step 2: Defining the Front Edge

Draw a curved line across the front, extending slightly past the edge of the shell to create a point. Teacher's Tip: This little 'v' shape adds depth, making your taco look 3D rather than flat.
Step 3: Completing the Shell

Connect the top of the shell to that front corner with another curved line. Teacher's Tip: Imagine the shell is a folded piece of paper; keep the lines smooth and flowing.
Step 4: Adding Lettuce Layers

Draw wavy, irregular shapes at the top to represent lettuce. Teacher's Tip: Lettuce isn't perfect! Use jagged, uneven lines to make it look natural and crunchy.
Step 5: Filling the Taco

Add more topping shapes on the other side of the taco. Teacher's Tip: Mix up your shapes—some rounded for meat, some pointed for cheese or veggies—to add variety.
Step 6: Finalizing Toppings
Fill in any remaining gaps with more topping shapes. Teacher's Tip: Don't worry about symmetry; tacos are messy, and your drawing should look abundant and full!
Step 7: Adding Texture

Erase any overlapping lines and add a central vein to your lettuce leaves. Teacher's Tip: A simple line down the middle of a leaf makes it look much more realistic.
Step 8: Drawing the Eyes

Draw two circles for eyes with smaller ovals inside, shaded dark. Add curved eyebrows above. Teacher's Tip: Eyebrows are key for expression—angle them inward to make your taco look surprised or excited!
Step 9: Adding the Mouth

Draw a wide 'U' shape for a happy mouth and add a tongue. Teacher's Tip: Adding a small line on the tongue gives it a sense of volume.
Step 10: Coloring Your Creation

Bring your taco to life with bright colors! Use golden yellow for the shell and vibrant greens for the lettuce. Teacher's Tip: Use a darker shade of yellow to add a little shadow on one side of the shell to make it pop off the page.
More Tutorials


