How to Draw a Fruitcake: Easy 10-Step Holiday Art Guide
Bring some holiday cheer to your sketchbook with this fun fruitcake drawing tutorial! Designed for young artists and beginners, this project uses basic shapes to build a delicious-looking treat. Grab your pencil and eraser, and let's get started on this festive masterpiece.
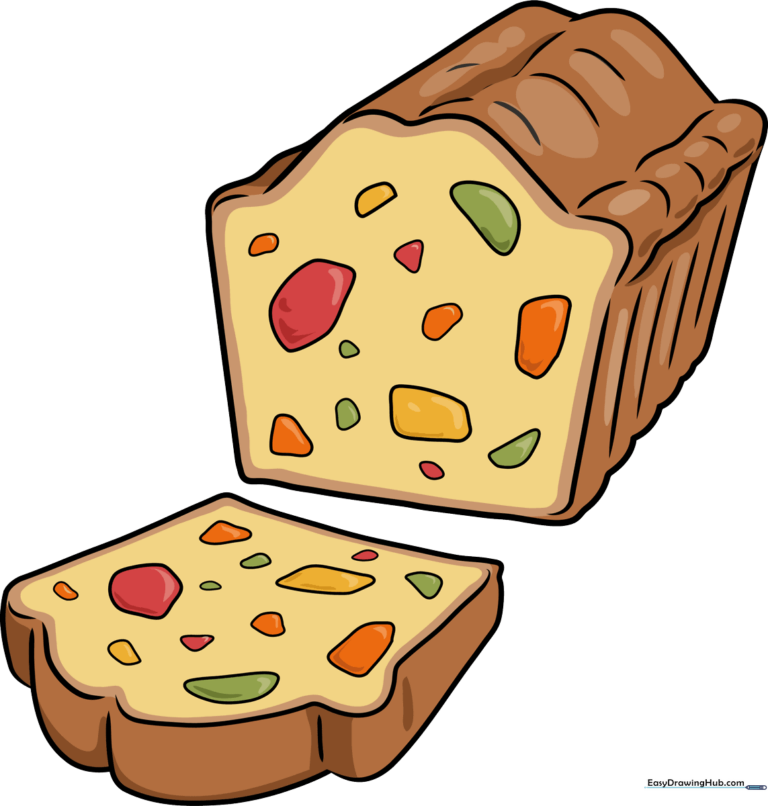
🎯 Final Result
Step-by-Step Instructions
Step 1: Sketching the Loaf Base
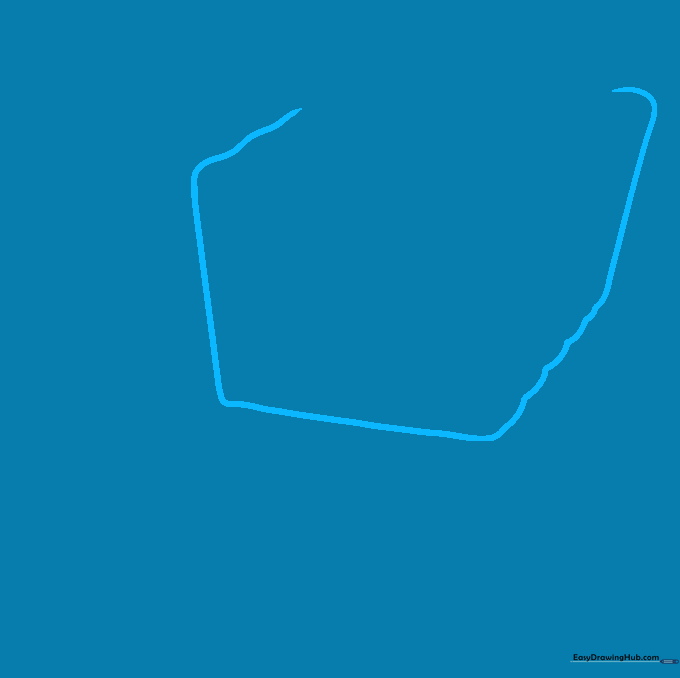
Start by outlining the main body of the fruitcake. Use soft, wavy lines for the top and bottom, and nearly straight lines for the sides. Teacher's Tip: Keep your pencil pressure light so you can easily adjust the shape if needed.
Step 2: Defining the Top Surface

Draw two sets of curved lines across the top in a loose 'M' shape. Connect them with a straight line to create the top surface. Tip: Think of these as the bumpy texture of a cake crust.
Step 3: Establishing Depth

Draw a straight, slightly curved line from the top corner down to the side. Add wavy lines between the corners to give the cake a 3D look. Tip: Use a steady hand to make your lines look like a solid, baked loaf.
Step 4: Adding Candied Fruit Details
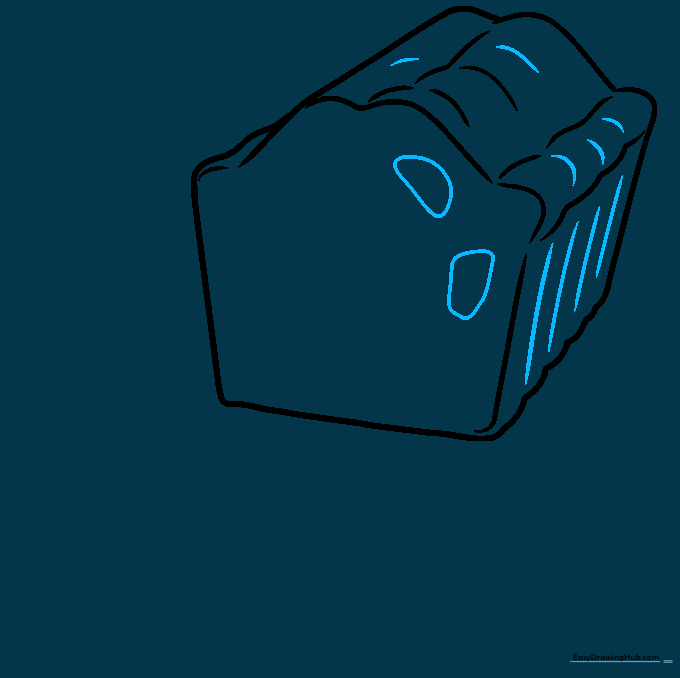
Add curved lines across the top and vertical lines on the side. Now, start drawing irregular, blob-like shapes on the cut face of the cake to represent candied fruit. Tip: Vary the sizes of your blobs to make it look realistic!
Step 5: Filling with Fruit
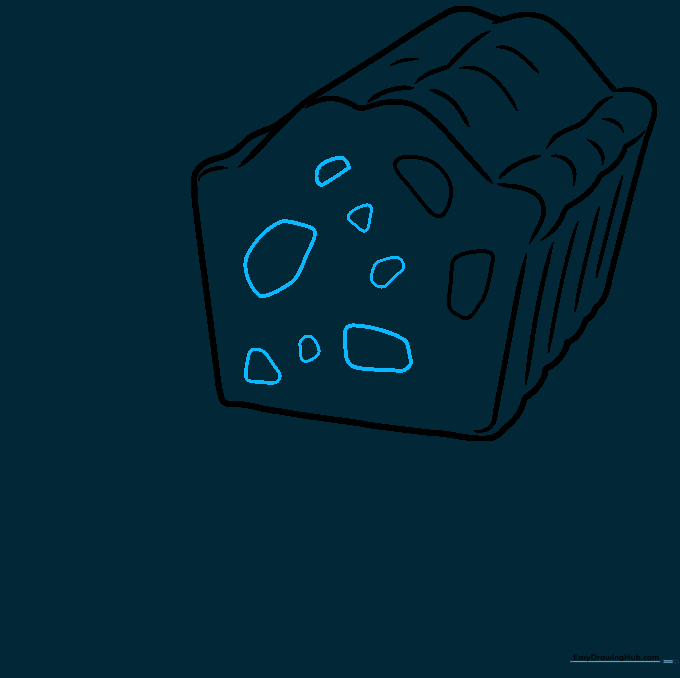
Continue adding more irregular shapes throughout the cake. Don't worry about making them perfect—fruit comes in all shapes and sizes! Tip: Try to space them out so the cake looks packed with goodies.
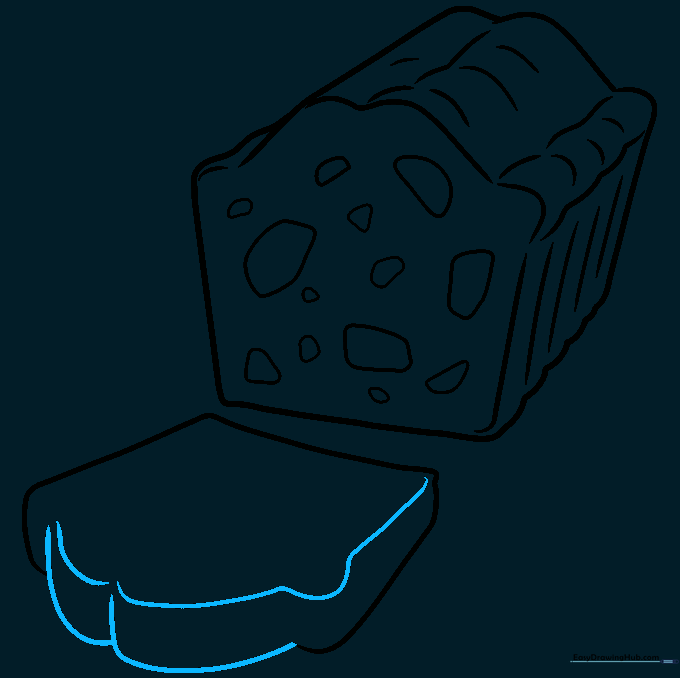
Step 6: Drawing a Slice

Draw a large rectangular shape near the cake to represent a slice. Use curved lines to define its edges. Tip: Imagine you are cutting a real piece of cake to get the angle right.
Step 7: Detailing the Slice
Use overlapping curved lines in a 'W' shape to create the top of the slice. Add parallel lines on the cut face to show texture. Tip: Keep these lines light to maintain the 'baked' look.
Step 8: Refining the Slice
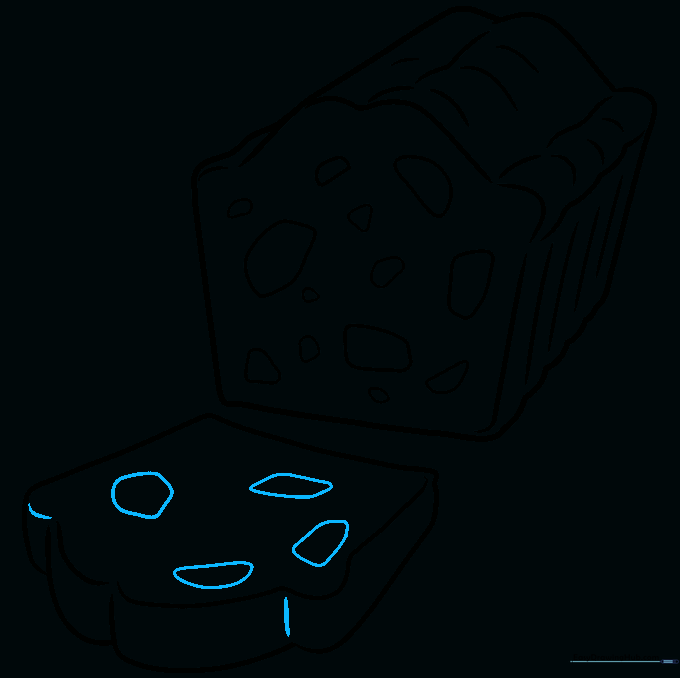
Add curved lines at the corners of your slice for dimension. Begin adding more irregular fruit shapes to the slice. Tip: Make these shapes smaller than the ones in the main loaf to show perspective.
Step 9: Final Touches
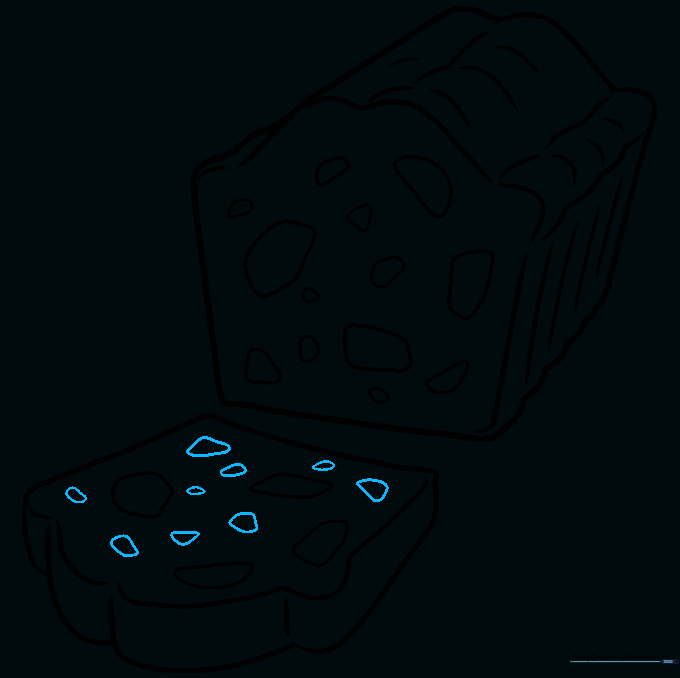
Fill the slice with more small, irregular shapes. This makes the cake look rich and festive. Tip: Use a fine-liner pen to trace your pencil lines once you are happy with the placement.
Step 10: Adding Color
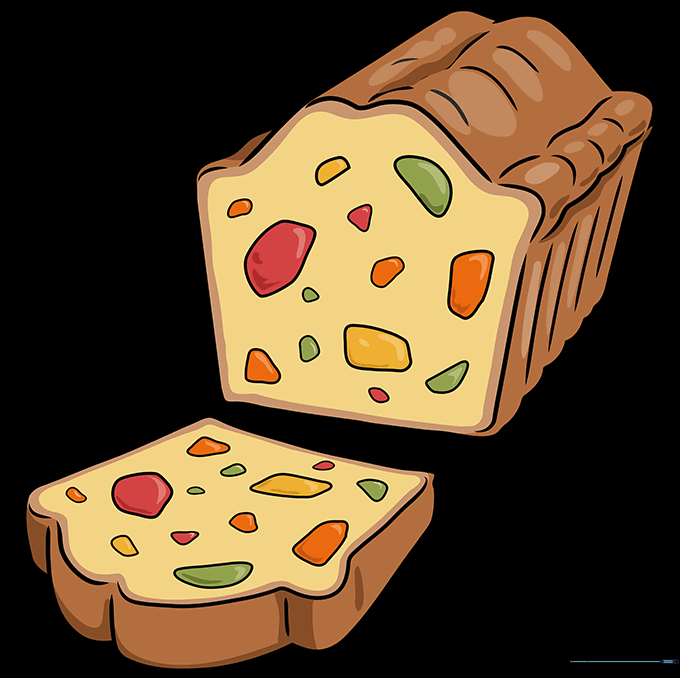
Bring your drawing to life with color! Use warm browns for the cake and bright reds, greens, and yellows for the candied fruit. Tip: Use colored pencils to layer shades for a more professional, textured finish.
More Tutorials


