How to Draw a Frog Face: Easy 9-Step Guide for Kids
This frog face tutorial is perfect for young artists ages 5 and up. You only need a pencil, an eraser, and a piece of paper to get started. Follow these simple steps to build confidence and develop your drawing skills one line at a time.
🎯 Final Result

Step-by-Step Instructions
Step 1: Sketching the Bulging Eyes

Draw two diagonal ovals near the top of your page for the eyes. Teacher's Tip: Keep them roughly the same size to give your frog a balanced, friendly look.
Step 2: Adding Eye Detail

Draw a large oval inside each eye, then a smaller circle inside that for the pupil. Shade the space between them. Tip: Leave a tiny white dot unshaded in the pupil to make the eyes look shiny and alive!
Step 3: Defining the Eye Sockets

Add a curved line over the top of each eyeball. This creates the 'socket' and gives the frog a 3D appearance. Don't press too hard; keep the lines smooth.
Step 4: Shaping the Head

Connect the eyes with a gentle curve. Then, draw curved lines downward from the eyes to start the cheeks. Tip: Imagine you are drawing the letter 'U' on each side of the face.
Step 5: Closing the Jaw and Nostrils

Connect the cheek lines with a long, wide curve to finish the chin. Add two small ovals in the center for nostrils. Tip: Keep the nostrils small so the frog looks cute rather than grumpy!
Step 6: Drawing the Mouth

Draw a small curve above each nostril for character. Then, draw a long, wide curve across the bottom for the mouth. Tip: Make the mouth curve slightly upward at the ends to give your frog a happy smile.
Step 7: Adding Facial Contours
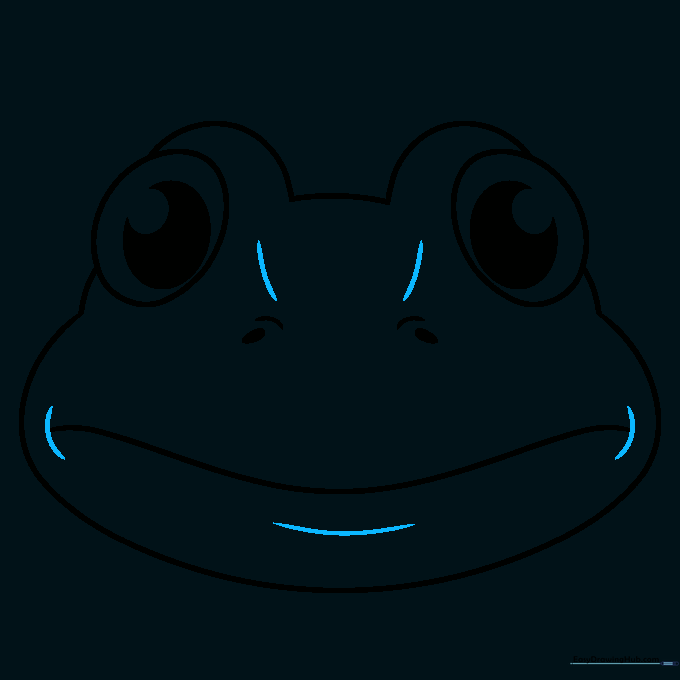
Add small curved lines at the corners of the mouth and between the eyes. These subtle details add depth to the face. Tip: Use very light pressure for these contour lines.
Step 8: Adding Cheek Spots

Draw a few small, irregular ovals on the cheeks. These are the frog's spots! Tip: Vary the size of the spots to make the drawing look more natural.
Step 9: Finalizing the Details
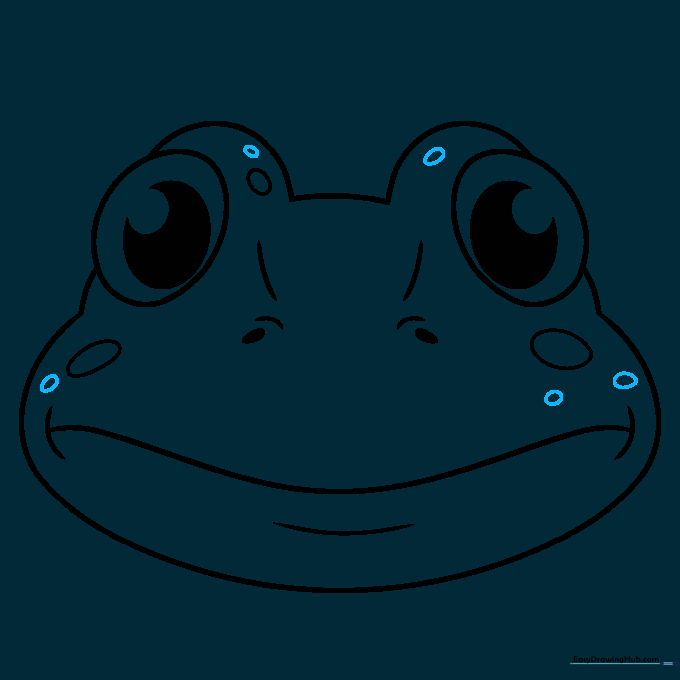
Add a few more spots near the brows and cheeks to complete the look. Now you have a finished frog face! Tip: Go over your final lines with a darker pencil or pen before coloring.
Step 10: Bringing Your Frog to Life with Color

Time to color! Use bright greens for a classic look, or experiment with reds and yellows if you're drawing a tropical poison dart frog. Tip: Use a lighter green for the main face and a darker green for the spots to create contrast.
More Tutorials


