How to Draw a Forest Fire: Easy Step-by-Step Guide
This tutorial is perfect for young artists ages 7+ looking to master expressive landscape elements. You will need a pencil, eraser, and colored pencils or markers to bring this scene to life. By following these steps, you'll learn how to use jagged lines to create movement and energy in your artwork.
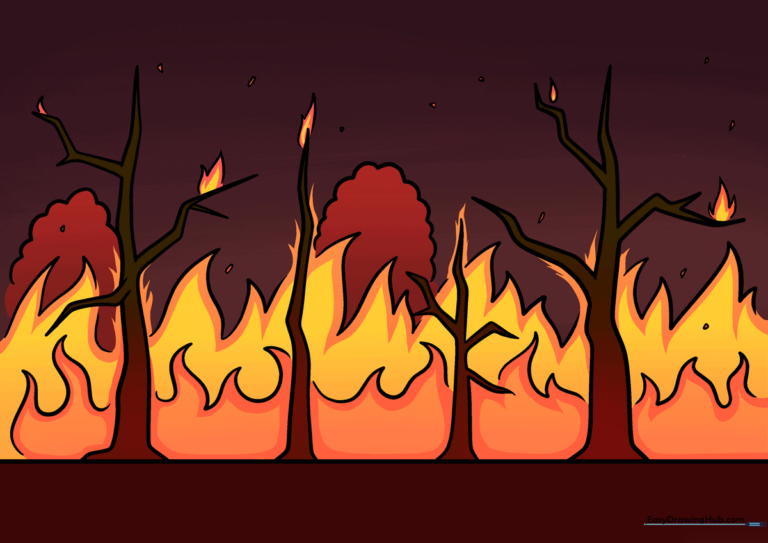
🎯 Final Result
Step-by-Step Instructions
Step 1: Sketching the First Tree
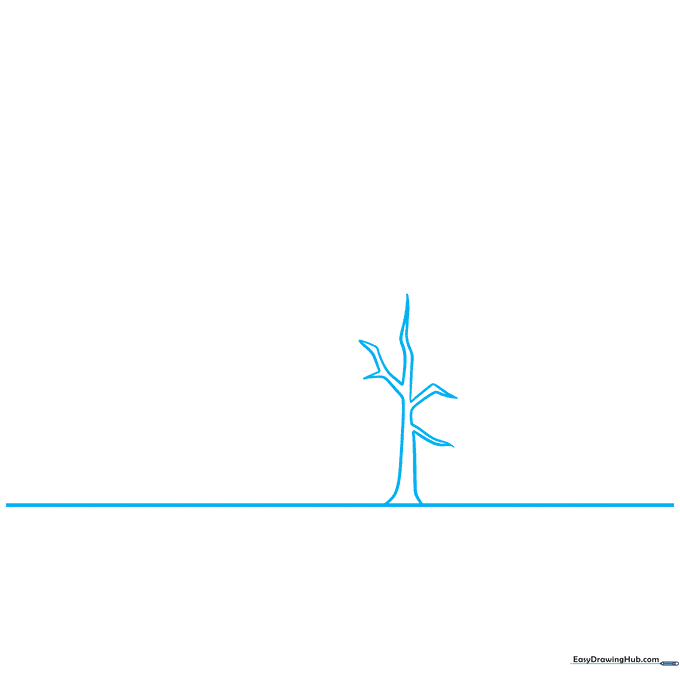
Draw a straight horizontal line for the ground. Above it, sketch a tall, narrow triangle shape to form the base of your first tree. Tip: Keep your pencil pressure light so you can easily adjust the shape if the tree looks too stiff.
Step 2: Adding Jagged Branches
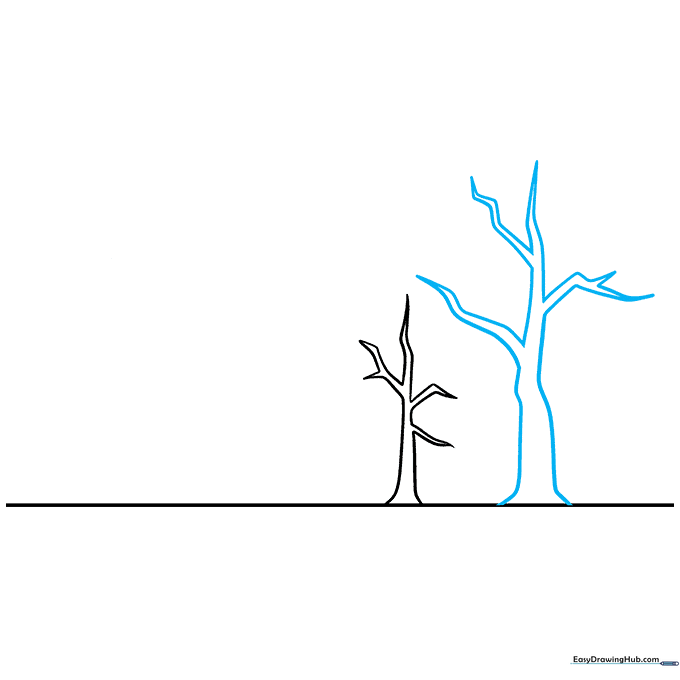
Draw a second, wider tree next to the first. Use jagged, zig-zag lines for the branches to give them a lightning-bolt effect. Tip: Vary the length of your zig-zags to make the tree look more natural and less like a perfect geometric shape.
Step 3: Building the Forest
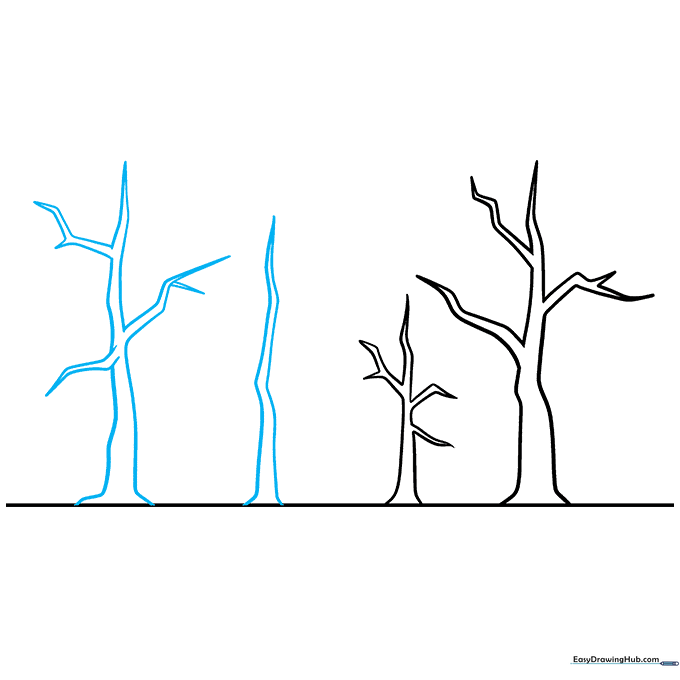
Add a third, thinner tree to the left side of your scene. Keep the branches sharp and pointed. Tip: Overlapping your trees slightly creates a sense of depth, making your forest look like it has multiple layers.
Step 4: Sketching the Flames

Draw loose, curvy triangles behind the trees to represent flames. Don't worry about symmetry; fire is chaotic and expressive. Tip: Use long, sweeping strokes to make the flames look like they are flickering upward.
Step 5: Expanding the Fire
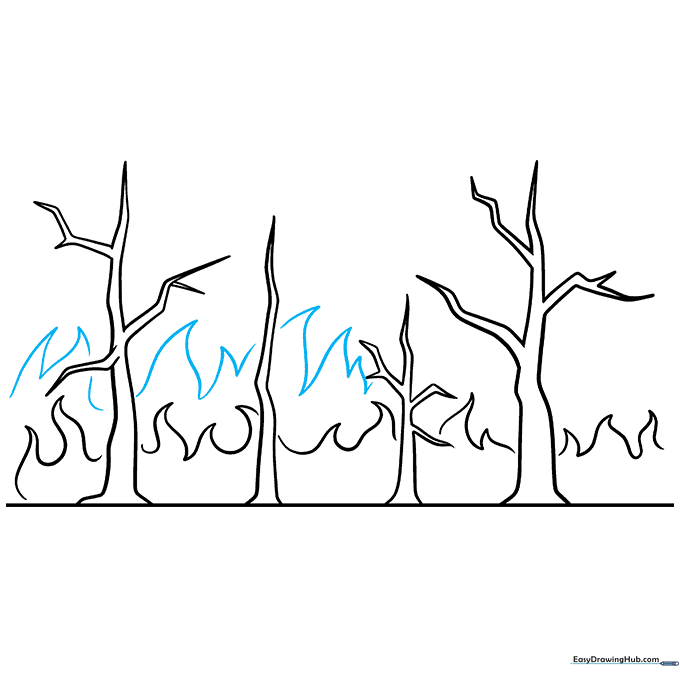
Add more flame shapes on the left side, making them taller than the previous ones. Tip: Vary the heights of your flames to create a dynamic, uneven horizon line.
Step 6: Balancing the Flames
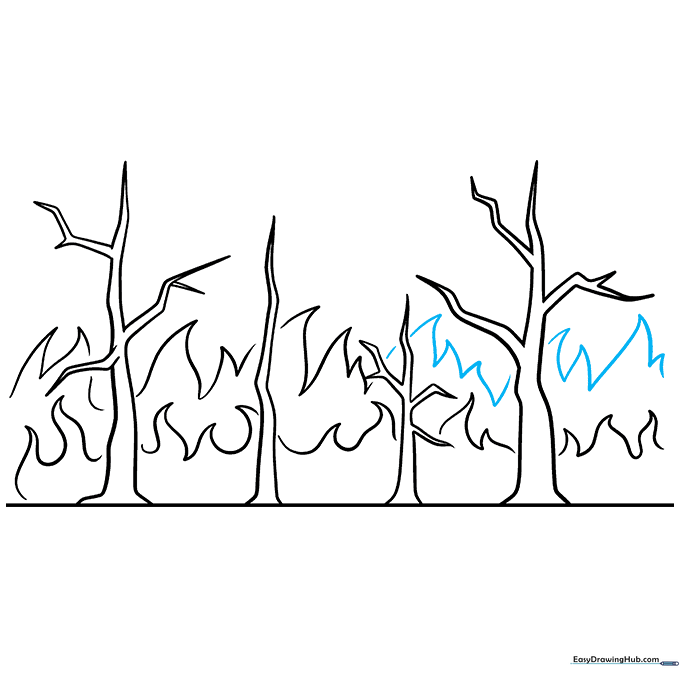
Repeat the process on the right side of your drawing. Tip: If your flames start to look too similar, try drawing one that is wider or slightly tilted to add variety.
Step 7: Adding Smoke
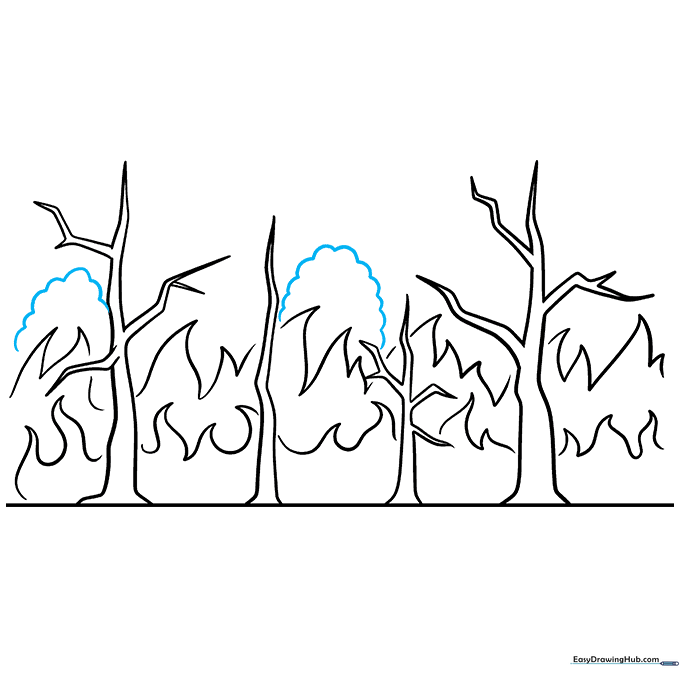
Draw soft, rounded loops above the flames to represent smoke. Think of them like fluffy clouds. Tip: Use a lighter touch with your pencil here to make the smoke look wispy and airy compared to the sharp flames.
Step 8: Detailing the Branches
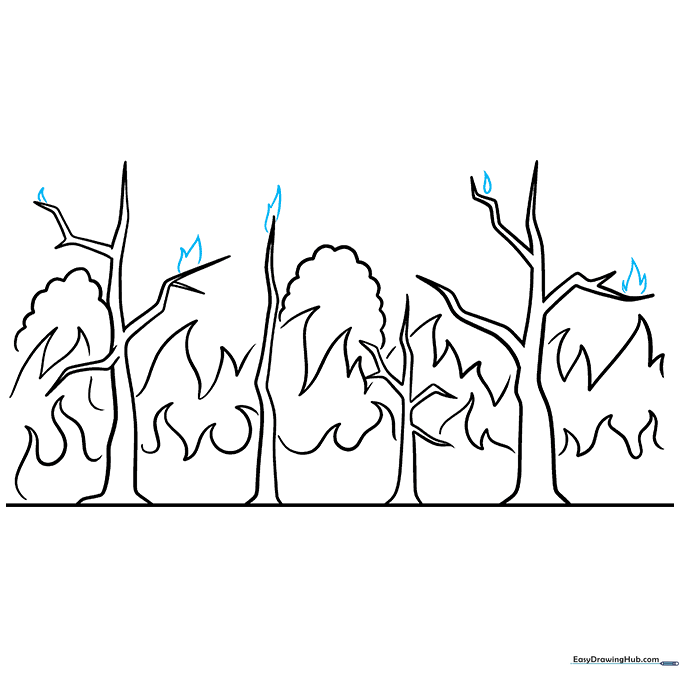
Add small triangles and teardrop shapes onto the tree branches to show where the fire is catching. Tip: Keep these details small so they don't overpower the main tree shapes.
Step 9: Adding Sparks
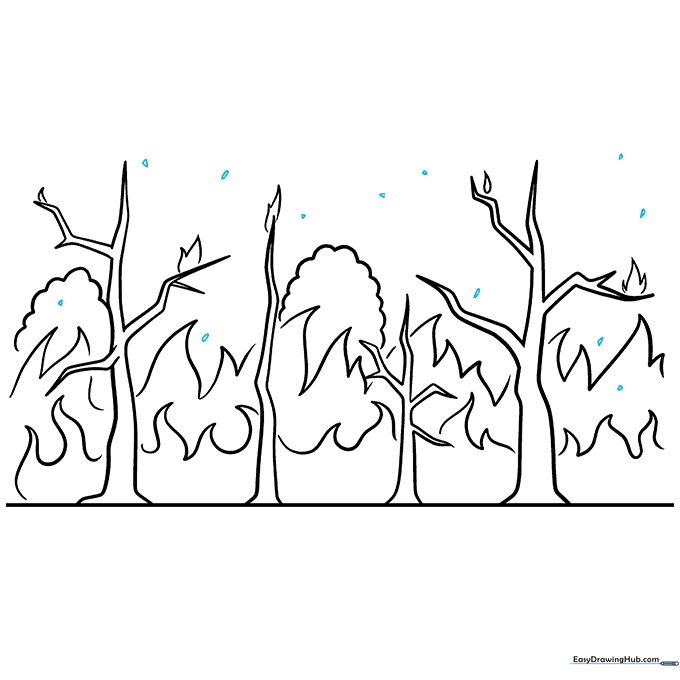
Draw tiny dots or small dashes around the flames to represent flying sparks. Tip: Randomly scattering these dots makes the fire look more active and alive.
Step 10: Coloring Your Masterpiece
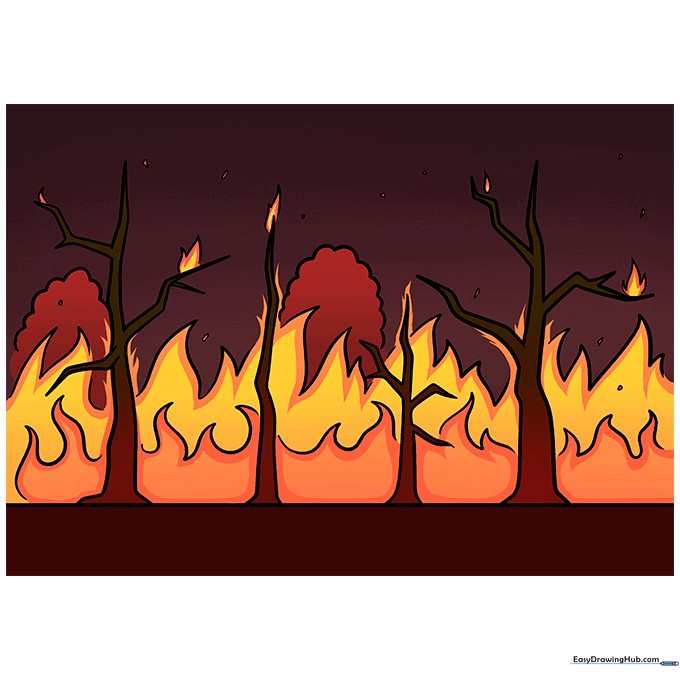
Outline your drawing in black. Use vibrant oranges and yellows for the flames, and deep reds for the tree trunks and ground. Tip: Try a color gradient by blending dark red at the bottom of the trunks into lighter brown or orange at the top for a professional look.
More Tutorials


