How to Draw a Football: Easy 10-Step Guide for Kids
Ready to hit the field? This tutorial is perfect for young sports fans ages 5 and up. All you need is a pencil, an eraser, and a piece of paper to bring this classic pigskin to life. Follow along to master the iconic shape and stitching details of a professional football.
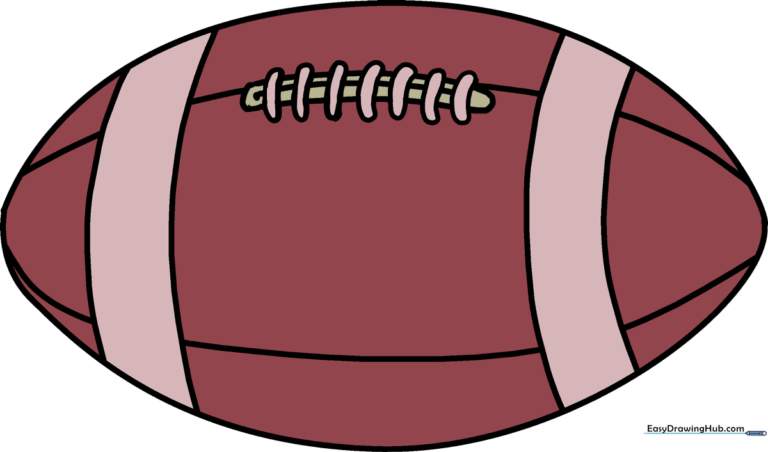
🎯 Final Result
Step-by-Step Instructions
Step 1: Sketching the Top Curve

Start by drawing a long, gentle arc at the top of your page. Teacher’s Tip: Keep your pencil pressure light so you can easily adjust the shape if it looks a bit lopsided.
Step 2: Closing the Oval

Draw a matching curved line underneath to close the shape, forming a pointed oval. Tip: Aim for symmetry by checking that both ends come to a nice, sharp point.
Step 3: Adding the First Stripe
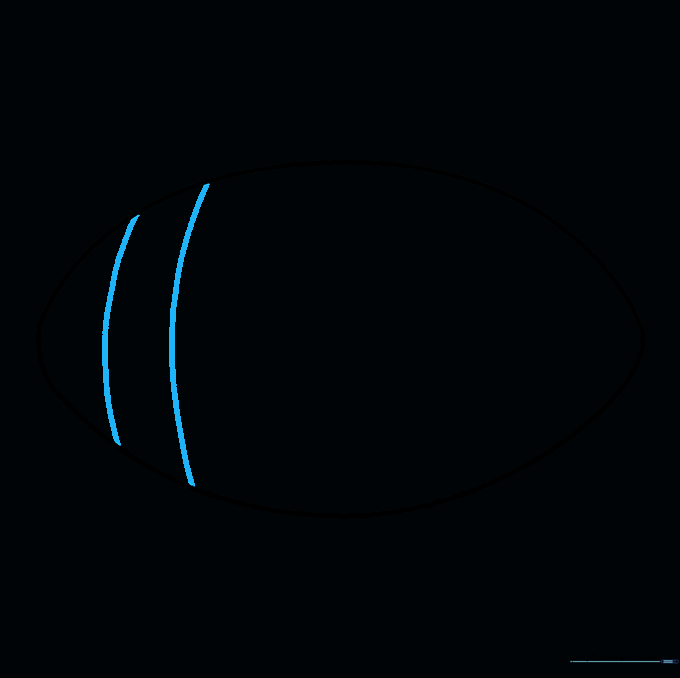
Near one end, draw two parallel curved lines. Tip: Make sure these lines follow the curve of the ball's end to give it a 3D look.
Step 4: Adding the Second Stripe
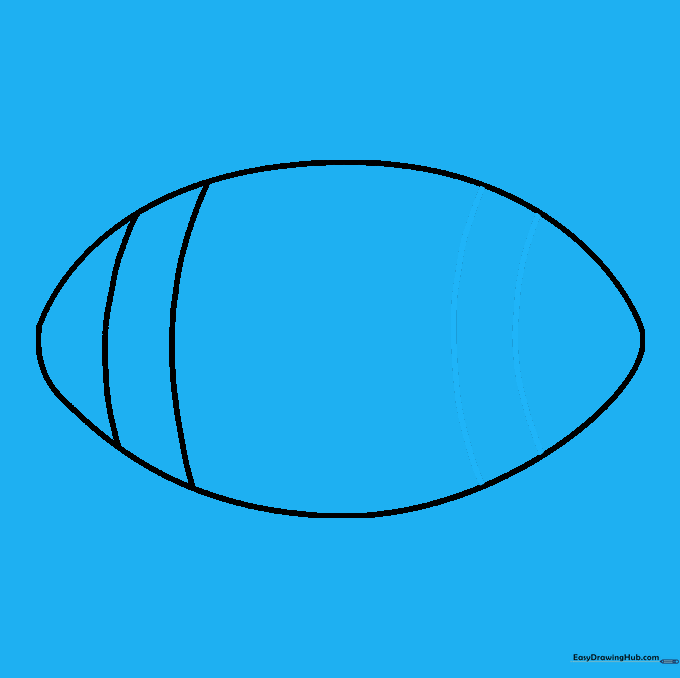
Repeat the process on the opposite end of the football. Tip: Try to keep the distance between the stripes and the tips of the ball consistent on both sides.
Step 5: Sketching the Stitching Base
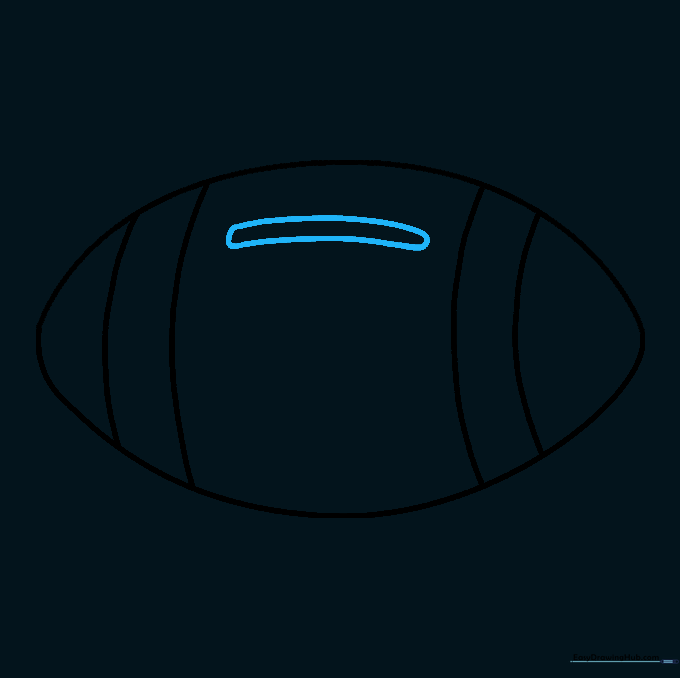
Draw two horizontal curved lines in the center of the ball and connect them at the ends. Tip: This creates a small 'pill' shape where your laces will go.
Step 6: Adding the Laces
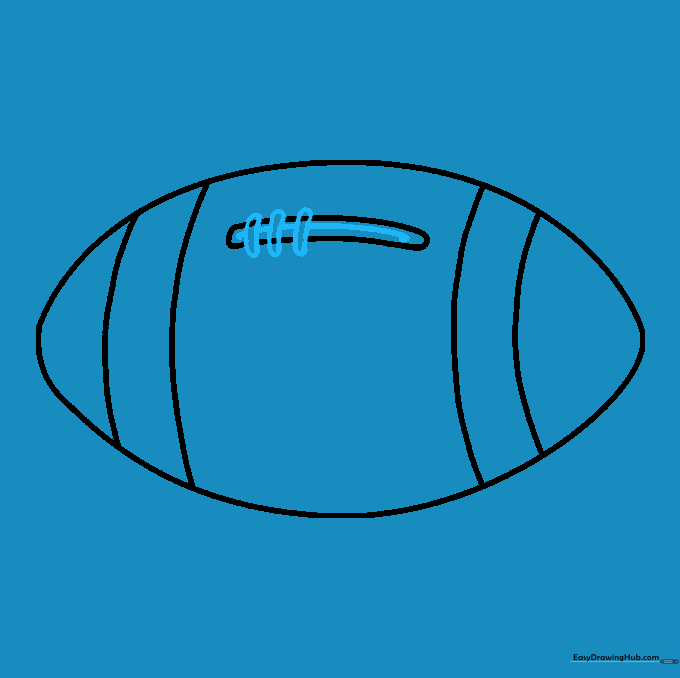
Draw a line down the center of your stitching area and add small, short lines crossing it. Tip: Keep these stitches evenly spaced to make it look professional.
Step 7: Refining the Stitches
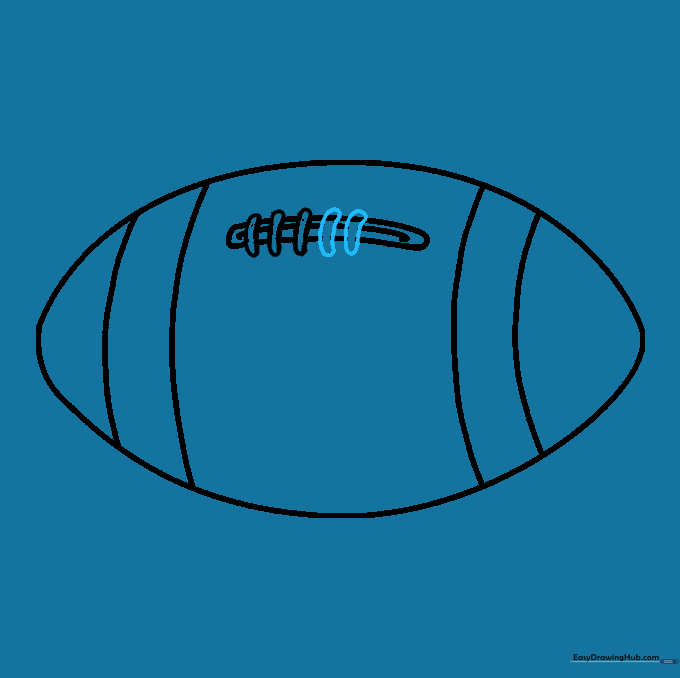
Add more small, curved shapes to fill in the stitching area. Tip: Don't worry if they aren't perfect; real football laces have a bit of texture to them!
Step 8: Finalizing the Stitching
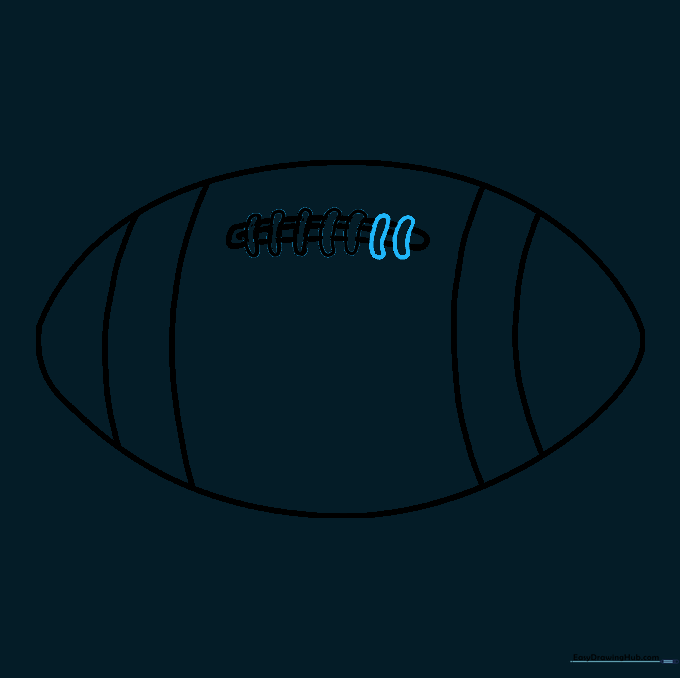
Fill the remaining space with stitches. Tip: Use your eraser to clean up any overlapping lines inside the stitching box.
Step 9: Adding Texture Lines
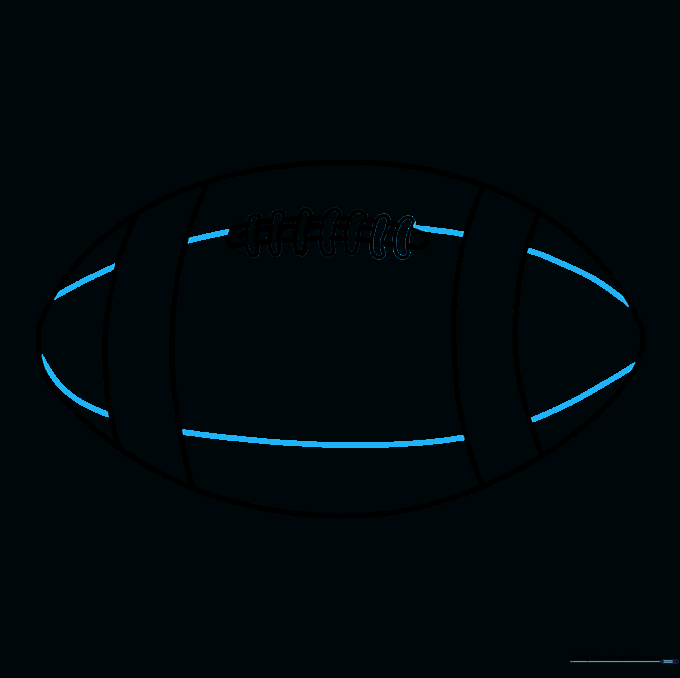
Draw two long, curved lines running the length of the ball. Tip: Stop these lines when you hit the stripes so they look like they are behind the white bands.
Step 10: Coloring Your Masterpiece
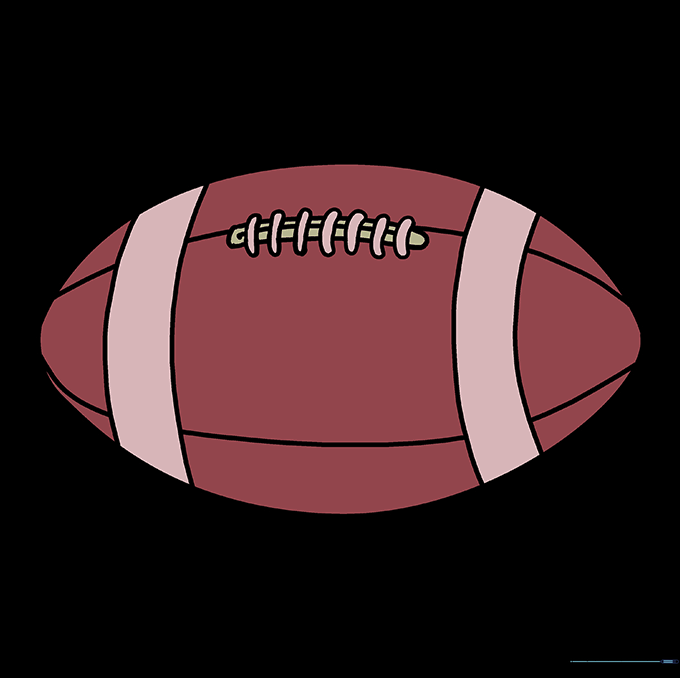
Time to color! Use a rich brown for the leather, and keep the stripes and laces white or tan. Tip: Use a darker brown shade near the edges to give your football a realistic, rounded look.
More Tutorials


