How to Draw a Fluffy Persian Cat: Easy 10-Step Guide
Bring a charming, long-haired Persian cat to life with this beginner-friendly drawing tutorial. Designed for young artists, this activity uses basic shapes to build confidence and fine motor control. Grab a pencil, an eraser, and some paper to begin your feline masterpiece.
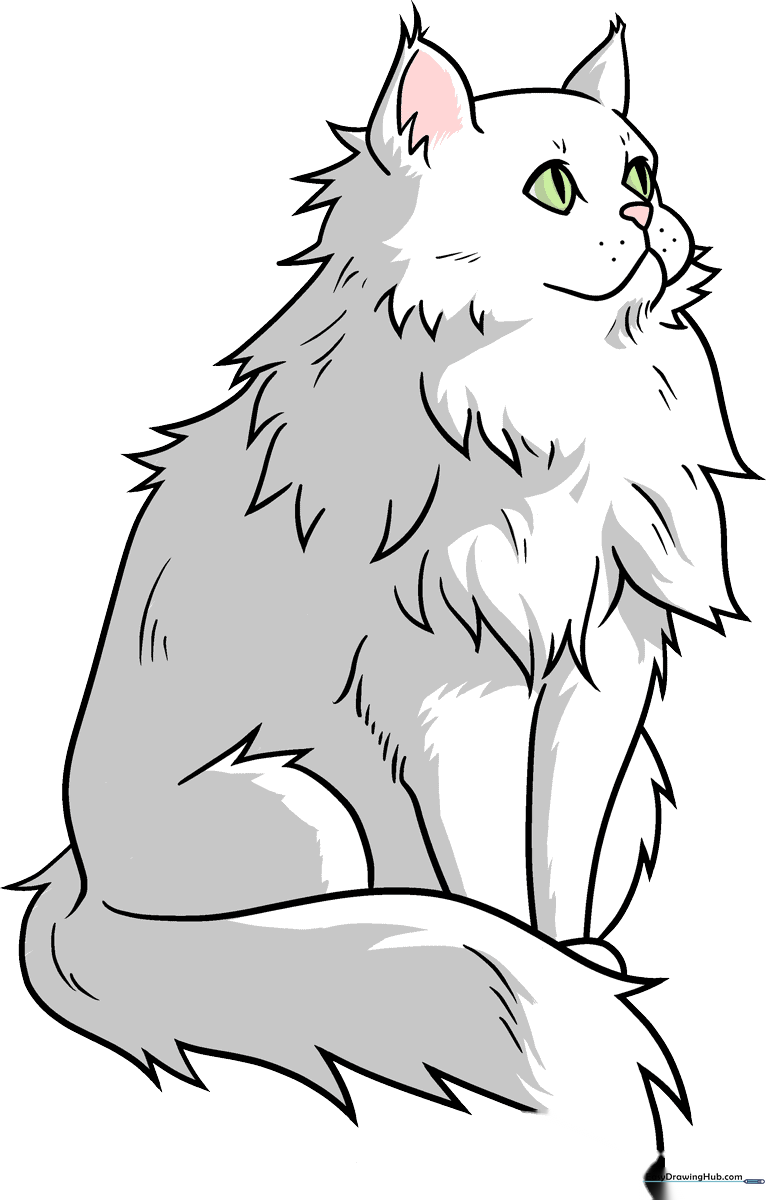
🎯 Final Result
Step-by-Step Instructions
Step 1: Sketching the Face Features

Start by drawing the cat’s rounded-diamond eyes, a small mushroom-shaped nose, and soft cheeks. Tip: Keep your pencil pressure light so you can easily adjust the symmetry of the eyes before moving on.
Step 2: Defining the Head and Ears
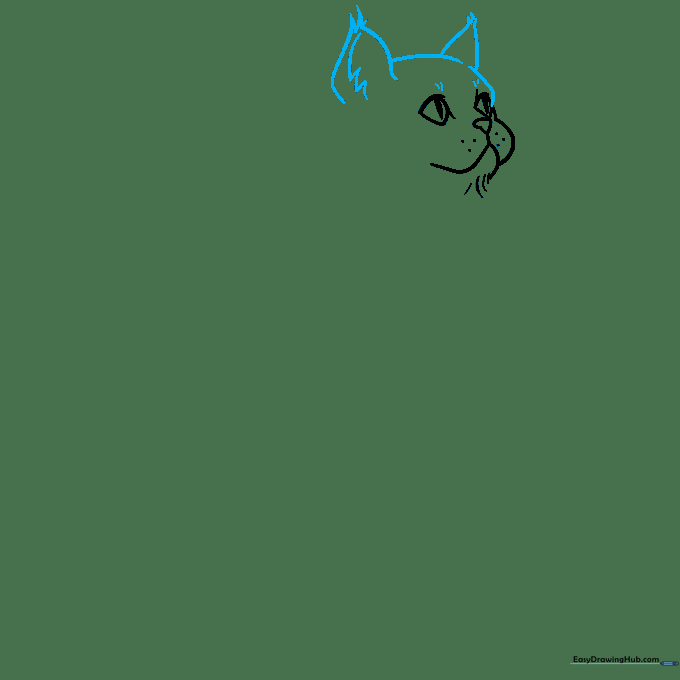
Use overlapping curved lines to frame the head and add small, tufted ears. Tip: Draw the ear tufts with quick, outward flicks of your wrist to make them look soft and furry.
Step 3: Creating the Neck Fur
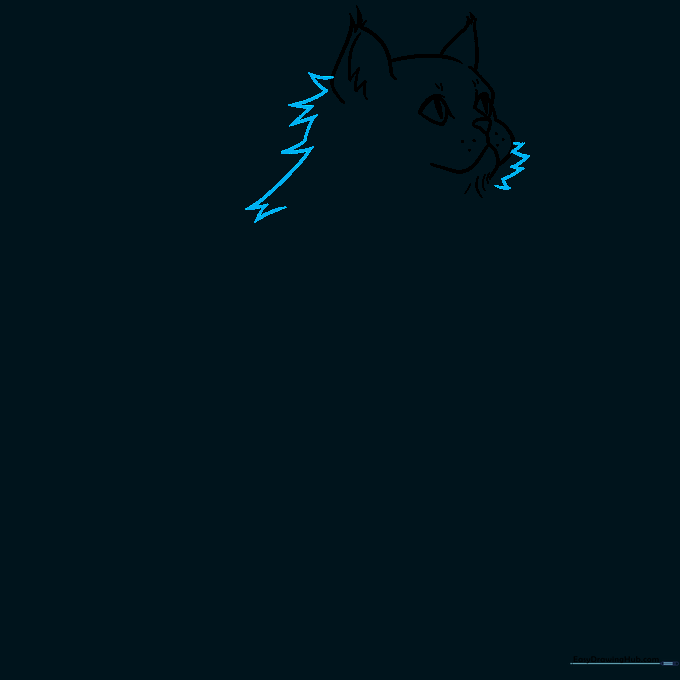
Use short, jagged lines to sketch the fluffy fur around the neck. Tip: Don't make the lines too perfect; irregular, zig-zagging lines look much more like natural, messy fur.
Step 4: Adding the Chest Fluff
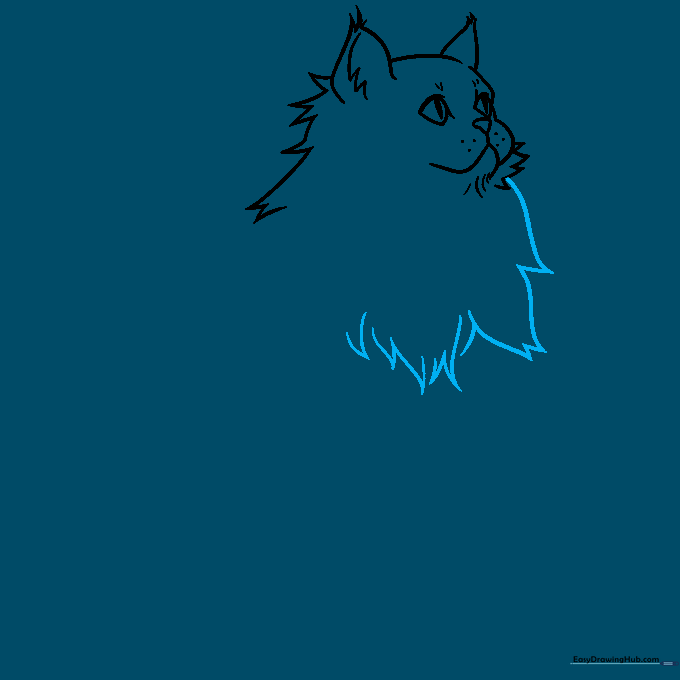
Extend the jagged lines downward to create a full, fluffy chest. Tip: Imagine the fur is poofy and thick; use longer, sweeping curves to show the volume of the cat's coat.
Step 5: Drawing the Front Legs
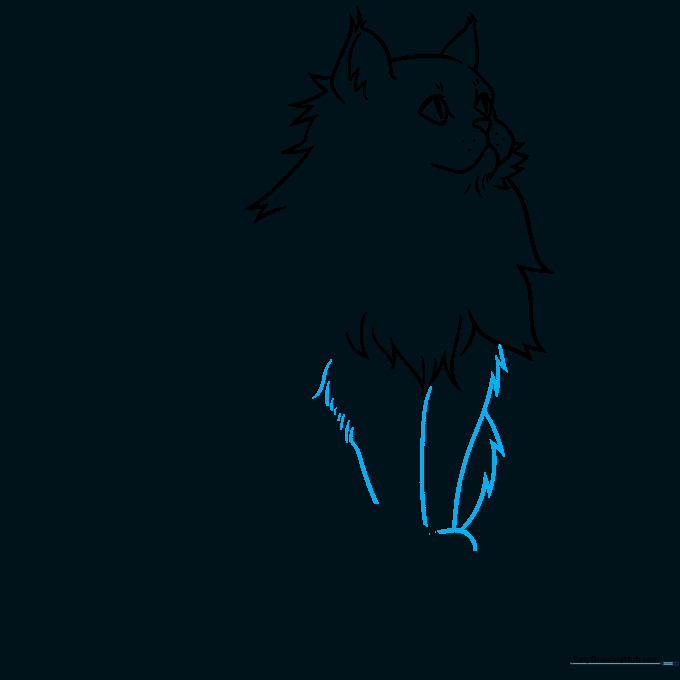
Sketch the forelegs using long, smooth curves, adding small jagged marks at the joints to suggest fur. Tip: Keep the legs slightly rounded to maintain the 'fluffy' look of the breed.
Step 6: Shaping the Back and Rear Leg
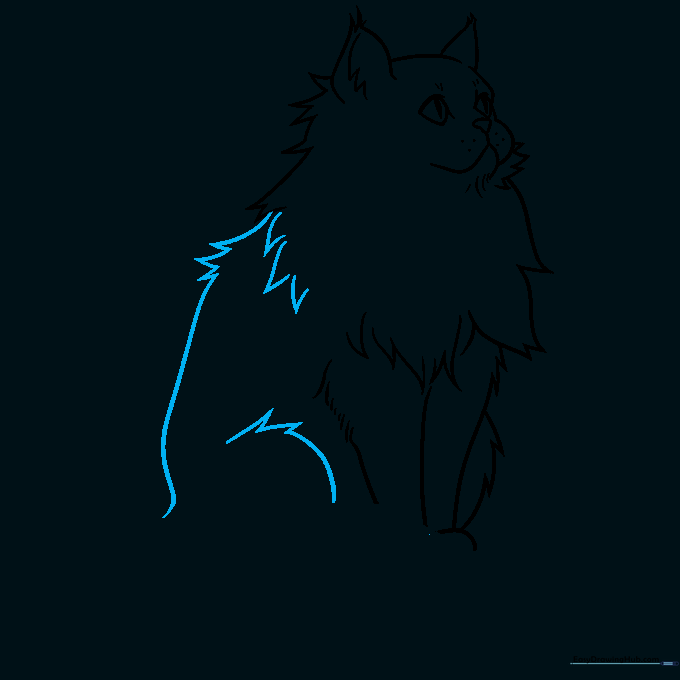
Draw the cat’s back and the curve of the rear leg. Tip: Use a continuous, flowing line for the back to give the cat a graceful, seated posture.
Step 7: Adding the Tail
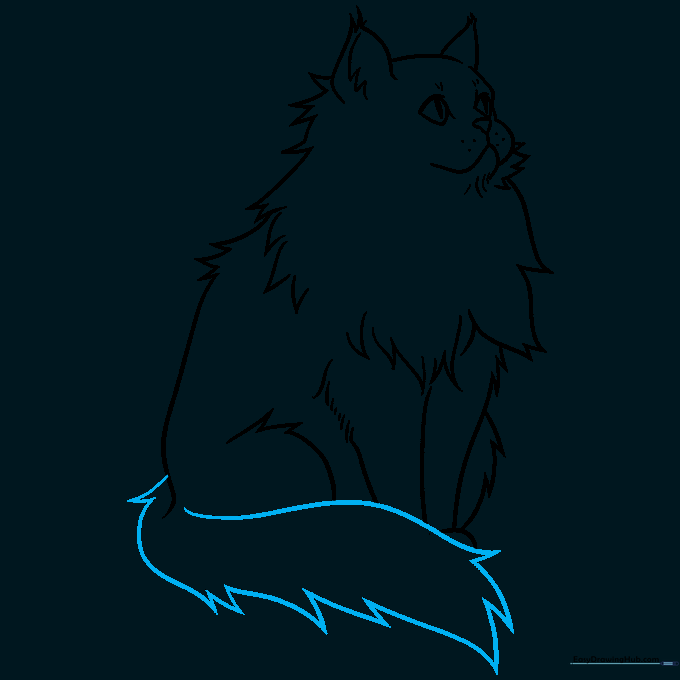
Draw a large, bushy tail using long, sweeping curved lines that meet at jagged points. Tip: Make the tail look extra thick to emphasize the Persian breed's signature look.
Step 8: Adding Fur Texture
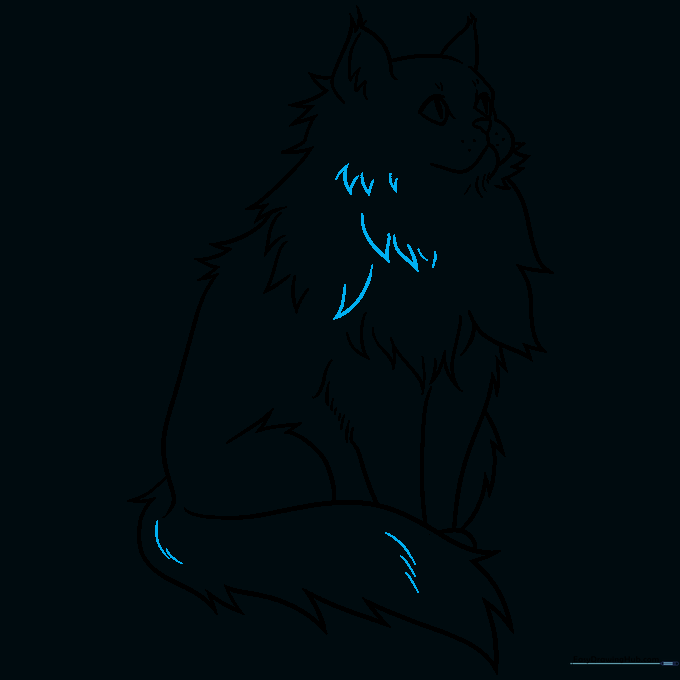
Add 'V' shaped lines throughout the body to create the illusion of thick, layered fur. Tip: Vary the size of the 'V's so the fur looks natural rather than uniform.
Step 9: Refining the Details
Finalize your outline by adding a few more fur tufts and cleaning up any overlapping lines. Tip: Use a darker pencil stroke for the final outline to make your drawing pop.
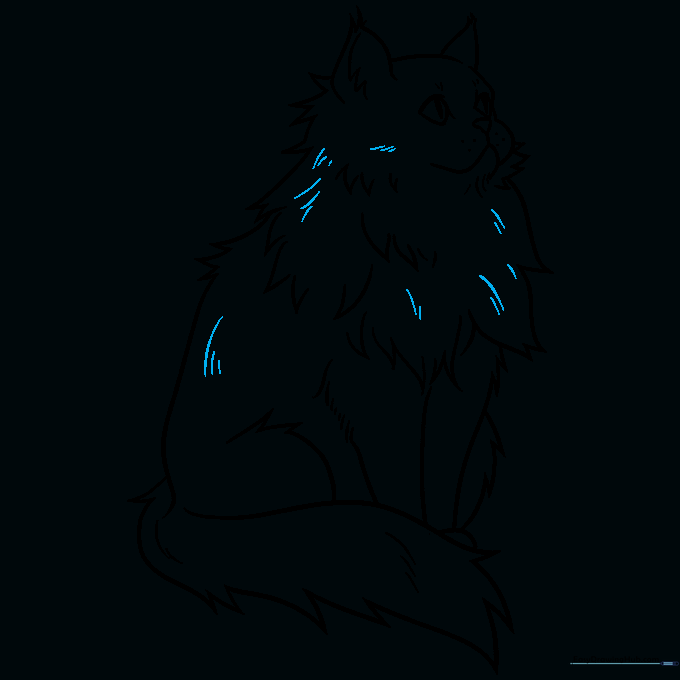
Step 10: Bringing Your Cat to Life with Color
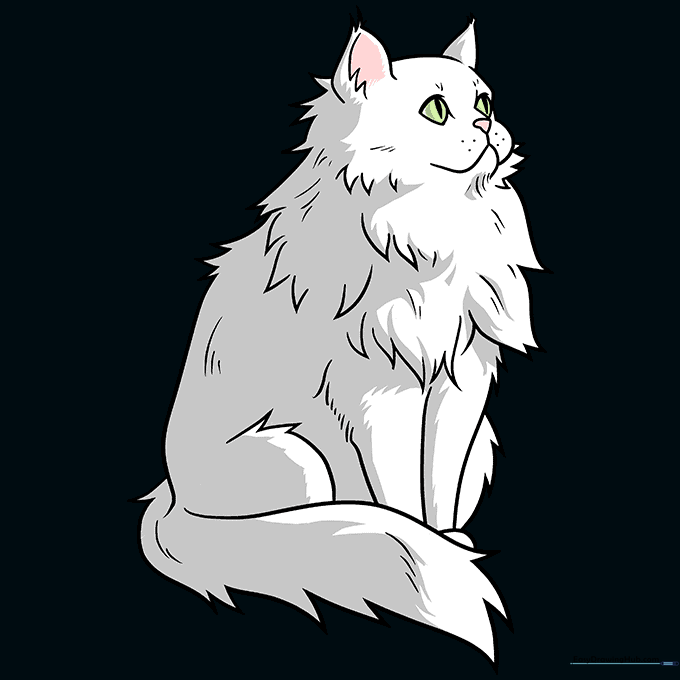
Time to color! Persians come in many shades like cream, black, or calico. Tip: Use soft, blended colors to maintain the 'fluffy' appearance of the coat.
More Tutorials


