How to Draw a Flower Garden: Easy 10-Step Guide
Bring a spring meadow to life on your paper! This tutorial is perfect for budding artists ages 5 and up. You will need a pencil, an eraser, and your favorite coloring supplies to create a beautiful garden scene that builds confidence and spatial awareness.
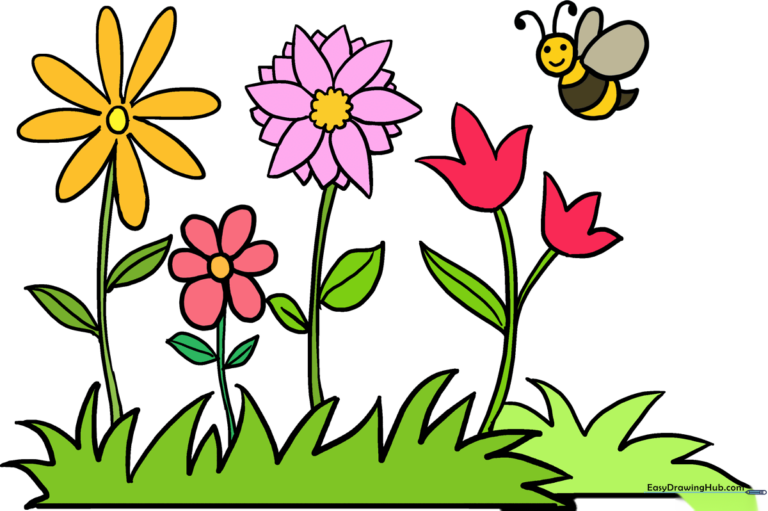
🎯 Final Result
Step-by-Step Instructions
Step 1: Establishing the Grass Base

Draw a long, horizontal line for the ground, then add a series of short, jagged 'V' shapes on top to create grass. Tip: Keep your pencil pressure light so the grass looks soft and natural rather than sharp.
Step 2: Starting the First Daisy
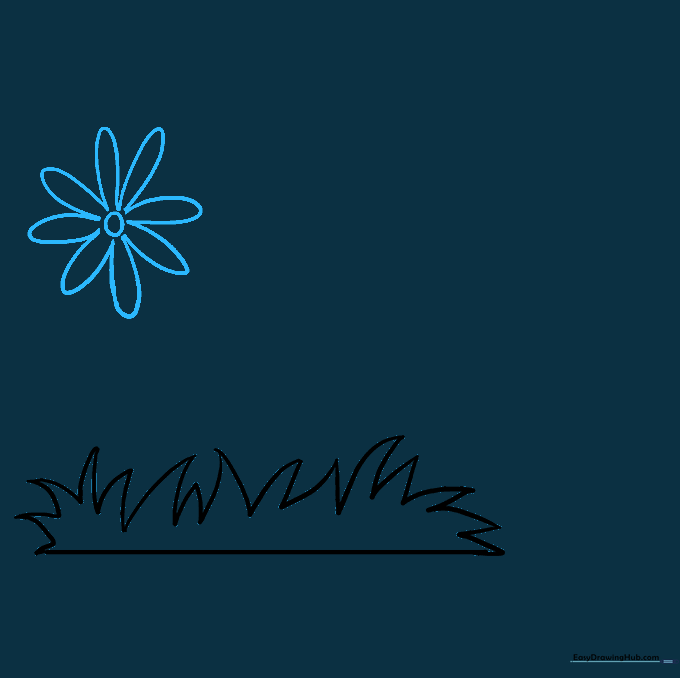
Draw a small circle above the grass for the center of your daisy. Surround it with 'U' shaped petals. Tip: Try to space your petals evenly around the circle to keep the flower looking balanced.
Step 3: Adding Stem and Leaves
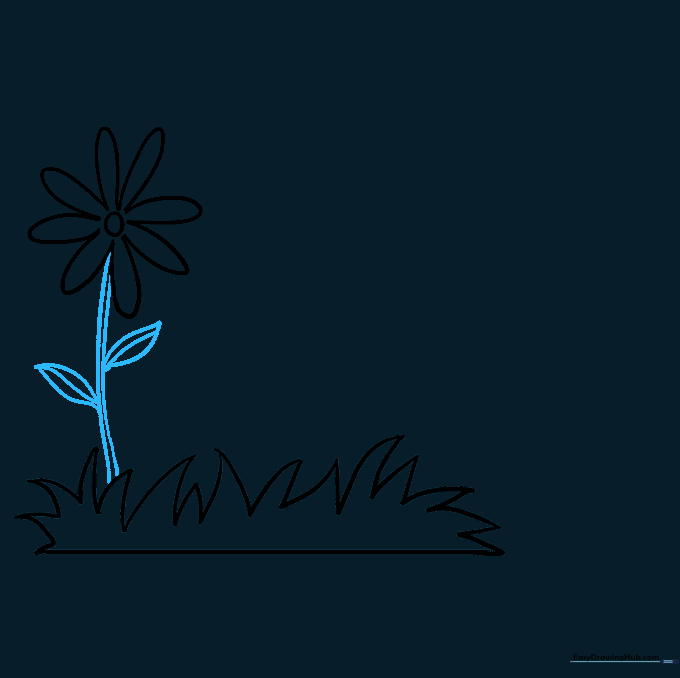
Draw two parallel, slightly curved lines downward to create the stem. Add pointed leaves on either side with a single line down the center for the vein. Tip: Make the leaves slightly curved to give the flower a sense of movement.
Step 4: Sketching a Smaller Flower
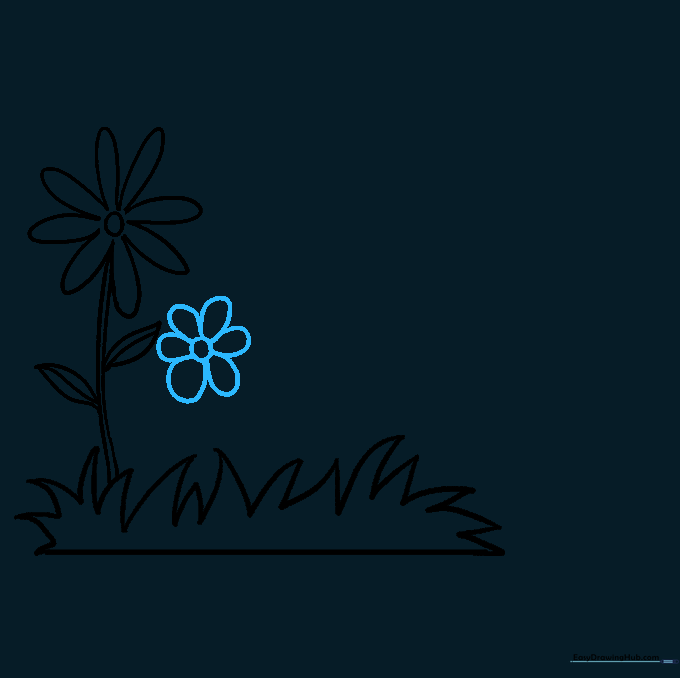
Add a second, smaller flower nearby using a circle and oval-shaped petals. Tip: Varying the sizes of your flowers makes your garden look more realistic and less like a pattern.
Step 5: Stems for the Second Flower
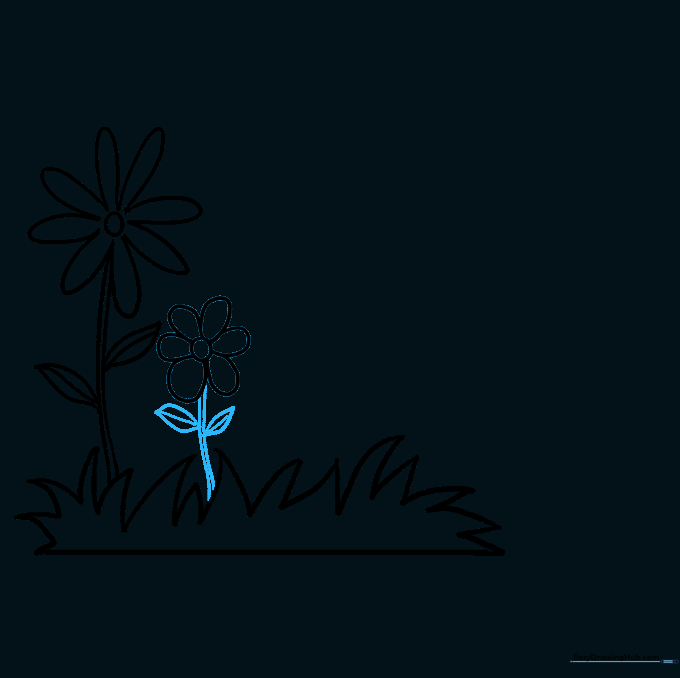
Draw the stem and leaves for your smaller flower, mirroring the technique from Step 3. Tip: Ensure the stem reaches all the way down to the grass line so the flower looks rooted.
Step 6: Drawing a Complex Flower

Create a 'fancy' flower by layering petals. Start with a circular center, then add primary petals, and fill the gaps with smaller triangular petals. Tip: Don't worry if the petals aren't perfect; nature is full of variety!
Step 7: Stem and Leaves for the Fancy Flower
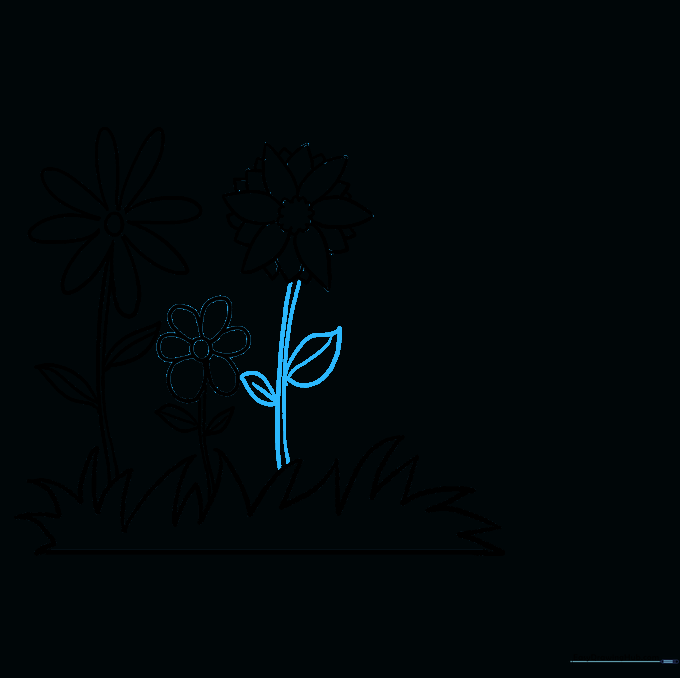
Add a sturdy stem and leaves to your fancy flower. Tip: Make these leaves slightly larger to support the weight of the bigger flower head.
Step 8: Adding Tulips and Depth
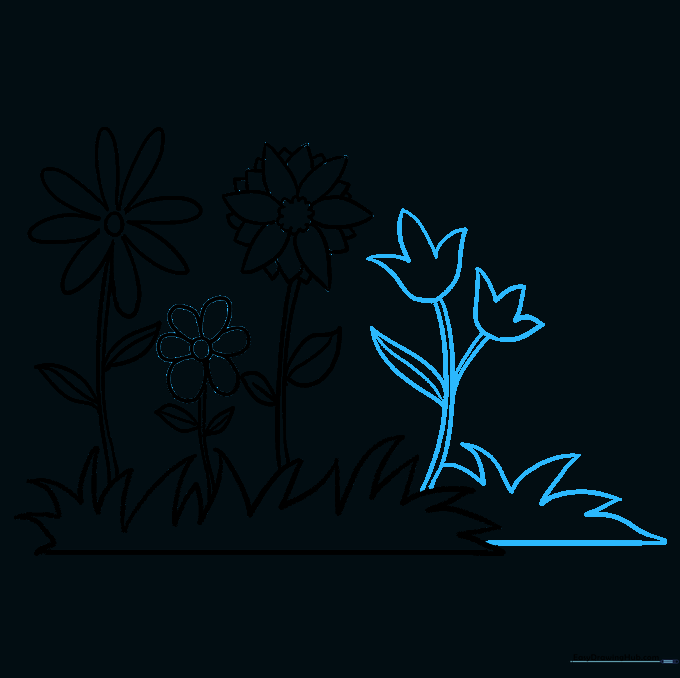
Add tulips using 'U' and 'W' shapes. Place them slightly higher on the page to create the illusion of depth. Tip: Overlapping your flowers slightly makes the garden look lush and full.
Step 9: Adding a Friendly Bee

Draw a bee using a circle for the head and an oval for the body. Add stripes, wings, and antennae. Tip: Keep the bee small so it doesn't distract from your beautiful flowers.
Step 10: Bringing Your Garden to Life with Color
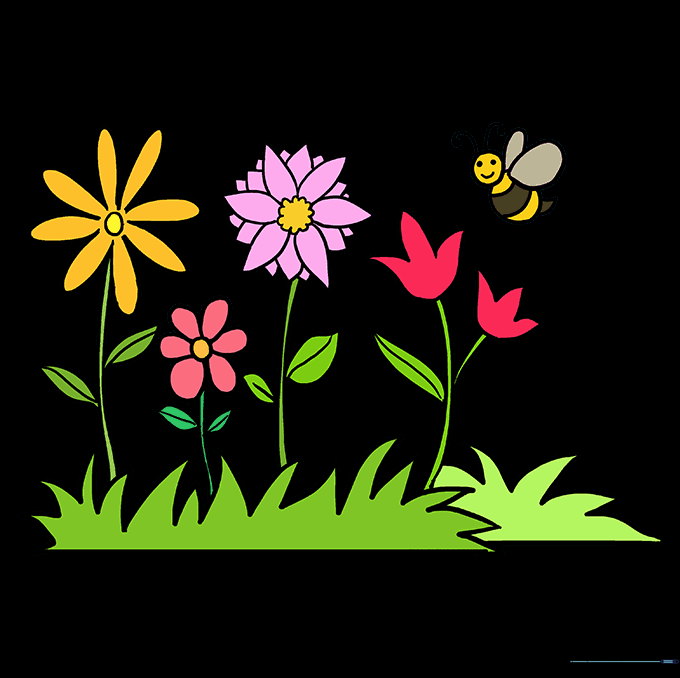
Use bright colors to fill in your flowers and green for the stems and grass. Tip: Use different shades of green to add highlights and shadows to your leaves!
More Tutorials


