How to Draw a Flower Bouquet: Easy Step-by-Step Guide
Create a vibrant, professional-looking flower bouquet with this screen-free art activity, perfect for ages 5 and up. You will only need paper, a pencil, and your favorite coloring supplies to bring this floral arrangement to life. Follow these simple steps to build confidence and develop your observational drawing skills.
🎯 Final Result

Step-by-Step Instructions
Step 1: Sketching the First Bloom

Start by drawing a small circle for the center of your first flower. Surround it with rounded 'U' shapes to create the petals. Teacher's Tip: Keep your circle small to leave plenty of room for the rest of the bouquet.
Step 2: Adding the Second Flower

Draw a second flower nearby using the same method: a small center circle and 'U' shaped petals. Teacher's Tip: Try overlapping the petals slightly with the first flower to make the bouquet look dense and realistic.
Step 3: Creating the Third Blossom

Add a third flower to your arrangement. By varying the placement of these circles, you create a natural, organic look. Teacher's Tip: Don't worry about making them perfect; flowers in a real bouquet are always slightly irregular.
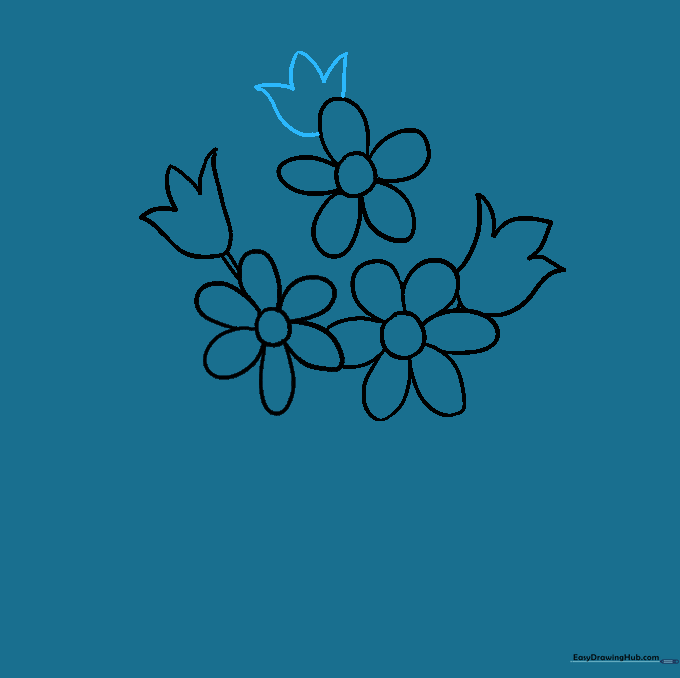
Step 4: Drawing the Tulips

Let's add variety! Draw two parallel lines for a stem, then a 'U' shape for the base of a tulip. Connect the top with a 'W' shaped line. Teacher's Tip: Use a light touch for the stem so it looks delicate.
Step 5: Filling the Gaps
Add another tulip peeking out from behind the other flowers using the same 'U' and 'W' technique. Teacher's Tip: This creates depth, making your bouquet look like a professional arrangement.
Step 6: Adding Greenery
Sketch leaves by drawing two curved lines that meet at a point. Connect them at the base of your flowers. Teacher's Tip: Vary the size of your leaves to make the bouquet look lush and full.
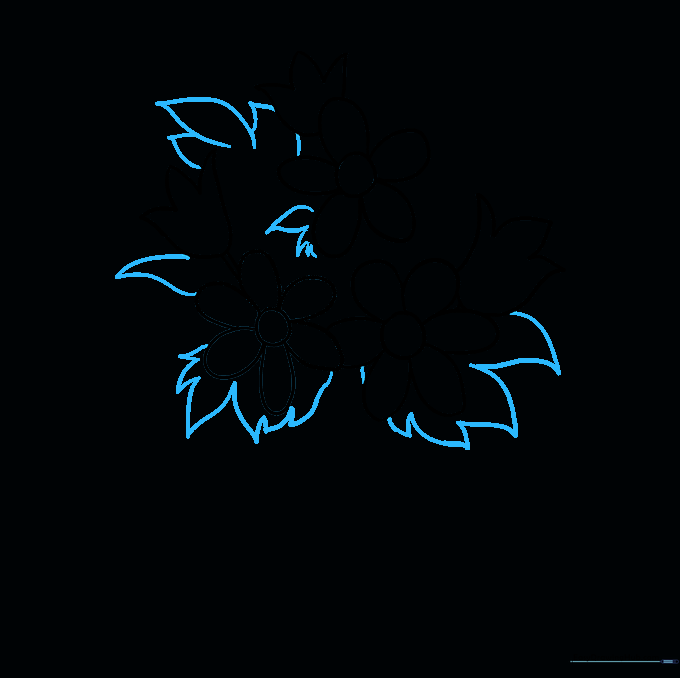
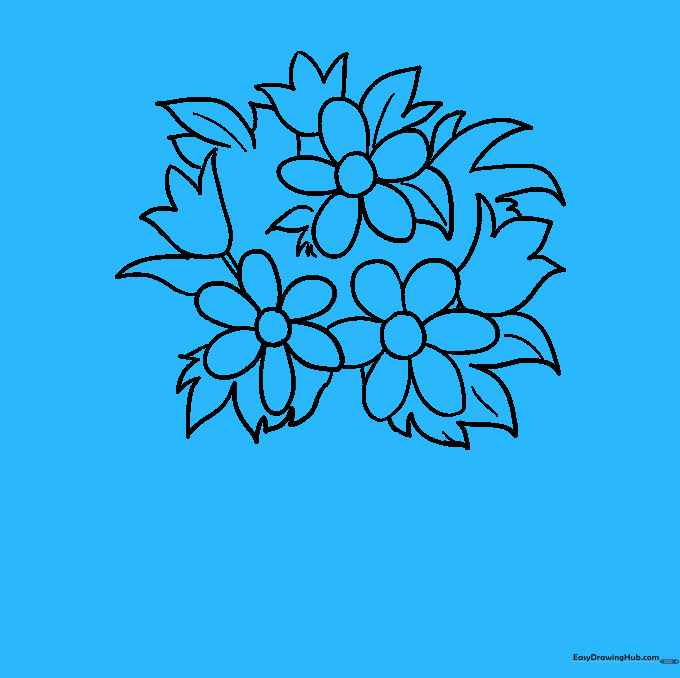
Step 7: Leaf Details

Continue adding leaves to fill the bouquet shape. Add a curved line down the center of each leaf to represent the vein. Teacher's Tip: This small detail adds a professional touch to your botanical drawing.
Step 8: Adding More Blooms
Fill in any remaining gaps with smaller flowers. Use the stem and petal method again. Teacher's Tip: Notice the wavy edges on these petals—try to mimic that texture to add variety to your bouquet.
Step 9: Tying the Ribbon

Draw the stems angling downward and enclose them with a ribbon shape. Add a bow with teardrop shapes. Teacher's Tip: The ribbon acts as the anchor for your bouquet, so make it look nice and secure.
Step 10: Bringing it to Life with Color

Now for the fun part! Use your favorite colors to fill in your bouquet. Teacher's Tip: Use different shades of green for the leaves to make them look more vibrant and realistic.
More Tutorials


