How to Draw a Flashlight: Easy 9-Step Guide for Kids
Ready to light up your sketchbook? This tutorial is perfect for young artists ages 5+ who want to practice drawing cylindrical shapes. You only need a pencil, an eraser, and your favorite markers to bring this handy tool to life.
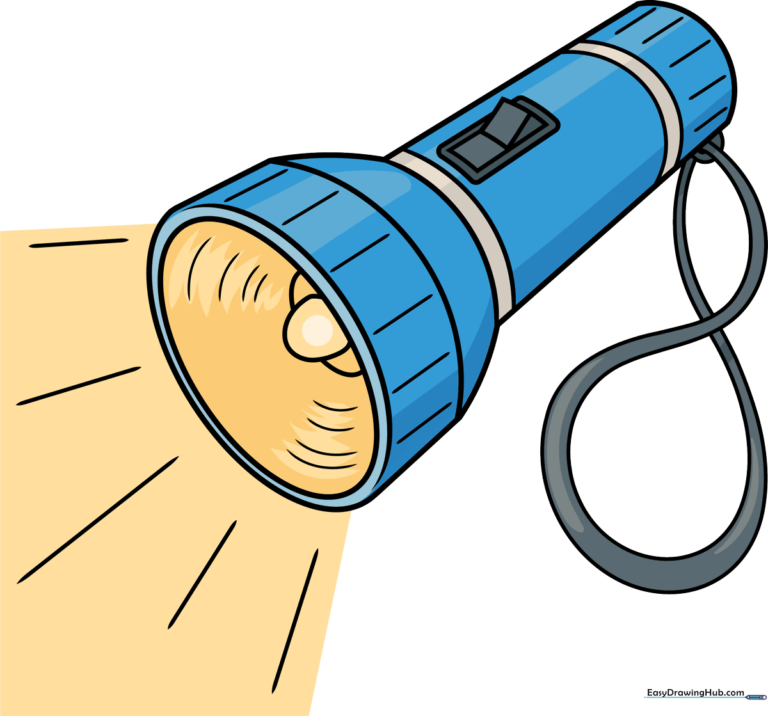
🎯 Final Result
Step-by-Step Instructions
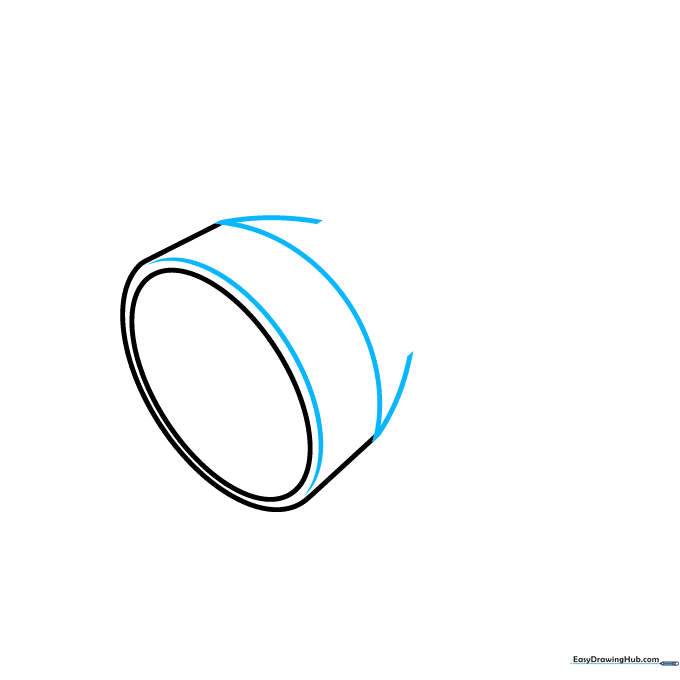
Step 1: Sketching the Lens
Start by drawing a neat oval for the lens. Then, add a long, slightly curved line extending from the sides to begin the cylinder. Teacher's Tip: Keep the oval centered on your page to leave room for the handle later.
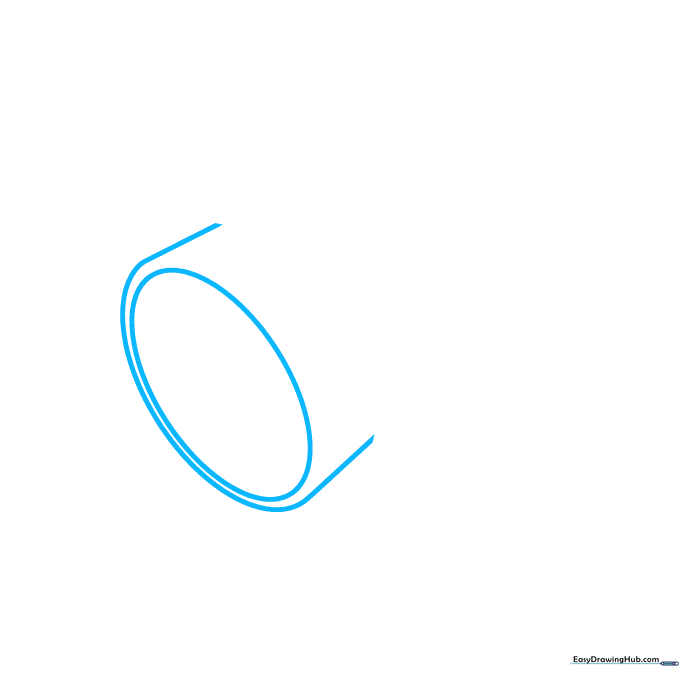
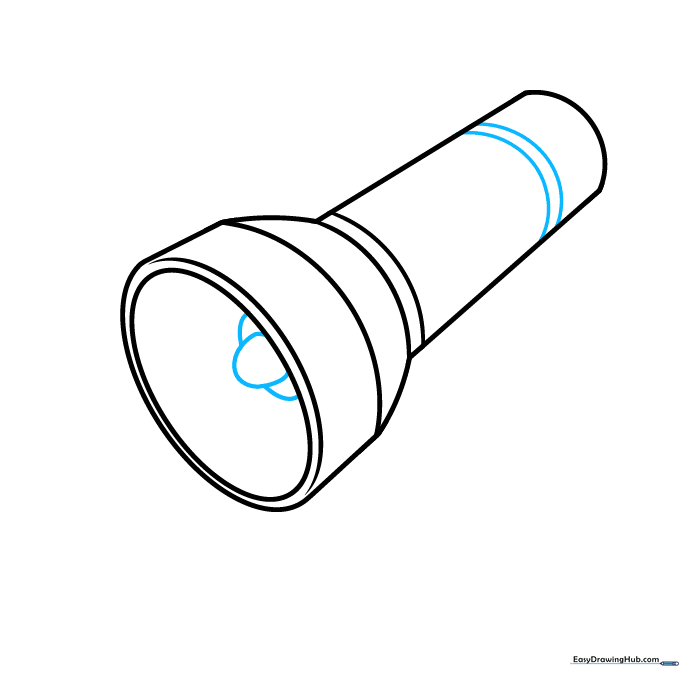
Step 2: Defining the Neck
Draw a curved line parallel to the lens to create depth. Extend shorter curved lines outward to form the 'neck' where the head meets the body. Tip: Use smooth, fluid motions to keep the curves looking rounded.
Step 3: Forming the Body
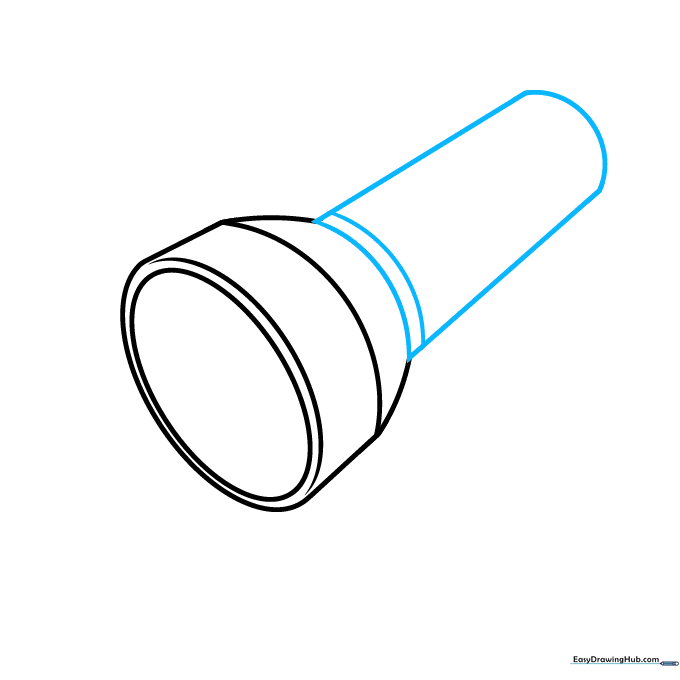
Extend a long curved line downward and loop it back to form the main handle. Add a curved band near the neck for detail. Tip: If your lines aren't perfectly straight, don't worry—flashlights come in many shapes!
Step 4: Adding the Bulb
Add two curved lines across the body for grip bands. Inside the lens, draw a partial oval to represent the lightbulb. Tip: Drawing the bulb slightly off-center adds a nice 3D effect.
Step 5: The Power Switch
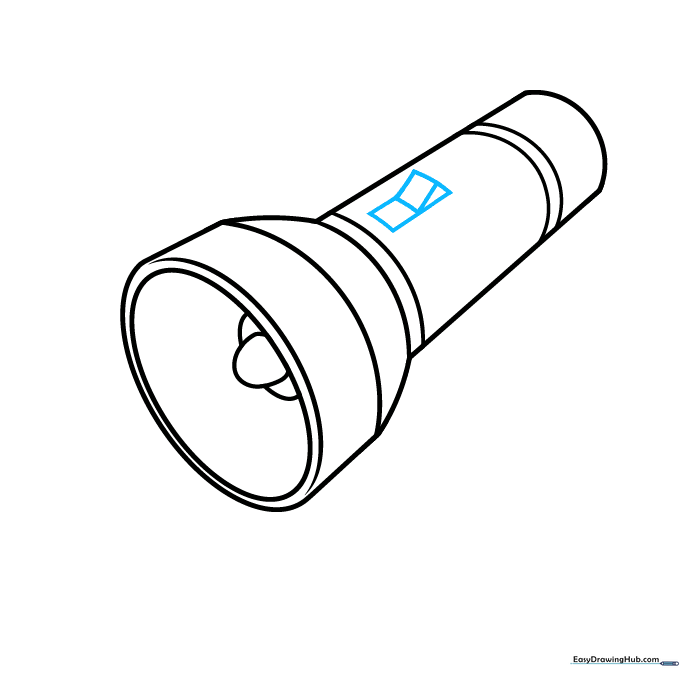
Draw two small rectangles and a triangle on the side of the handle to create the on/off switch. Tip: Press a little harder with your pencil here to make the button stand out from the body.
Step 6: Drawing the Lanyard
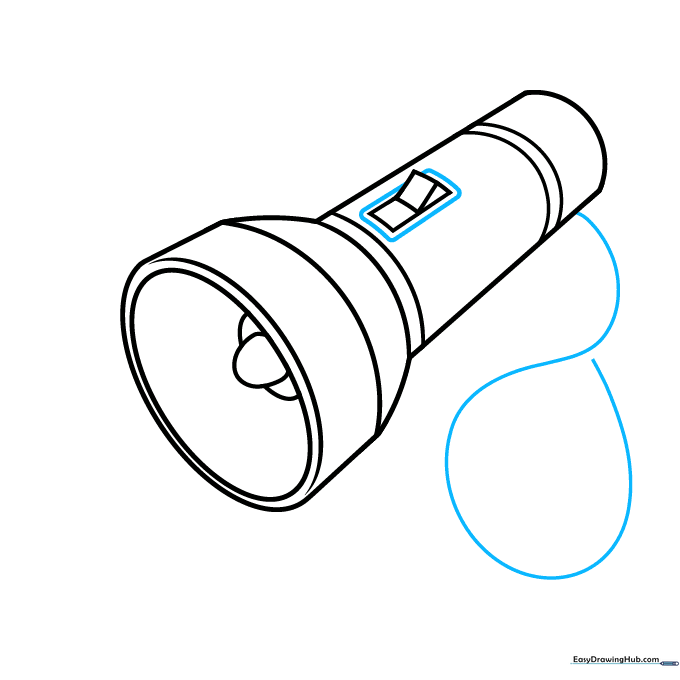
Draw a long, looping curved line at the base of the flashlight. This will be the wrist strap. Tip: Imagine the shape of a 'U' turned on its side to get the curve just right.
Step 7: Thickening the Strap
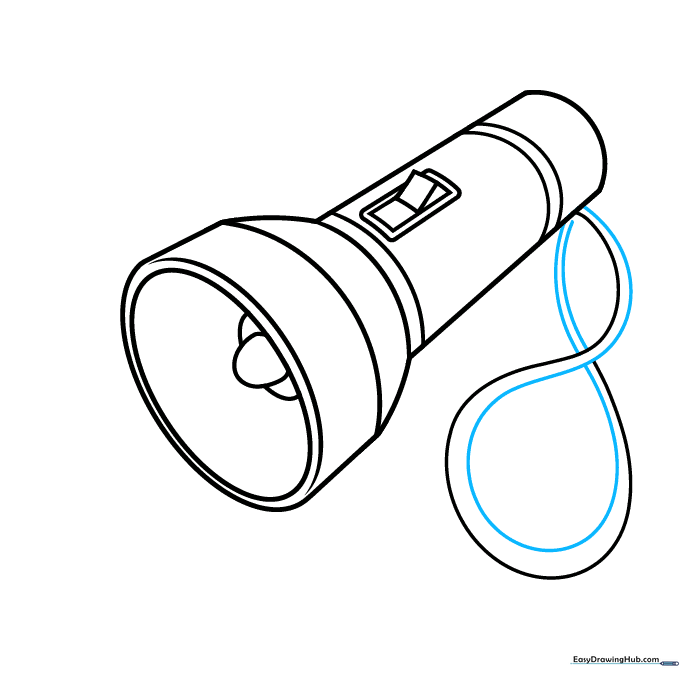
Draw parallel lines along your previous loop to give the lanyard thickness. This creates a realistic figure-eight shape. Tip: Keep the space between your lines consistent for a professional look.
Step 8: Final Textures
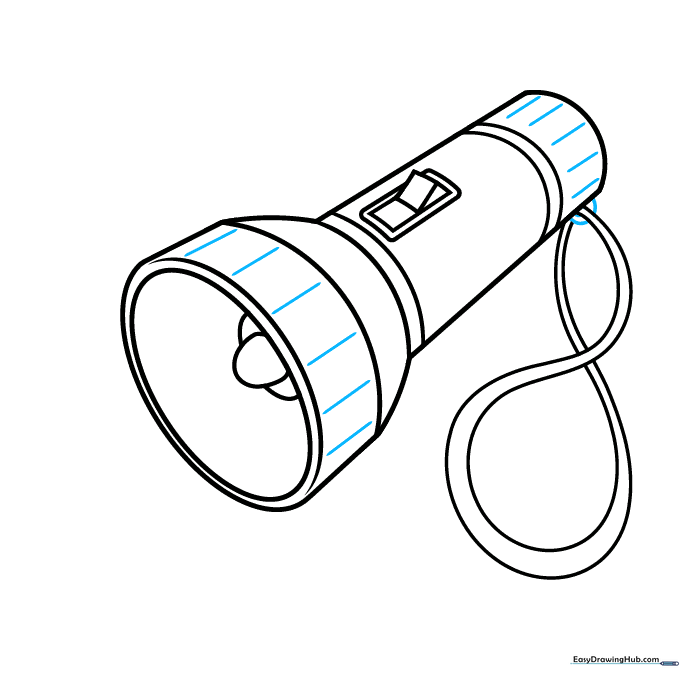
Add a half-circle where the lanyard attaches to the handle. Add small, straight lines at the ends of the flashlight to show texture. Tip: These small details make your drawing look like a real object!
Step 9: Adding the Light Beam
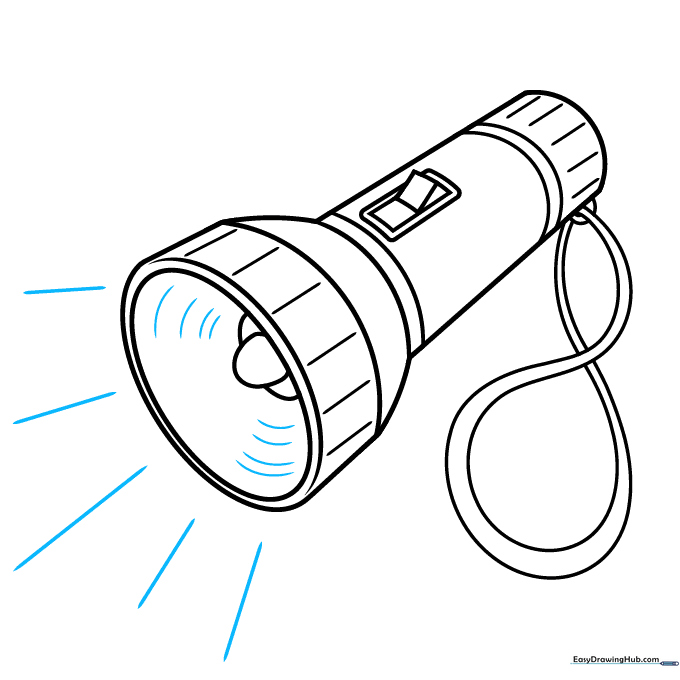
Add curved lines inside the lamp to show the glass, then draw diagonal 'ray' lines extending outward to show the light shining. Tip: Use a ruler if you want your light rays to be perfectly straight.
Step 10: Color Time!
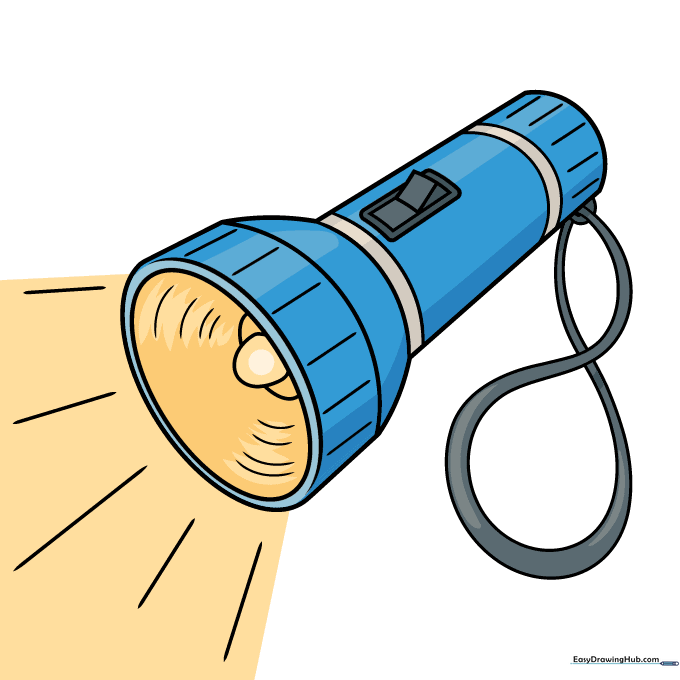
Time to color! Use bright yellow for the light beam and your favorite color for the flashlight body. Tip: Use a lighter shade of yellow near the lens and a darker shade at the edges of the beam for a glowing effect.
More Tutorials


