How to Draw a Fist: Easy 10-Step Guide for Beginners
Drawing hands can be tricky, but breaking a fist down into simple geometric shapes makes it accessible for artists of all ages. You only need a pencil, an eraser, and a piece of paper to get started. Follow these steps to build confidence in your anatomy sketching skills.
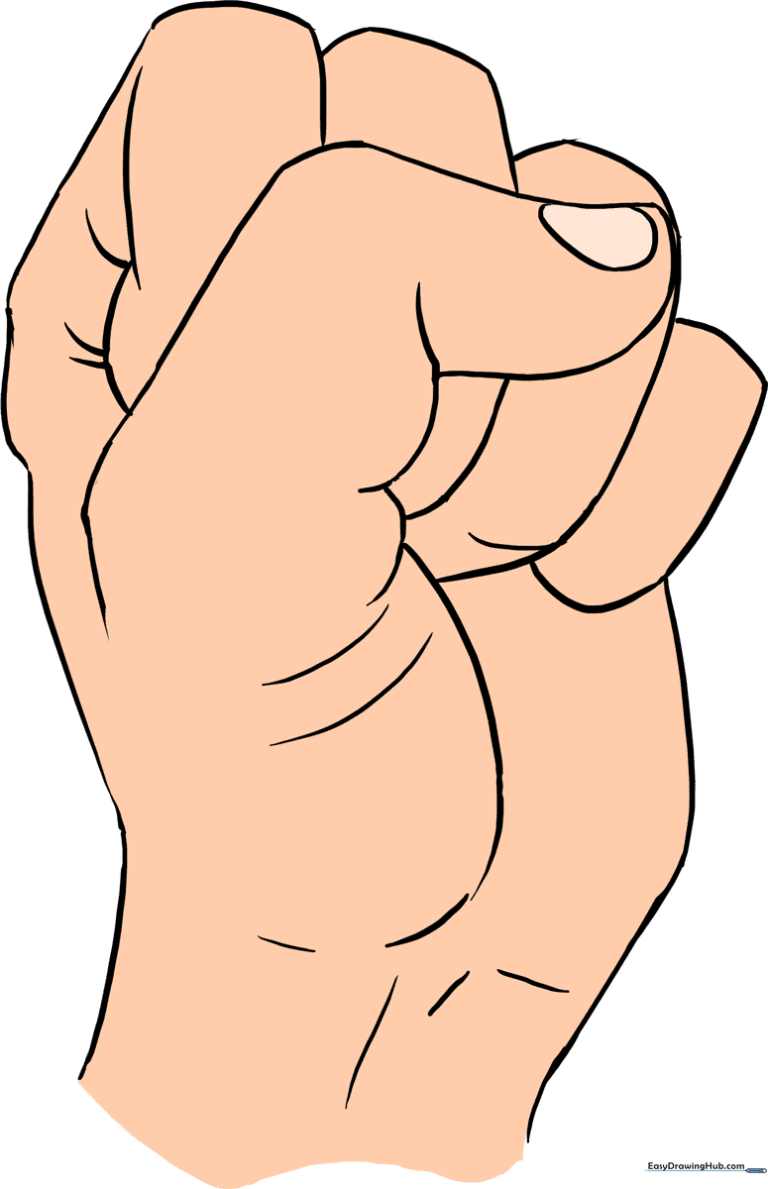
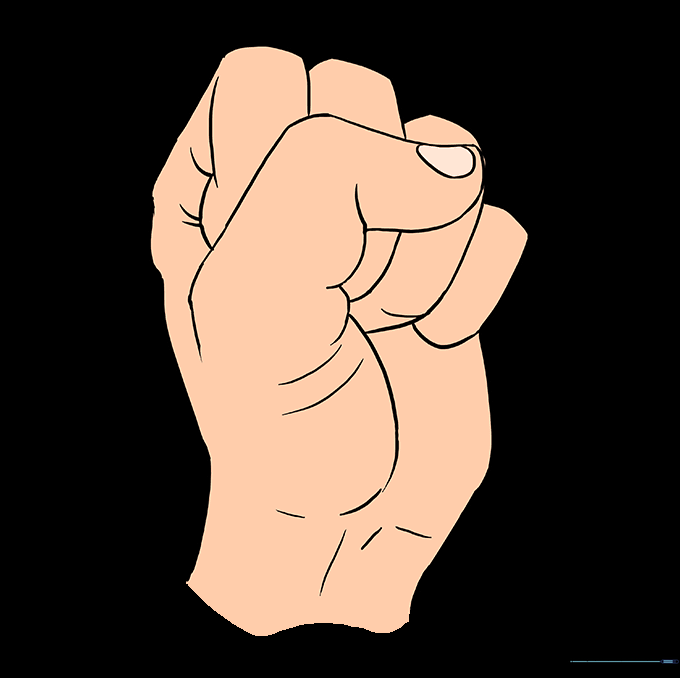
🎯 Final Result
Step-by-Step Instructions
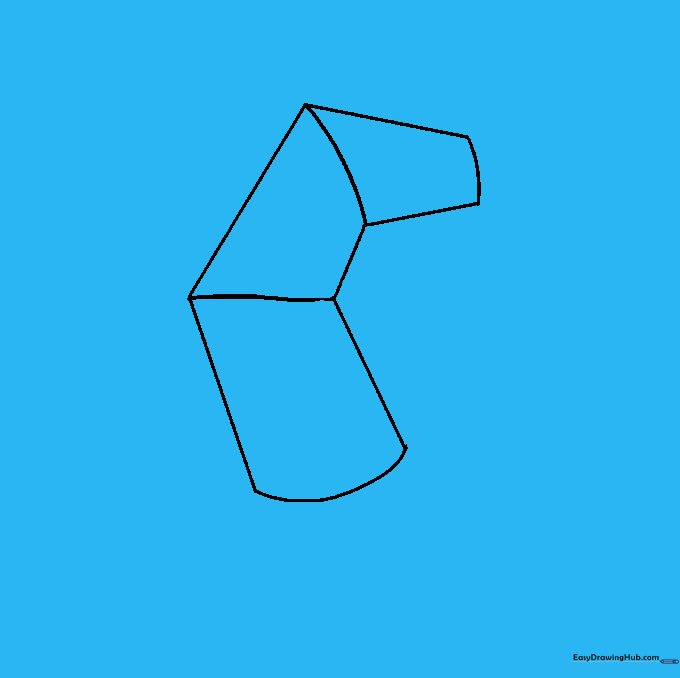
Step 1: Mapping the Thumb Base

Start by sketching the thumb's structure using diagonal, parallel lines connected by curves. Teacher's Tip: Keep these lines faint; they are just the 'skeleton' of your drawing and will be erased later.
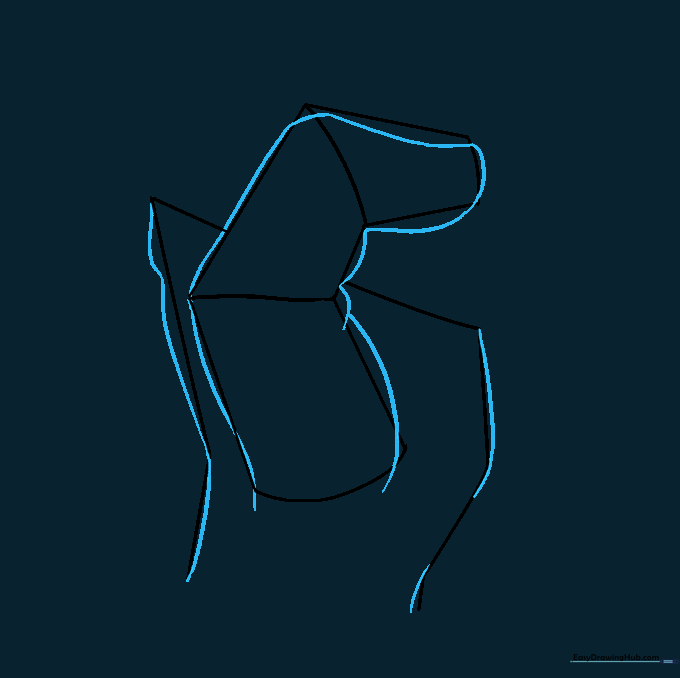
Step 2: Defining the Wrist
Outline the wrist using straight lines that connect to your thumb base. Pay attention to the sharp angle—this helps define the tension of a clenched hand.
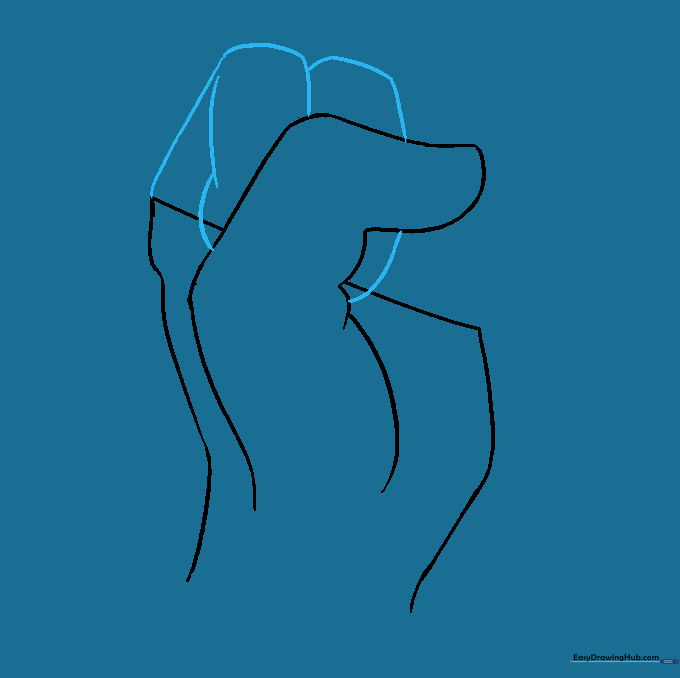
Step 3: Softening the Edges
Now, let's make it look organic. Sketch curved lines over your straight guides to represent the skin folds. Tip: Focus on the curve of the knuckle—it should look like a gentle 'C' shape.
Step 4: Cleaning the Guides

Gently erase the internal guide lines. You should now see the clean silhouette of the thumb and palm area.
Step 5: Sketching the Folded Fingers
Use long, sweeping curved lines to enclose the shape of the fingers tucked into the palm. Tip: Think of these as stacked rounded blocks.
Step 6: Refining the Fingers

Erase any overlapping lines inside the finger area to make the fist look solid and unified.
Step 7: Adding Knuckle Detail

Add a small curve for the fingernail on the thumb and short, dash-like lines to suggest the knuckles. This adds realism to your drawing.
Step 8: Defining the Third Finger

Sketch the third finger with a long, curved line. Add a small 'v' or curve to indicate the knuckle joint.
Step 9: Final Touches

Complete the fourth finger and add a few lines to the wrist to suggest tendons. Clean up any stray marks.
Step 10: Bring It to Life
Add color or shading to your fist. Use a darker tone in the crevices between fingers to create depth. Ready for more? Explore our human anatomy collection!
More Tutorials


