How to Draw a Fish Tank: Easy 10-Step Guide for Kids
Ready to design your own underwater world? This tutorial is perfect for young artists ages 5 and up. Grab a pencil, an eraser, and your favorite markers to build a custom aquarium complete with a castle, coral, and happy goldfish.
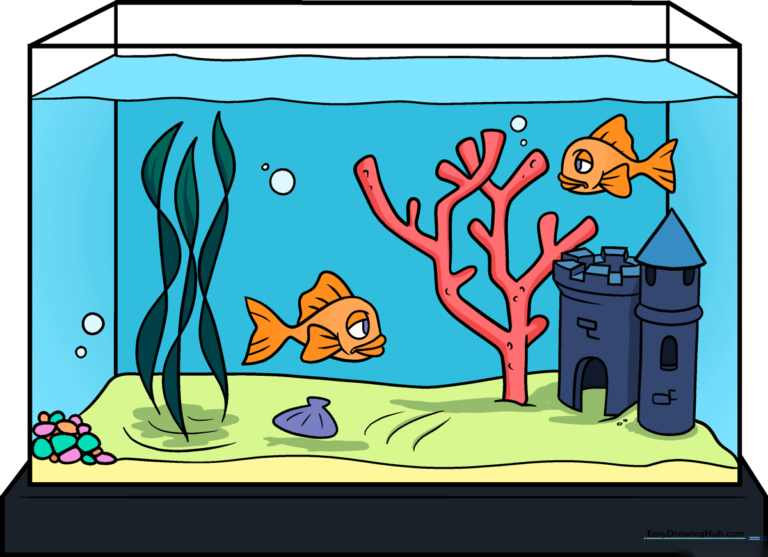
🎯 Final Result
Step-by-Step Instructions
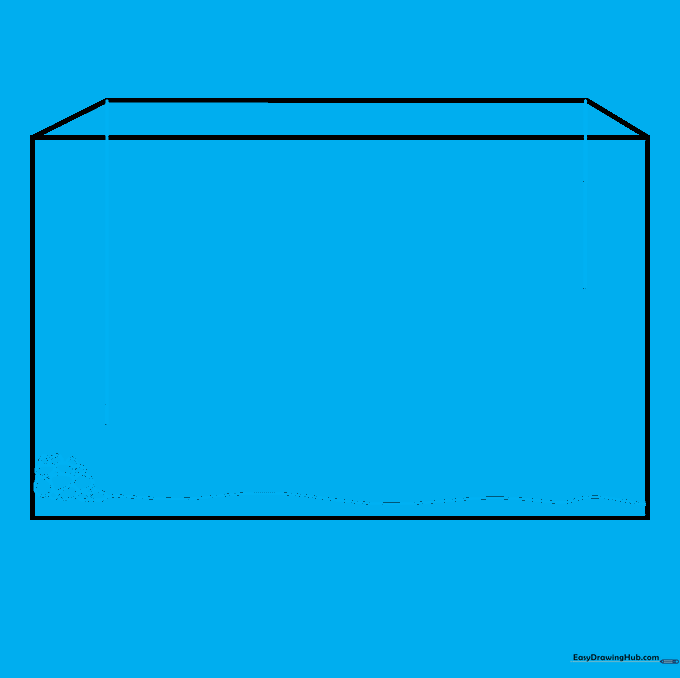
Step 1: Sketching the Glass Frame

Draw a large rectangle to represent the front glass of your aquarium. Add a narrow trapezoid on top to create the lid. Teacher's Tip: Use a light touch with your pencil so you can easily erase any overlapping lines later!
Step 2: Adding the Substrate
Draw small, irregular circles in one corner for pebbles, then a wavy line across the bottom for the sand. Add vertical lines from the back corners of the lid to show depth. Teacher's Tip: Keep your pebbles different sizes to make the tank look more natural.
Step 3: Defining the Base
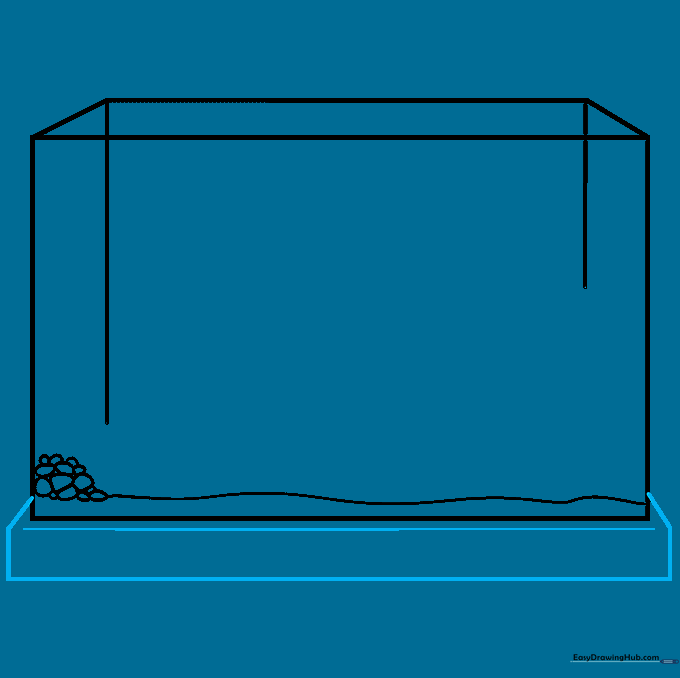
Connect the sides and bottom of your rectangle with straight lines to give the tank a solid base. Draw a horizontal line across the top of the base to define the floor. Teacher's Tip: Use a ruler if you want your tank to look extra sharp and professional!
Step 4: Building the Castle
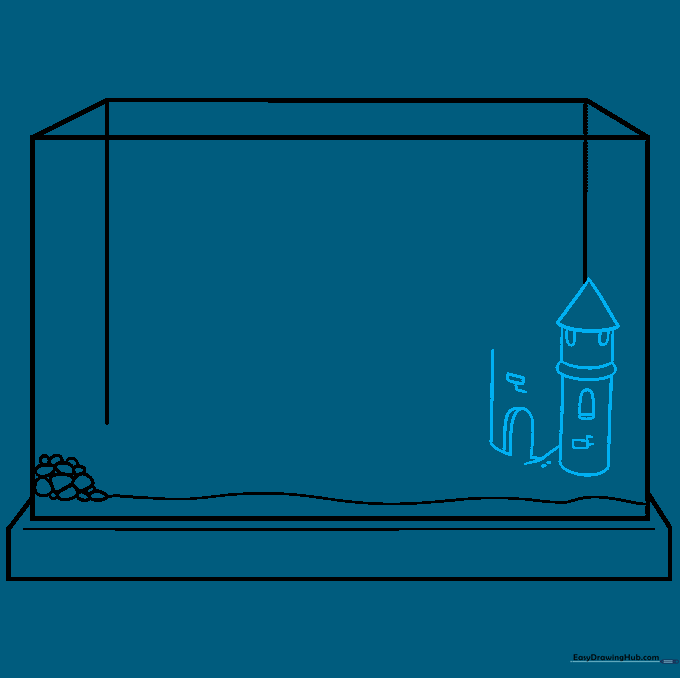
Draw a small castle for your fish to hide in. Start with a triangle roof, then add curved walls and a 'U' shaped door. Add small rectangles on the walls to look like bricks. Teacher's Tip: Don't worry about making the bricks perfect; irregular shapes look more like real stone.
Step 5: Adding Parapets and Coral
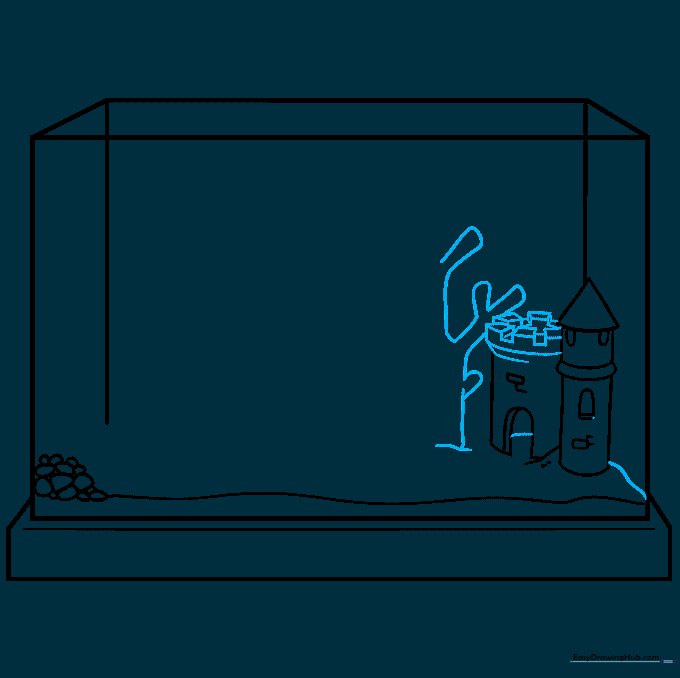
Add a watchtower to the castle using small trapezoids. Then, sketch a branching, tree-like shape for the coral. Teacher's Tip: Coral is organic, so let your hand be loose and wiggly rather than rigid.
Step 6: Texturing the Coral
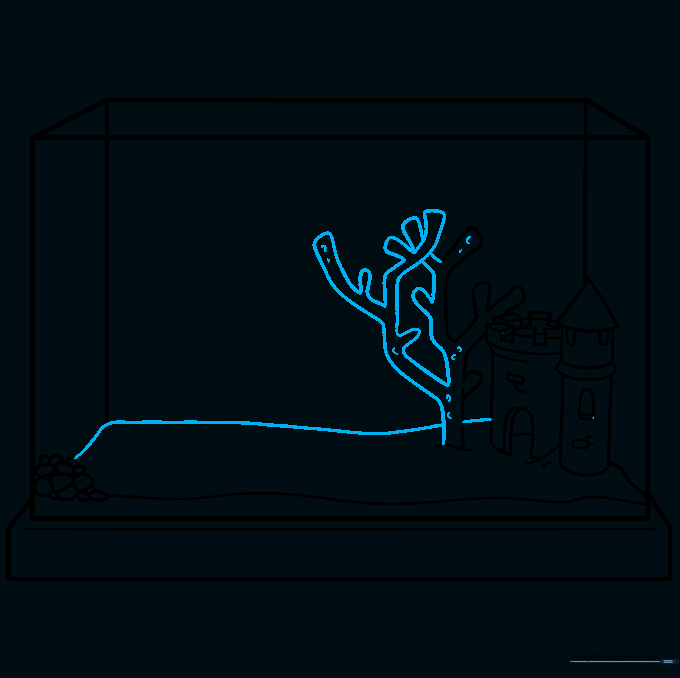
Refine your coral by adding small 'C' shaped lines for texture. Add a curved line along the back of the tank to show where the sand meets the water. Teacher's Tip: The 'C' shapes create a bumpy, realistic look for the coral.
Step 7: Adding Seaweed and Shells
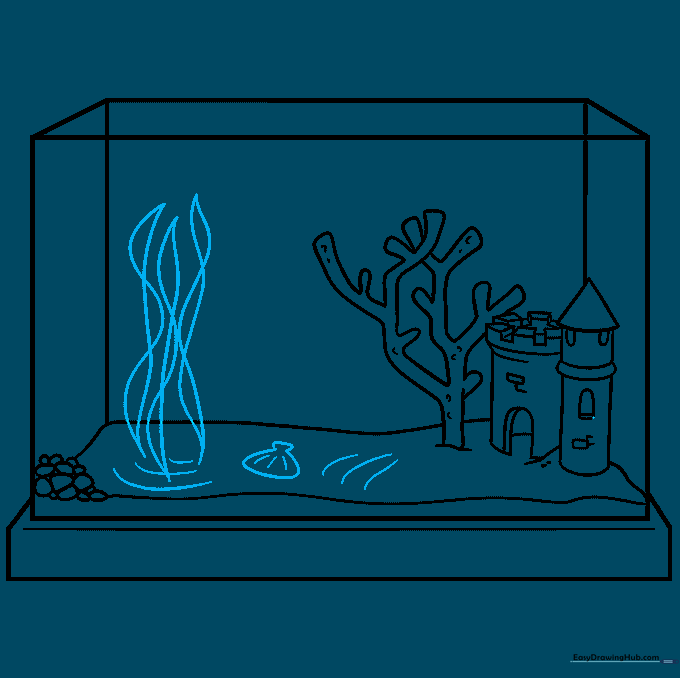
Draw tall seaweed by extending two curved lines that cross over each other. Add a seashell nearby for extra detail. Teacher's Tip: Make the seaweed leaves different heights to create visual interest.
Step 8: Drawing Your First Fish
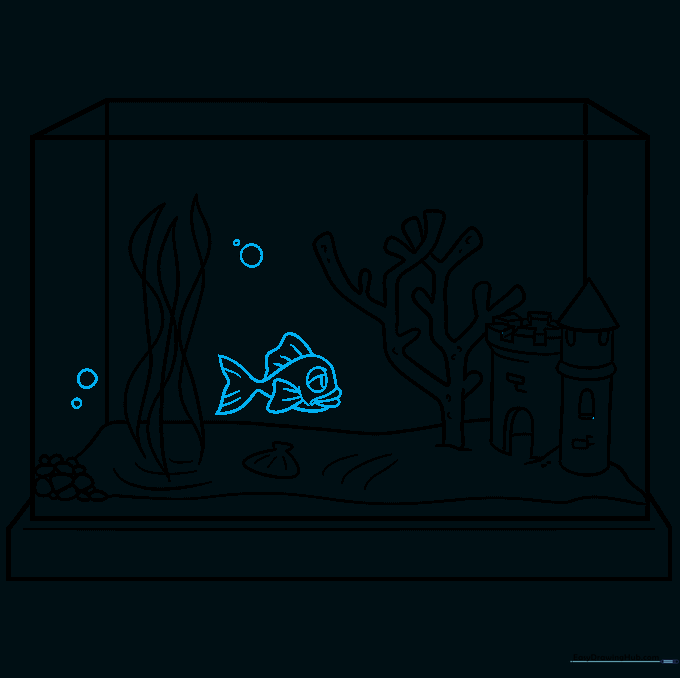
Time for the residents! Sketch a fish using curved lines for the body, fins, and tail. Don't forget to add a few circular bubbles rising to the top. Teacher's Tip: Draw the bubbles in different sizes to make them look like they are floating at different depths.
Step 9: Final Touches
Add another fish to keep the first one company. Finally, draw a wavy line at the top to represent the waterline. Teacher's Tip: Make sure your waterline is parallel to the top of the tank for a realistic look.
Step 10: Bring It to Life with Color
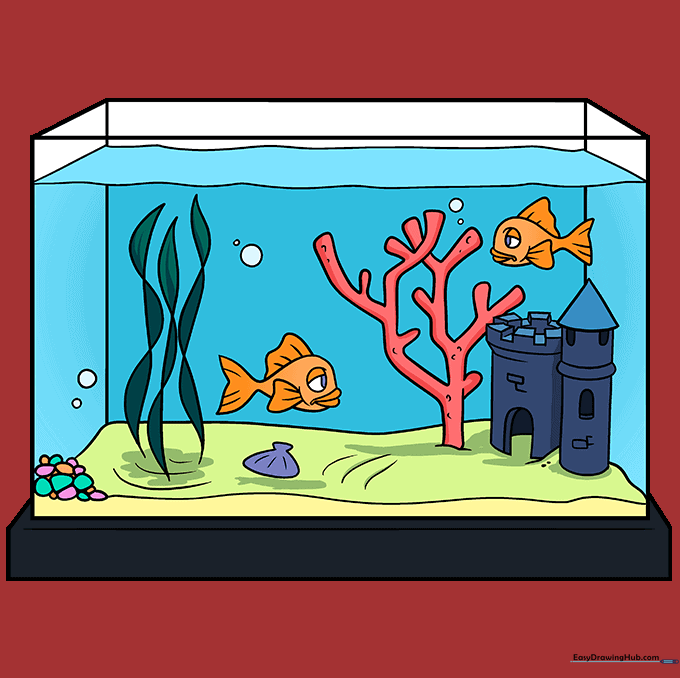
Fill your drawing with color! We used bright orange for the goldfish to make them pop against the blue water. Teacher's Tip: Use light blue for the water and leave small white spots to represent light reflecting off the glass.
More Tutorials


