How to Draw a Cozy Fireplace: Easy 9-Step Christmas Tutorial
Bring the warmth of the holidays to your sketchbook with this cozy fireplace drawing. Designed for artists ages 5 and up, this tutorial uses simple shapes to build a festive scene. All you need is a pencil, an eraser, and your favorite coloring supplies to get started.
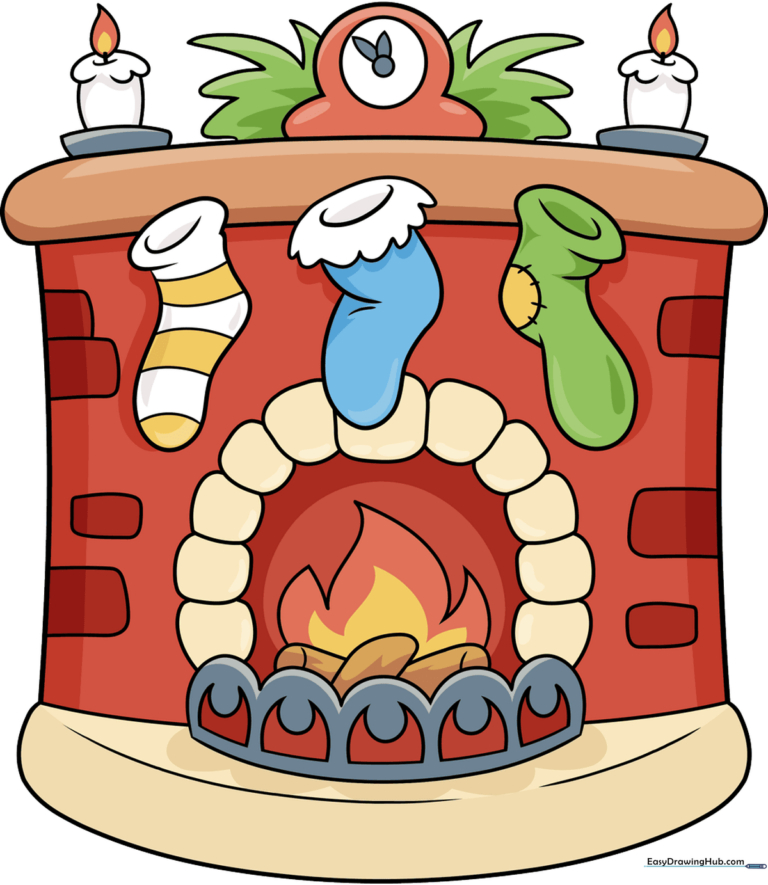
🎯 Final Result
Step-by-Step Instructions
Step 1: Sketching the Mantle and Hearth

Draw two curved lines connected at the ends to form the top mantle. Below this, sketch a scalloped shape for the decorative grate, followed by a rectangle for the fireplace frame and a semicircle at the base for the hearth. Teacher's Tip: Use light, sweeping motions to keep your proportions balanced.
Step 2: Defining the Firebox
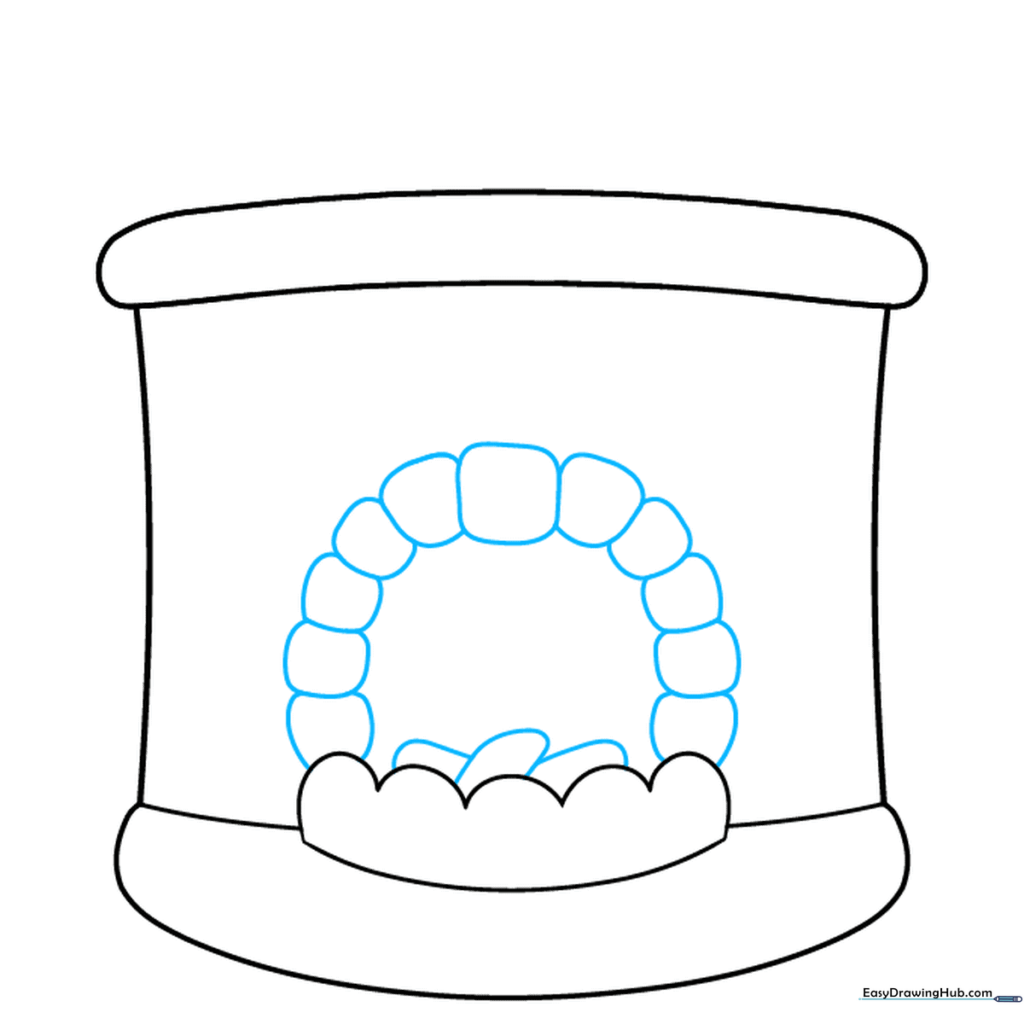
Add a series of rounded squares inside the fireplace opening to create the firebox. At the bottom, draw a few elongated, irregular shapes to represent the logs. Teacher's Tip: Don't worry about perfect circles; natural, slightly uneven shapes make the logs look more realistic.
Step 3: Adding Flames and the First Stocking
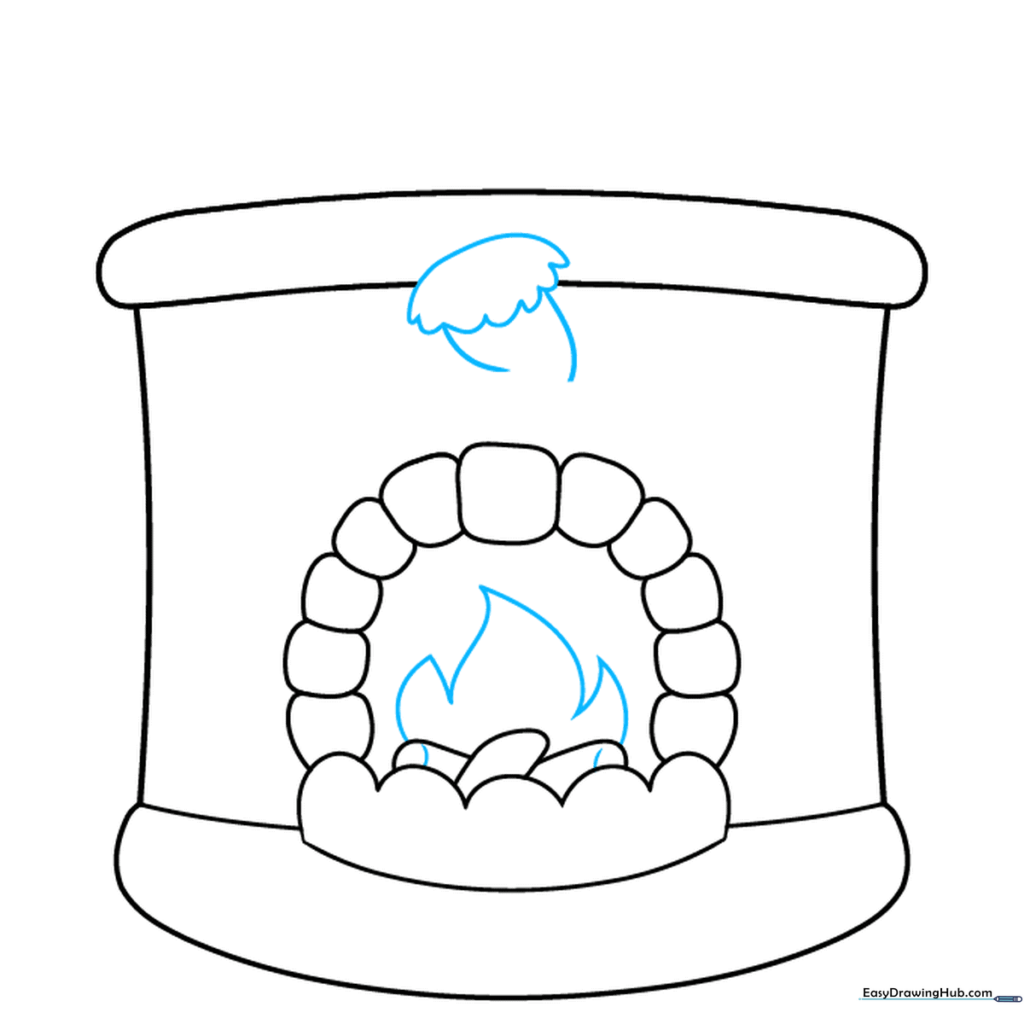
Draw sharp, jagged flames rising from the logs. Cap the ends of your logs with small ovals to give them a cylindrical look. Then, sketch the top of your first stocking using soft, curved lines for the fuzzy cuff. Teacher's Tip: Use short, quick strokes for the 'fuzzy' texture on the stocking cuff.
Step 4: Hanging the Stockings
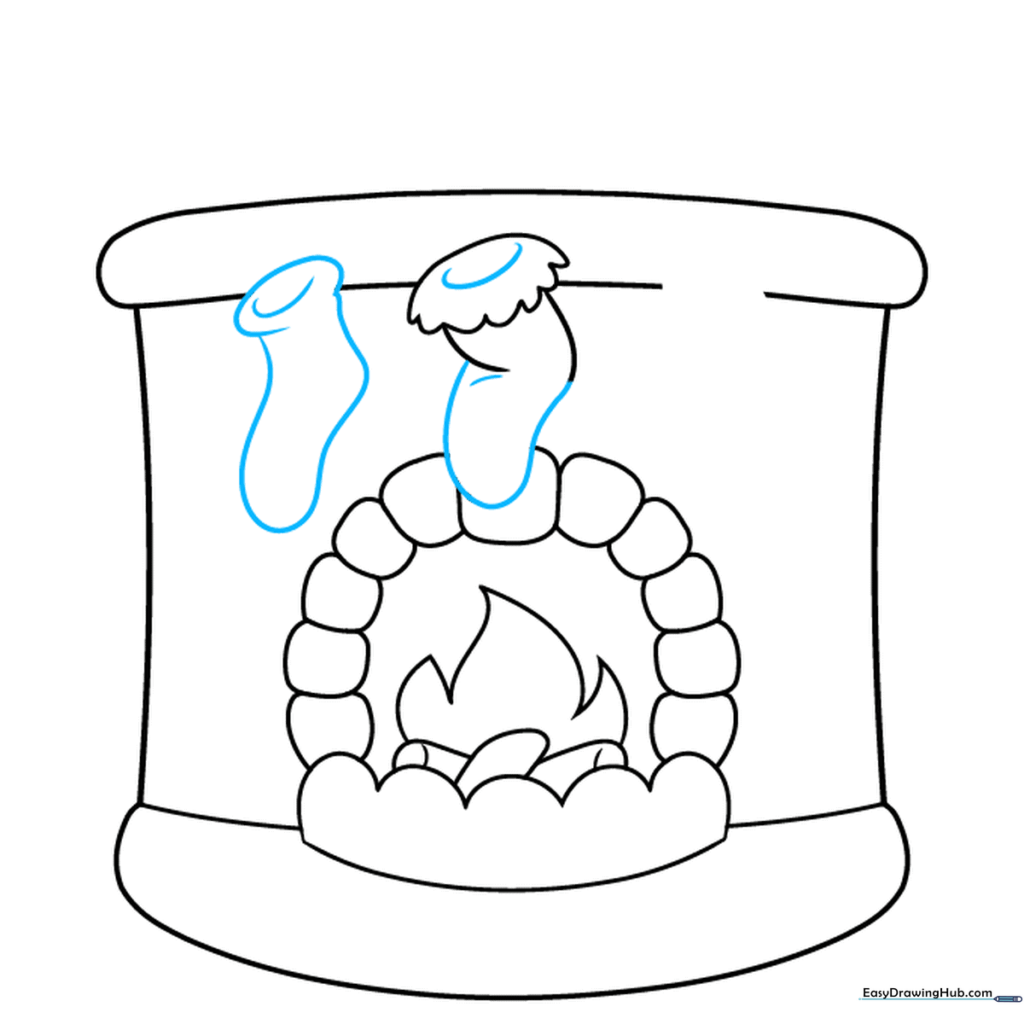
Complete the first stocking with a 'C' shaped opening. Repeat this process to add a second stocking hanging next to it. Teacher's Tip: Make the stockings slightly different sizes to add visual interest to your drawing.
Step 5: Adding the Third Stocking
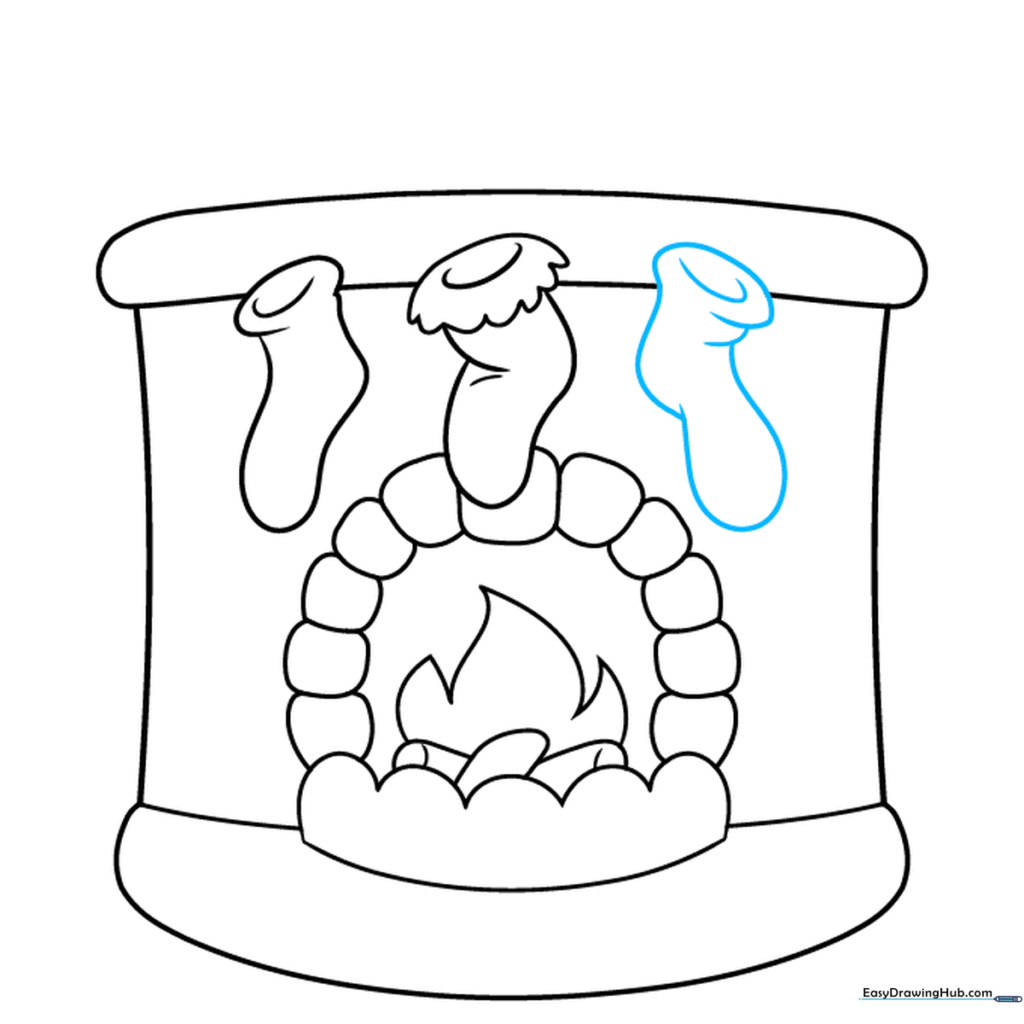
Draw a third stocking to complete your row. Use smooth, flowing lines to ensure it looks like it's hanging naturally. Teacher's Tip: If you make a mistake, gently dab with your eraser rather than rubbing hard to keep your paper clean.
Step 6: Decorating the Mantle
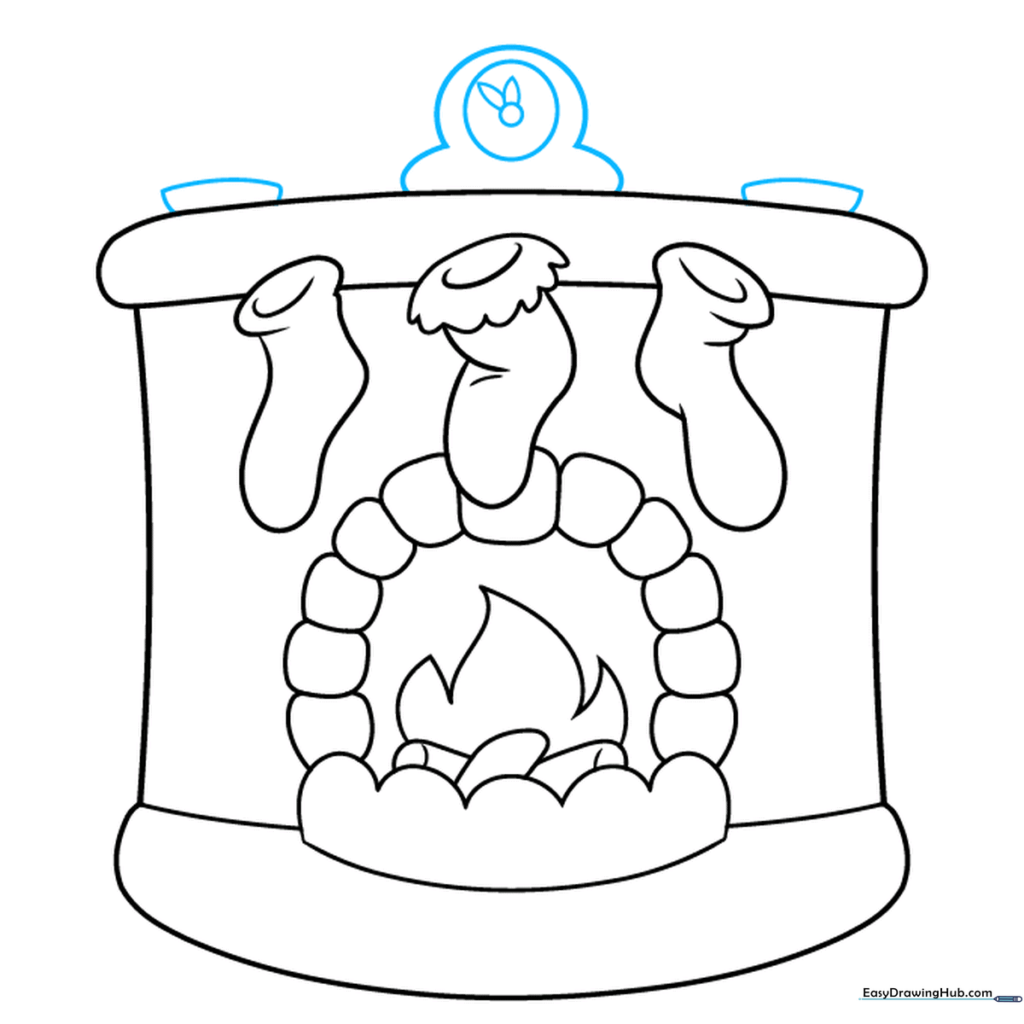
Place two candle bases on the ends of the mantle. In the center, draw a clock face using two circles and teardrop shapes for the hands. Teacher's Tip: Use a small coin as a stencil if you struggle to draw a perfect circle for the clock.
Step 7: Drawing Melting Candles
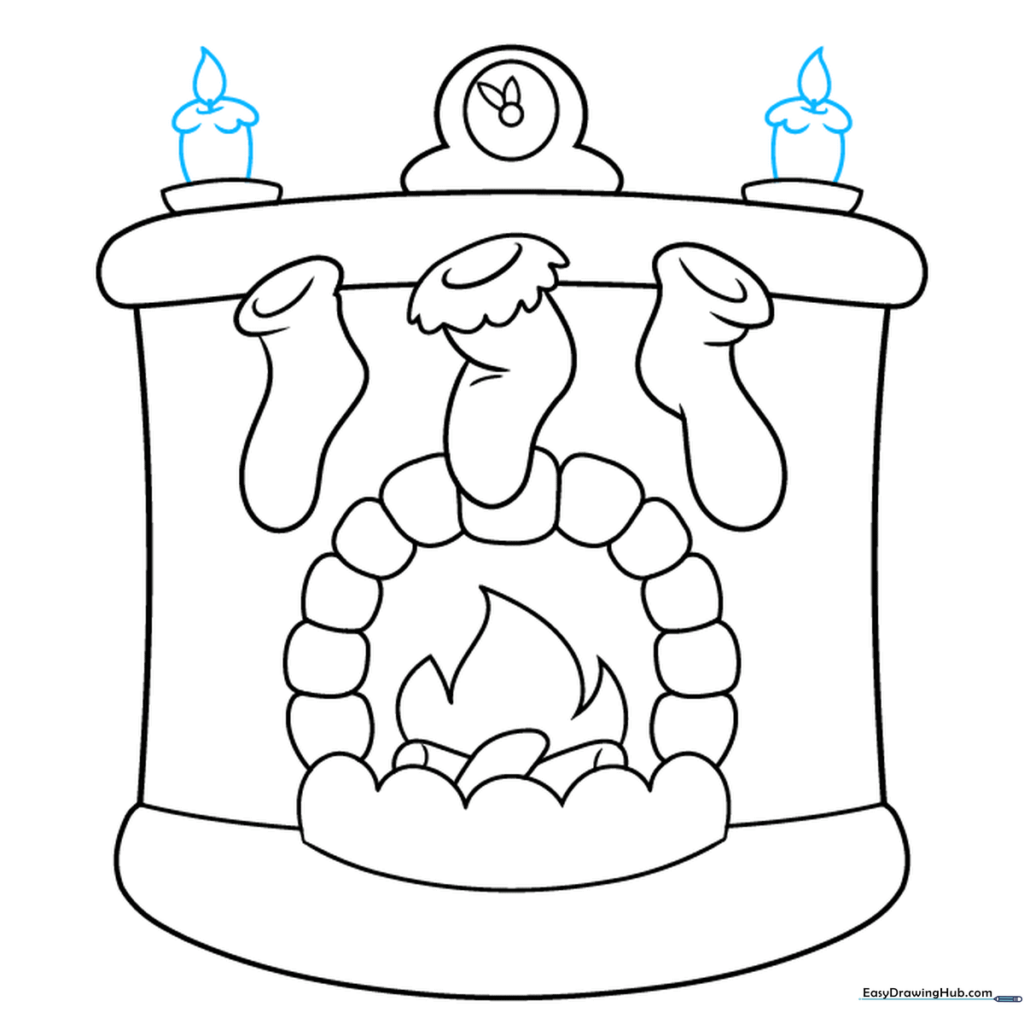
Add height to your candles with irregular, drippy lines to show melting wax. Top them off with small wicks and teardrop-shaped flames. Teacher's Tip: Vary the height of the drips to make the candles look authentic.
Step 8: Adding Texture and Greenery
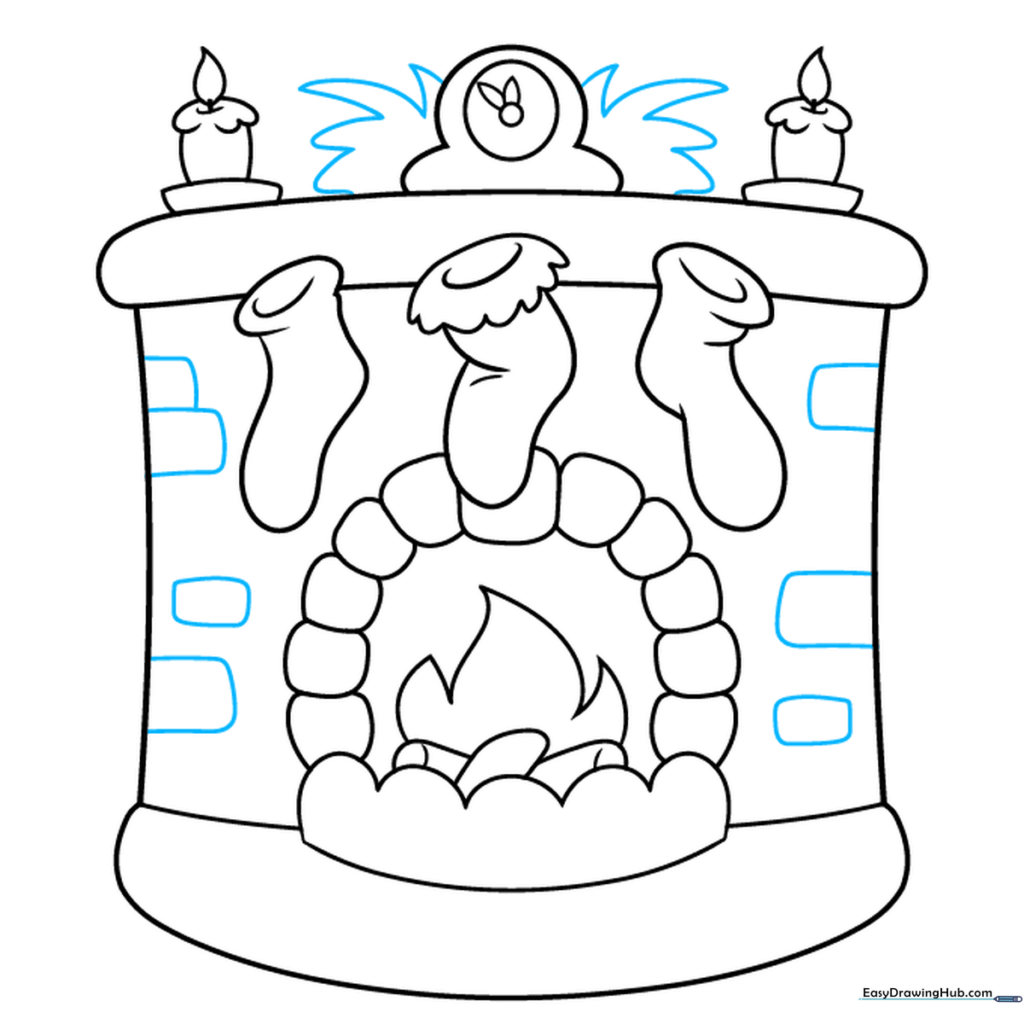
Add festive greenery behind the clock using jagged, leaf-like strokes. Draw rounded rectangles on the fireplace front to create a brick pattern. Teacher's Tip: Offset your bricks in each row to make the pattern look realistic.
Step 9: Final Details
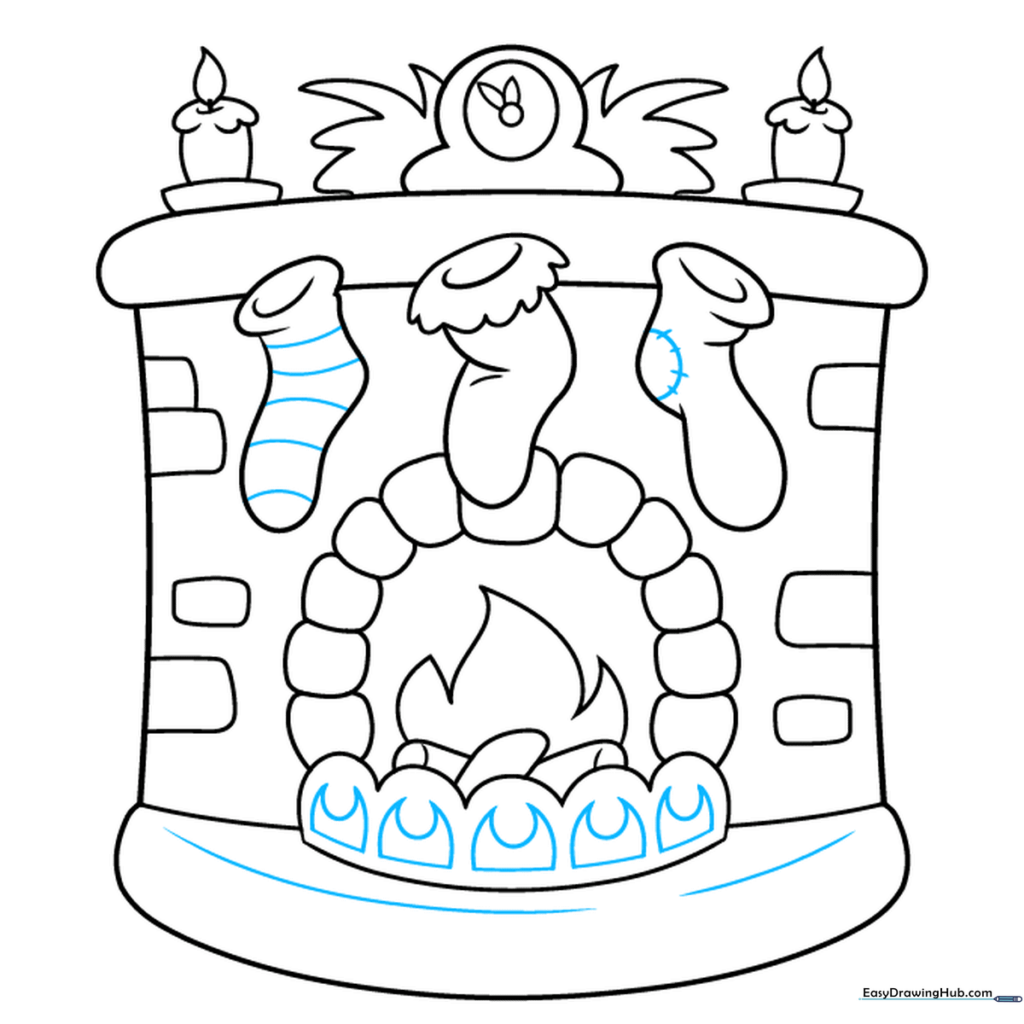
Add stripes or patches to your stockings for character. Use curved lines on the hearth to give it depth and add a flame-like pattern to the grate. Teacher's Tip: Use a darker pencil or pen to outline your final drawing for a clean, finished look.
Step 10: Color Your Masterpiece
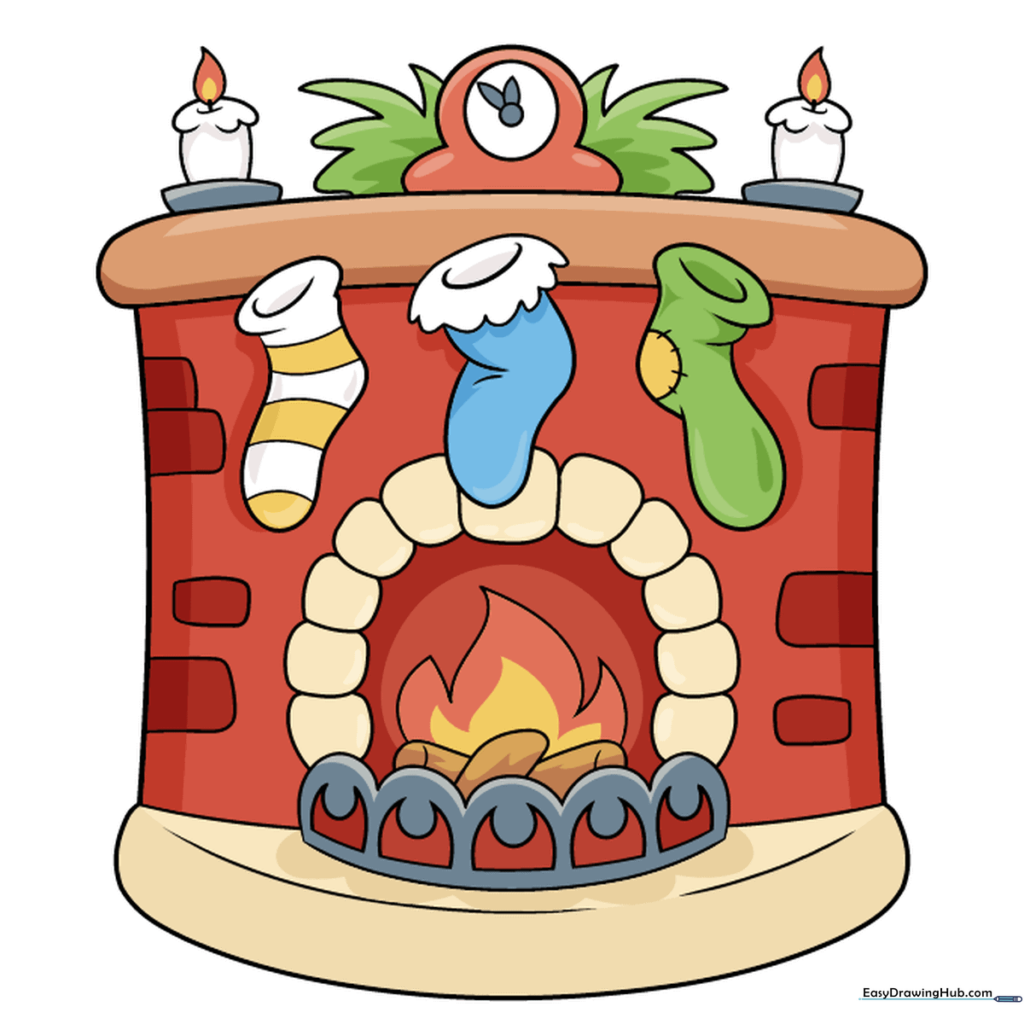
Your fireplace outline is complete! Bring it to life with warm reds, oranges, and festive greens. Teacher's Tip: Use light pressure with your colored pencils to create soft shading near the fire.
More Tutorials


