How to Draw a Fireplace: Easy 10-Step Guide for Kids
Bring a touch of warmth to your sketchbook with this fun, beginner-friendly fireplace tutorial. Designed for young artists, this project uses basic geometric shapes to build a classic hearth scene. Grab your pencil and paper—it’s time to get creative!
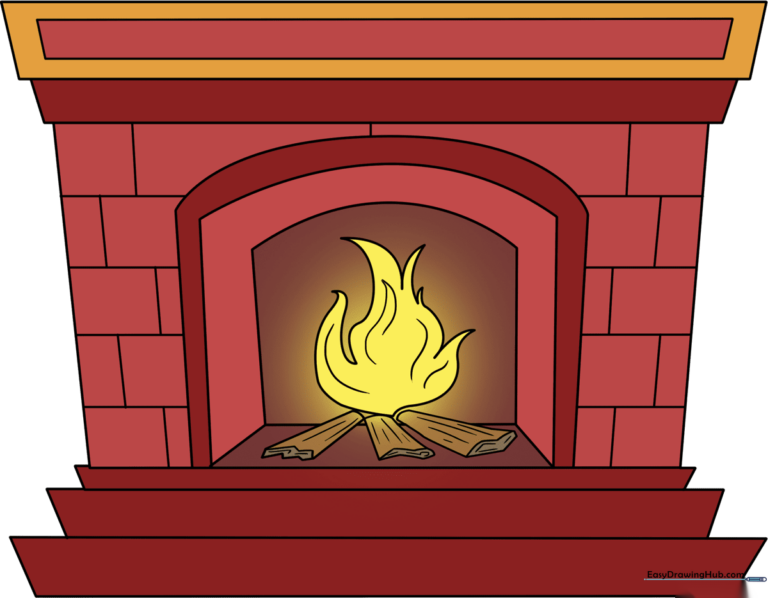
🎯 Final Result
Step-by-Step Instructions
Step 1: Sketching the Mantle

Start by drawing a narrow, horizontal inverted trapezoid for the top of the mantle. Add a smaller one inside, then a third one beneath it to create depth. Teacher's Tip: Keep these lines light; they act as the 'skeleton' for your fireplace.
Step 2: Defining the Hearth

Extend two straight lines downward from the mantle to form the sides. Connect them at the bottom with another narrow trapezoid. Tip: Use a ruler if you want perfectly straight sides, or go freehand for a more organic, hand-drawn look.
Step 3: Building the Base
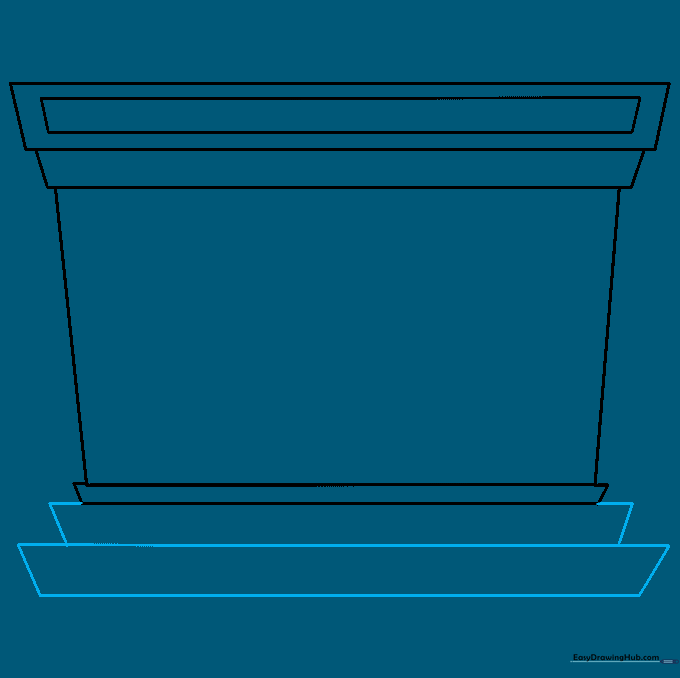
Add two more inverted trapezoids at the bottom to ground your fireplace. Make each one slightly wider than the one above it to create a sturdy-looking base.
Step 4: The Firebox Opening
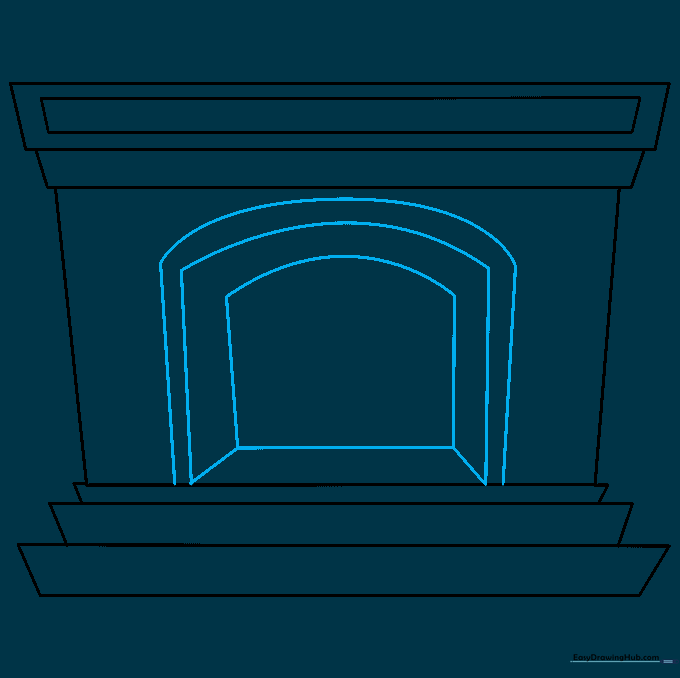
Draw the firebox by extending lines upward and connecting them with a gentle curve. This creates the 'window' where the fire will live. Tip: Ensure your curved lines are symmetrical for a balanced look.
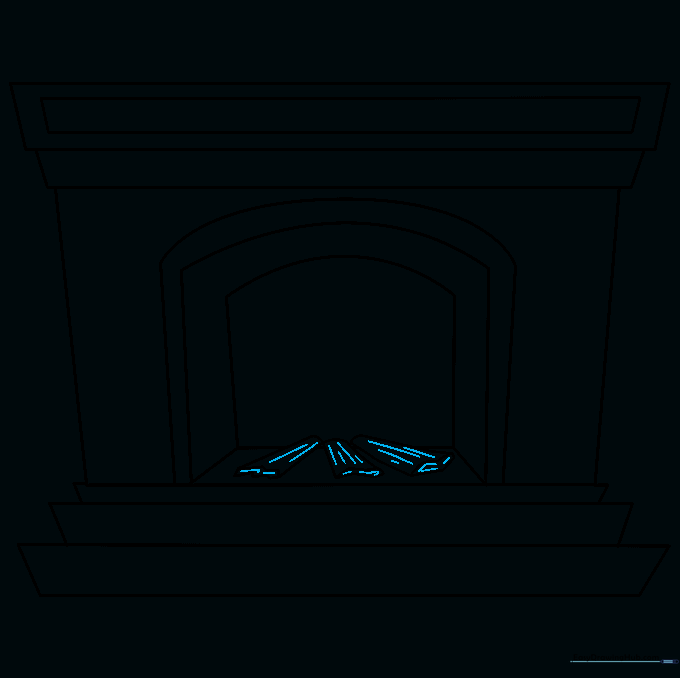
Step 5: Adding Firewood

Draw logs inside the firebox using irregular, bumpy shapes. Connect the ends with jagged lines to show where the wood was chopped. Tip: Logs aren't perfect cylinders, so don't worry about making them too straight!
Step 6: Adding Texture to Logs
Give your logs character by adding small, straight lines for bark and curved lines on the flat ends. This simple detail makes your drawing look much more realistic.
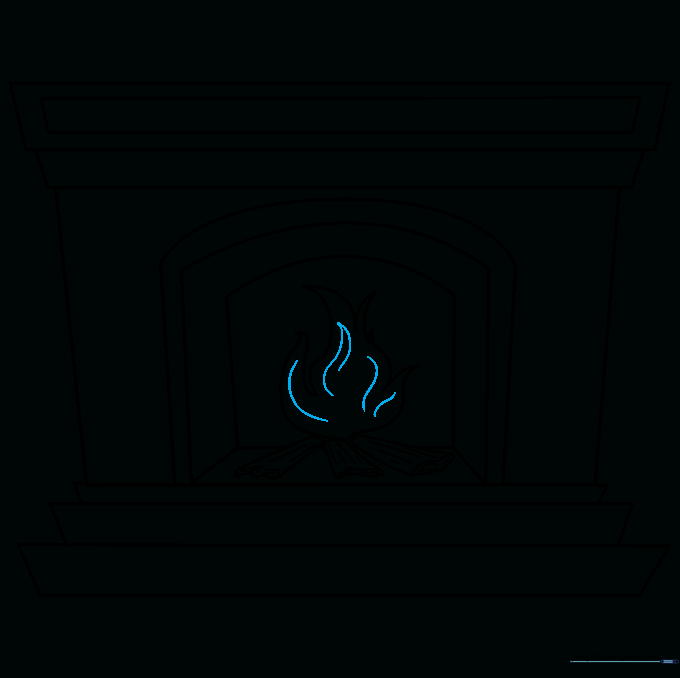
Step 7: Drawing the Flames

Draw the flames using long, pointed, teardrop-like shapes. Vary the heights to make the fire look active and dancing. Tip: Start from the logs and draw upwards for a natural flow.
Step 8: Detailing the Fire
Add extra curved lines inside the flames to show movement. Think of these as little 'flicks' of heat rising into the air.
Step 9: Adding Brick Details

Draw a grid of horizontal and vertical lines on the fireplace surround to represent bricks. Tip: Don't make the lines perfectly straight—a little wobble makes the bricks look more authentic.
Step 10: Bringing it to Life with Color
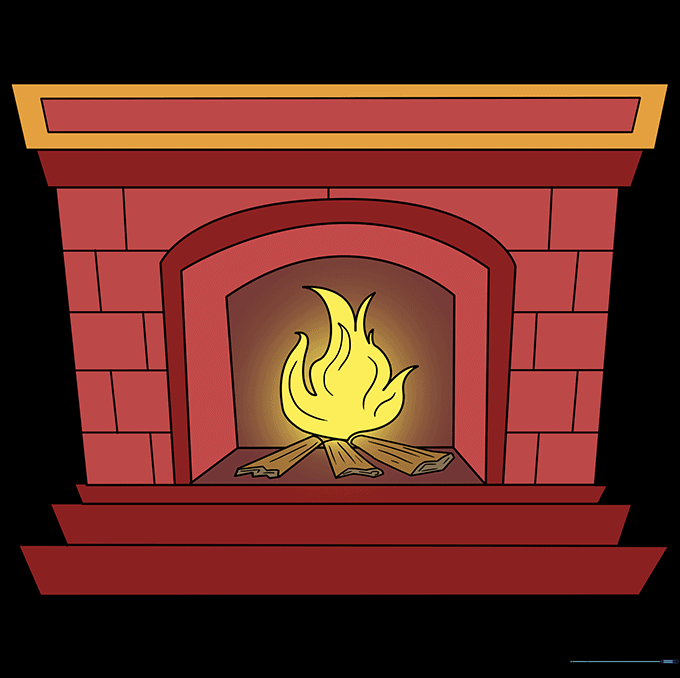
Time to color! Use warm reds and oranges for the fire, and earthy browns or classic brick-red for the fireplace structure. You've finished your masterpiece!
More Tutorials


