How to Draw a Firefighter: Easy 10-Step Guide for Kids
Ready to draw a hero? This firefighter tutorial is perfect for ages 5 and up, requiring only a pencil, paper, and an eraser. Follow these simple steps to build confidence and develop fine motor skills while creating your own community helper.
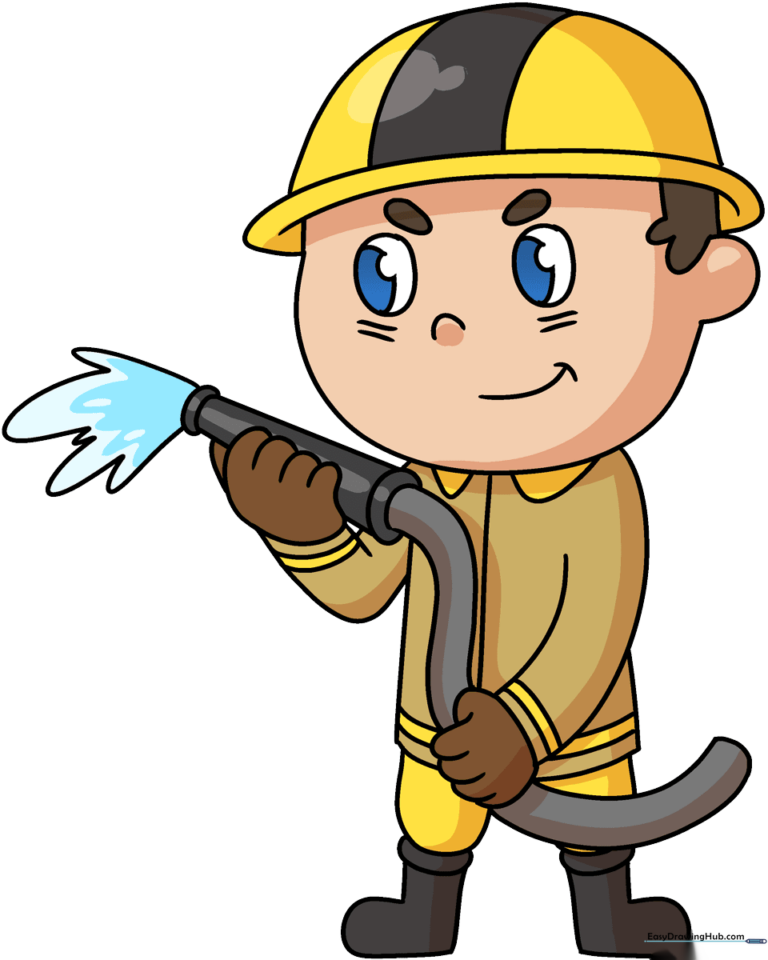
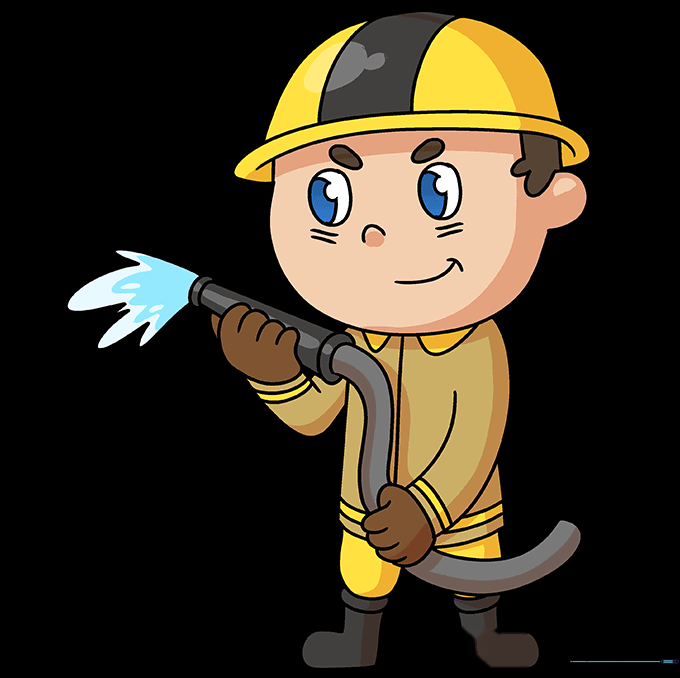
🎯 Final Result
Step-by-Step Instructions
Step 1: Sketching the Head

Start by drawing a rounded shape for the head. Tip: Keep the lines light and loose; aim for a shape slightly wider at the top than the bottom to give it a friendly, cartoon look.
Step 2: Adding the Helmet
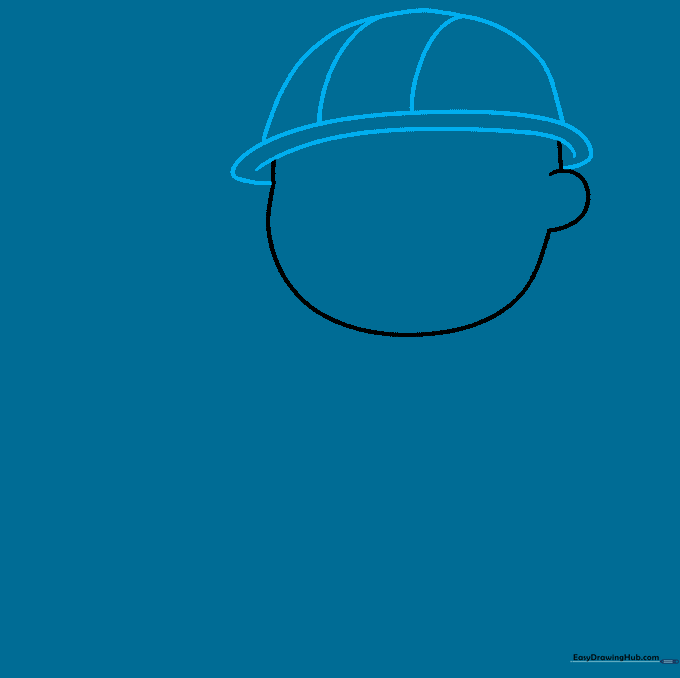
Draw the brim of the helmet using a wide 'C' shape, then add the crown on top. Tip: Imagine the helmet is resting just above the eyebrows to help with placement.
Step 3: Facial Features
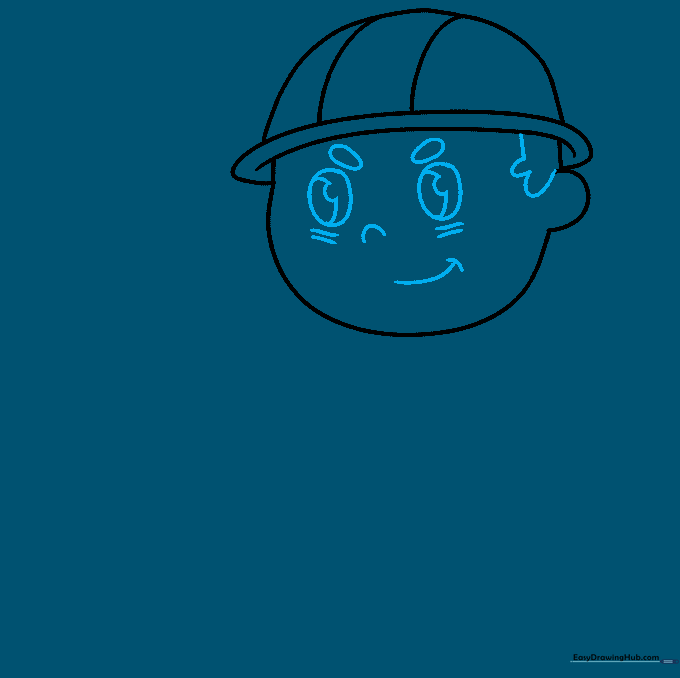
Add the eyes, nose, and mouth. Tip: Draw two small ovals for the eyes and place them near the center of the head. Use simple curved lines for the nose and a small smile to make your firefighter look kind.
Step 4: Drawing the Jacket
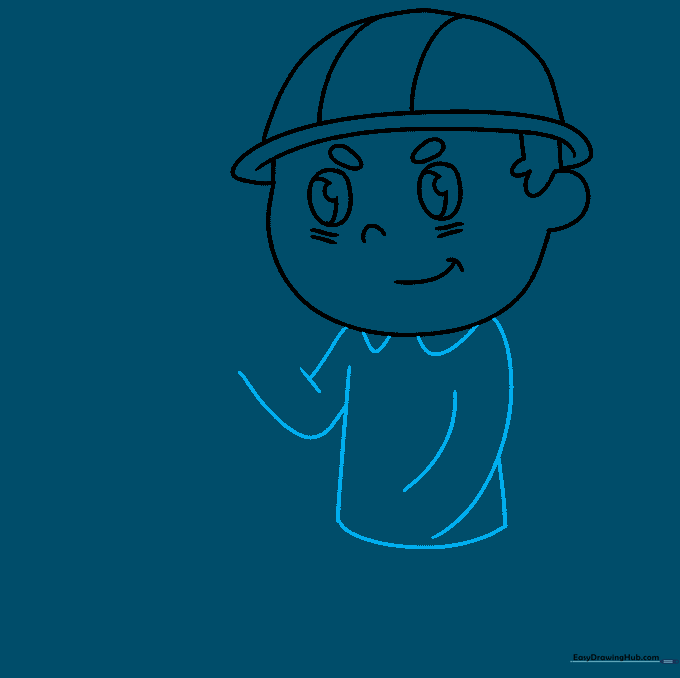
Sketch the collar and the torso of the jacket. Tip: Use long, sweeping lines for the arms to give the character a sense of movement.
Step 5: Adding Legs and Boots
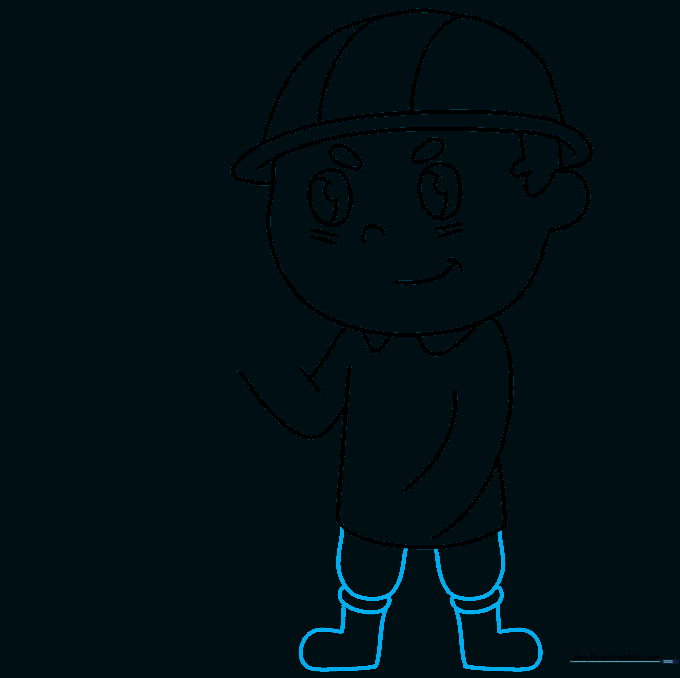
Draw the legs and the sturdy boots at the bottom. Tip: Boots are essentially rectangles with rounded corners; keep them wide to make the firefighter look balanced.
Step 6: Jacket Details

Add a center line for the jacket opening and bands at the bottom. Tip: These horizontal lines represent the reflective safety tape found on real gear.
Step 7: Drawing Hands
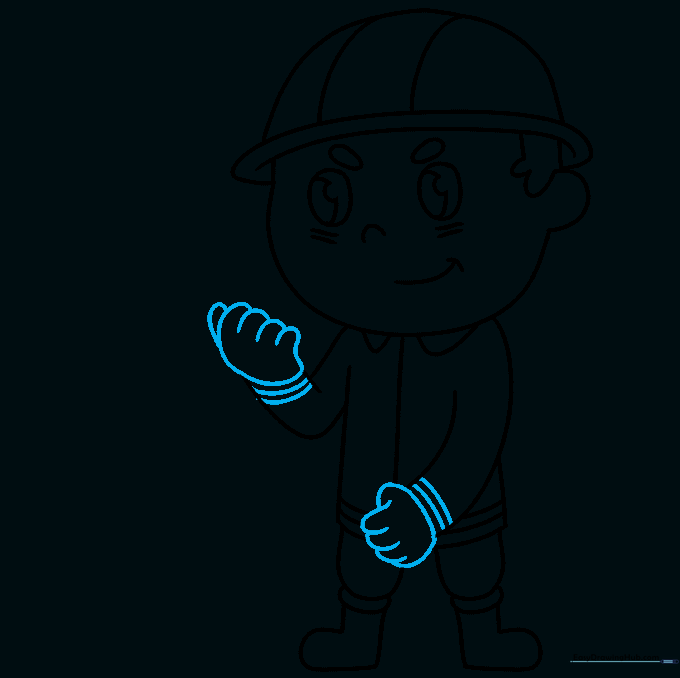
Draw the hands holding the gear. Tip: Don't worry about perfect fingers; simple overlapping curves work best for a cartoon style.
Step 8: The Firehose
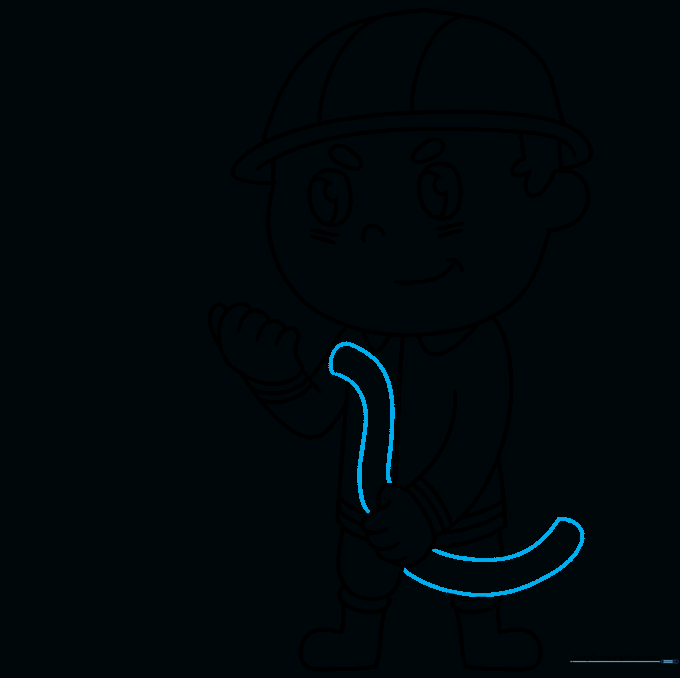
Draw the firehose using two 'S' shaped lines. Tip: Make the hose look like it's curving around the firefighter's body to create depth.
Step 9: Nozzle and Water
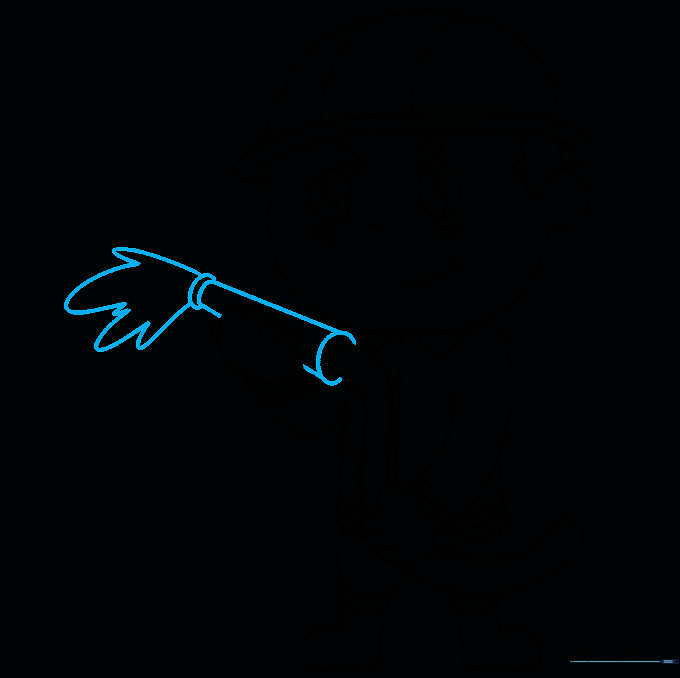
Add the nozzle to the end of the hose and draw splashing water using 'U' shapes. Tip: Vary the size of your 'U' shapes to make the water look like it's spraying out with force.
Step 10: Color Your Hero
Time to bring your drawing to life! Use bright yellows or reds for the gear. Tip: Use a darker shade of the same color to add shadows under the arms for a 3D effect.
More Tutorials


