How to Draw a Fire Hydrant: Easy 9-Step Guide for Kids
Ready to add some urban detail to your city drawings? This tutorial is perfect for young artists ages 5 and up. All you need is a pencil, an eraser, and a piece of paper to master this iconic street-side hero.
🎯 Final Result
Step-by-Step Instructions
Step 1: Sketching the Pumper Outlet
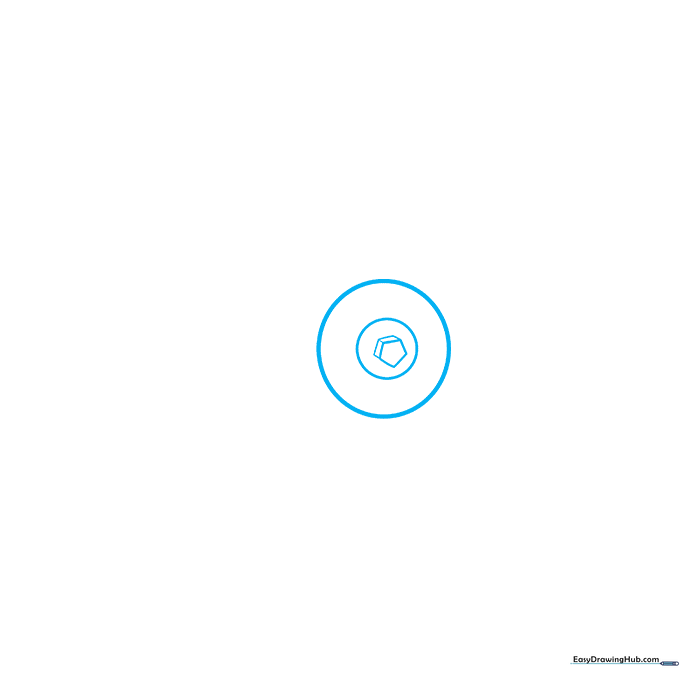
Start by drawing a circle for the main outlet, then place a smaller circle inside it. Draw a pentagon inside that smaller circle. Teacher's Tip: Keep your lines light; this pentagon acts as the center bolt for the hydrant's valve.
Step 2: Adding Depth to the Outlet
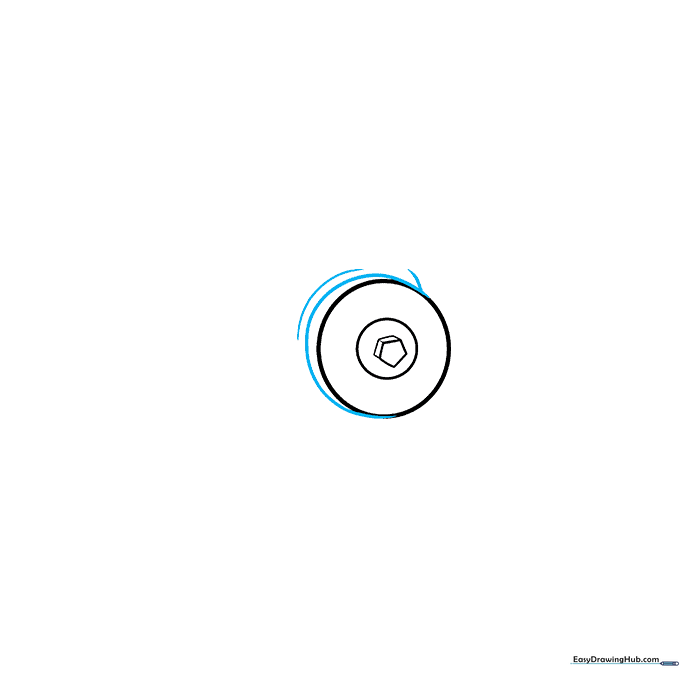
Draw a long curved line around the side of the outlet circle. This creates a 3D effect. Teacher's Tip: Imagine the outlet is a cylinder sticking out of the hydrant; the curve helps show that volume.
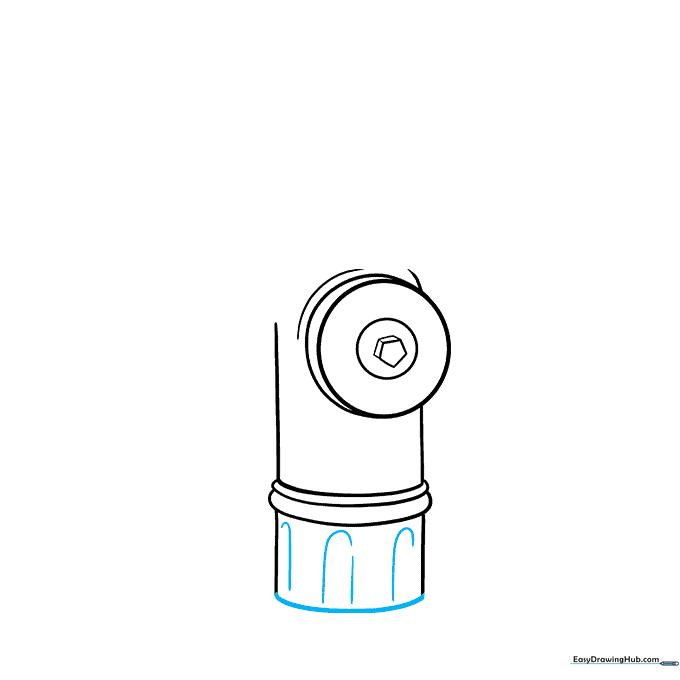
Step 3: Defining the Main Body

Draw two vertical lines—one below the outlet and one beside it—and connect them at the bottom with a curve. This forms the main cylindrical body of the hydrant.
Step 4: Sketching the Base
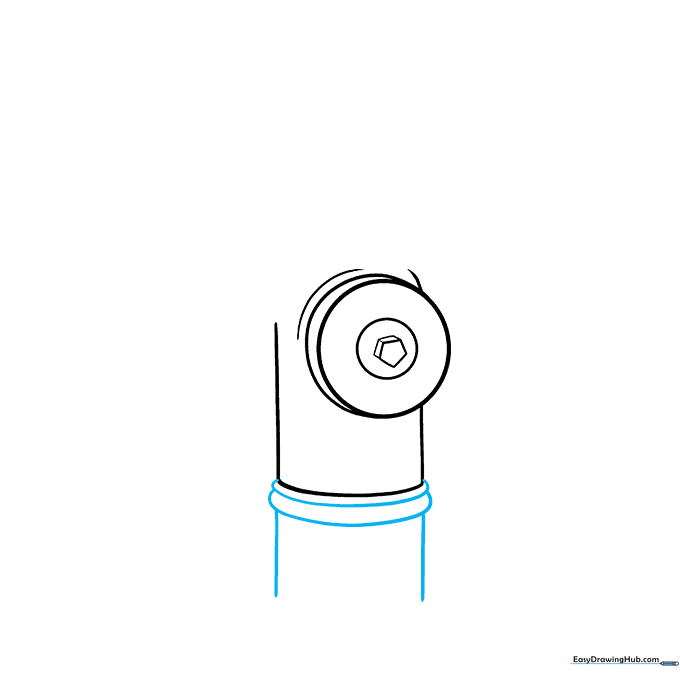
Use curved lines to enclose two shapes around the bottom of the hydrant, then extend two straight lines downward. Teacher's Tip: Keep these lines symmetrical to ensure your hydrant looks sturdy and balanced.
Step 5: Refining the Base Arches
Connect the base lines with a curve and add arches on the sides. These arches represent the bolts that secure the hydrant to the ground.
Step 6: Drawing the Base Flange
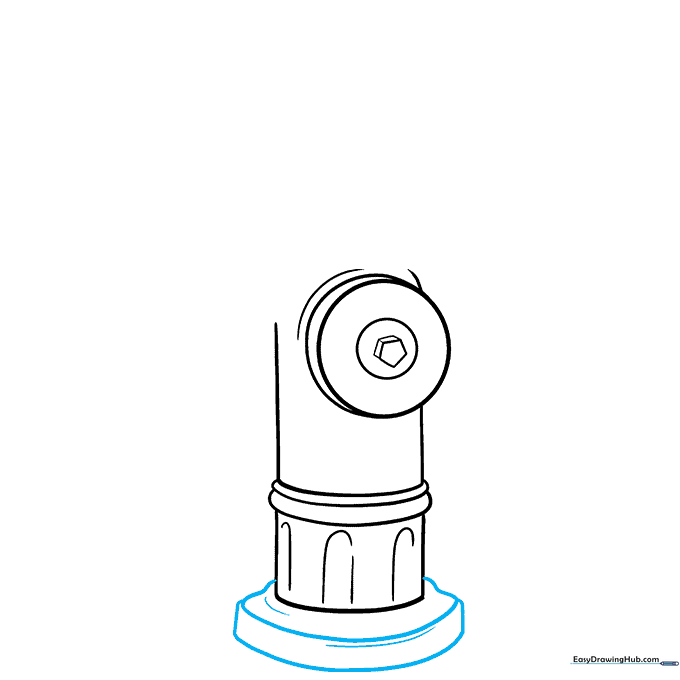
Extend curved lines from the base and connect them with a wide curve. Add a narrow rectangle below this to create the flange. Teacher's Tip: Use parallel lines to give the flange a realistic, thick edge.
Step 7: Adding Side Outlets
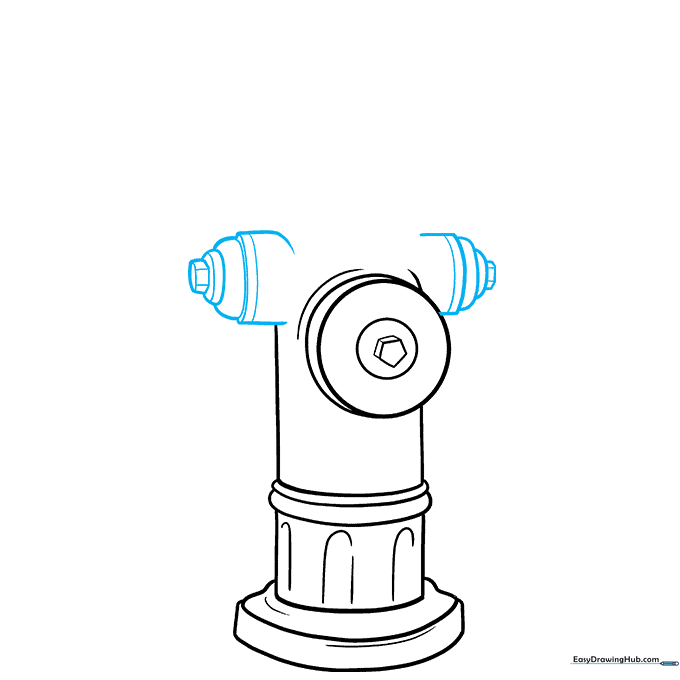
Draw the side pumper outlets using curved lines to create cylinders. Add small straight lines across them to indicate the texture of the bolt covers.
Step 8: Constructing the Top Bonnet
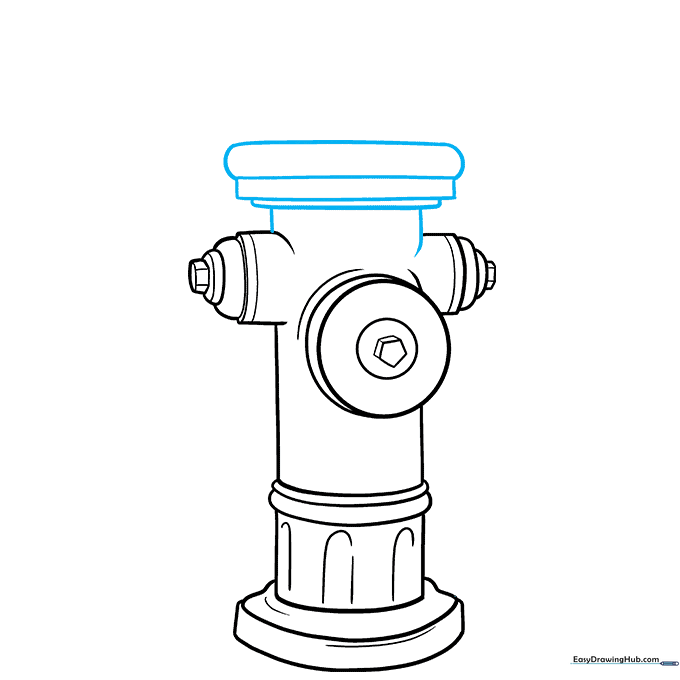
Extend lines upward and enclose a series of rectangles with rounded corners. This creates the 'bonnet' or the cap of the hydrant.
Step 9: Finalizing the Top Nut
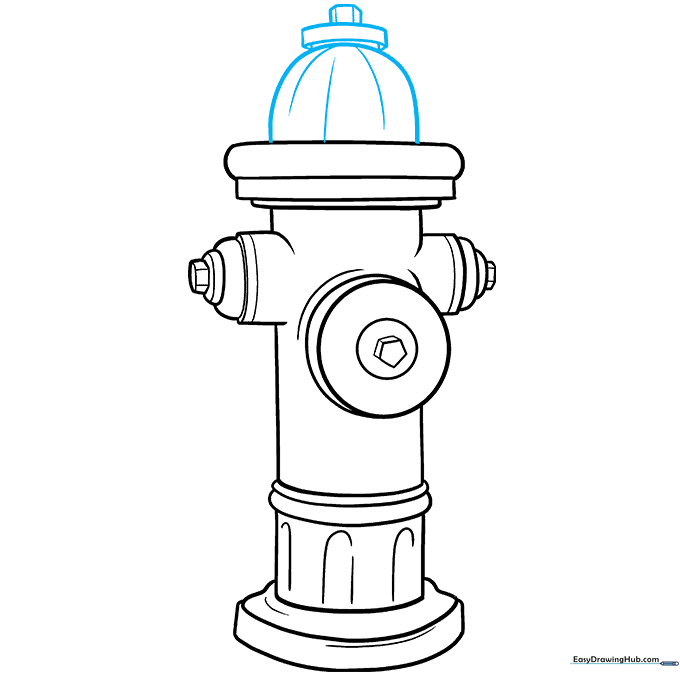
Finish with a half-circle on top and add the operating stem nut. Teacher's Tip: Use small, parallel lines on the nut to show the metal ridges used by firefighters to turn it.
Step 10: Adding Color
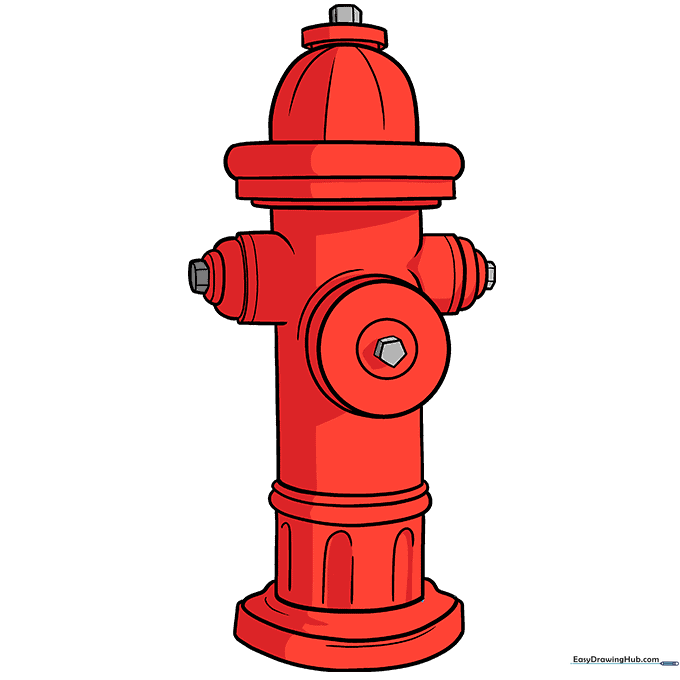
Your outline is complete! Now, bring your hydrant to life with color. Red is the classic choice, but feel free to use yellow or silver for a metallic look.
More Tutorials


