How to Draw a Finger Heart: Easy 10-Step Guide
Looking for a fun, creative way to express affection? This finger heart drawing tutorial is perfect for artists of all ages. You only need a pencil, an eraser, and a piece of paper to get started. Follow these simple steps to master the proportions of a hand while creating a charming, iconic gesture.
🎯 Final Result

Step-by-Step Instructions
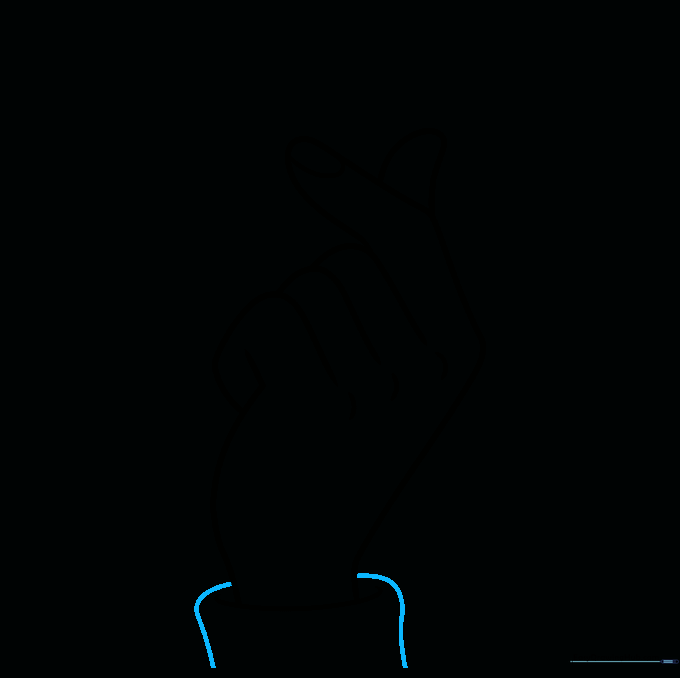
Step 1: Sketching the Hand Base

Start by lightly sketching the outer silhouette of the hand. Focus on the gentle curves of the wrist and the palm. Teacher's Tip: Keep your pencil pressure very light here; you'll want to erase these guidelines later once the fingers are defined.
Step 2: Defining the Index Finger
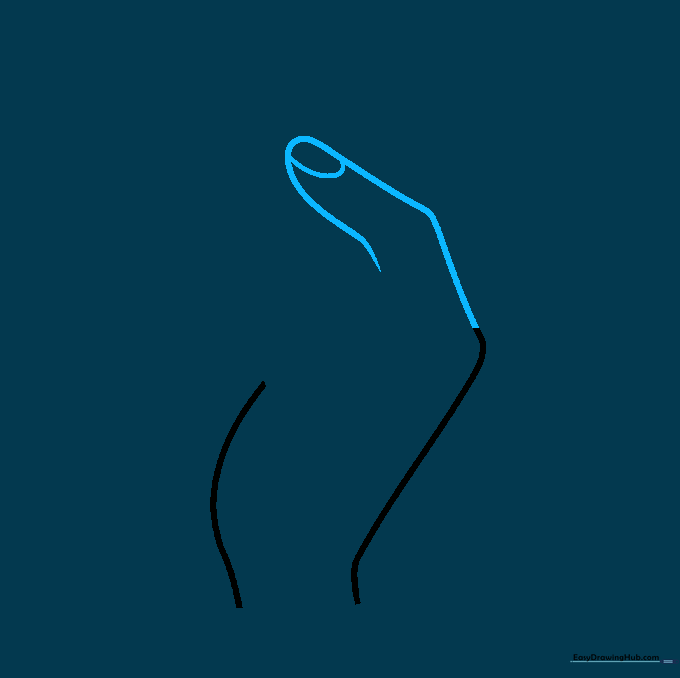
Extend a curved line from the knuckle area, doubling it back to form the index finger. Add a small 'U' shape at the tip for the fingernail. Teacher's Tip: Imagine the finger is slightly bent at the joint to give it a natural, relaxed look.
Step 3: Adding the Middle Fingers

Use two overlapping curved lines to sketch the middle and ring fingers. Teacher's Tip: Since these fingers are curled down, keep the lines rounded and soft to show they are tucked away.
Step 4: Drawing the Pinky
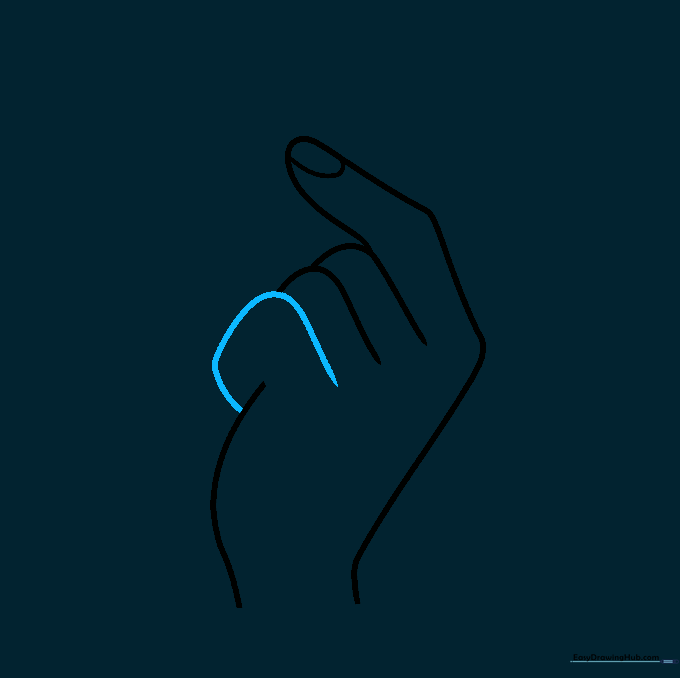
Add the fourth finger using a curved line that attaches to the side of the palm. This helps close the hand shape. Teacher's Tip: Make sure this line connects smoothly to the palm to keep the hand looking proportional.
Step 5: Sketching the Thumb
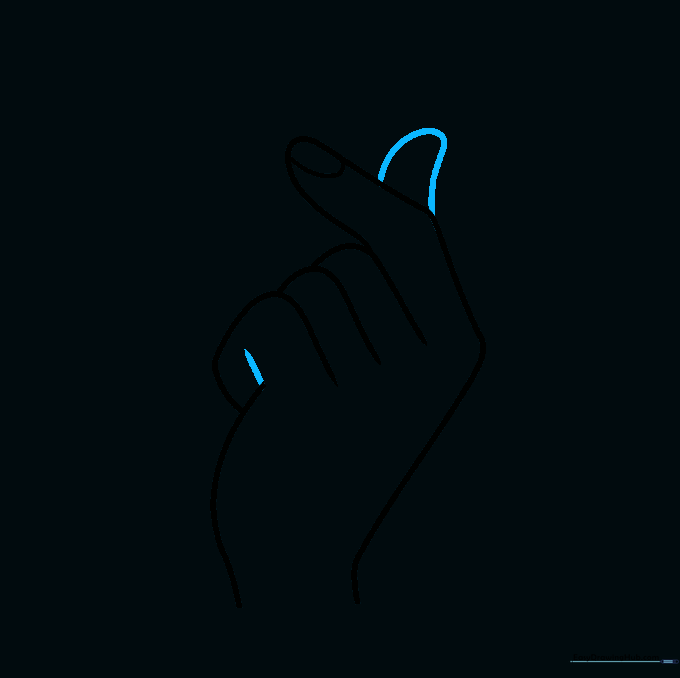
Extend a curved line from the top of the index finger and double it back to form the thumb. Add a small line for the pinky detail. Teacher's Tip: The thumb should look like it is crossing over the index finger to create the 'heart' shape.
Step 6: Adding Knuckles and Sleeve
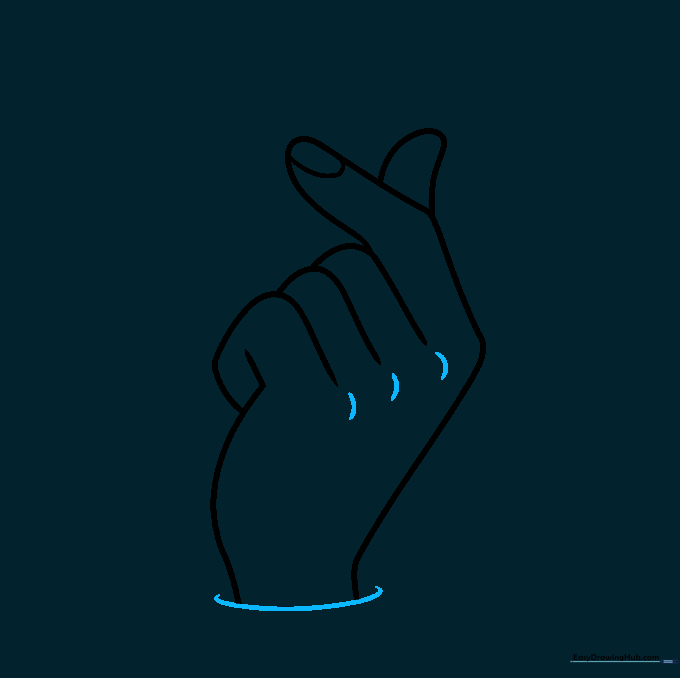
Draw short curved lines at the base of each finger to represent knuckles. Add a curved line around the wrist to start the sleeve. Teacher's Tip: Subtle lines go a long way—don't make them too dark or the hand will look rigid.
Step 7: Finishing the Sleeve
Use additional curved lines to complete the sleeve cuff. Teacher's Tip: Vary the thickness of your lines to make the fabric look soft and realistic.
Step 8: Adding the Heart

Draw a small heart floating just above the snapping fingers. Teacher's Tip: Keep the heart simple and symmetrical to balance the complexity of the hand.
Step 9: Final Details and Motion
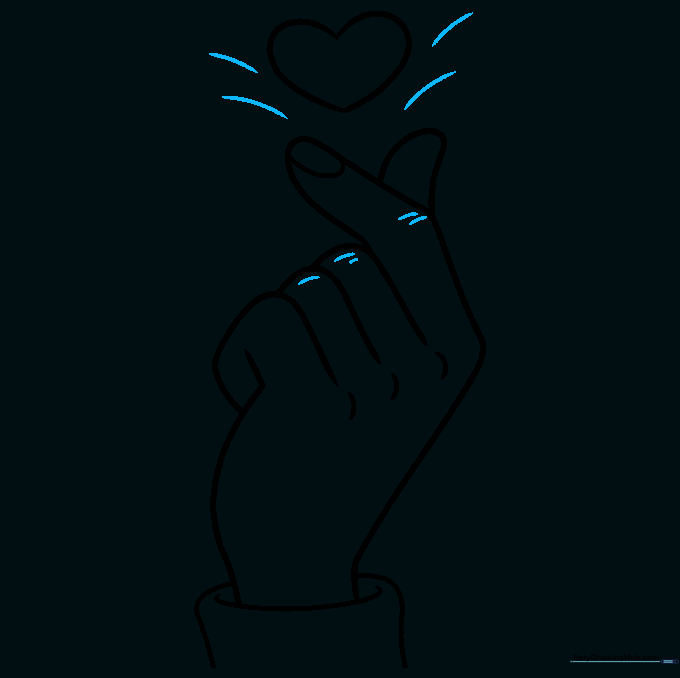
Add final textures to the knuckles and draw curved lines radiating from the heart and fingers to indicate motion. Teacher's Tip: These 'action lines' make your drawing feel alive and energetic!
Step 10: Color Your Masterpiece

Time to bring your drawing to life! Use your favorite colors for the skin tone and a bright red or pink for the heart. Teacher's Tip: Try using a darker shade of your skin color on the sides of the fingers to create a simple 3D shadow effect.
More Tutorials


