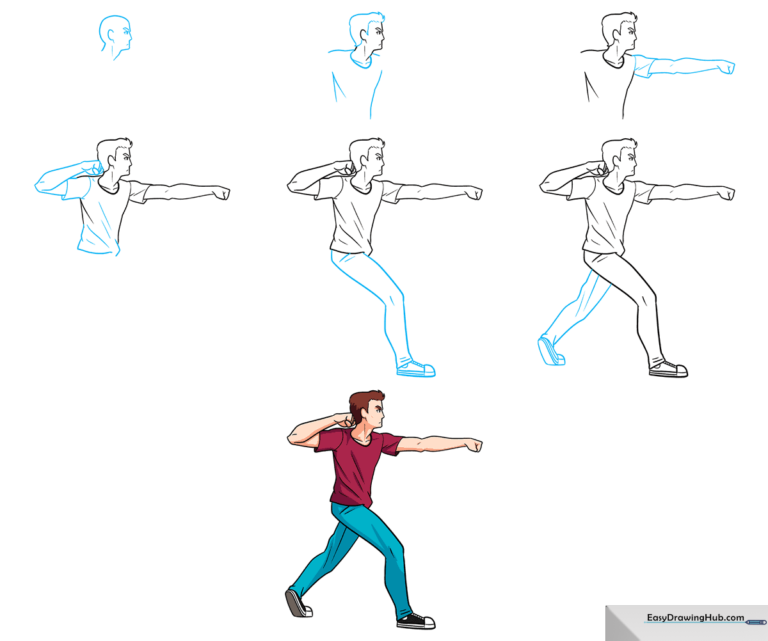
How to Draw a Fighting Anime Guy: Easy 7-Step Guide
Ready to bring an action-packed character to life? This tutorial is perfect for aspiring artists ages 8+ looking to master dynamic poses. Grab your pencil, eraser, and paper, and follow along to build your character from the ground up using simple geometric shapes.
🎯 Final Result
Step-by-Step Instructions
Step 1: Sketching the Head and Face
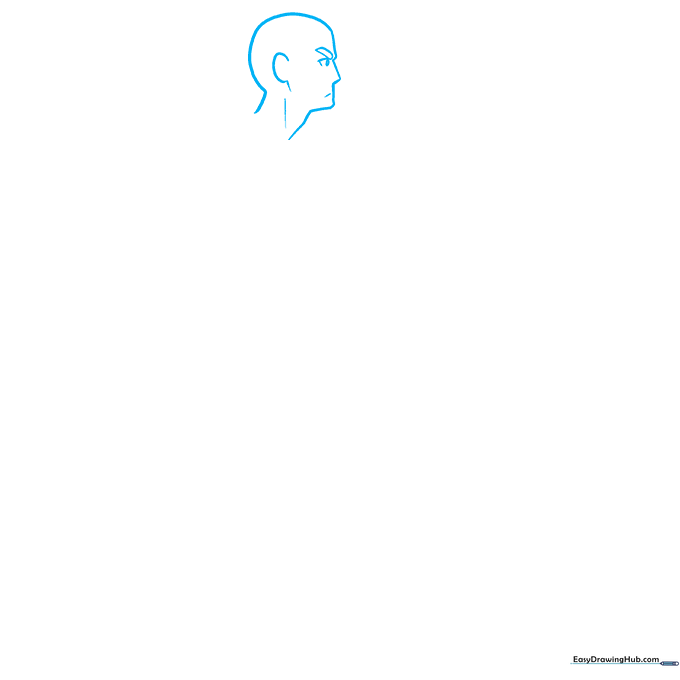
Start by sketching a light oval for the head. Add the ear, a sharp jawline, and the furrowed brow to give him that 'ready for battle' look. Teacher's Tip: Keep your pencil lines very faint here so you can easily refine the facial features later.
Step 2: Adding Hair and Torso
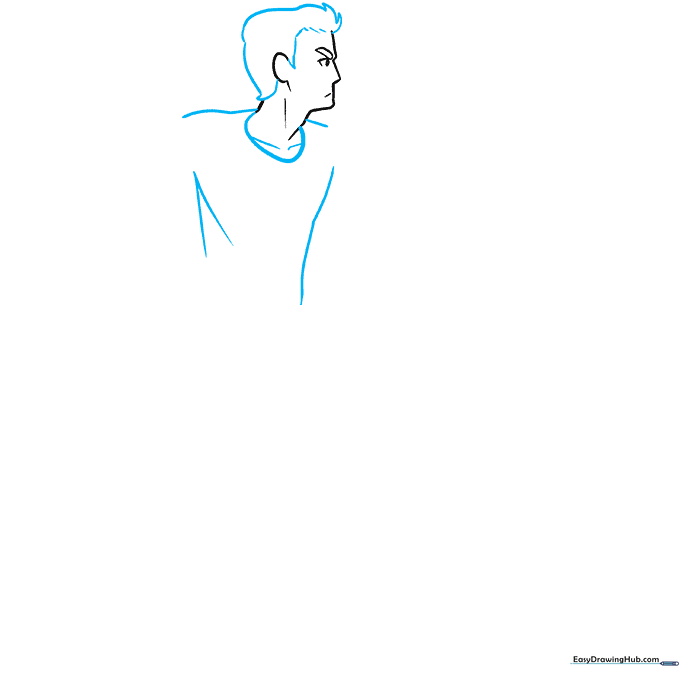
Draw spiky, energetic hair shapes atop the head. Then, sketch the neck and shoulders, adding a V-shape for the shirt collar. Teacher's Tip: Use quick, flicking motions with your pencil to get those sharp, anime-style hair spikes.
Step 3: Drawing the First Arm
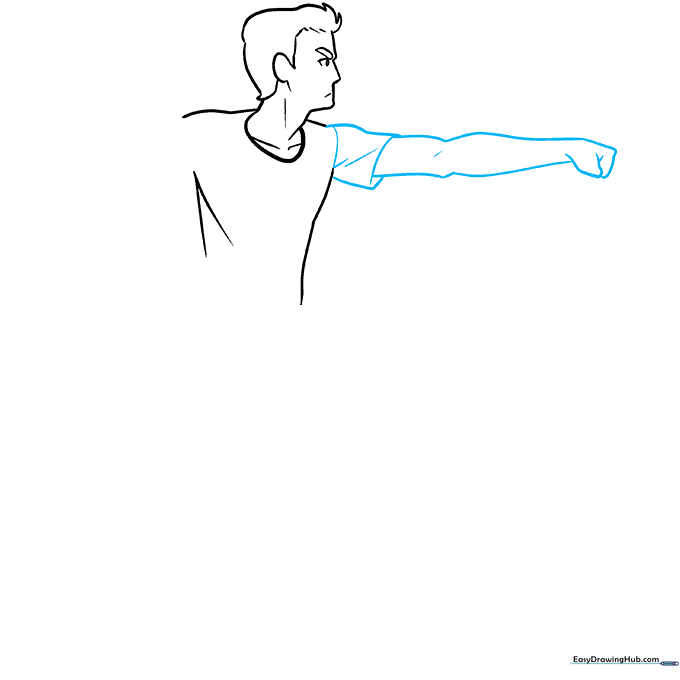
Outline a rectangular sleeve and a muscular arm extending outward. Finish with a clenched fist using overlapping curved lines. Teacher's Tip: Think of the arm as a series of cylinders to help keep the proportions looking strong and athletic.
Step 4: Adding the Second Arm
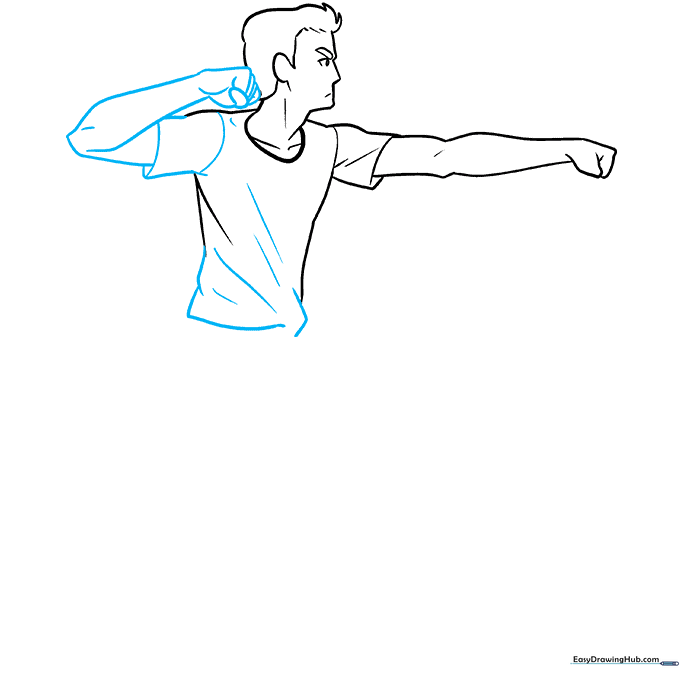
Draw the second arm raised in a defensive pose. Ensure the fist overlaps the arm slightly to show depth. Teacher's Tip: If you make a mistake, don't worry! Use your eraser to clean up the lines where the arm meets the torso.
Step 5: Sketching the First Leg
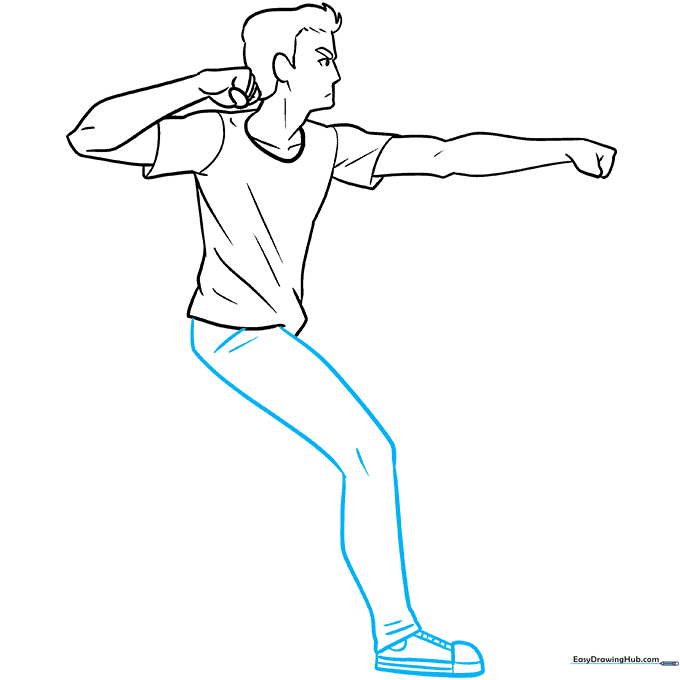
Draw the front leg in a mid-step motion, adding curved lines for the pants and a simple tennis shoe at the bottom. Teacher's Tip: Focus on the 'bend' of the knee to make the character look like they are actually moving.
Step 6: Completing the Stance
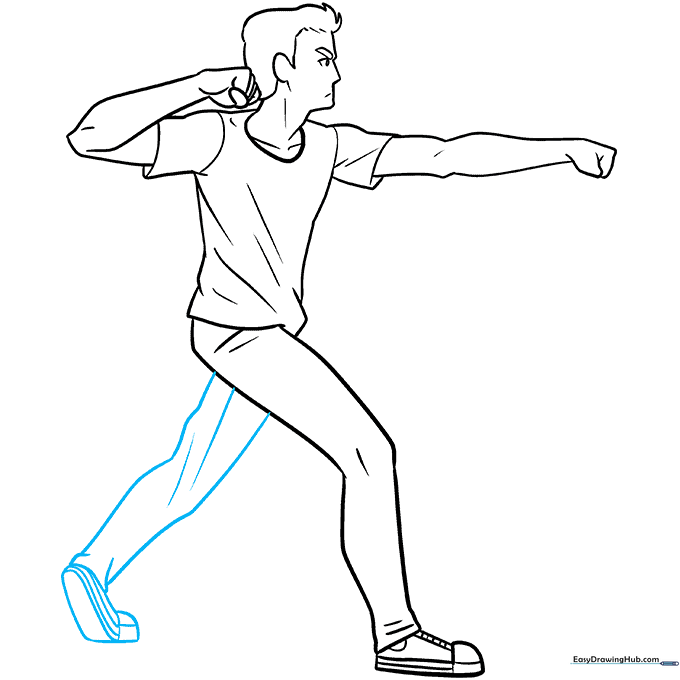
Draw the back leg at an opposite angle to complete the dynamic pose. Add details to the shoe and pants to match the front leg. Teacher's Tip: Use 'action lines'—curved lines that follow the movement—to make the pose feel more energetic.
Step 7: Adding Color
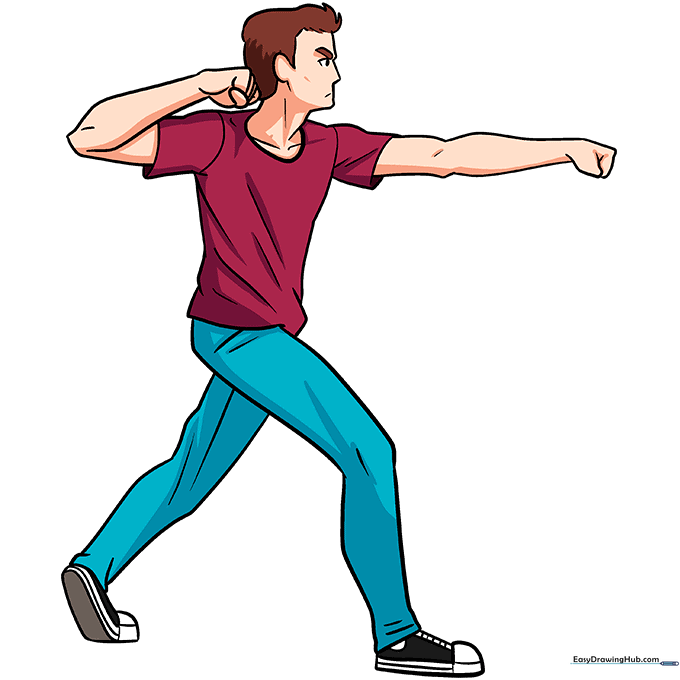
Bring your character to life with your favorite colors! Use bold, flat colors for that classic anime aesthetic. Teacher's Tip: Try adding a darker shade on one side of the clothing to create a simple shadow effect, adding depth to your drawing.
More Tutorials


