How to Draw a Fig: Easy 10-Step Tutorial for Beginners
Ready to draw a delicious-looking fig? This tutorial is perfect for young artists ages 5+ looking to practice organic shapes and texture. Grab your pencil, eraser, and paper, and let's bring this unique fruit to life with a simple, step-by-step approach.
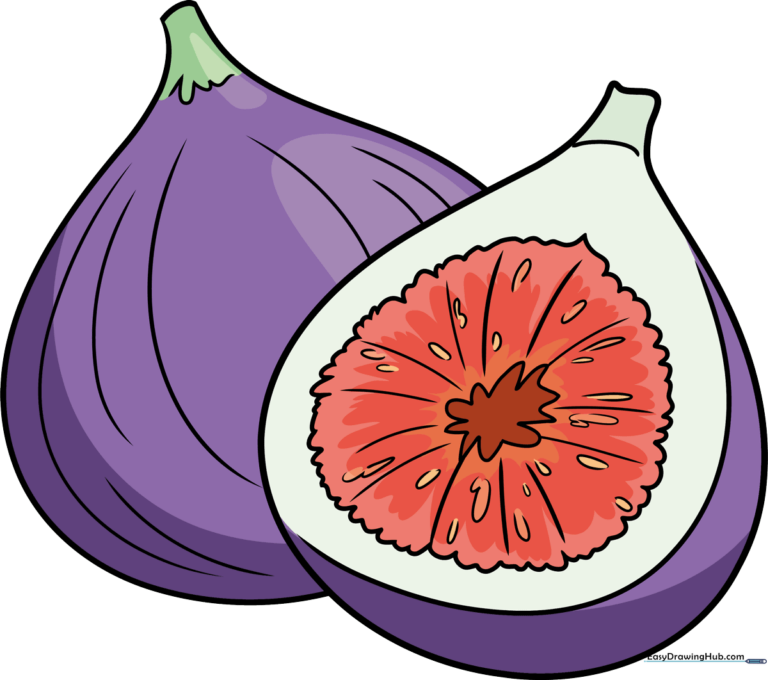
🎯 Final Result
Step-by-Step Instructions
Step 1: Sketching the Base Shape
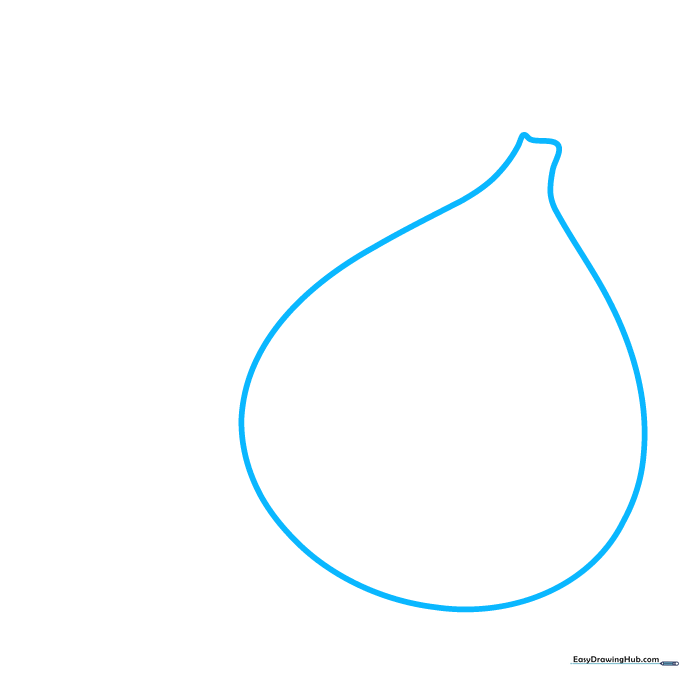
Draw a teardrop shape for the main body of the fig. At the top, leave a small gap and connect the sides with a short, flat horizontal line to form the stem base. Teacher's Tip: Keep your pencil pressure light so you can easily adjust the shape later.
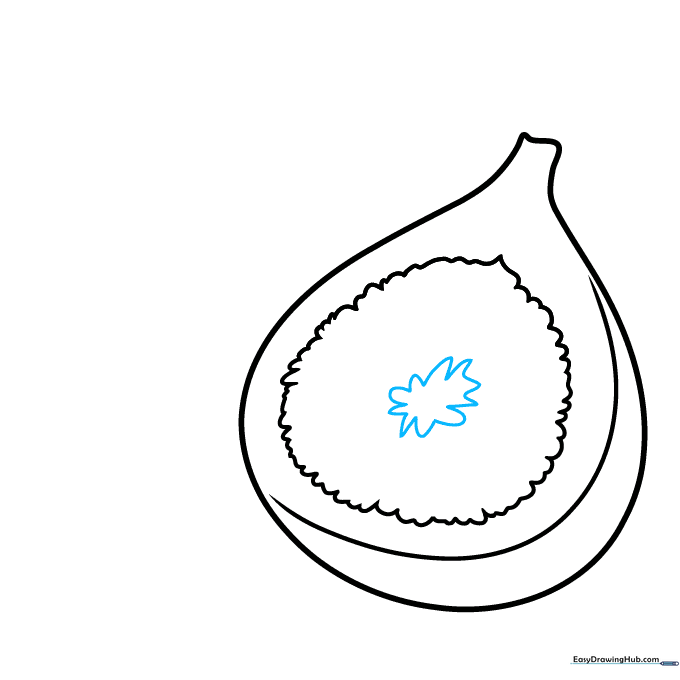
Step 2: Defining the Cut Edge
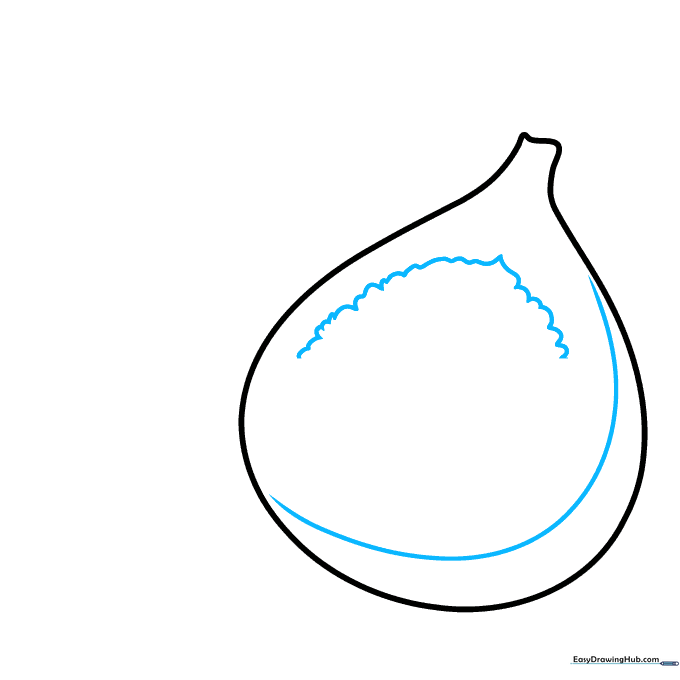
Draw a curved line inside the fig to separate the skin from the inner flesh. Add a series of small, connected curves to create the pulpy center. Teacher's Tip: Think of this as drawing a 'C' shape that follows the curve of the outer skin.
Step 3: Creating the Inner Core
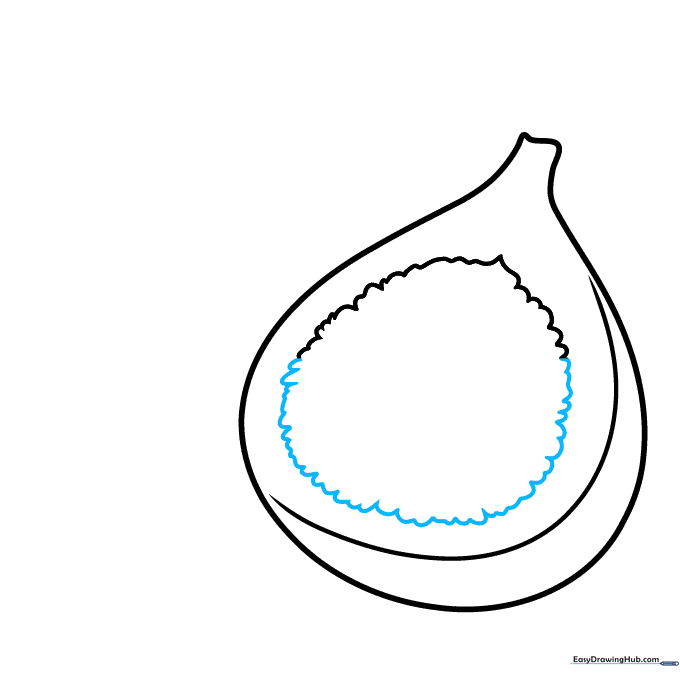
Use short, rhythmic lines to enclose a circular shape in the center of the fruit. This represents the heart of the fig. Teacher's Tip: Don't worry about making a perfect circle; organic shapes look more natural.
Step 4: Adding the Starburst Pattern
Draw a series of connected 'U' and 'V' shapes radiating from the center to create a starburst pattern. This adds realistic detail to the fruit's texture.
Step 5: Extending the Texture
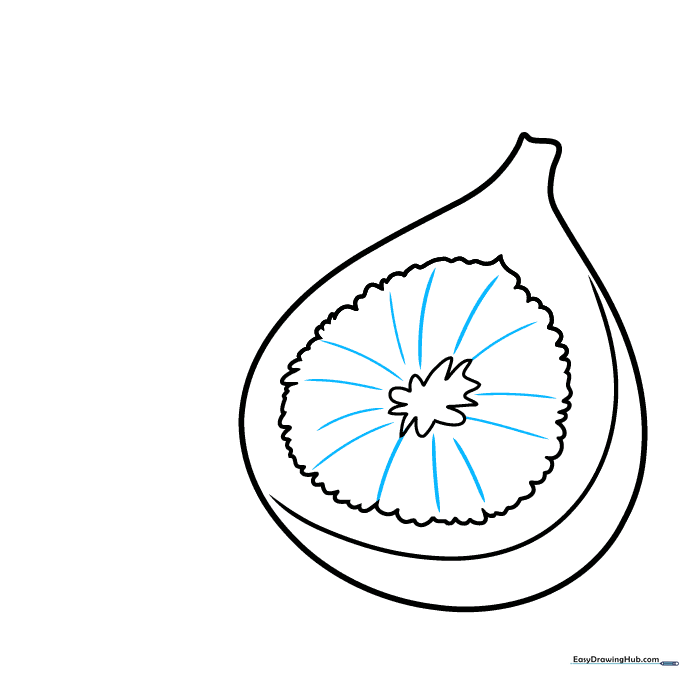
Draw curved lines extending outward from your starburst. These lines help define the juicy segments of the fig. Teacher's Tip: Keep these lines flowing outward like rays of the sun.
Step 6: Drawing the Seeds
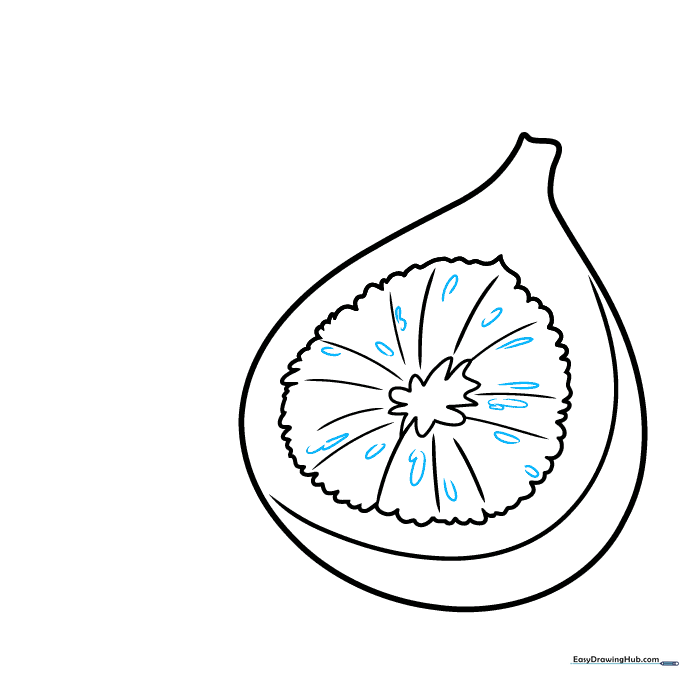
Add small, partial oval shapes between the curved lines you just drew. These represent the tiny seeds found inside a fig. Teacher's Tip: Vary the size of the ovals slightly to make them look more realistic.
Step 7: Adding a Second Fig
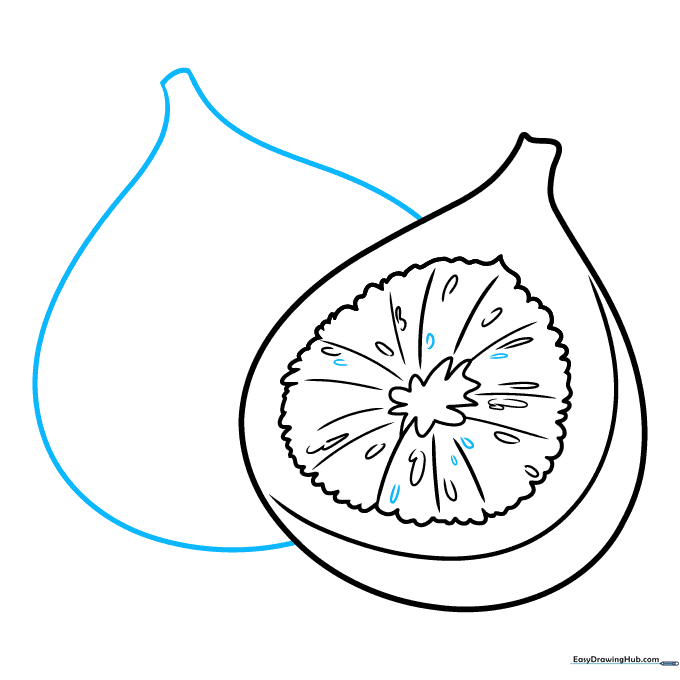
Fill in more seeds, then sketch a second teardrop shape behind the first one to create depth. Remember to leave the top flat for the stem.
Step 8: Adding Stem and Skin Detail
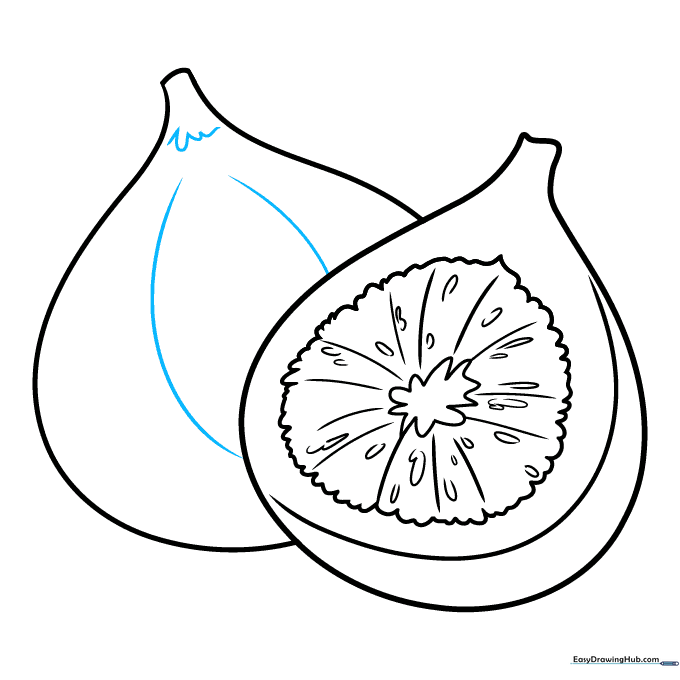
Draw curved lines at the base of the stems to give them dimension. Add long, gentle curves along the side of the fruit to suggest the skin's texture.
Step 9: Finalizing the Outline
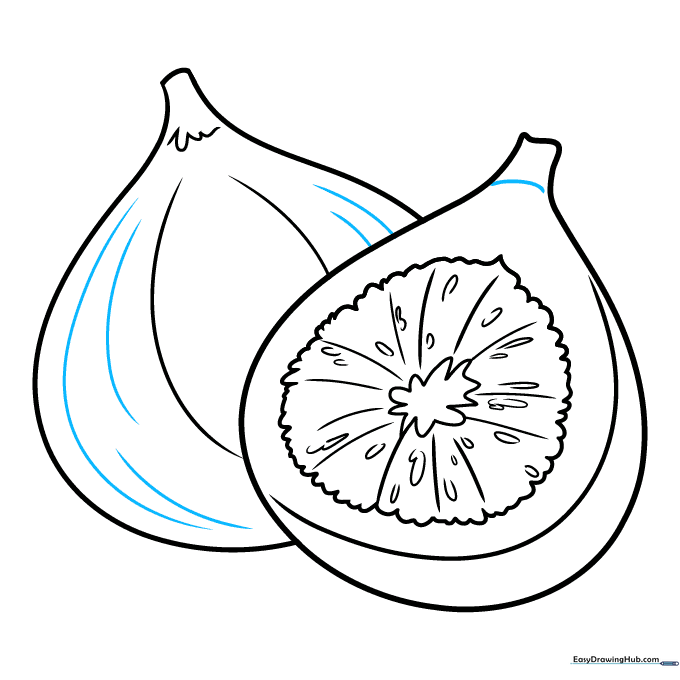
Add a final curved line across the top of the cut fig to define the stem area. Refine your lines and clean up any stray marks with your eraser.
Step 10: Adding Color
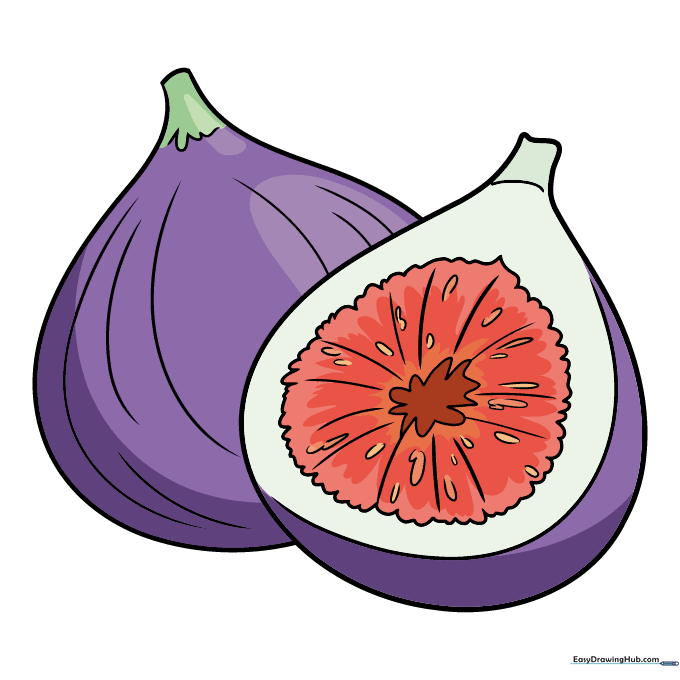
Bring your drawing to life! Use deep purples for the skin and vibrant reds for the flesh. Teacher's Tip: Try using a white colored pencil to create a highlight on the skin to make it look shiny and fresh.
More Tutorials


