How to Draw a Ferret: Easy 10-Step Guide for Kids
Bring this playful, long-bodied friend to life with a simple drawing activity perfect for ages 5 and up. All you need is a pencil, an eraser, and a piece of paper to get started. Follow these steps to master the basic shapes that make up a ferret's unique, slinky silhouette.
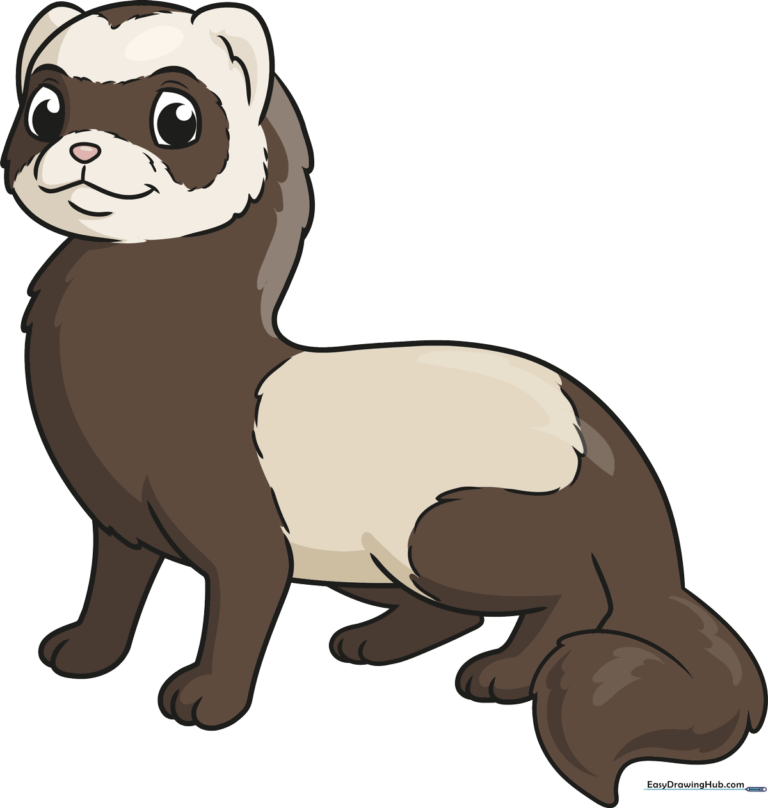
🎯 Final Result
Step-by-Step Instructions
Step 1: Sketching the Expressive Eyes

Start by drawing two small, rounded shapes for the eyes. Inside each, add a dark, solid pupil. Add a small curved line above each eye to suggest a brow. Teacher's Tip: Keep these shapes small and close together to capture that curious ferret look.
Step 2: Defining the Face and Nose

Outline the head using a long, smooth curve. Add an inverted triangle for the nose and a 'W' shape for the mouth. Teacher's Tip: Use light, feathery strokes for the cheeks to make your ferret look soft and fuzzy.
Step 3: Adding Ears and Chest

Draw two small, rounded ears on top of the head. Then, use overlapping curved lines to create the chest area. Teacher's Tip: Overlapping lines are the secret to drawing 'fur'—it makes the outline look textured rather than flat.
Step 4: Sketching the Back and First Leg
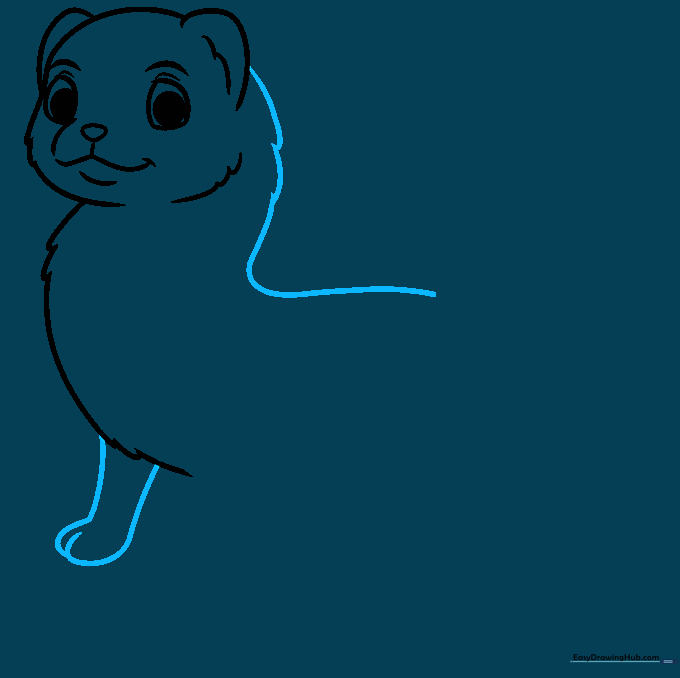
Draw the first foreleg using two curved lines that meet at the toes. Extend a long, sweeping line from the back of the head to form the ferret's long back. Teacher's Tip: Keep the back line fluid to emphasize the ferret's flexible, slinky body shape.
Step 5: Adding the Second Foreleg
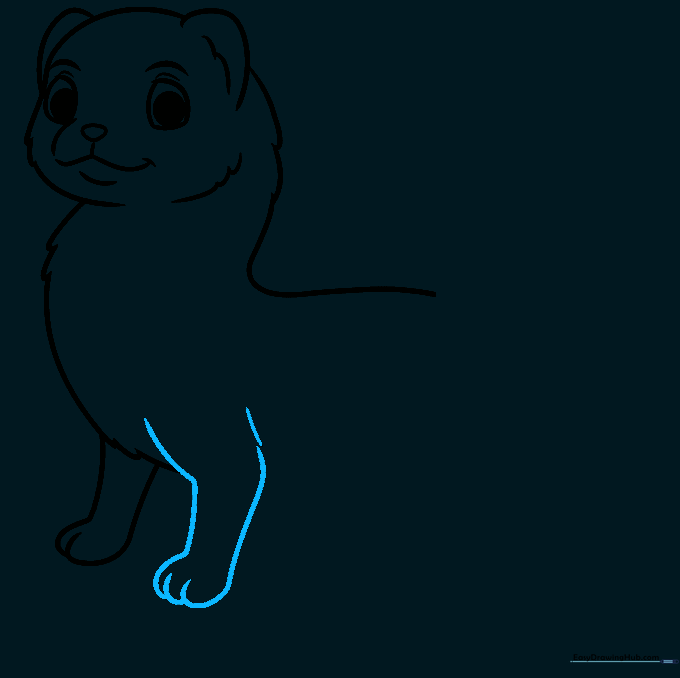
Draw the second foreleg slightly behind the first one. Use simple, overlapping curved lines to define the toes. Teacher's Tip: Drawing the second leg slightly higher creates a sense of depth and perspective.
Step 6: The Fluffy Tail
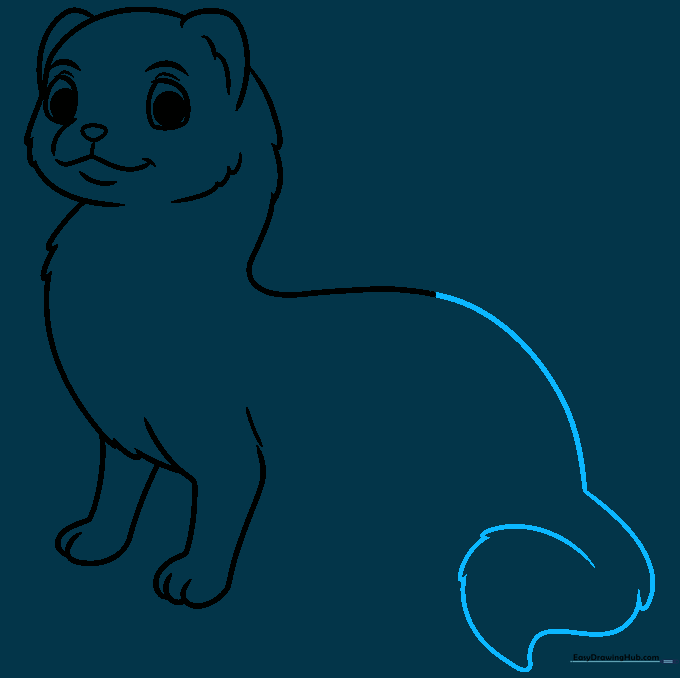
Complete the back and rump with a smooth curve, then draw a long, bushy tail using a series of overlapping, jagged lines. Teacher's Tip: Make the tail wider at the base and taper it to a gentle point at the tip.
Step 7: Drawing the Hind Legs
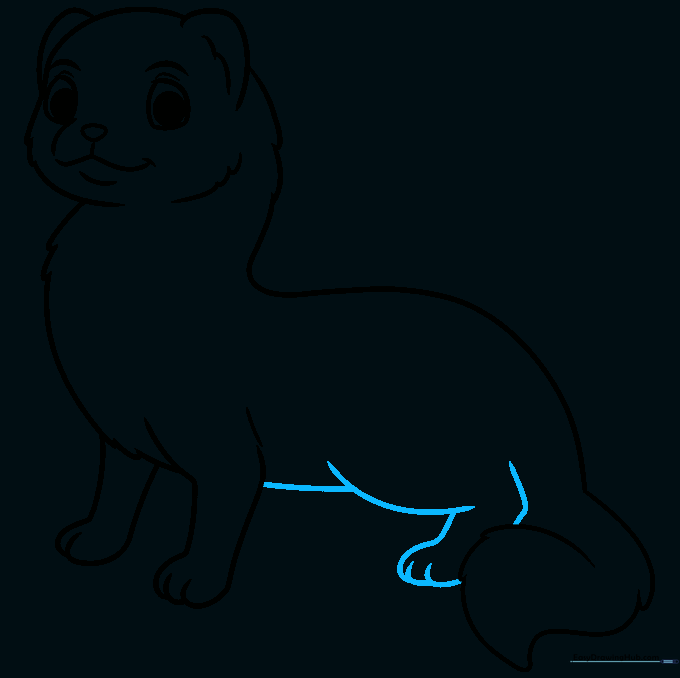
Use overlapping curved lines to draw the belly and the hind legs. Ensure the legs look sturdy and connected to the body. Teacher's Tip: Focus on the 'S' curve of the back leg to give your ferret a natural, standing posture.
Step 8: Refining the Fur Texture
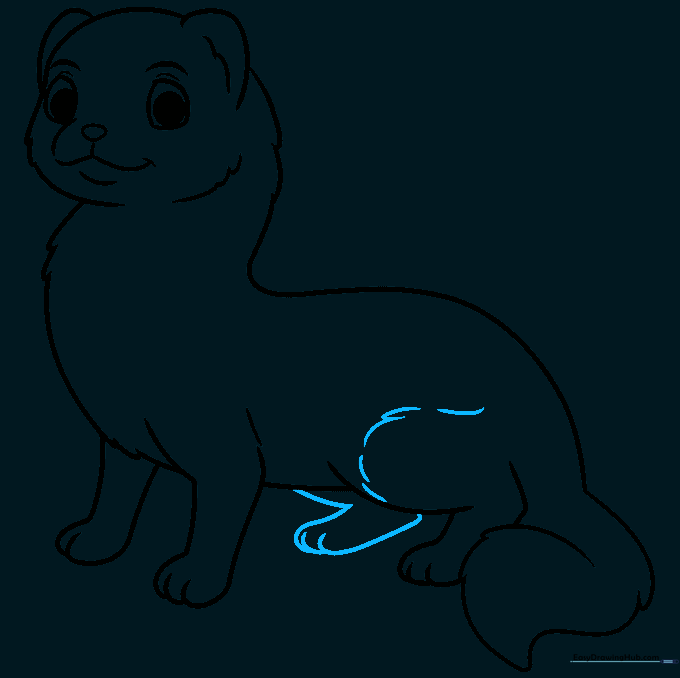
Add small, curved lines along the legs and body to enhance the furry texture. Outline the remaining hind leg carefully. Teacher's Tip: Don't worry about making every line perfect; fur is naturally messy and irregular!
Step 9: Adding Signature Markings
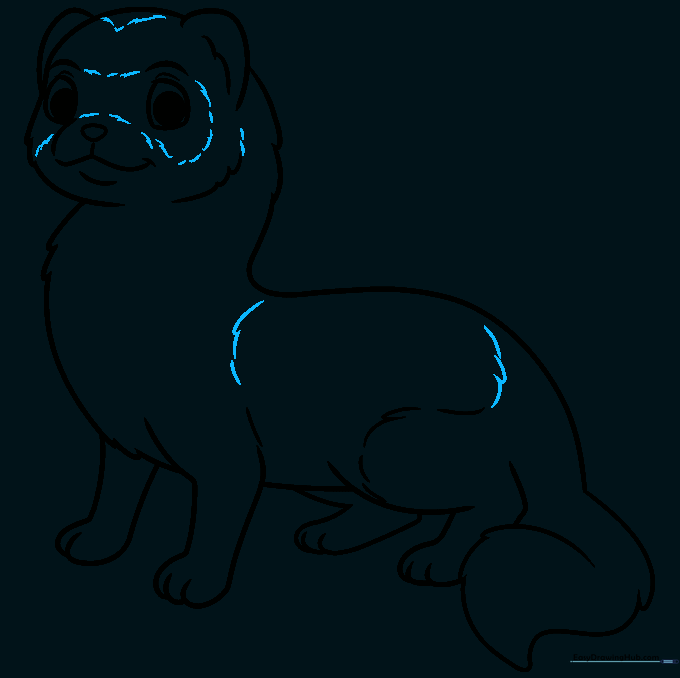
Draw the ferret's classic mask around the eyes and add spots on the back and shoulders. Teacher's Tip: These markings are what make a ferret look like a ferret—keep them organic and slightly rounded.
Step 10: Bringing Your Ferret to Life with Color
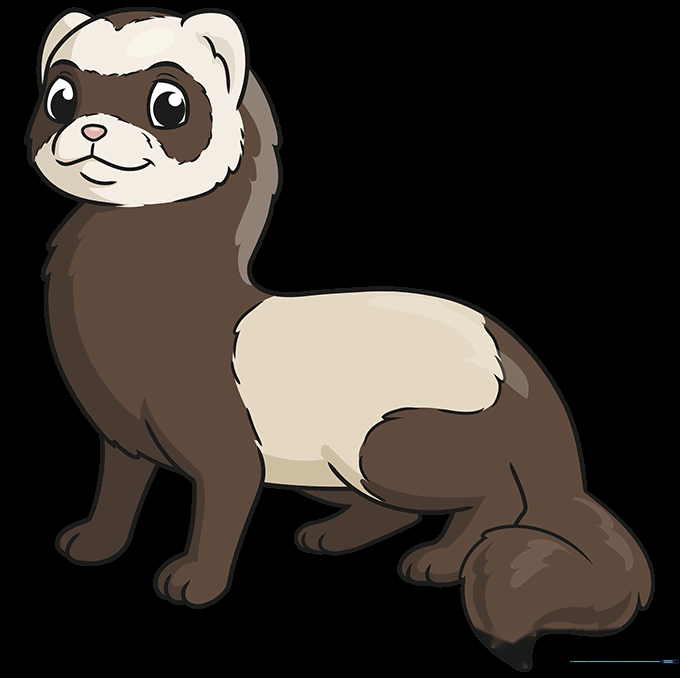
Color your ferret using shades of brown, grey, or cream. Use darker colors for the mask and feet. Teacher's Tip: Use light pressure with your colored pencils to create a soft, blended look for the fur.
More Tutorials


