How to Draw a Female Genie: Easy 10-Step Guide
Bring a touch of magic to your sketchbook with this fun, step-by-step guide to drawing a female genie. Designed for artists ages 6 and up, this project requires only a pencil, eraser, and paper to complete. Follow along to master character proportions and whimsical details in just a few minutes.
🎯 Final Result

Step-by-Step Instructions
Step 1: Sketching the Face

Near the top of your page, draw two curved lines to create an almond-shaped eye. Add a small pupil, then a simple hook shape for the nose. Sketch a loose circle for the other eye and add curved lines for the eyebrows. Teacher's Tip: Keep your pencil pressure light here so you can easily adjust the expression later.
Step 2: Defining the Chin and Ears

Draw a curved triangle shape for the chin, resembling the bottom of a heart. Extend the lines upward to form the jaw, then add an oval for the ear with a small jagged line inside for detail. Add circles for earrings and a decorative circle on the forehead. Teacher's Tip: Use a light touch to ensure the chin is symmetrical.
Step 3: Adding the Hair
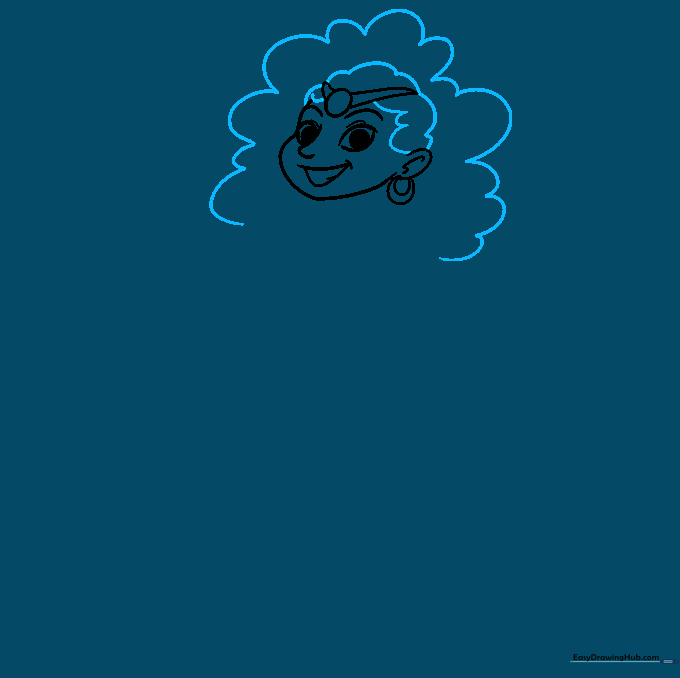
Frame the head with wavy, hill-like curves to create a voluminous hairstyle. Add additional wavy lines at the top to complete the hair shape. Teacher's Tip: Don't worry about making the lines perfect; hair is naturally flowy and organic.
Step 4: Drawing the Neck and Torso
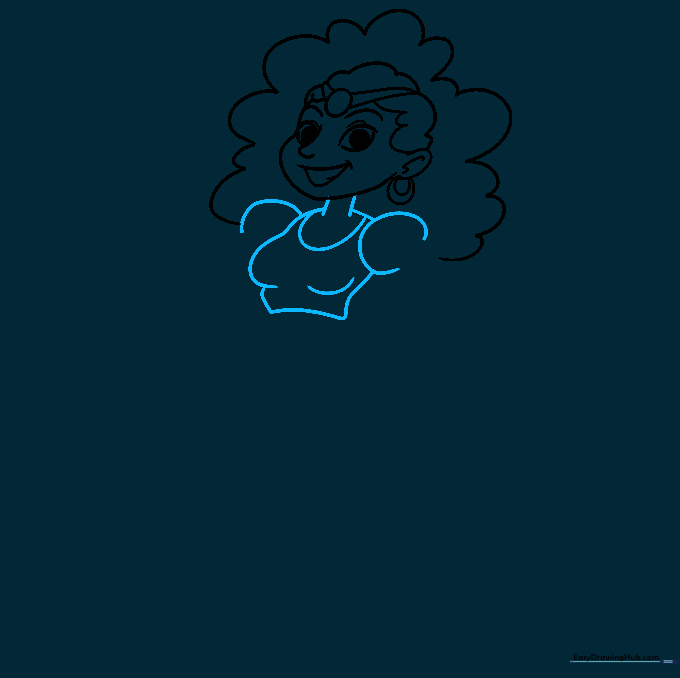
Sketch two straight lines with a slight scoop at the bottom to form the neck. Use semi-circles to represent the sleeves and curved lines to outline the upper body. Teacher's Tip: Keep the neck narrow to maintain the cartoon character proportions.
Step 5: Sketching the First Hand
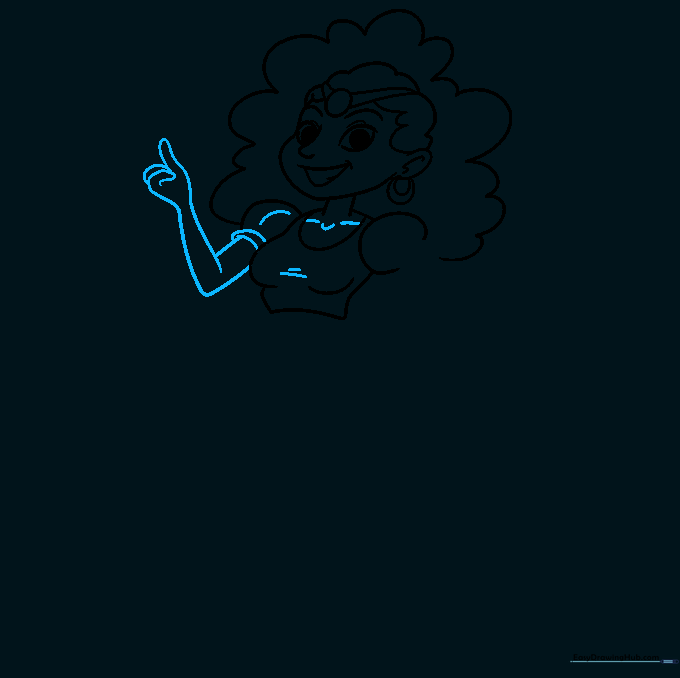
Add detail lines to the torso. For the left arm, draw an L-shape, then a parallel L-shape above it. Create a long oval for the thumb and two smaller ovals for the fingers. Teacher's Tip: Hands are tricky! Focus on the oval shapes first to get the placement right.
Step 6: Completing the Arms
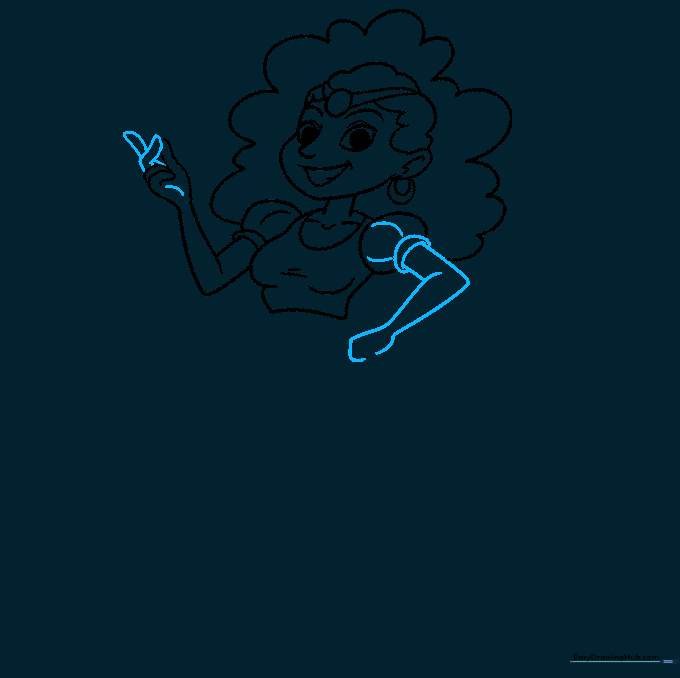
Add two more ovals for the remaining fingers on the left hand. For the right arm, draw a V-shape pointing right, then a matching shape next to it. Use curved lines for the sleeve and a loose rectangle with rounded edges for the hand. Teacher's Tip: Keep the lines fluid to show movement.
Step 7: Drawing the Lower Body
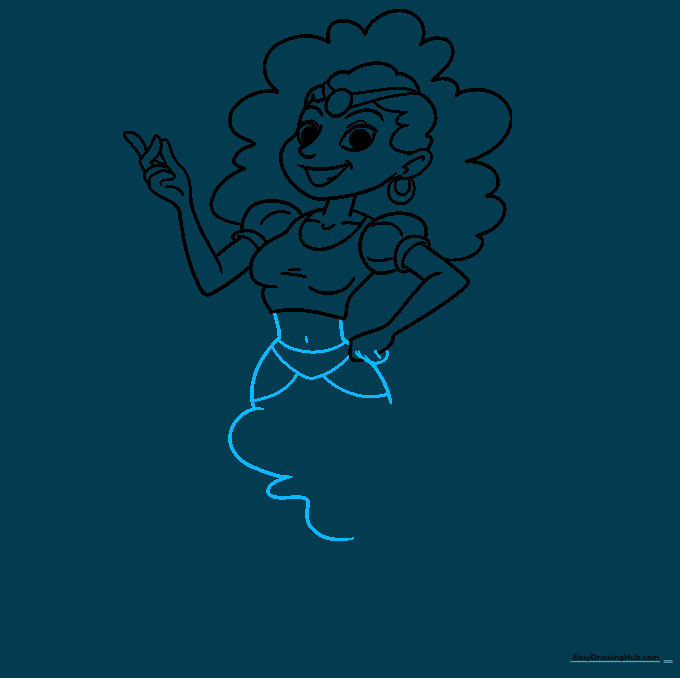
Start the lower body with two straight lines connected by a curve. Add a loose triangle framed by two smaller triangles to look like wings or flowing fabric. Draw a squiggly line underneath to represent the base. Teacher's Tip: The squiggly line helps create the illusion of floating.
Step 8: Adding Magical Smoke
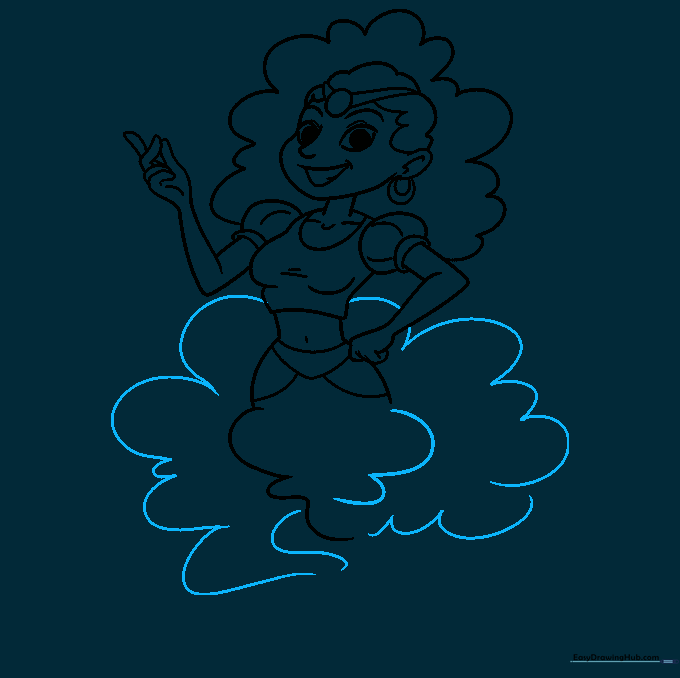
Use broad, squiggly lines to draw fluffy clouds of smoke swirling around her body. Teacher's Tip: Make the clouds overlap to give the drawing a sense of depth and magical energy.
Step 9: Drawing the Magic Lamp
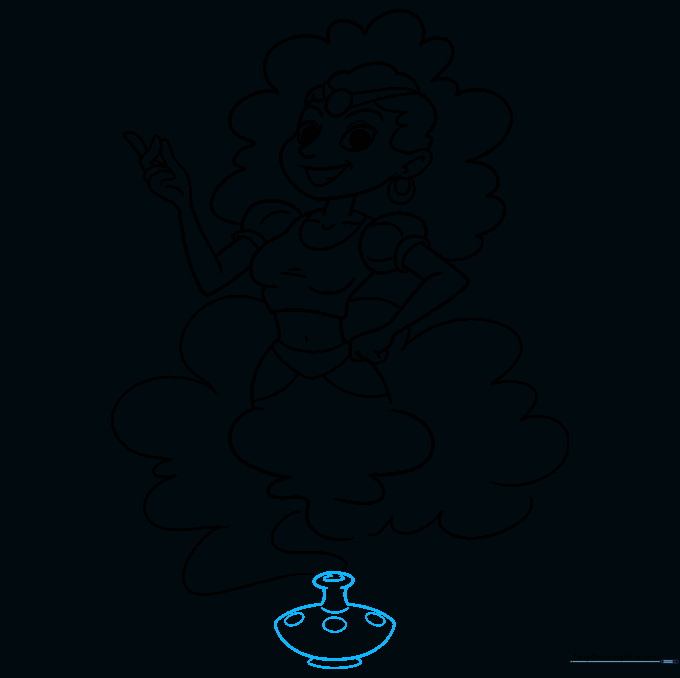
Draw a broad almond shape for the lamp body. Add an oval on top and connect them with two lines. Add three small circles and curved lines for depth, finishing with a thin almond base. Teacher's Tip: Take your time on the lamp; it's the iconic accessory for your genie!
Step 10: Finalizing and Coloring
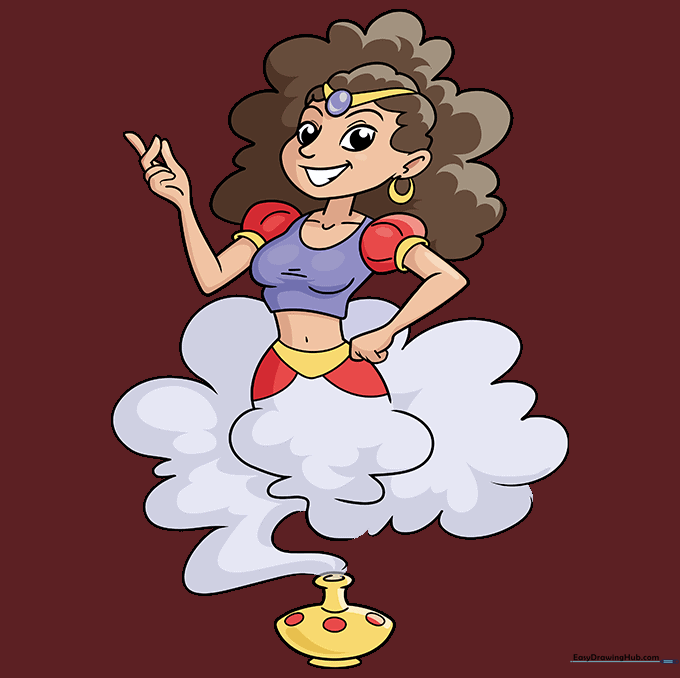
Outline your drawing with a black pen, then erase your pencil marks. Color the smoke grey, the hair brown, and the lamp yellow with red accents. Use your favorite skin tone markers and add shadows for a professional look. Teacher's Tip: Use darker shades of your colors near the edges to create a 3D effect.
More Tutorials


