How to Draw a Feather: Simple 10-Step Guide for Kids
This feather drawing tutorial is perfect for young artists ages 5 and up looking to practice fluid, organic lines. You only need a pencil, an eraser, and a piece of paper to get started. By the end of this lesson, you will master the structure of a feather, from the central shaft to the delicate, wispy vanes.
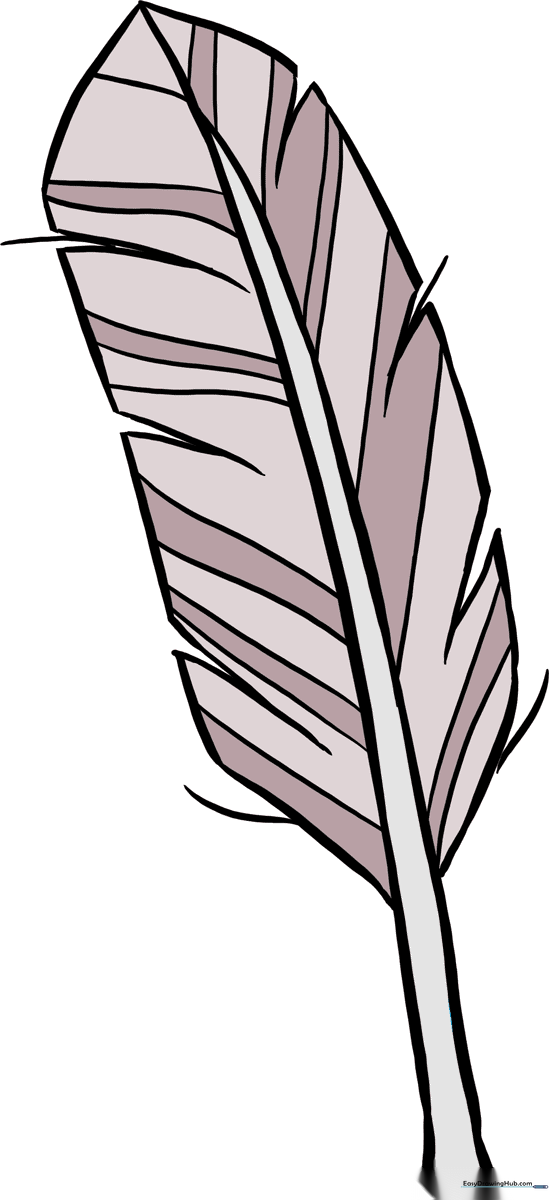
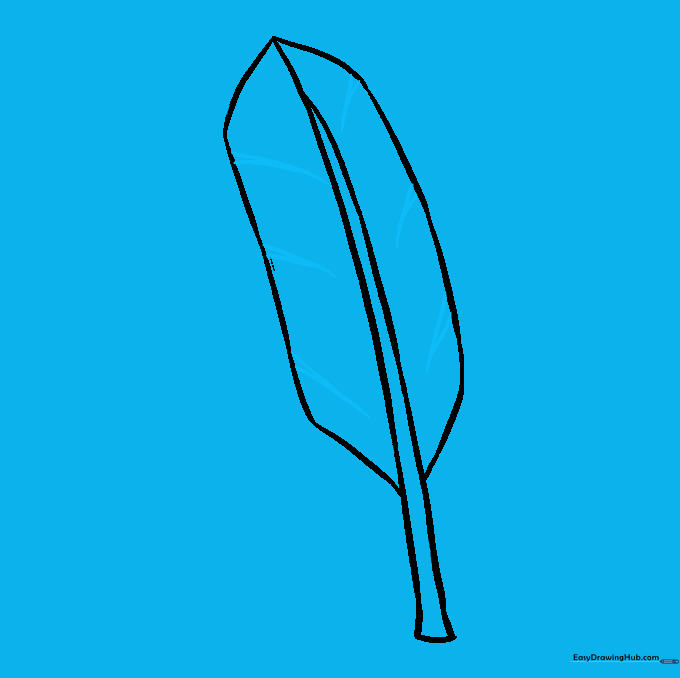
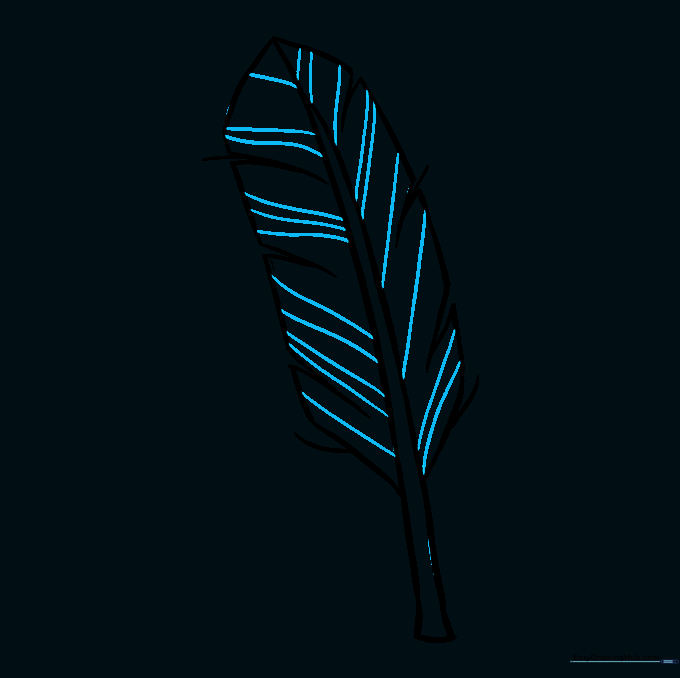
🎯 Final Result
Step-by-Step Instructions
Step 1: Sketching the Central Shaft
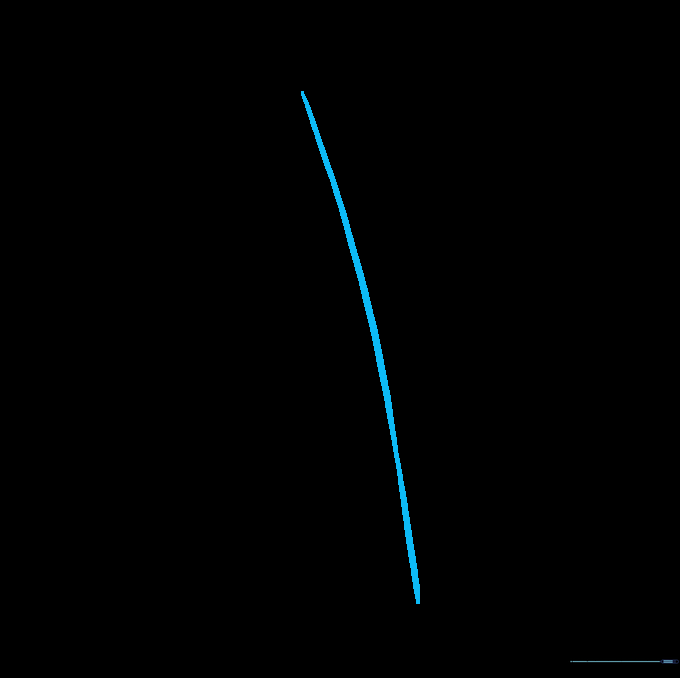
Draw a long, slightly curved diagonal line. This is the rachis, or the 'trunk' of your feather. Teacher's Tip: Keep your pencil pressure light so you can easily adjust the curve if it feels too stiff.
Step 2: Creating the Feather Outline
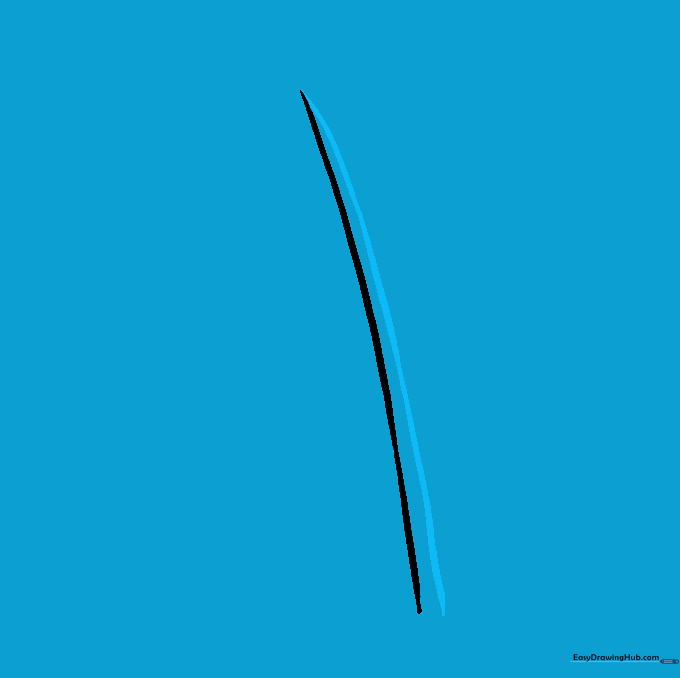
Draw a second, slightly curved line mirroring the first, meeting at a sharp point at the top. Teacher's Tip: Think of this as drawing a long, skinny leaf shape.
Step 3: Defining the Quill

Use short, curved lines to enclose the bottom of the shaft, creating the quill. Teacher's Tip: The quill is the part that attaches to the bird, so make it look sturdy and slightly rounded.
Step 4: Adding the Tip Detail
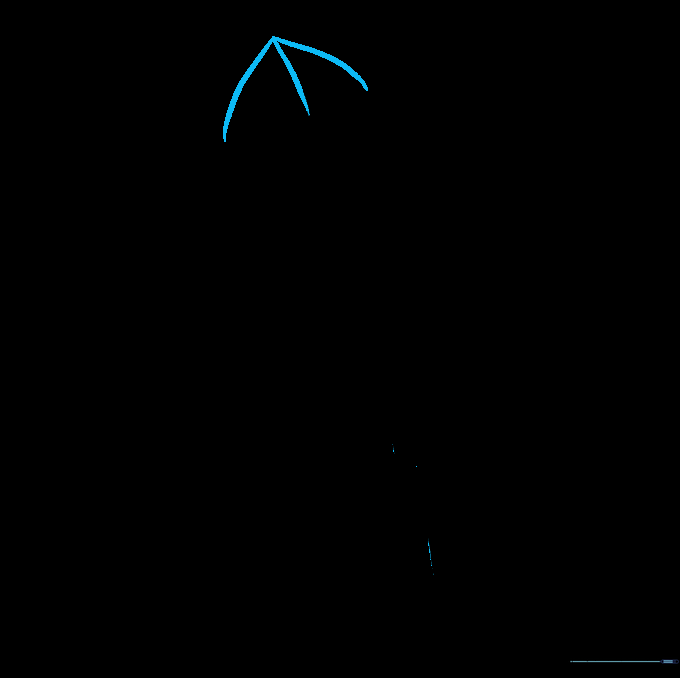
Extend a short line from the top and draw two curved lines angling back toward the main body. Teacher's Tip: This adds a realistic 'frayed' look to the top of the feather.
Step 5: Connecting the Vane
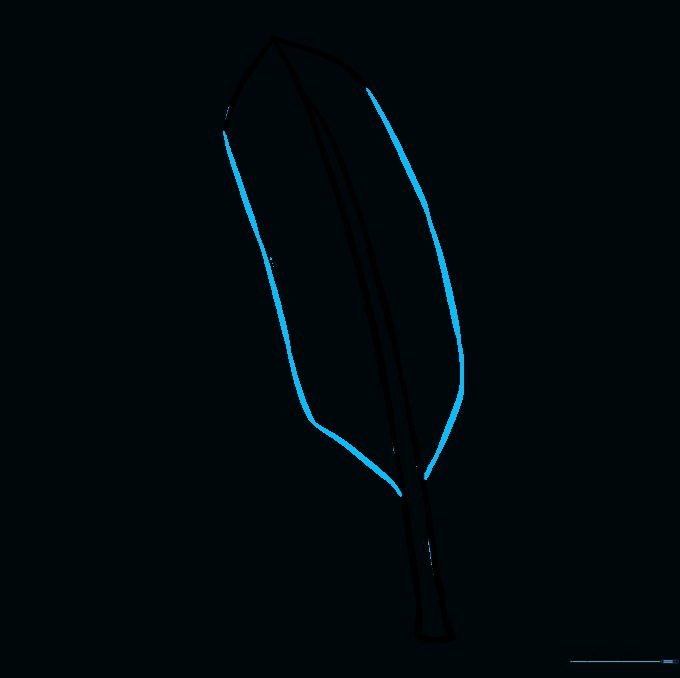
Extend long, curved lines parallel to the shaft to complete the feather's shape. Connect these back to the quill. Teacher's Tip: Keep your lines fluid to mimic the soft, flowing nature of real feathers.
Step 6: Adding Texture
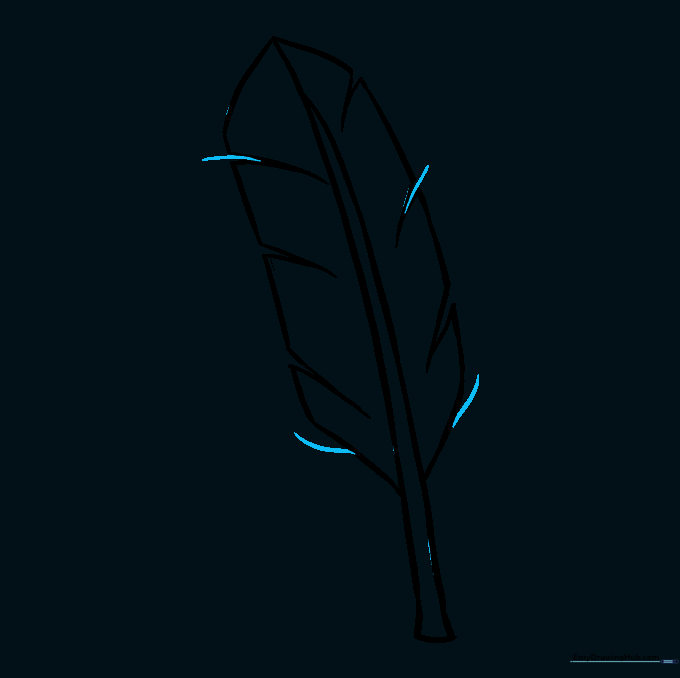
Draw pairs of curved lines from the outline toward the shaft, meeting in sharp points to create small triangles. Teacher's Tip: These triangles represent the gaps between the barbs of the feather.
Step 7: Cleaning Up
Erase your initial guide lines. The remaining triangles now look like natural indentations in the feather's vane. Teacher's Tip: Use a soft eraser to avoid smudging your work.
Step 8: Adding Fine Details
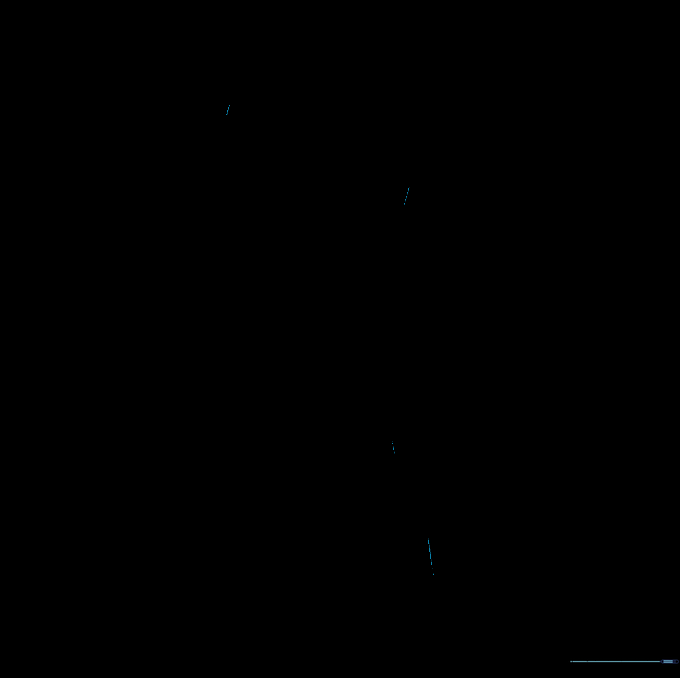
Draw short, curved lines near the base and within the indentations. Teacher's Tip: These represent individual barbs that have separated from the main vane.
Step 9: Finalizing the Vane
Add wavy lines between the shaft and the edges to complete the look of the vane. Teacher's Tip: Don't worry about making them perfect; feathers are naturally irregular!
Step 10: Bringing It to Life with Color
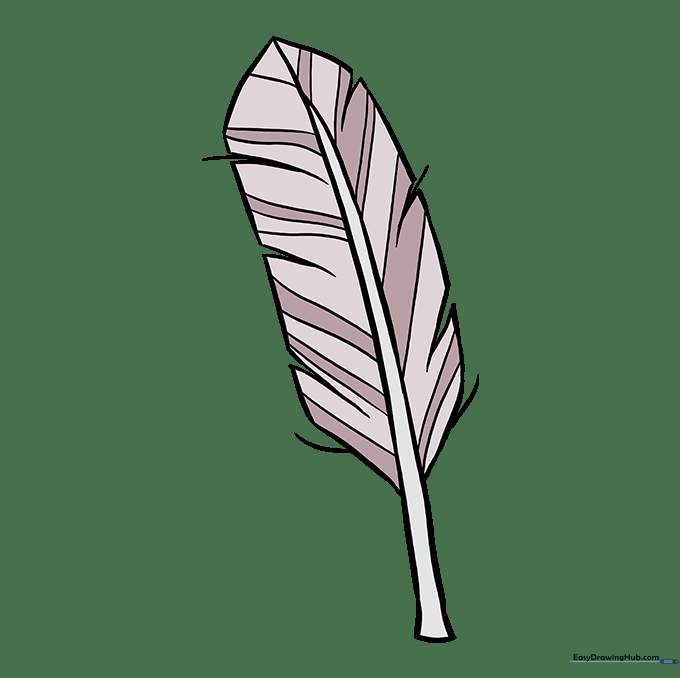
Time to color! Whether you choose natural browns or bright parrot colors, use light strokes to fill in the vane. Teacher's Tip: Try using colored pencils to layer different shades for a more realistic, iridescent effect.
More Tutorials


