How to Draw a Father’s Day Heart: Easy 10-Step Guide
Looking for a meaningful, screen-free gift for Dad? This Father's Day heart tutorial is perfect for artists ages 5 and up to practice symmetry and line work. Grab your pencil, eraser, and markers to create a personalized keepsake he will cherish forever.
🎯 Final Result

Step-by-Step Instructions
Step 1: Sketching the Heart Base
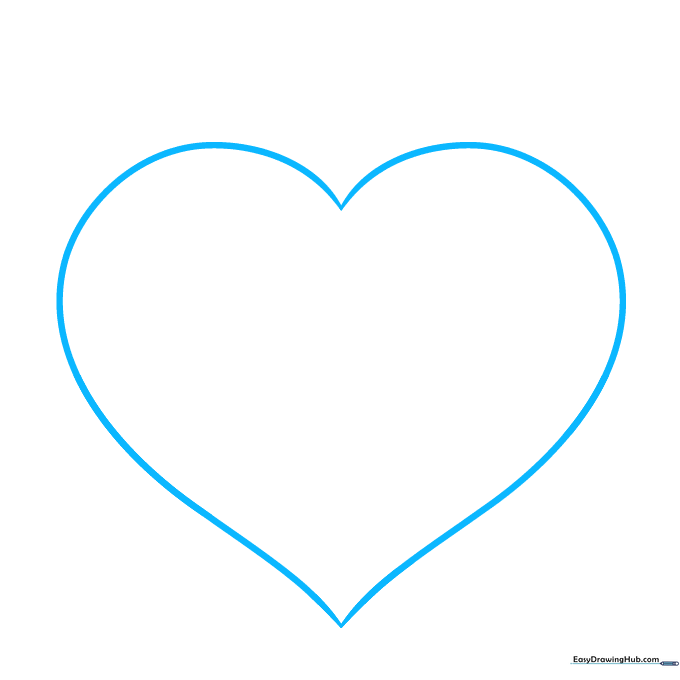
Draw a heart in the center of your paper using two smooth, swooping lines. Teacher's Tip: Keep your pencil pressure light so you can easily adjust the shape if it looks a bit lopsided.
Step 2: Adding the Banner Outline
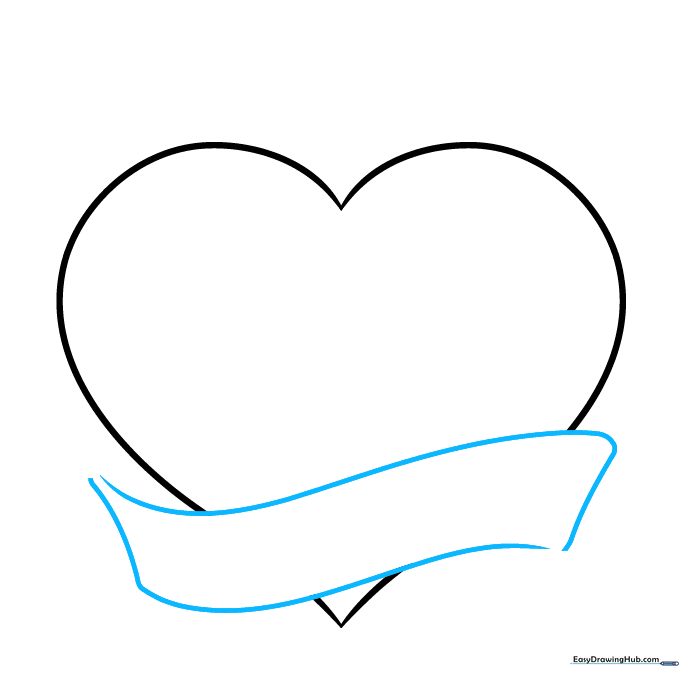
Sketch two wavy horizontal lines across the heart, connecting them with short vertical ends. Teacher's Tip: Imagine the banner is a piece of ribbon wrapping around the heart; keep the lines parallel for a professional look.
Step 3: Creating Banner Folds
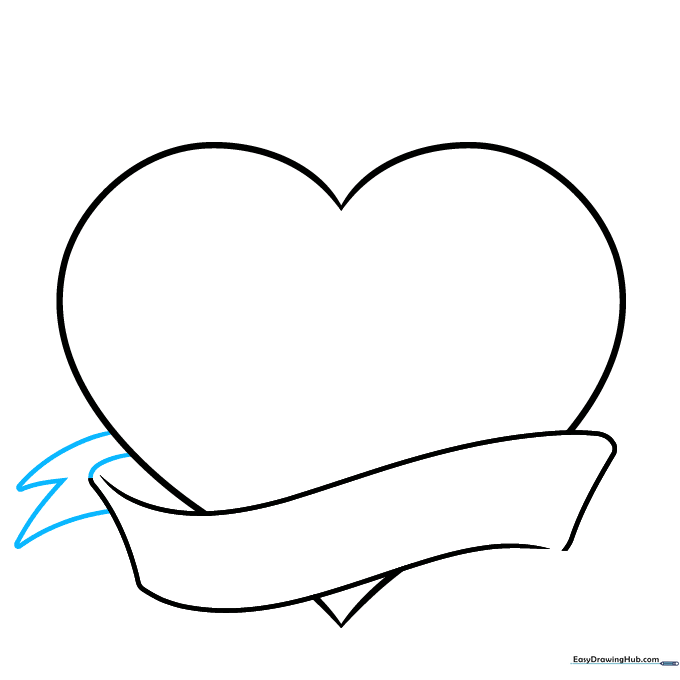
Add two small triangles on the left side to show the banner folding behind the heart. Teacher's Tip: Use short, confident strokes to make the fold look crisp and clean.
Step 4: Completing the Banner
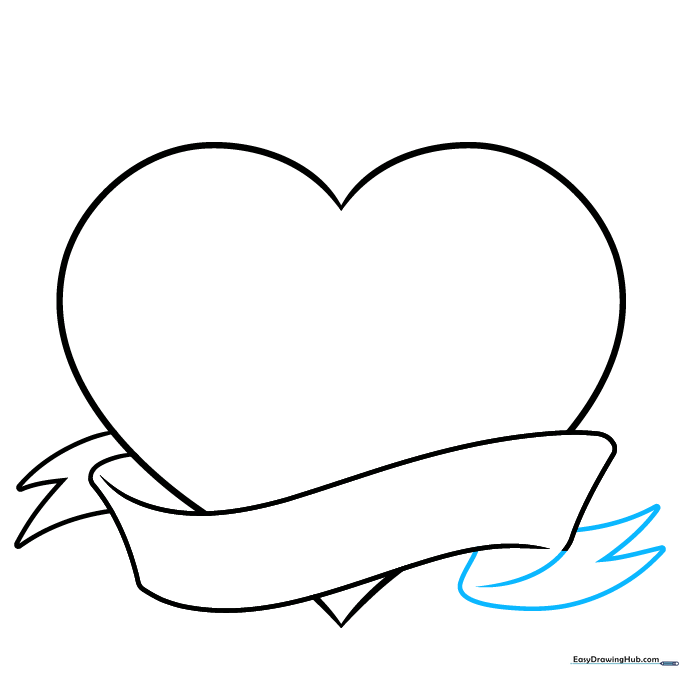
Repeat the process on the right side with two more triangles. Connect them with a vertical line to create a 3D depth effect. Teacher's Tip: Ensure the banner ends align horizontally so it doesn't look tilted.
Step 5: Drawing the Crown

Sketch three triangles atop the heart to form a crown, making the middle one slightly taller. Teacher's Tip: A crown adds a 'King of the House' theme—perfect for Dad!
Step 6: Adding Tie Details
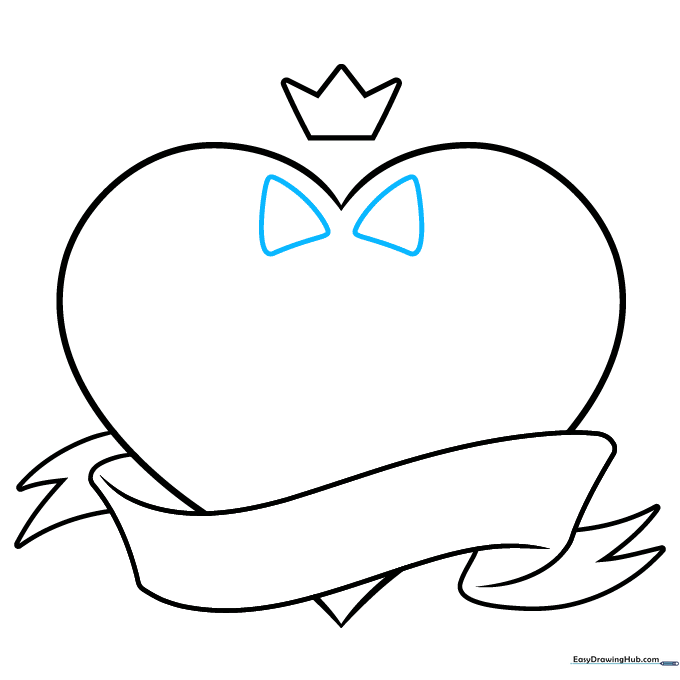
Draw two mirrored, rounded triangles inside the heart to represent the collar of a shirt. Teacher's Tip: Symmetry is key here; take your time to make both sides match.
Step 7: Sketching the Tie
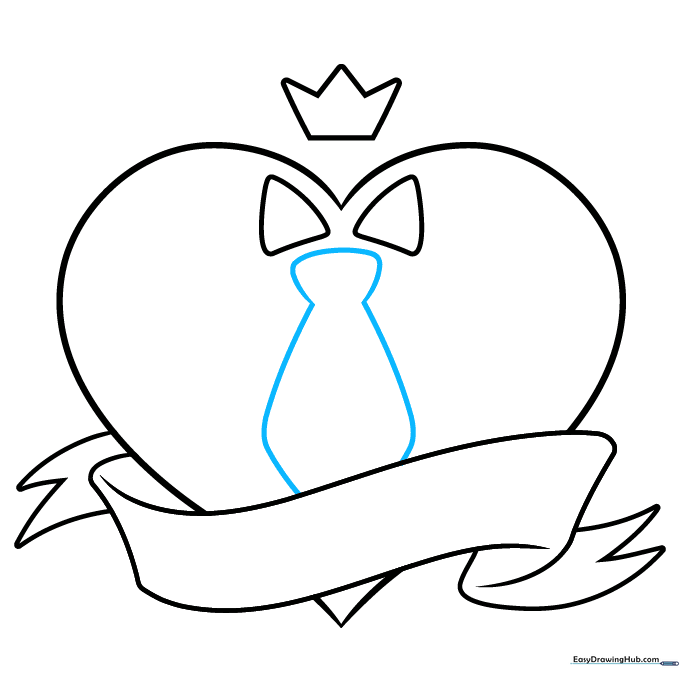
Add a small rounded triangle between the collar pieces and a larger diamond shape below to form the tie. Teacher's Tip: Think of this as the 'knot' and the 'blade' of the tie.
Step 8: Adding Tie Texture
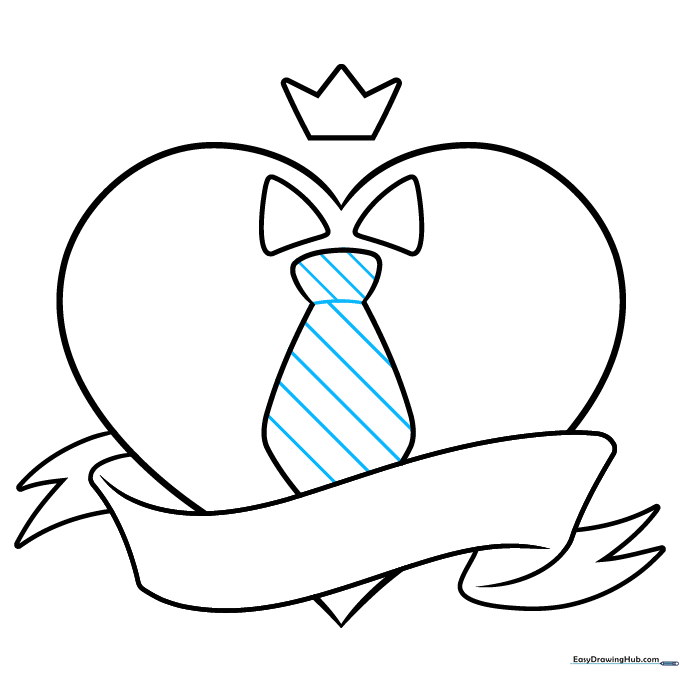
Draw a vertical line down the center of the tie and add diagonal lines to create a striped pattern. Teacher's Tip: Keep your lines evenly spaced for a neat, classic look.
Step 9: Adding the Message

Write 'BEST DAD' in the banner using bold, capital letters. Outline your entire drawing with a black pen. Teacher's Tip: Use a brush-tip marker for a fun, hand-lettered calligraphy style.
Step 10: Adding Color

Bring your art to life! Use reddish-pink for the heart, blue for the tie, and gold for the crown. Teacher's Tip: Leave a small white space near the top of the heart to create a 'shiny' highlight effect.
More Tutorials


