How to Draw a Father-Son Heart: Easy Step-by-Step Guide
Looking for a meaningful, handmade gift for Father's Day? This tutorial is perfect for children ages 6 and up to create a sweet, cartoon-style illustration of a father and son inside a heart. All you need is a pencil, an eraser, and your favorite markers to bring this special bond to life.
🎯 Final Result

Step-by-Step Instructions
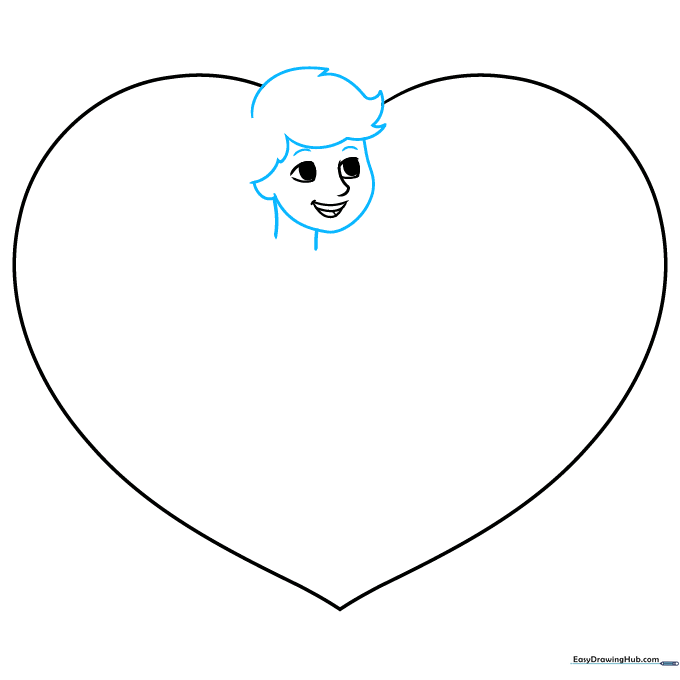
Step 1: Sketching the Heart and Face

Draw a large, symmetrical heart shape to serve as your frame. Inside the top half, sketch the boy's face using simple curved lines for the eyes and a happy, open mouth. Teacher's Tip: Keep your pencil lines very light so you can easily erase any overlapping heart lines later.
Step 2: Defining the Boy's Features
Add the boy's hair using jagged, spiky lines for a fun texture, and draw his neck and ear. If any part of the heart outline crosses through his hair, gently erase it to make the character pop. Teacher's Tip: Use short, quick strokes for the hair to give it a natural, messy look.
Step 3: Adding the Father's Face
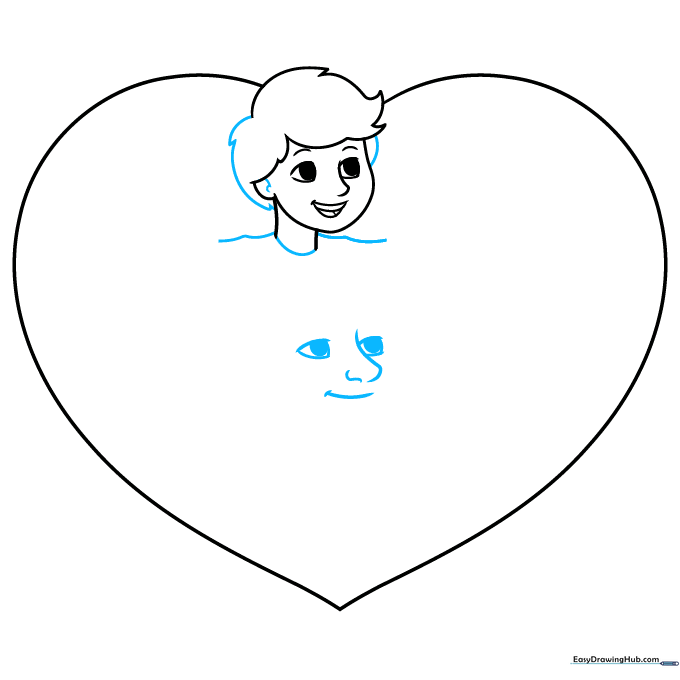
Draw the boy's shoulders, then move to the father's face below. Use similar curved lines for his eyes and a warm, smiling mouth. Teacher's Tip: Make the father's eyes slightly larger or wider to show a gentle, kind expression.
Step 4: Refining the Father's Details
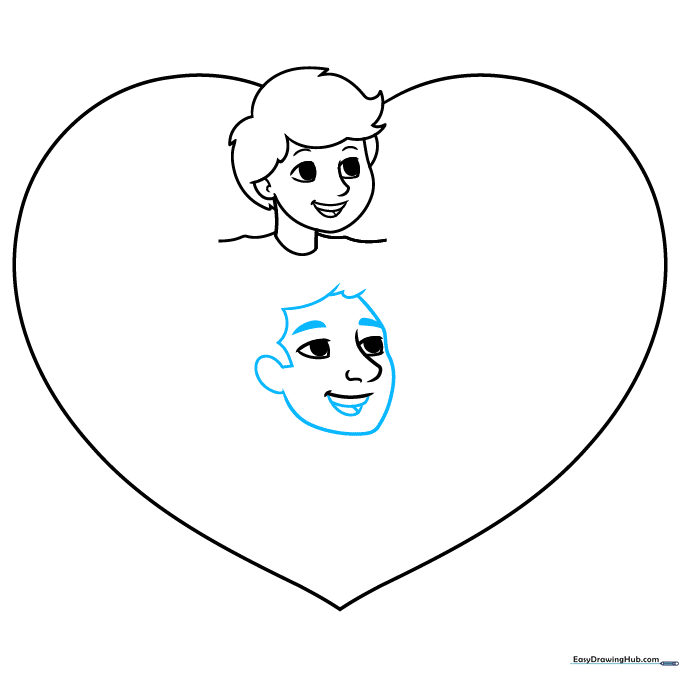
Outline the father's hair and add thick, expressive eyebrows. Don't forget to draw his tongue and teeth inside his open mouth. Teacher's Tip: Thickening the eyebrows helps convey emotion—try to match the angle of the eyes to make him look truly happy.
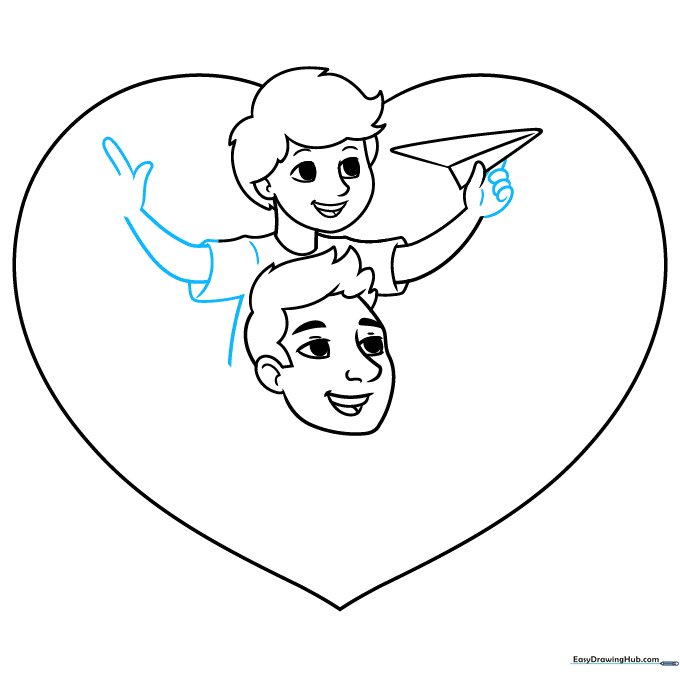
Step 5: Drawing the Paper Airplane
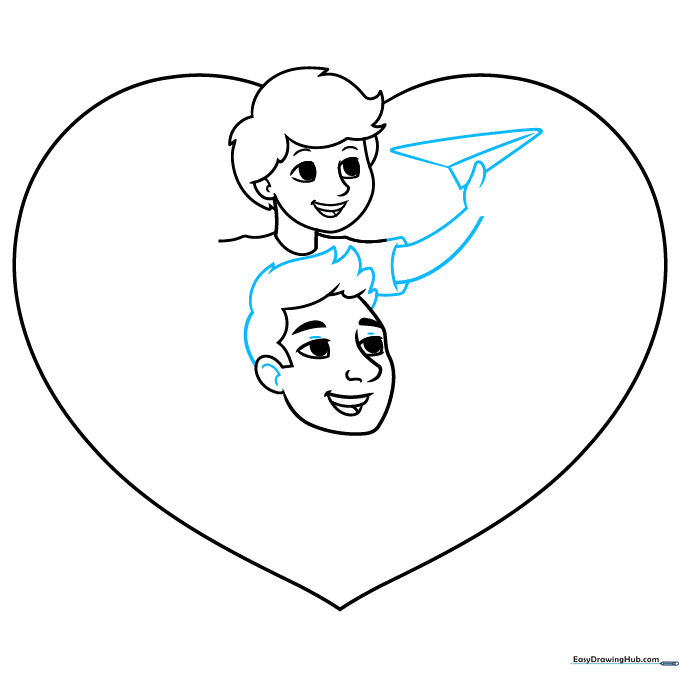
Finish the father's hair with jagged lines, then draw the boy's arm holding a paper airplane. Use straight, crisp lines for the airplane to contrast with the curved lines of the people. Teacher's Tip: A paper airplane is a great detail—it adds a sense of movement and playfulness to the drawing.
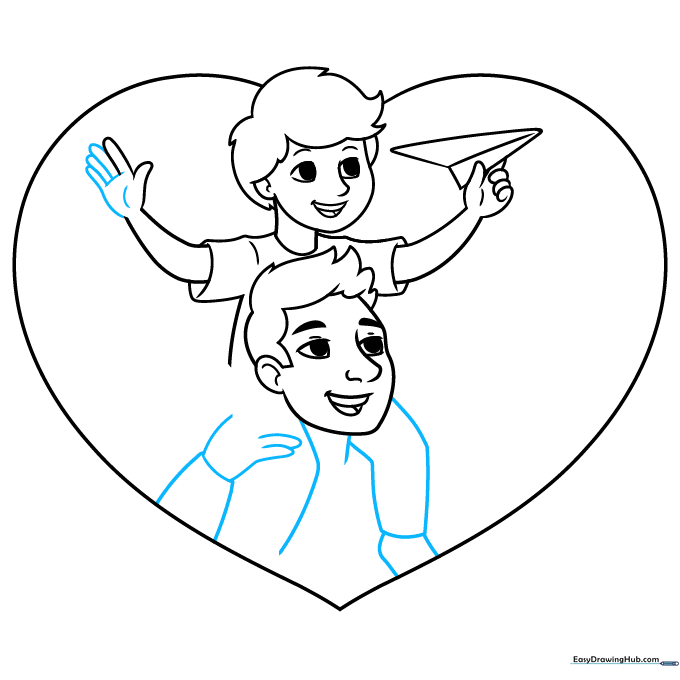
Step 6: Completing the Boy's Arms
Draw the boy's remaining arm and the side of his shirt. Keep the lines smooth and continuous. Teacher's Tip: If the arms look a bit stiff, try adding a slight curve at the elbow to make them look more natural.
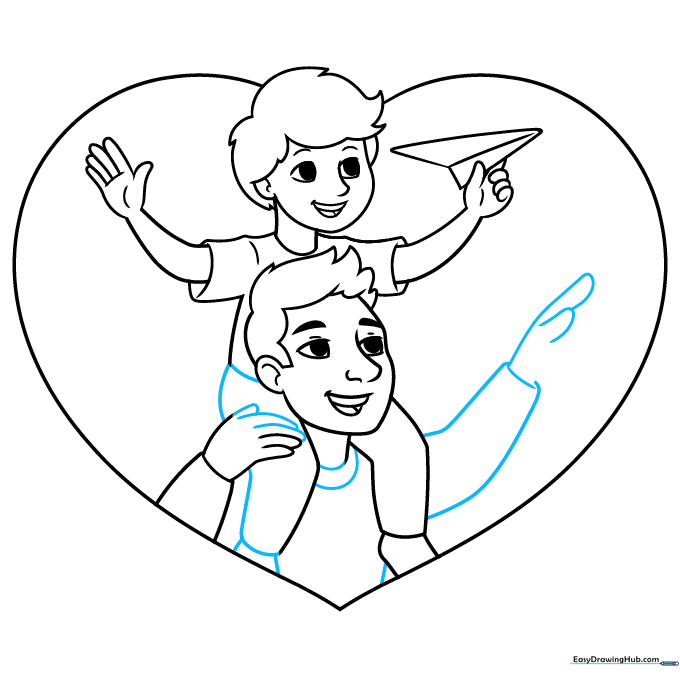
Step 7: Sketching the Legs and Father's Arm
Sketch the boy's legs and the father's arm reaching out. This creates a sense of interaction between the two characters. Teacher's Tip: Ensure the father's arm looks like it is resting comfortably near the boy.
Step 8: Finalizing the Poses
Finish the boy's legs and the father's t-shirt neckline. Make sure all lines are connected cleanly. Teacher's Tip: Check that the proportions look balanced—the father should be slightly larger than the son.
Step 9: Adding Background and Text

Draw fluffy clouds in the background to fill the empty space inside the heart. Below the characters, write 'BEST DAD' in bold, block letters. Teacher's Tip: Use a ruler for the letters if you want them to look extra neat and professional.
Step 10: Coloring Your Masterpiece

Your outline is complete! Now, use your favorite colors to fill in the drawing. You can customize the hair and shirt colors to match you and your dad. Teacher's Tip: Use warm colors like red or pink for the heart to emphasize the love in your drawing.
More Tutorials


