How to Draw a Father-Daughter Heart: Easy 9-Step Guide
Looking for a meaningful, handmade gift? This tutorial is perfect for children ages 6+ to create a custom Father's Day card or keepsake. All you need is a pencil, an eraser, and your favorite markers to bring this sweet father-daughter moment to life.
🎯 Final Result

Step-by-Step Instructions
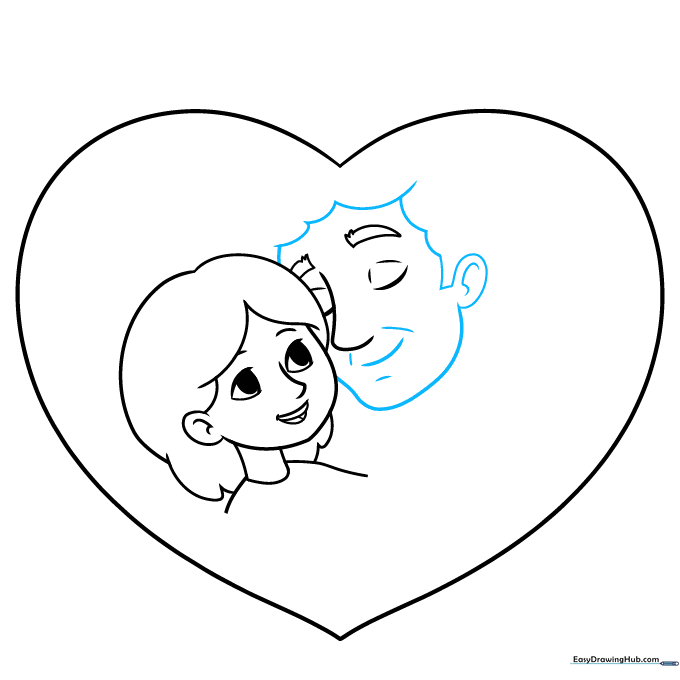
Step 1: Sketching the Heart Frame
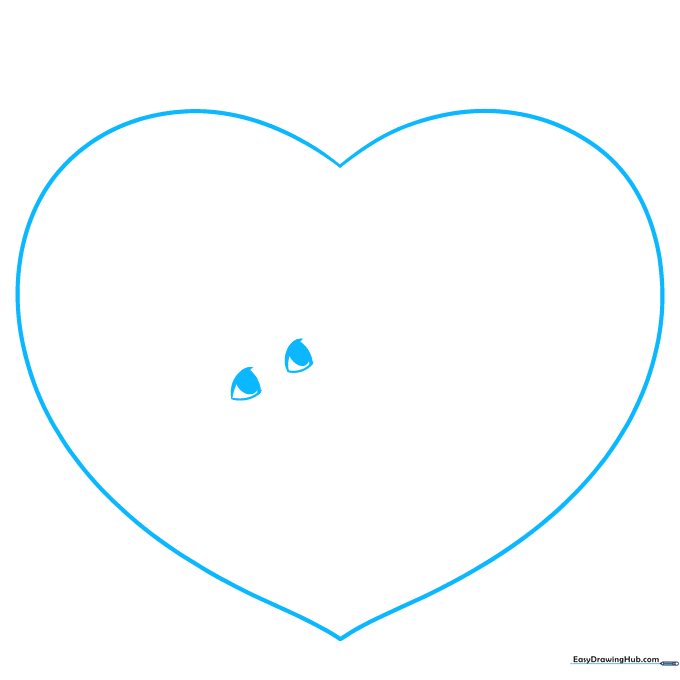
Draw a large, symmetrical heart to act as your canvas. Then, sketch the daughter's eyes using three simple curved lines each. Tip: Keep the eyes close together to make her look extra expressive!
Step 2: Defining the Daughter's Face
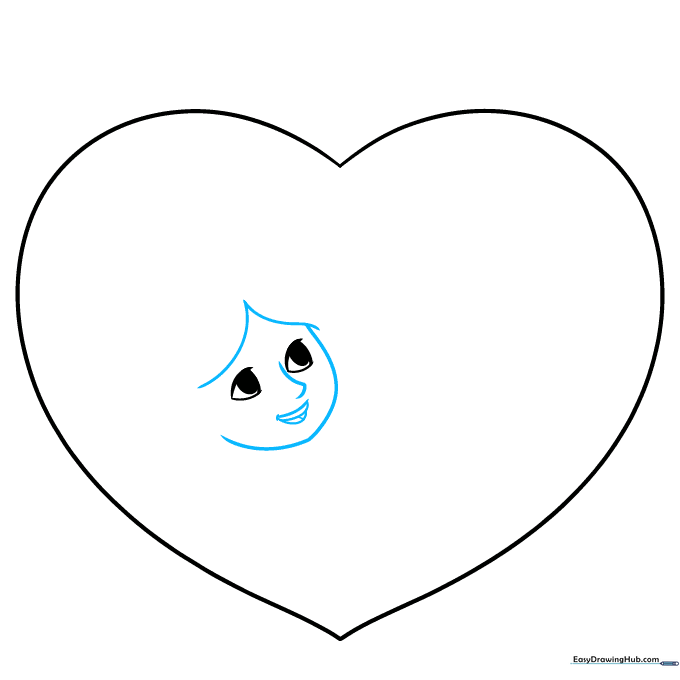
Use smooth, curved lines to shape her hair and face. Add a small, open mouth with a tongue and teeth to show a happy expression. Tip: Draw the mouth small to keep the face looking cute and proportional.
Step 3: Adding Hair and Neck
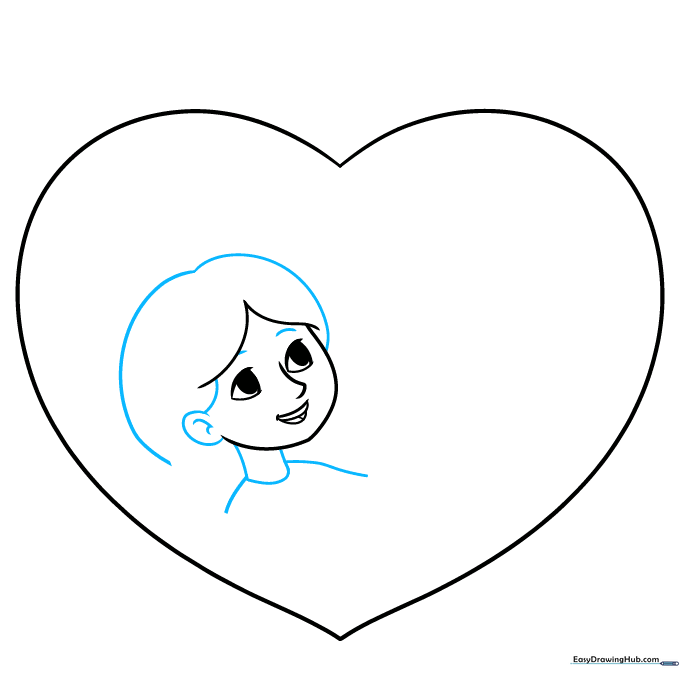
Continue the hair with soft, flowing lines and add the ears. Sketch the neck and shoulders to ground the figure. Tip: Use light, feathery strokes for the hair to make it look natural.
Step 4: Starting the Father's Features
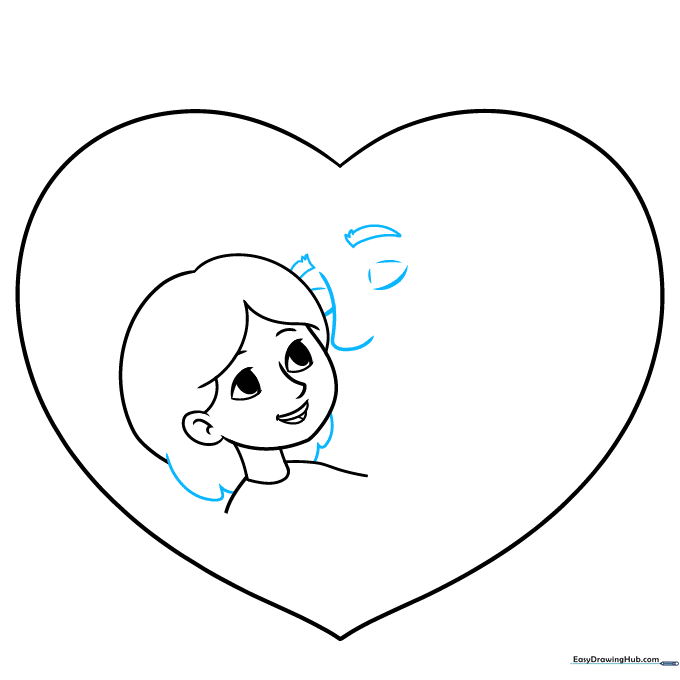
Complete the girl's hair, then move to the father's face. Use thicker, curved lines for his bushy eyebrows and closed eyelids. Tip: Bushy brows help convey a kind, gentle personality.
Step 5: Shaping the Father's Face
Outline his hair, ear, and chin using overlapping curves. Add a gentle, smiling mouth. Tip: A slight curve at the corner of the mouth makes the smile look warm and genuine.
Step 6: Adding Clothing Details
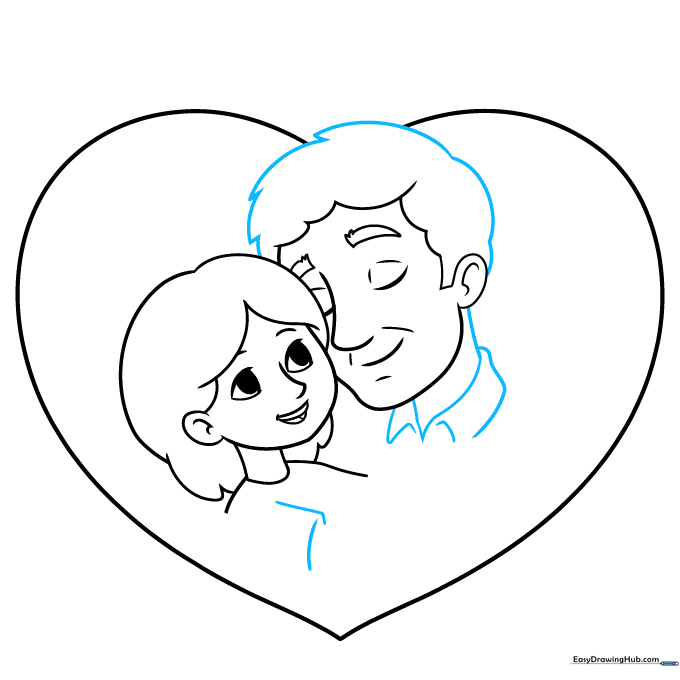
Use jagged lines to finish the father's hair, then erase the heart outline where it overlaps. Add the collar of his shirt and the start of the girl's sleeve. Tip: Use your eraser carefully to keep the lines clean.
Step 7: Drawing Arms and Shoulders
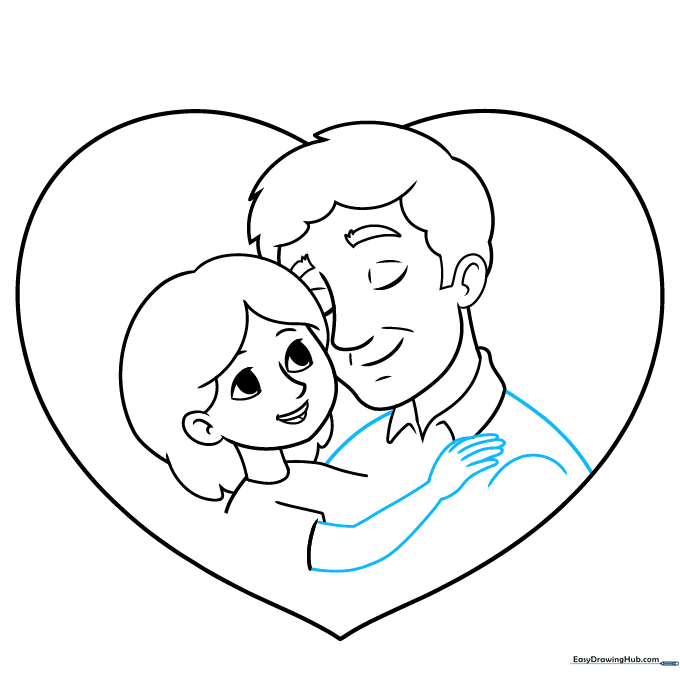
Draw the girl's arm and hand using smooth, overlapping curves. Add the father's shoulders to complete the embrace. Tip: Focus on the way the arm curves to show the hug.
Step 8: Finalizing the Clothing
Add details to the sleeves and shirt fronts. Ensure the lines flow naturally to show the fabric. Tip: Keep your pencil pressure consistent for these final outline details.
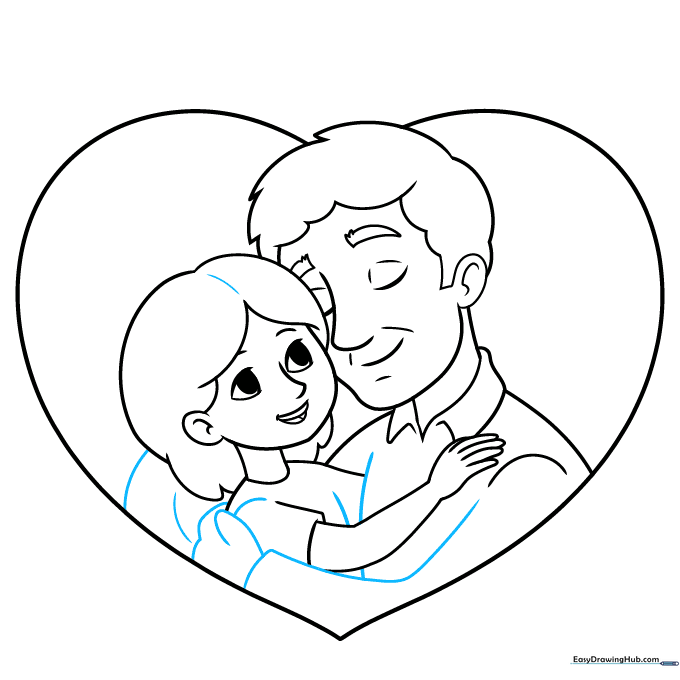
Step 9: Adding the Message

Add texture to the hair with small, quick strokes. Finally, write "I [heart] DAD" to complete your message. Tip: Practice your lettering on a scrap piece of paper first!
Step 10: Bringing it to Life with Color

Now for the fun part! Use your favorite colors to fill in the characters and the heart. Tip: Use light pressure for skin tones and darker, vibrant colors for the heart to make it pop.
More Tutorials


