How to Draw a Father and Daughter: Easy 9-Step Guide
This tutorial is perfect for kids ages 5+ looking to create a heartwarming illustration for Father's Day or a family project. You will only need a pencil, an eraser, and a piece of paper to get started. Follow these simple steps to build confidence in drawing people and capture a sweet moment between a dad and his daughter.
🎯 Final Result

Step-by-Step Instructions
Step 1: Sketching the Father's Face

Start by drawing the father's face using soft, curved lines for the jaw and ears. Add the eyes, nose, and a warm smile. Teacher's Tip: Keep your pencil strokes light so you can easily erase any mistakes as you refine the facial features.
Step 2: Adding Hair and Collar

Outline the hair with jagged, tufted lines to give it texture. Draw the neck and the collar of his shirt below. Teacher's Tip: Use small circles for the buttons to add a realistic touch to his shirt.
Step 3: Drawing the Daughter

Sketch the daughter's head and torso resting near the father. Use wavy lines for her puffy sleeves and define her facial features, including eyelashes and a happy mouth. Teacher's Tip: Keep her features slightly smaller than the father's to show she is younger.
Step 4: Styling Her Hair and Bow

Draw her hair with a part at the top and jagged points at the ends. Add a cute bow on top of her head. Teacher's Tip: Use a circular motion for the center of the bow to make it look three-dimensional.
Step 5: Sketching Her Arms

Extend long, curved lines from her body to form her arms, and enclose the hands at the ends. Teacher's Tip: Don't worry about drawing perfect fingers; simple rounded shapes work best for this cartoon style.
Step 6: Adding Her Legs
Draw her legs resting on the father's shoulder. Use overlapping lines to show the bend at the knee. Teacher's Tip: Focus on the 'overlap' to create depth, making it look like she is truly sitting on his shoulder.
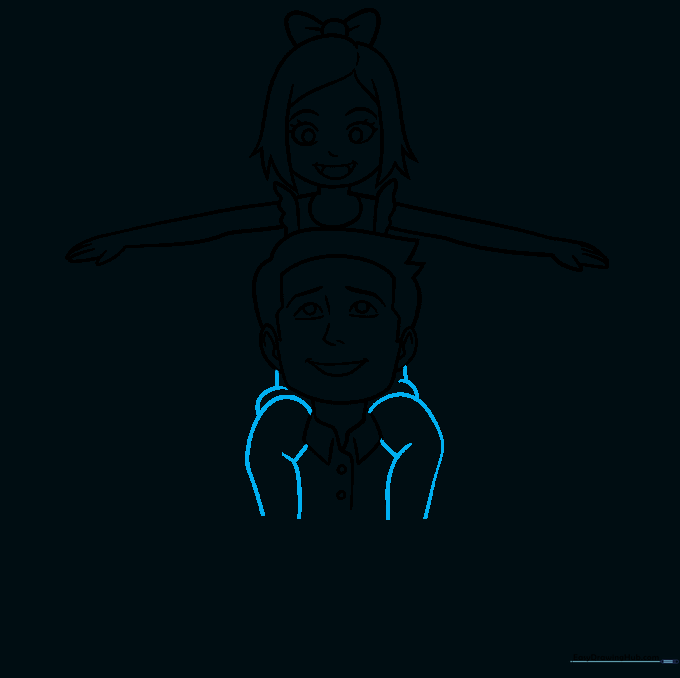
Step 7: Drawing the Father's Arm

Use curved lines to draw the father's sleeve and his fist holding onto the daughter's leg. Teacher's Tip: Keep the lines smooth to show the curve of his arm.
Step 8: Completing the Arms
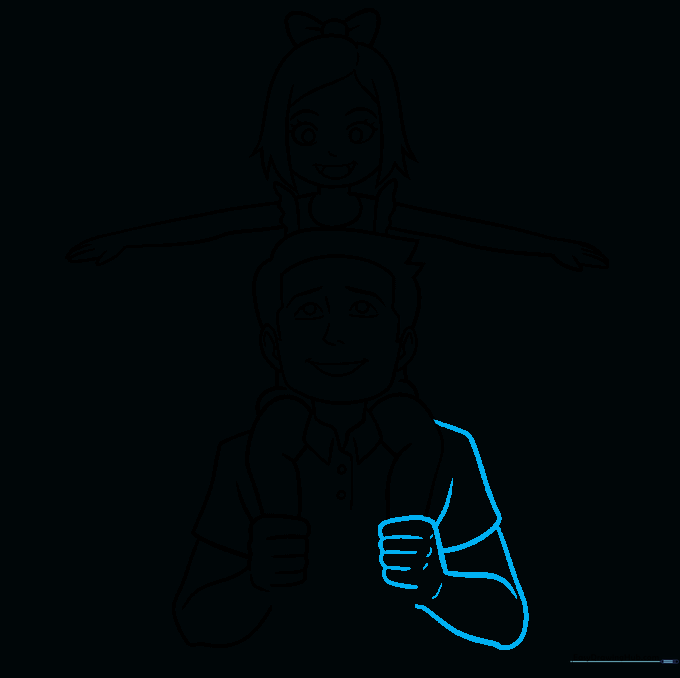
Draw the remaining sleeve and arm on the other side to balance the composition. Teacher's Tip: Try to mirror the curves from the first arm to keep the drawing symmetrical.
Step 9: Final Touches and Shoes
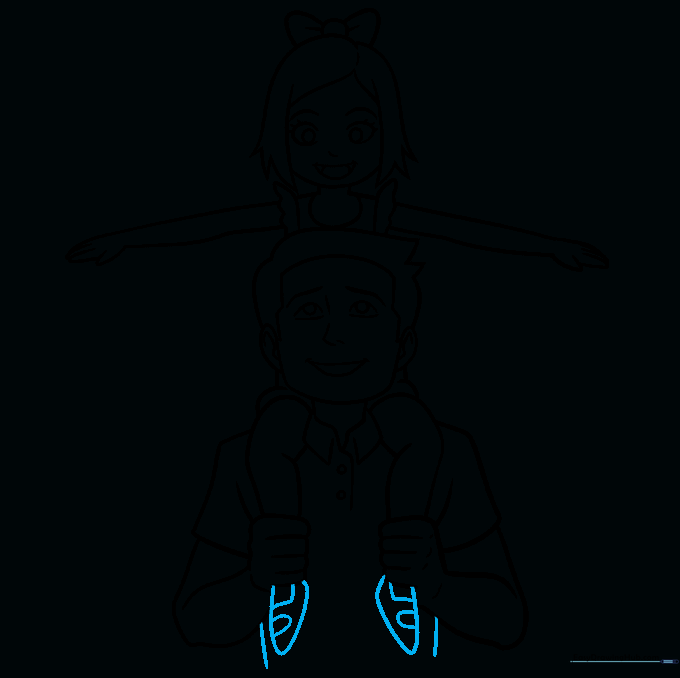
Finish the torso and add the daughter's shoes. Use curved lines to define the shoe openings. Teacher's Tip: Once the outline is done, go over your favorite lines with a dark marker before erasing your pencil marks for a clean look.
Step 10: Bring It to Life with Color

Bring your drawing to life with your favorite colors! Use bright shades for the daughter's clothes and warm tones for the father to make the bond pop. Teacher's Tip: Try using colored pencils to add light shading under the arms for extra depth.
More Tutorials


