How to Draw a Fat Cat: Simple 10-Step Guide for Kids
Ready to draw a lovable, round kitty? This tutorial is perfect for young artists ages 6+ looking to practice basic shapes and fur textures. Grab a pencil, an eraser, and a piece of paper to start building your own fluffy feline friend.
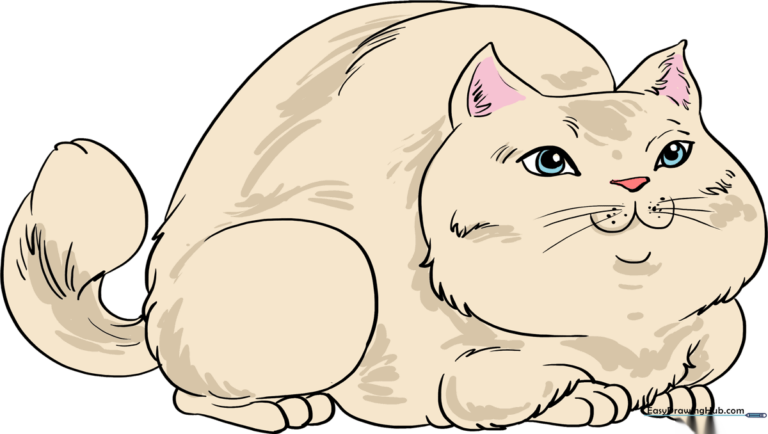
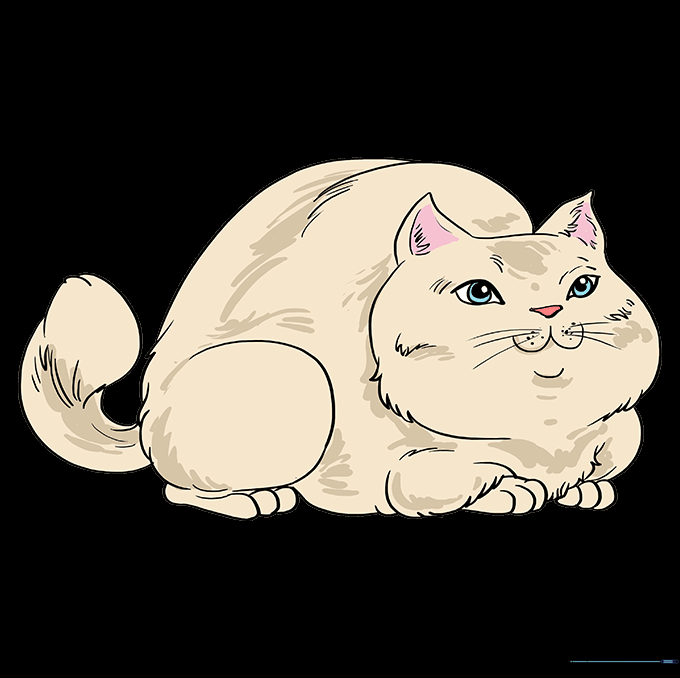
🎯 Final Result
Step-by-Step Instructions
Step 1: Sketching the Ear and Cheek
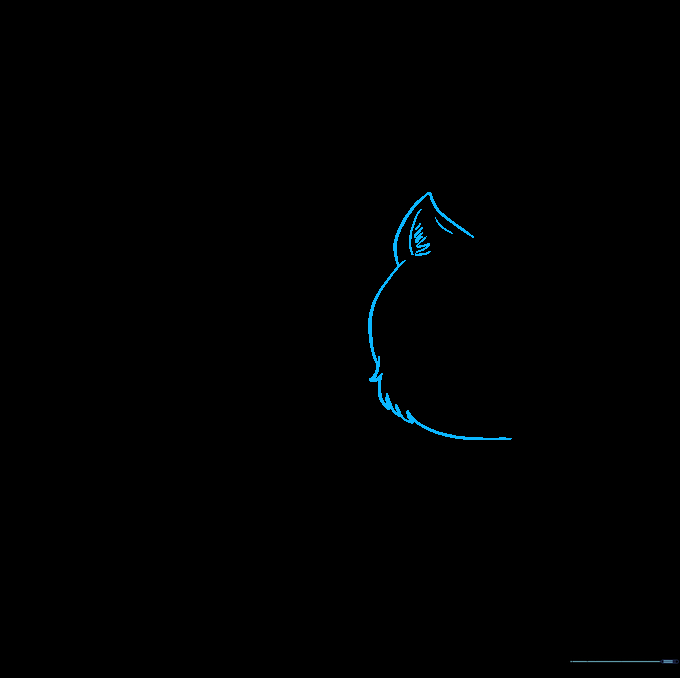
Draw two curved lines to form a triangular ear. Add small lines inside for detail. Then, sketch the side of the face using a mix of long and short curved lines. Tip: Use short, quick strokes for the cheek to make it look soft and furry!
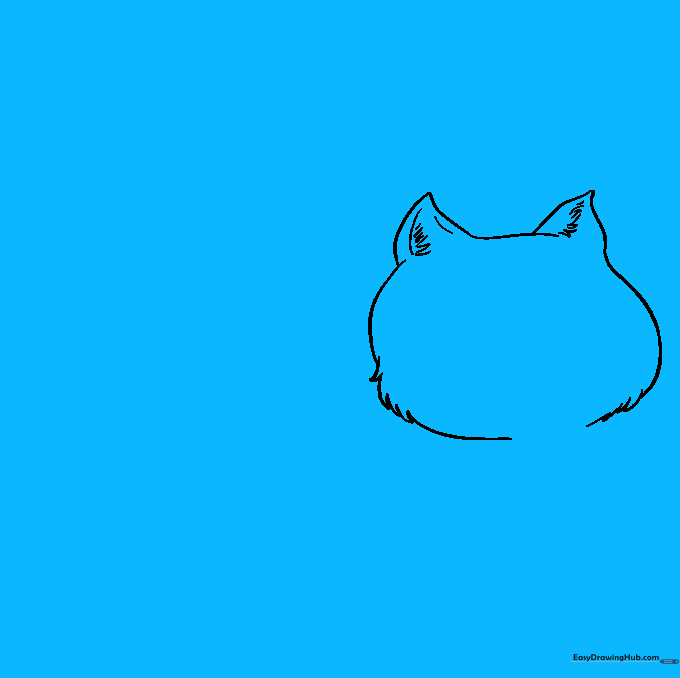
Step 2: Completing the Head Shape

Mirror the first side to complete the top of the head and the second ear. Use short, jagged lines to connect the ears to the cheeks. Tip: Keep your pencil pressure light here so you can easily erase any overlapping lines later.
Step 3: Drawing Expressive Eyes
Draw two teardrop shapes for the eyes. Inside, add three circles, shading the smallest one to create a pupil. Tip: Leave a tiny white dot unshaded in the pupil to give your cat a 'sparkle' in its eye.
Step 4: Adding the Nose and Whiskers
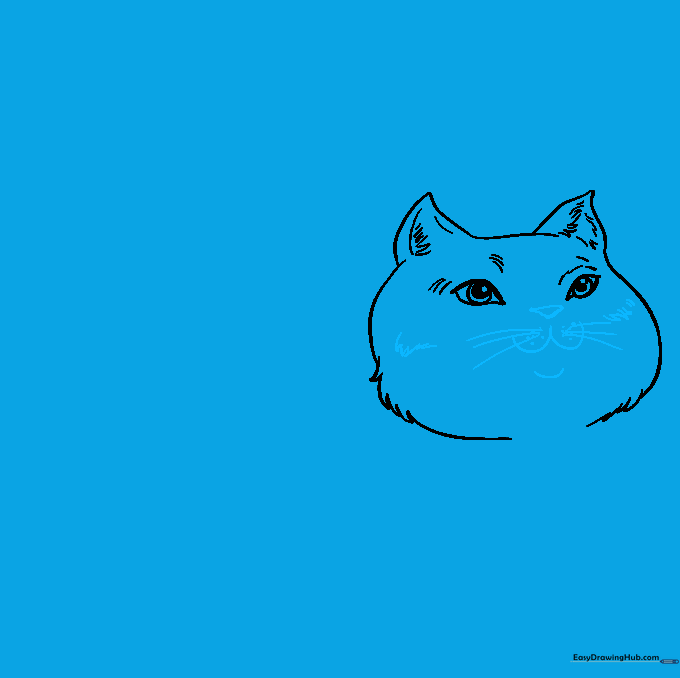
Sketch an inverted triangle for the nose, then a 'W' and 'U' shape for the mouth. Add dots for whisker spots and long lines for whiskers. Tip: Draw whiskers with one quick, confident flick of the wrist for a natural look.
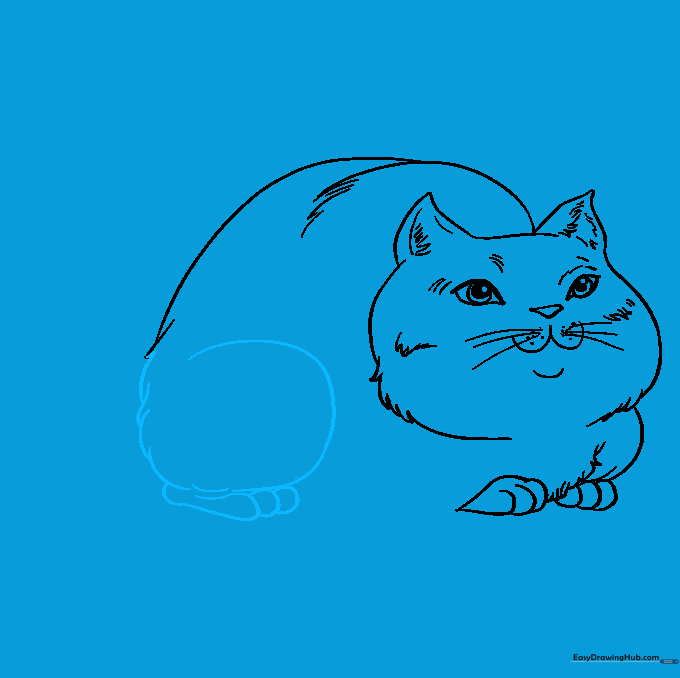
Step 5: Sketching the Belly and Paws
Draw a large, soft curve for the belly and chest. Add small 'U' shapes at the bottom for the paws. Tip: Since this is a 'fat' cat, make the belly curve nice and wide to emphasize its size!
Step 6: Defining the Back
Use long, overlapping curved lines to draw the cat's back. Tip: Vary the length of your lines to make the fur look realistic rather than like a solid, flat shape.
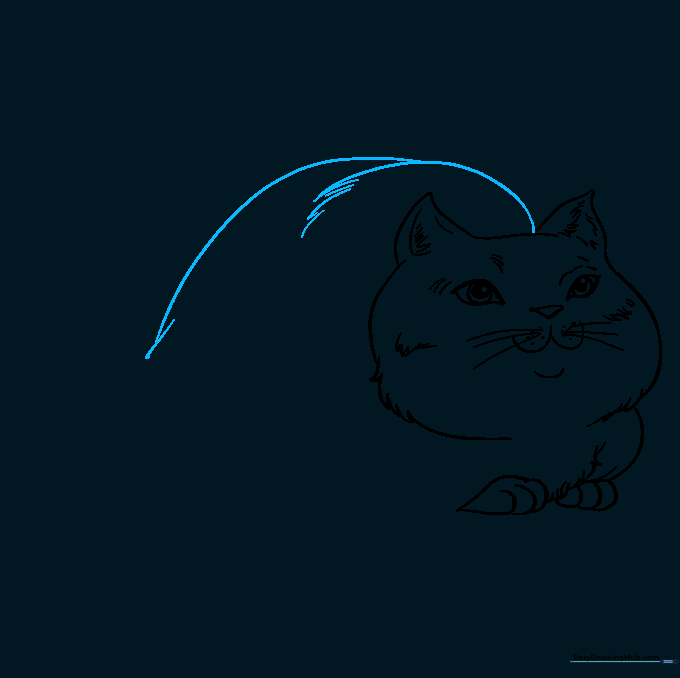
Step 7: Drawing the Haunches
Extend the back line and curl it to form the haunches (the cat's hip area). Add an oval for the back foot. Tip: Think of the haunch as a large, soft bean shape attached to the body.
Step 8: Adding the Front Leg
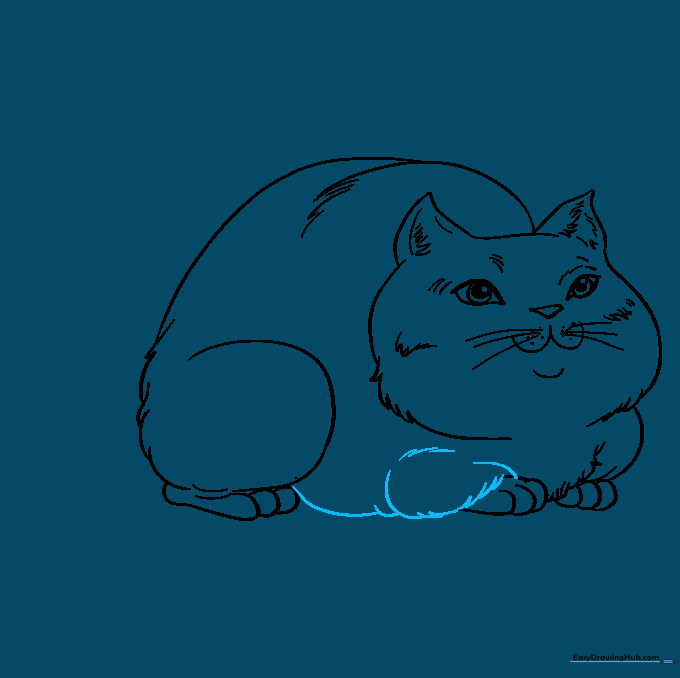
Draw a teardrop-shaped front leg connecting to the belly. Tip: Ensure the leg looks sturdy to support the cat's 'fat' build.
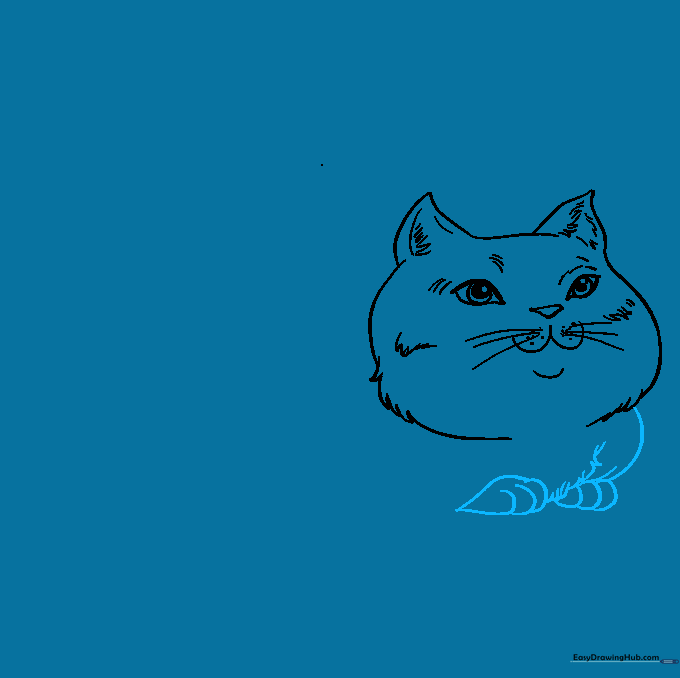
Step 9: Adding the Fluffy Tail
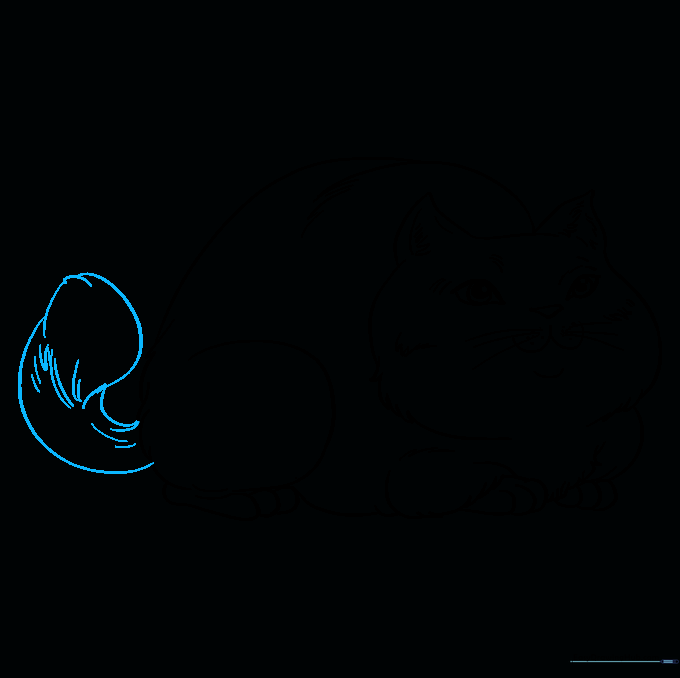
Draw a long, curved line from the rump and double it back to create a thick, fluffy tail. Tip: Add little 'V' shapes along the edge of the tail to give it a bushy, soft appearance.
Step 10: Bringing Your Cat to Life with Color
Time to color! Use your favorite shades—orange, grey, or even spotted patterns. Tip: Use light, circular motions with your colored pencils to create a smooth, even coat of fur.
More Tutorials


