How to Draw a Family: Easy Step-by-Step Guide for Kids
Capture the warmth of your loved ones with this fun, screen-free drawing activity designed for ages 5 and up. All you need is a pencil, an eraser, and a piece of paper to bring your family portrait to life. Follow these simple steps to build character proportions and practice expressive facial features.
🎯 Final Result

Step-by-Step Instructions
Step 1: Sketching the Father's Face

Start by drawing the father's face using gentle, curved lines for the forehead, ears, and chin. Add the almond-shaped eyes with two curved lines each, shading in a small circle for the pupil. Teacher's Tip: Keep your pencil strokes light so you can easily erase and adjust the shape if the head looks a bit lopsided.
Step 2: Adding the Mother's Features

Outline the mother's hair, chin, and ears using soft, flowing curves. Repeat the eye-drawing technique used for the father, ensuring the pupils are centered. Add a gentle smile to give her a warm expression. Teacher's Tip: Use a slightly softer curve for the mother's jawline to create a friendly, approachable look.
Step 3: Defining the Father's Shoulders

Refine the woman's hair by erasing any overlapping lines where the hair meets the face. Draw the man's neck and shoulders, extending into the sleeves of his t-shirt. Teacher's Tip: Use long, confident strokes for the shoulders to make the character look sturdy and relaxed.
Step 4: Sketching the Son

Draw the little boy's head, hair, and ears. Use the same almond-eye method as before, keeping them slightly smaller to reflect his age. Add his eyebrows and a small, happy mouth. Teacher's Tip: Placing the boy slightly lower than the parents creates a natural sense of height difference.
Step 5: Connecting the Boy's Neck and Arms
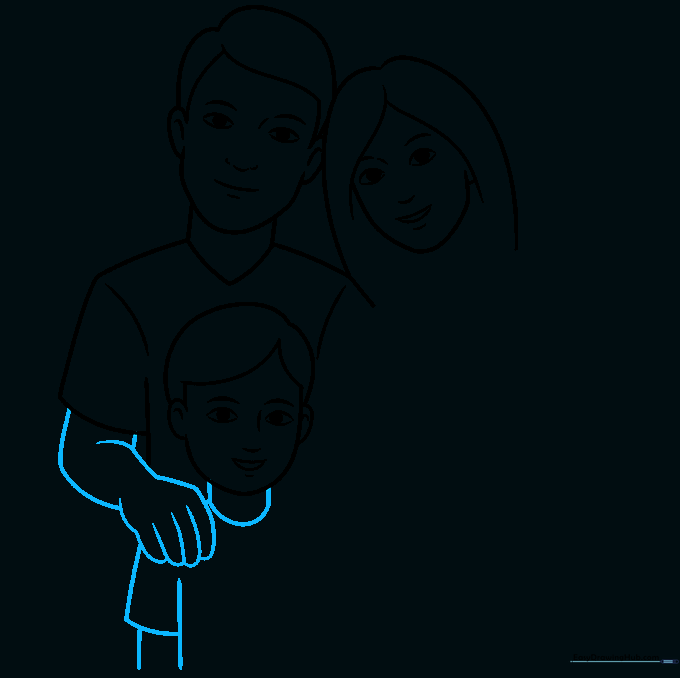
Draw the boy's neck with two short lines and connect them with a curve. Sketch the father's arm reaching around, and outline the boy's sleeve and torso. Teacher's Tip: Overlapping the lines where the arm meets the body helps create a sense of depth and connection between the characters.
Step 6: Drawing the Arms
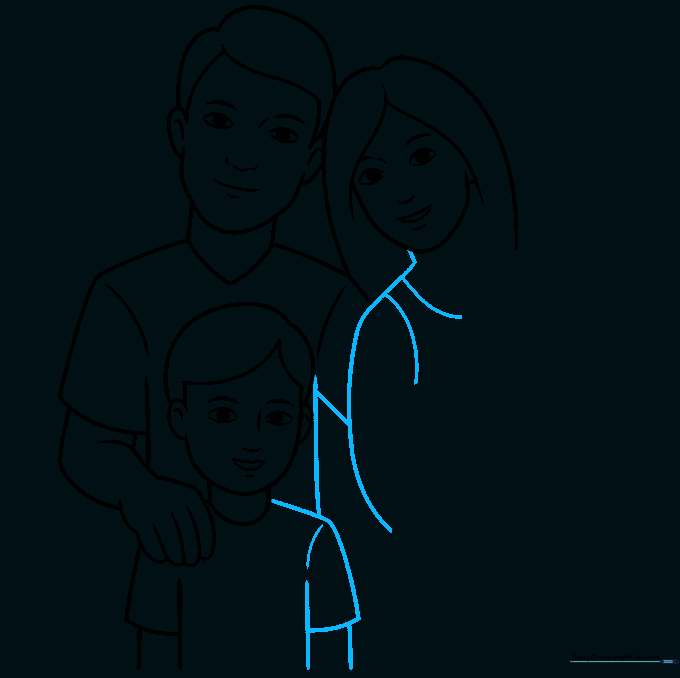
Use smooth, curved lines to draw the remaining arms and shoulders for the three family members. Ensure the lines flow naturally from the torso. Teacher's Tip: If the arms look too stiff, try adding a slight bend at the elbow to make the characters look more relaxed.
Step 7: Adding the Baby
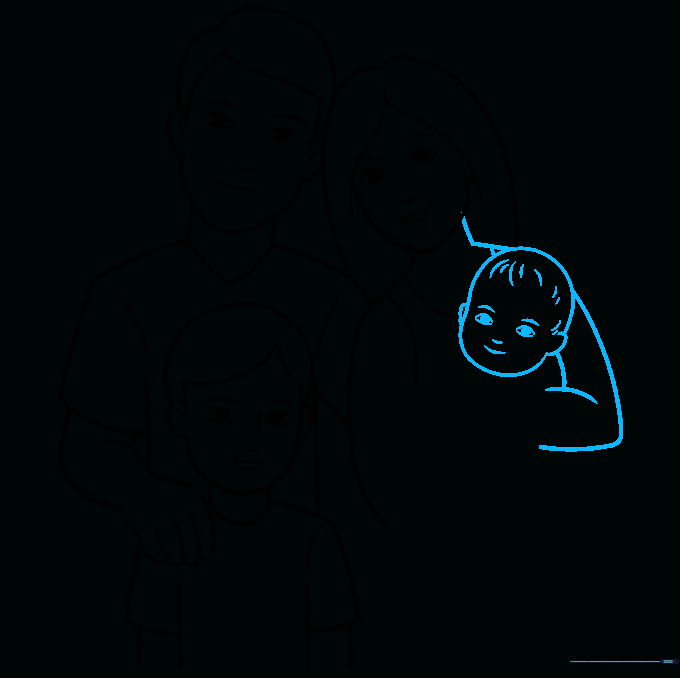
Outline the mother's neck and arm, then sketch the baby's head. Use the same almond-eye style for consistency. Add texture to the baby's hair with short, quick strokes. Teacher's Tip: Keep the baby's head slightly rounder and smaller to emphasize their youth.
Step 8: Detailing the Baby
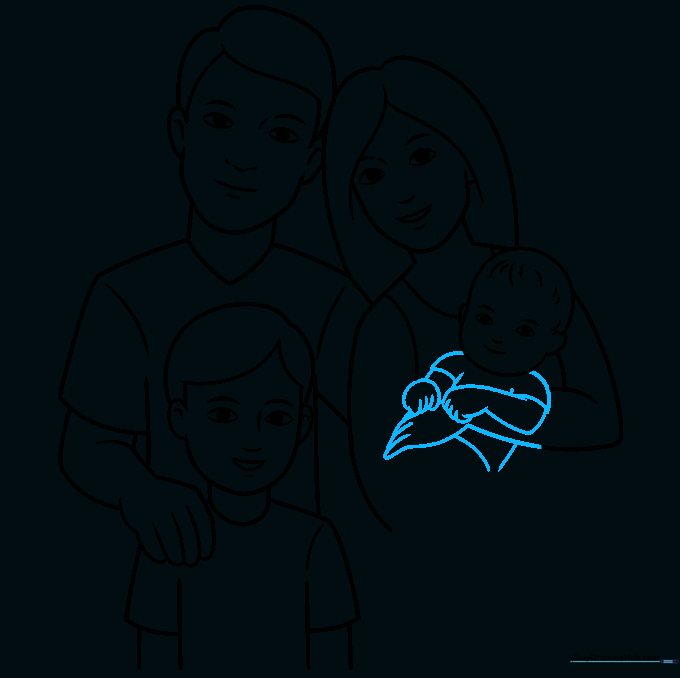
Sketch the mother's fingers holding the baby, and draw the baby's t-shirt and arms. Teacher's Tip: Focus on drawing simple 'U' shapes for the fingers to keep the cartoon style clean and manageable for beginners.
Step 9: Finalizing the Outline

Complete the mother's dress, the baby's legs, and tiny feet. Add small, overlapping lines for the baby's toes. Teacher's Tip: Use a darker pencil or a fine-liner pen to trace your final lines, then erase the stray guide marks for a professional finish.
Step 10: Bring Your Family to Life with Color

Now for the fun part! Color your family to match your own or create a brand new one. Use bright, cheerful colors to fill in their clothes. Teacher's Tip: Try using colored pencils for a soft look or markers for bold, vibrant colors. Don't forget to add a background, like a park or your living room, to complete the scene!
More Tutorials


