How to Draw a Fairy: Easy 10-Step Guide for Kids
Bring a touch of magic to your sketchbook with this easy fairy drawing tutorial, perfect for artists ages 5 and up. You will only need a pencil, an eraser, and your favorite coloring supplies to complete this whimsical character. Follow along to build confidence in your character design skills while creating a charming mythical friend.
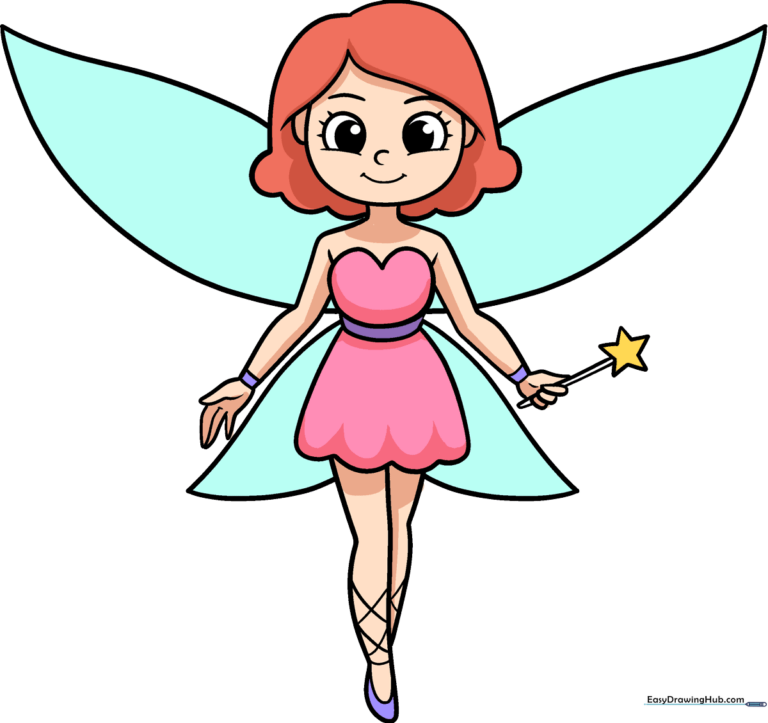
🎯 Final Result
Step-by-Step Instructions
Step 1: Sketching the Expressive Eyes
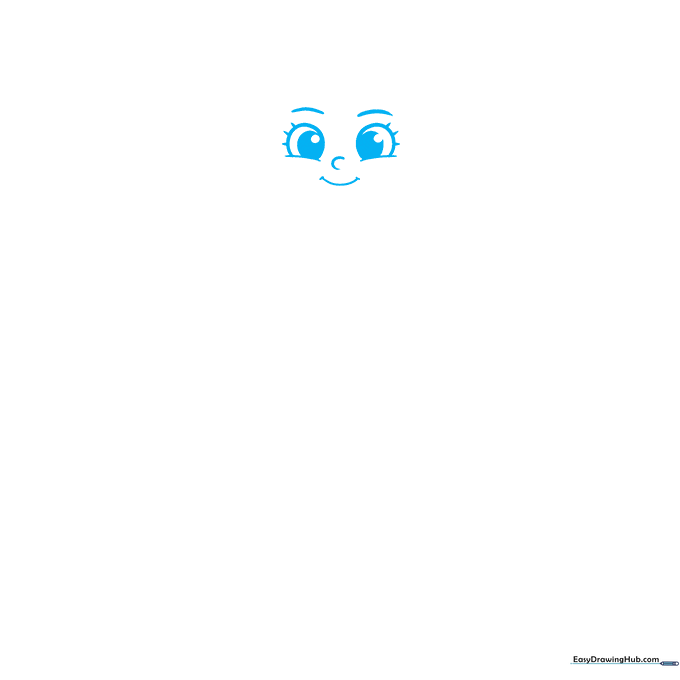
Start by drawing two curved lines with a partial circle underneath for the eyes. Add smaller circles inside for pupils and shade them in. Tip: Keep the eyes symmetrical to give your fairy a friendly, balanced look.
Step 2: Defining the Face and Ears
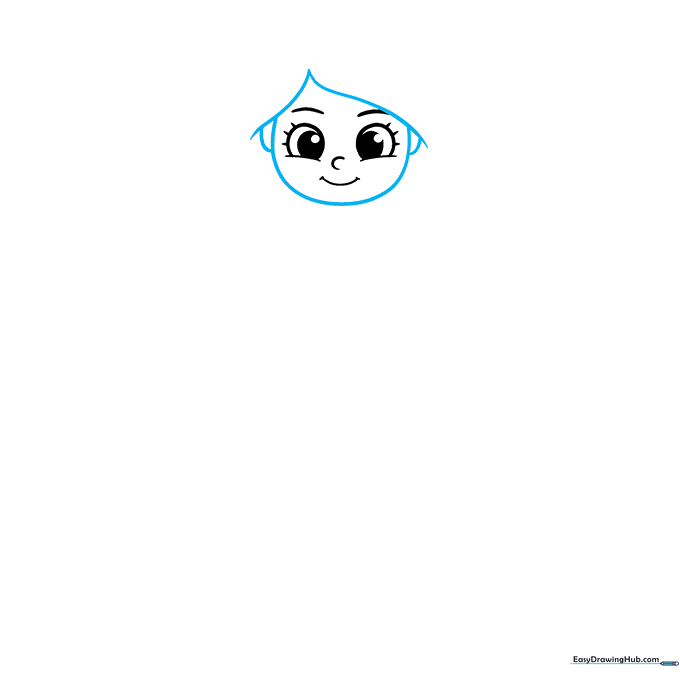
Use long, sweeping curved lines to outline the face and hair. Add small, pointed ears on the sides to give her that classic fairy look. Tip: Use a light touch; you can always darken the lines later.
Step 3: Adding the Hairstyle
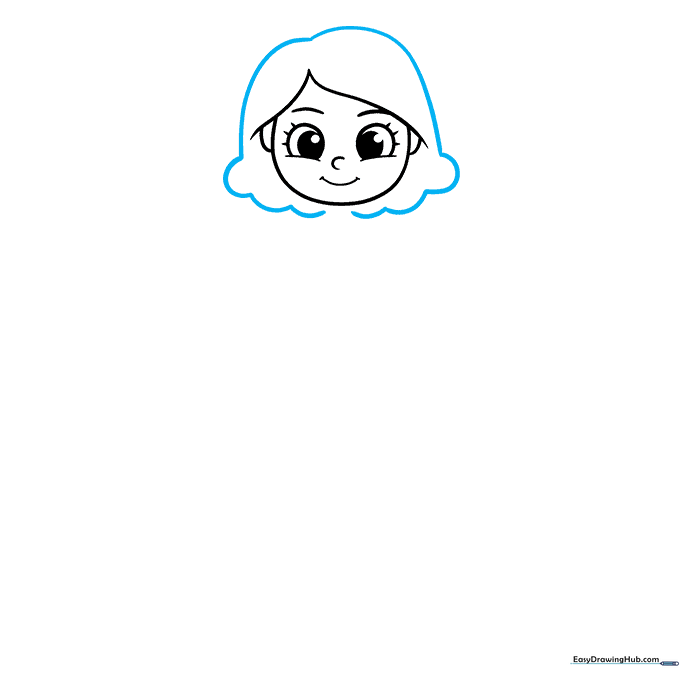
Continue the hair using a mix of long and short curved lines. Create a scalloped pattern at the bottom to give the hair volume. Tip: Imagine the hair flowing naturally to make it look realistic.
Step 4: Sketching the Arm and Hand
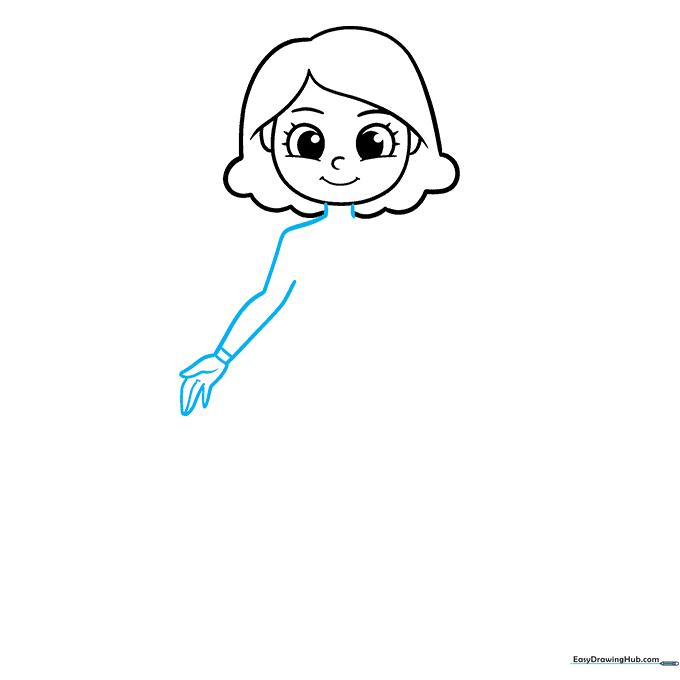
Draw the neck and one arm using smooth, curved lines. Add two short lines at the wrist to suggest a bracelet or sleeve. Tip: Keep the arm shape slender to match the fairy's delicate proportions.
Step 5: Drawing the Magic Wand
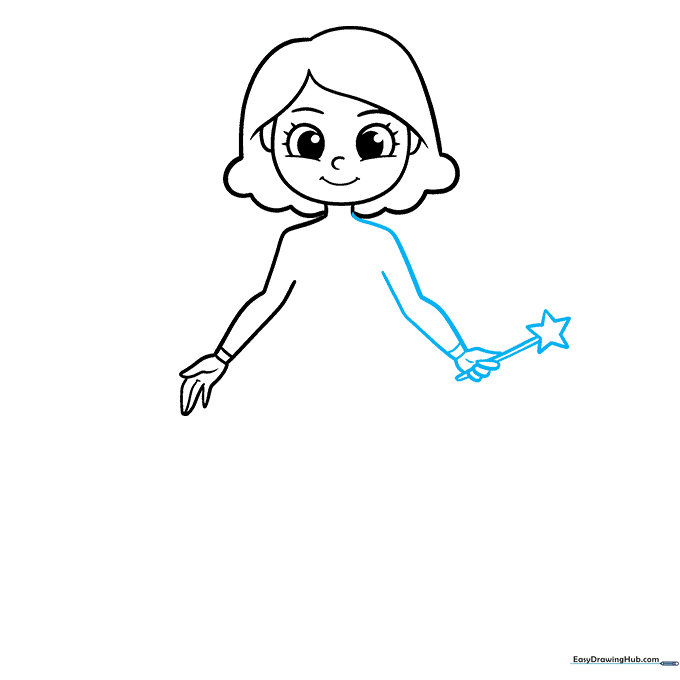
Draw the second arm and hand, then extend two parallel lines to create the wand. Top it off with a five-pointed star. Tip: Use a ruler if you struggle with straight lines for the wand handle!
Step 6: Designing the Dress
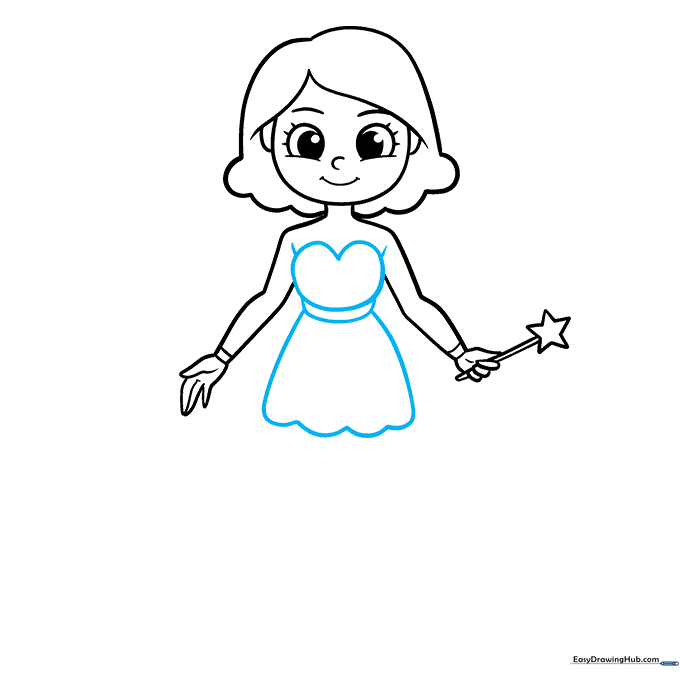
Form the bodice with a rounded heart shape, then add a belt and a flowing skirt. Tip: Think of the skirt as a bell shape to give it a sense of movement.
Step 7: Adding Legs and Ribbon Slippers
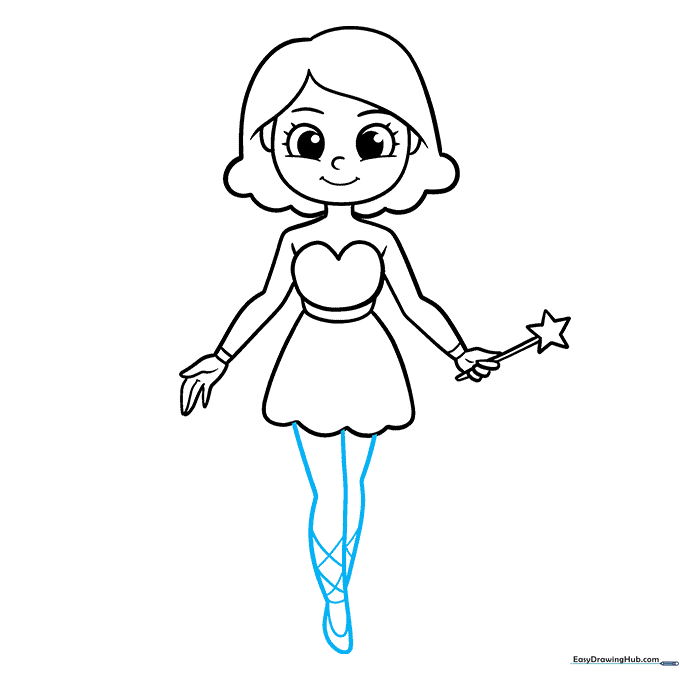
Draw the legs and slippers, adding 'X' patterns on the lower legs for ribbon ties. Tip: Keep the legs thin to maintain the fairy's graceful appearance.
Step 8: Sketching the Upper Wings
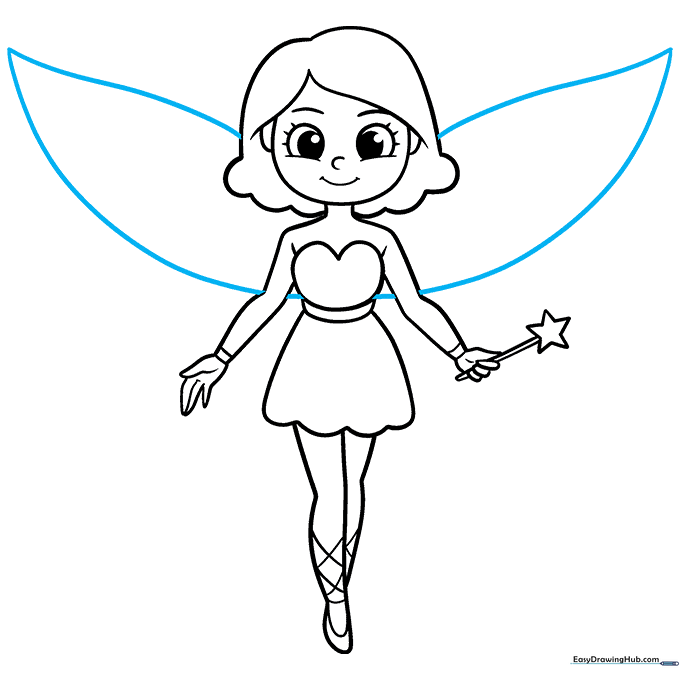
Draw two large, curved wings that meet at sharp points. Tip: Make these wings large to emphasize the fairy's ability to fly.
Step 9: Adding Lower Wings
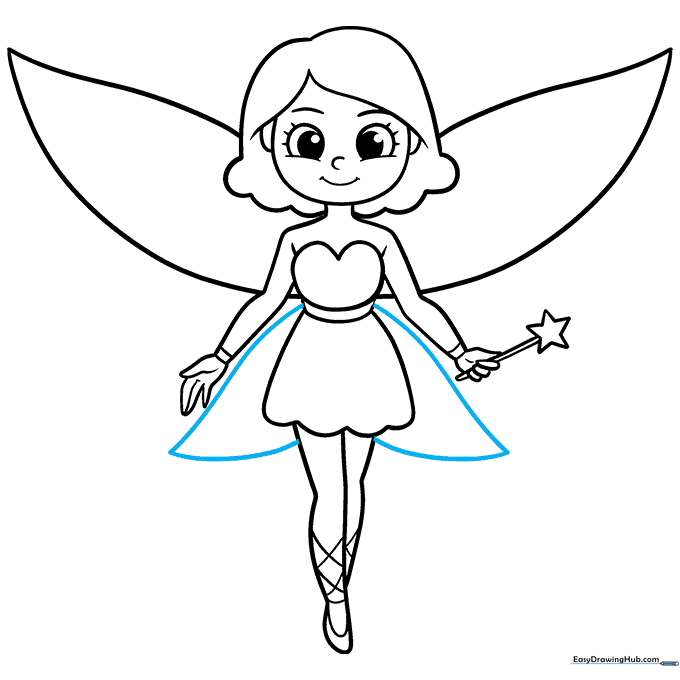
Add a smaller pair of wings beneath the first set to complete the look. Tip: Layering the wings adds depth to your drawing.
Step 10: Bringing Your Fairy to Life with Color
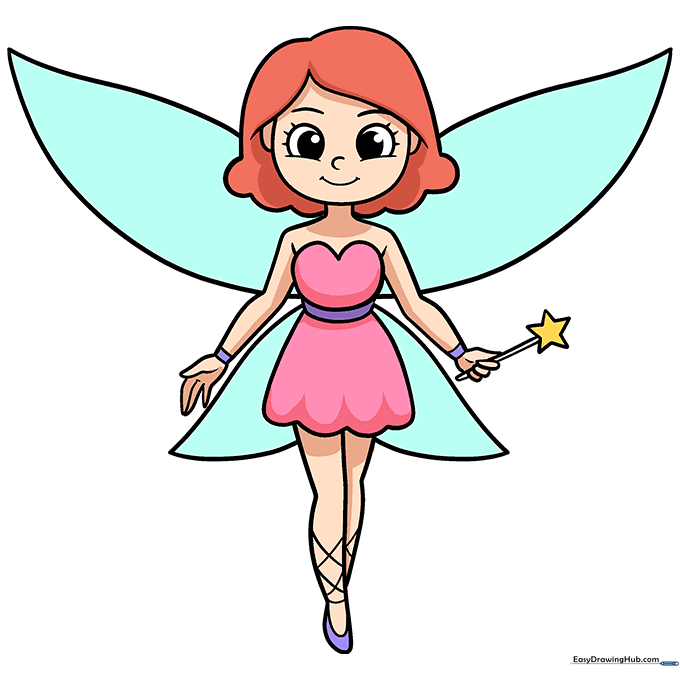
Now for the fun part! Use your favorite colors to bring your fairy to life. Tip: Use lighter colors for the wings to make them look translucent and magical.
More Tutorials


