How to Draw a Face Portrait: Easy 10-Step Guide
Ready to capture a character's personality on paper? This portrait tutorial is designed for young artists and beginners to master facial proportions using simple, repeatable shapes. Grab a pencil, an eraser, and a piece of paper to start building your drawing confidence today.
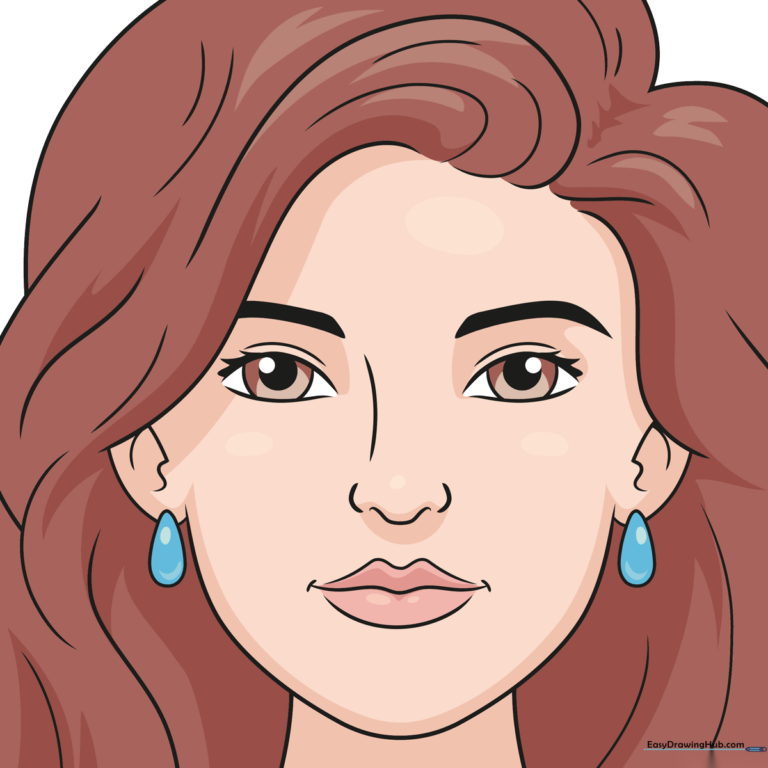
🎯 Final Result
Step-by-Step Instructions
Step 1: Sketching the Eyes
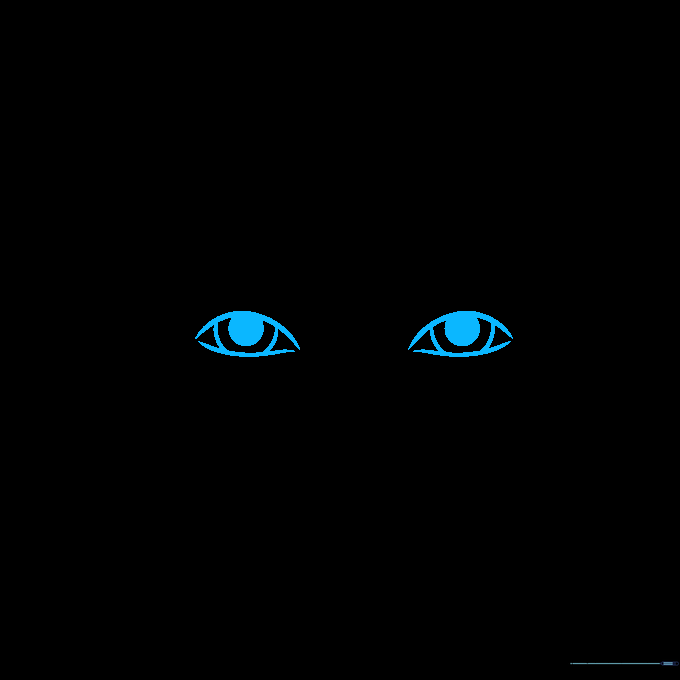
Draw two lemon-shaped outlines near the center of your page. Inside each, add a smaller circle for the iris. Teacher's Tip: Keep these shapes symmetrical to give your portrait a balanced, friendly look.
Step 2: Adding Brows and Lashes
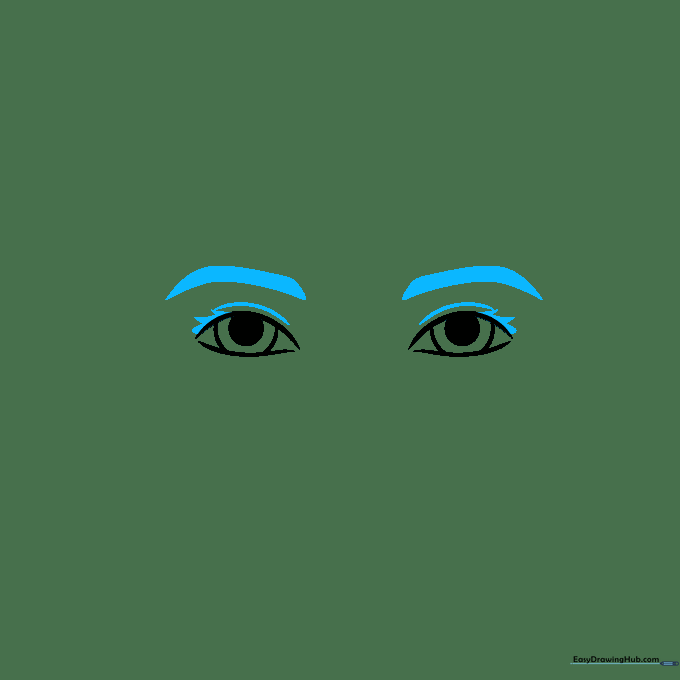
Place thick, short dashes above the eyes for eyebrows and sketch small triangles along the top lids for lashes. Teacher's Tip: Vary the length of your lash triangles to make them look more natural.
Step 3: Defining the Nose and Mouth
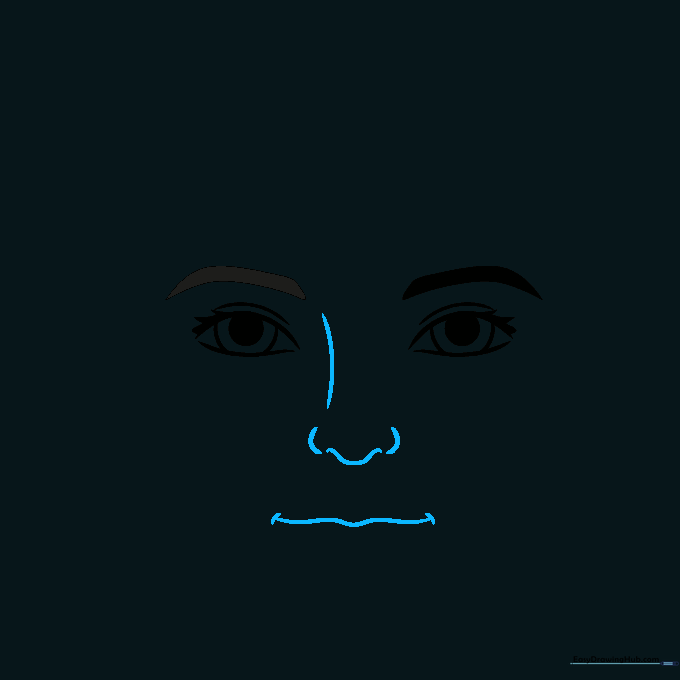
Draw a horizontal loop for the nose bridge, then add a curved line for the mouth. Teacher's Tip: Keep the nose small; it helps maintain the 'cute' cartoon aesthetic.
Step 4: Shaping the Face

Add two 'hills' above the mouth line for the lips, then draw a wide U-shape to define the jawline. Teacher's Tip: Use a light touch for the jawline so you can adjust the chin shape if needed.
Step 5: Drawing the Ears
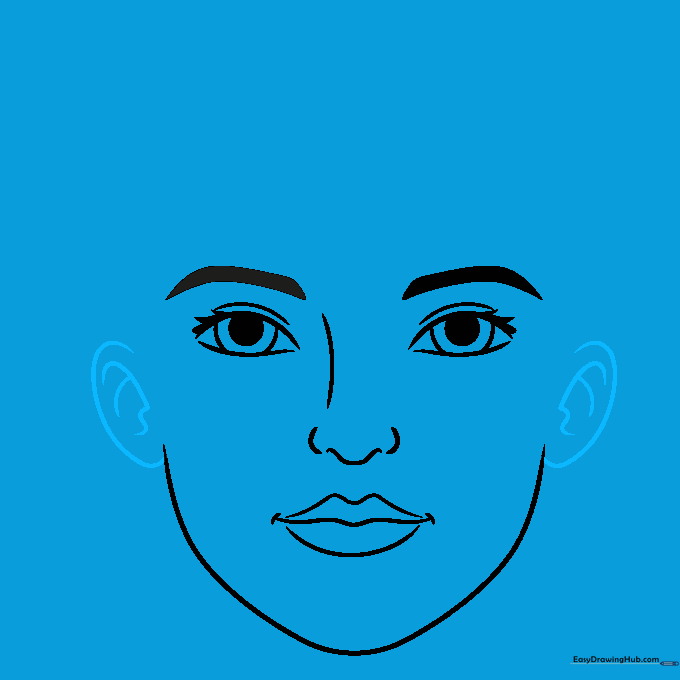
Sketch two loops on the sides of the face for ears, adding inner curves for detail. Teacher's Tip: Align the top of the ears with the eyes for correct facial proportions.
Step 6: Hair and Neck
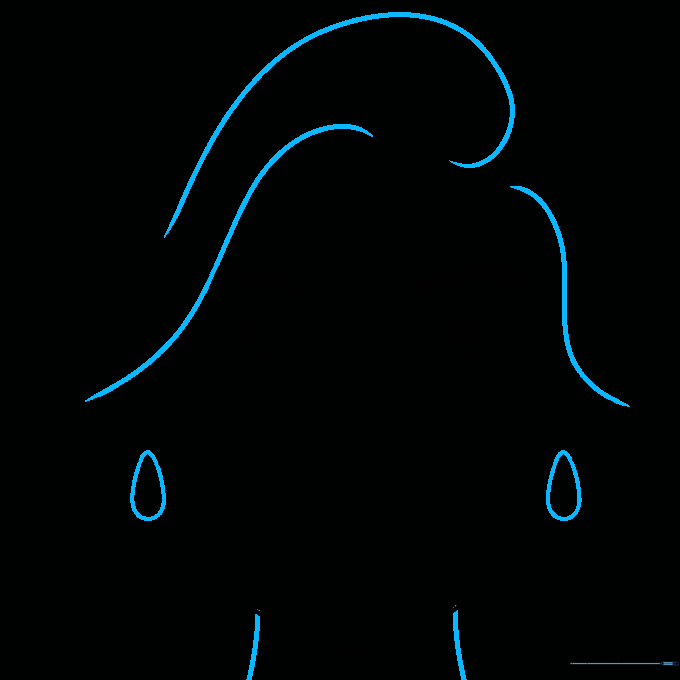
Draw swooping waves for the hair, teardrop shapes for earrings, and two curves for the neck. Teacher's Tip: Let the hair overlap the forehead slightly to make it look natural.
Step 7: Adding Hair Volume
Add more wavy curves to build volume in the hair. Teacher's Tip: Don't worry about perfect lines—hair is naturally messy and flowing!
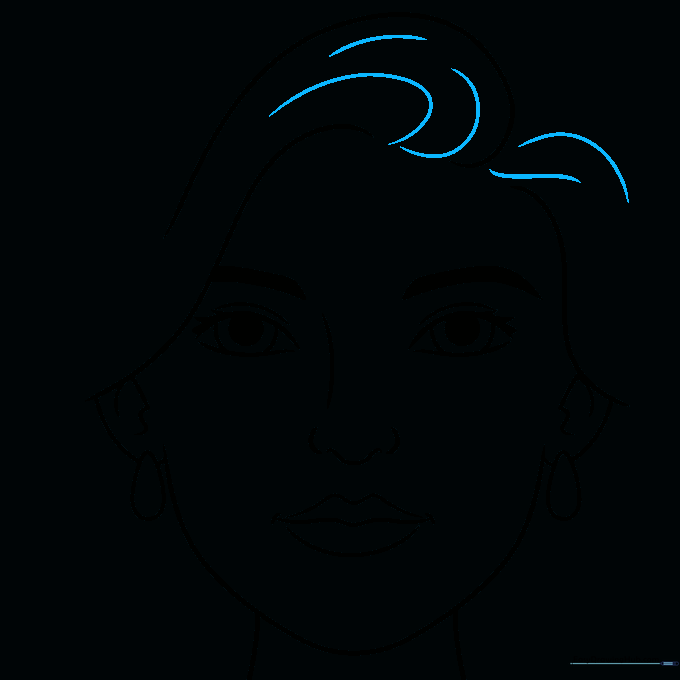
Step 8: Refining the Hair

Continue adding curves around the face to create a breezy, flowing look. Teacher's Tip: Use long, sweeping strokes to make the hair look soft.
Step 9: Finalizing Texture

Add final curves to the hair to complete the depth and texture. Teacher's Tip: Check that your hair lines follow the shape of the head.
Step 10: Coloring Your Portrait
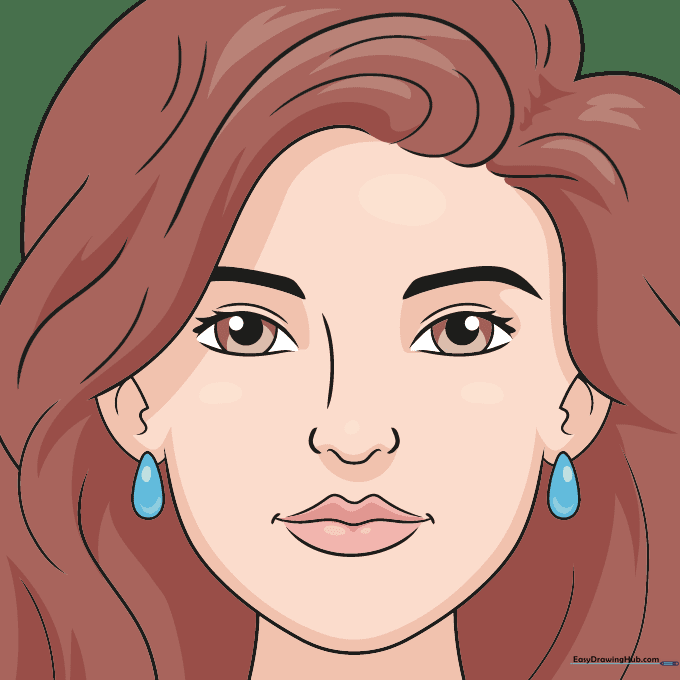
Outline with a dark pen, then fill in with your favorite colors. Teacher's Tip: Use reddish-browns for hair and soft skin tones to create a warm, inviting portrait.
More Tutorials


