How to Draw a Face Outline: Easy 9-Step Guide for Beginners
Ready to bring your characters to life? This guide is perfect for budding artists ages 7+ who want to learn the fundamentals of facial structure. All you need is a pencil, an eraser, and a sheet of paper to start building your portrait skills.
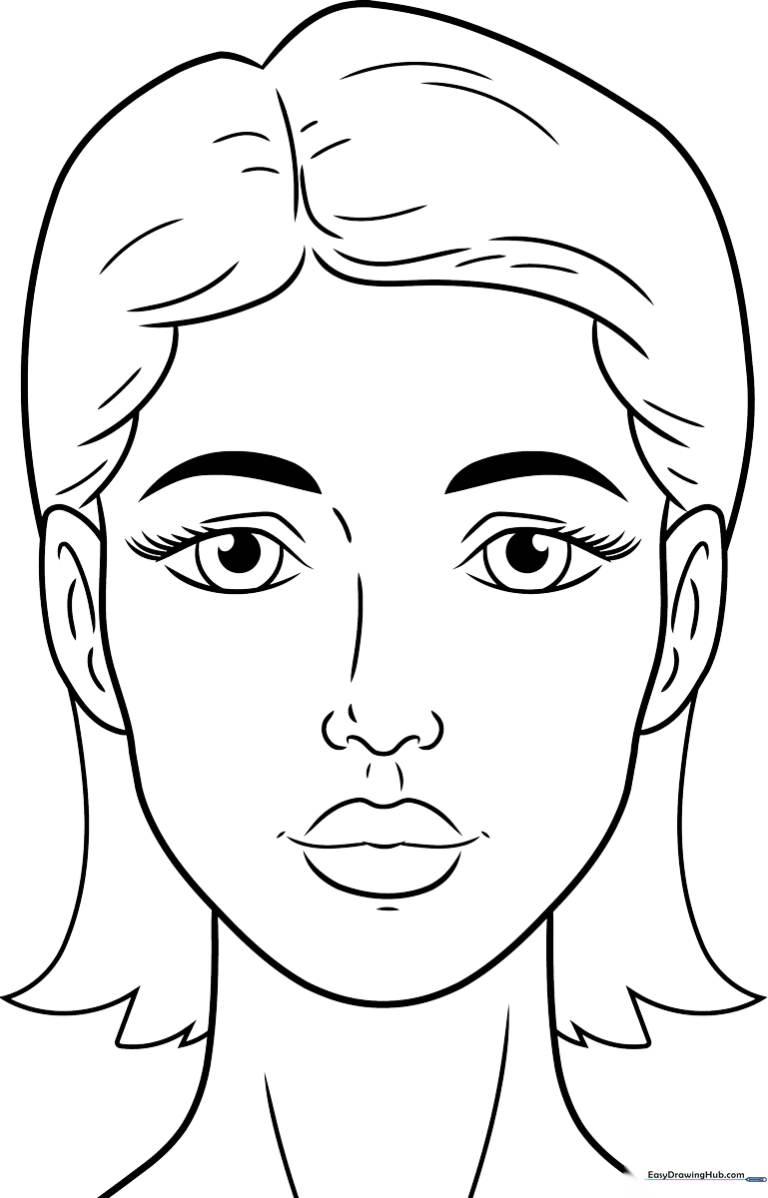
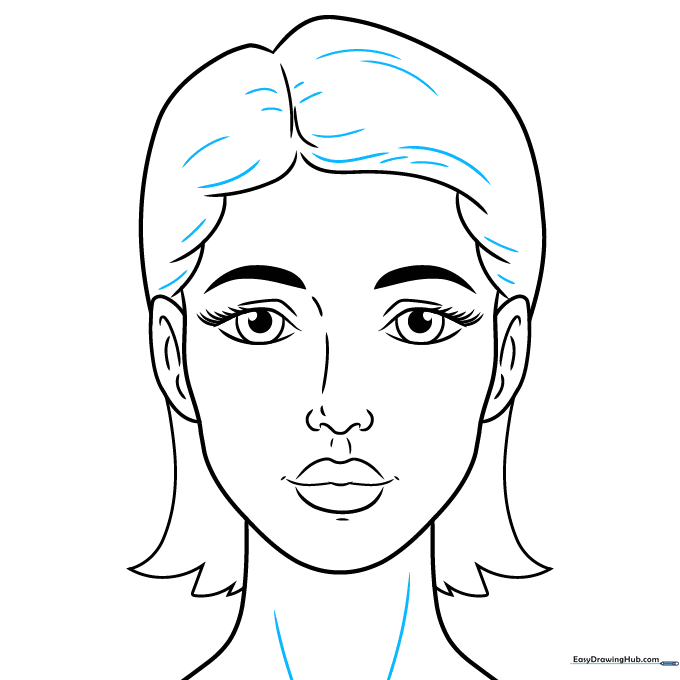
🎯 Final Result
Step-by-Step Instructions
Step 1: Sketching the Eye Shapes

Start by drawing two curved lines for each eye. Tip: Keep your pencil pressure light so you can easily adjust the shape if needed. Notice how the corners don't quite touch—this leaves room for the natural shape of the eyelid.
Step 2: Adding Pupils and Lashes
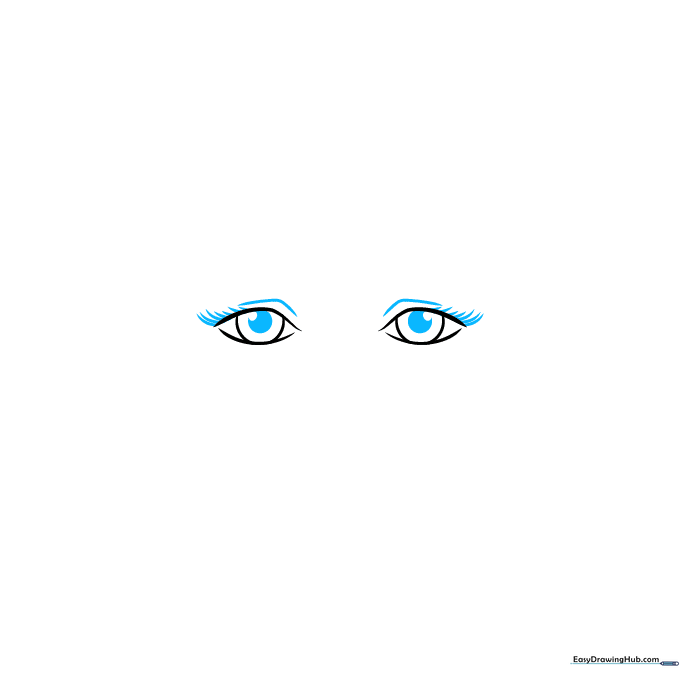
Draw a small circle inside each eye for the pupil and shade it in. Tip: Add a few thick, flicking lines above the eyes to represent eyelashes; keep these strokes quick to make them look natural and tapered.
Step 3: Brows and Nose Bridge
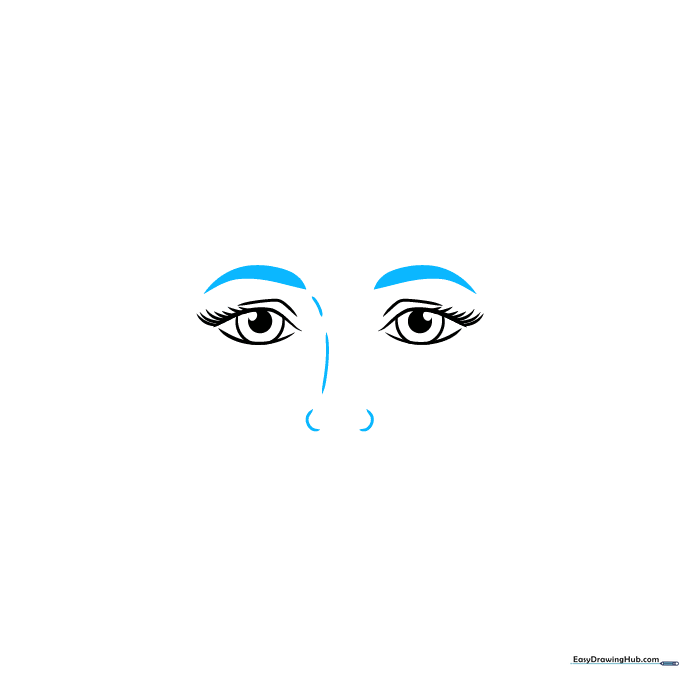
Sketch thick, slightly angled shapes above the eyes for the eyebrows. Then, draw a small curved line for the bridge of the nose. Tip: The nose bridge should align slightly with the inner corner of the eyes to keep the face balanced.
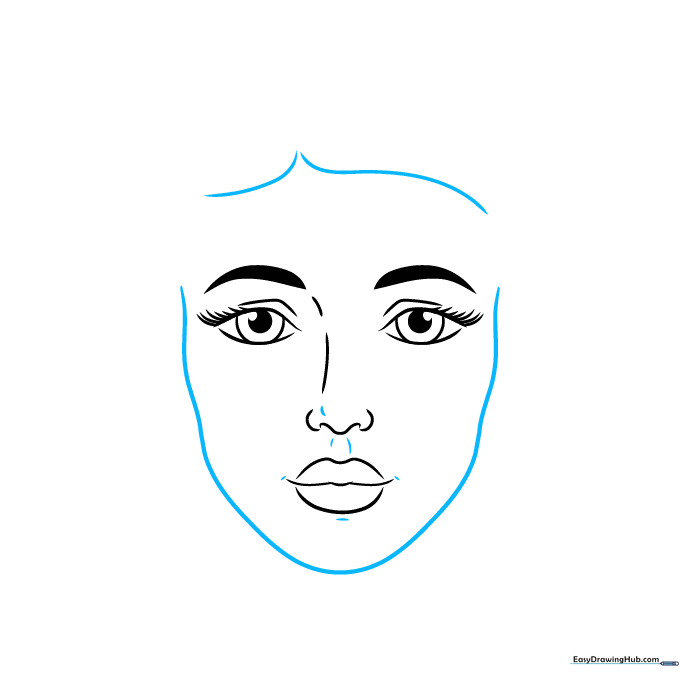
Step 4: Defining the Nose and Lips
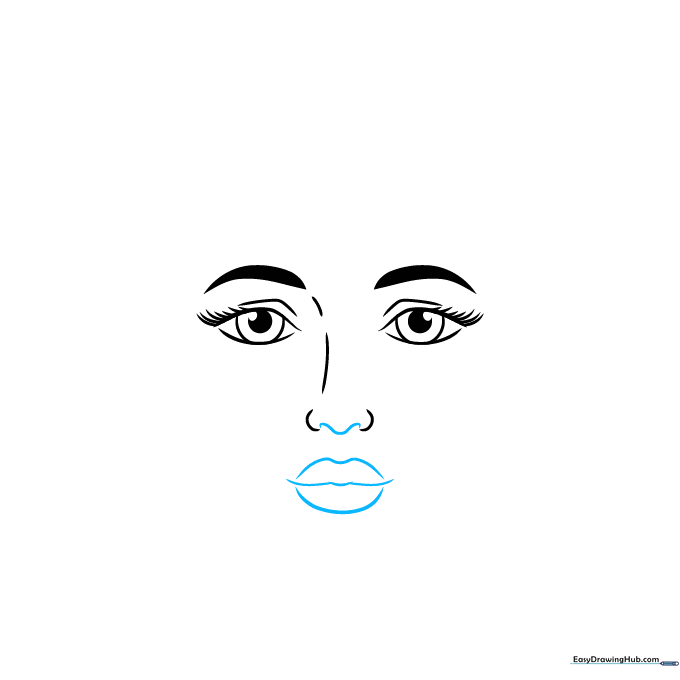
Draw the tip of the nose using a soft curve, then add the lips using three simple lines. Tip: Keep the middle line of the lips slightly wider than the top and bottom lines to give the mouth a gentle, relaxed expression.
Step 5: Shaping the Face and Chin
Draw a long, smooth curve to create the jawline and chin. Then, sketch the hairline. Tip: Use short, light strokes for the chin to give it a soft, realistic look rather than a sharp, pointy one.
Step 6: Adding Ears and Hair
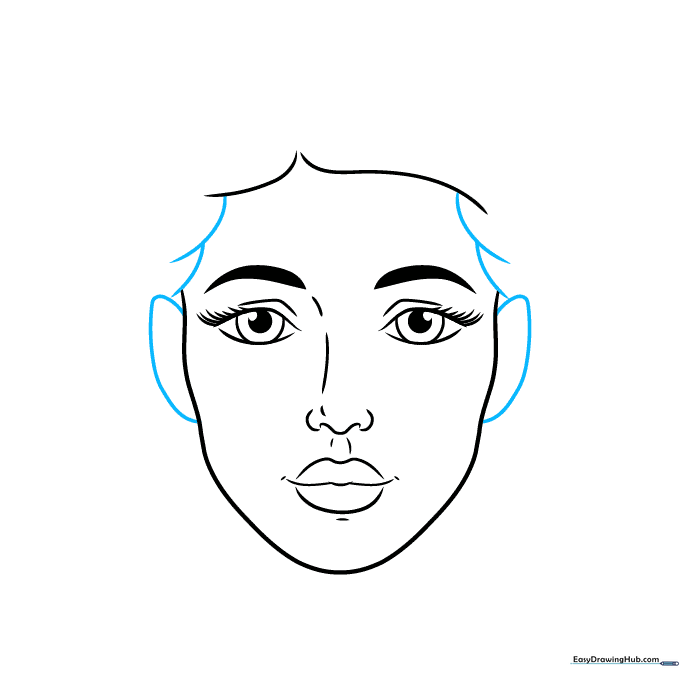
Draw two curved lines on the sides for the ears, then add hair flowing from the hairline. Tip: Draw the hair in overlapping sections to create volume and depth, making it look less like a flat helmet.
Step 7: Completing the Hairstyle
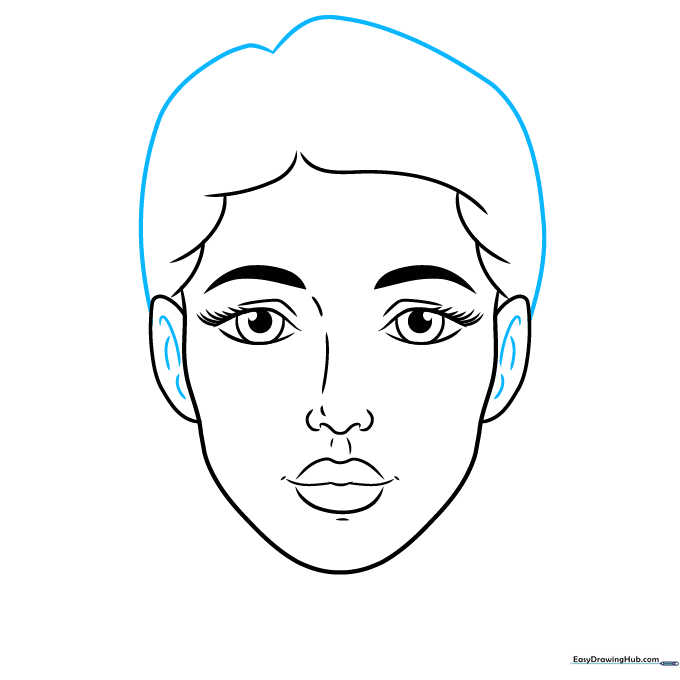
Use long, sweeping lines to draw the top of the hair. Add small, curved details inside the ears. Tip: Follow the natural curve of the head when drawing the hair to ensure it looks like it's sitting on top of the skull.
Step 8: Neck and Hair Texture
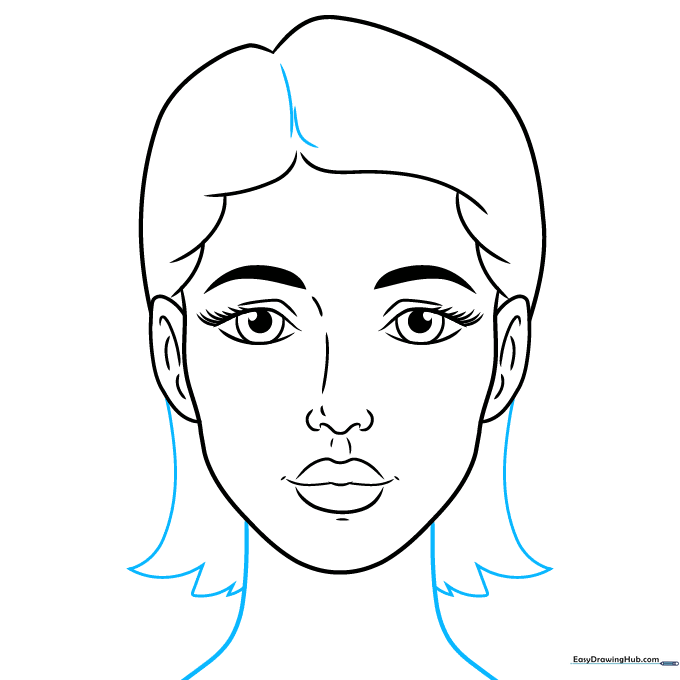
Draw two lines extending from the jaw to form the neck. Add jagged, curved lines at the base of the hair. Tip: The neck should be about as wide as the distance between the eyes for a natural, proportional look.
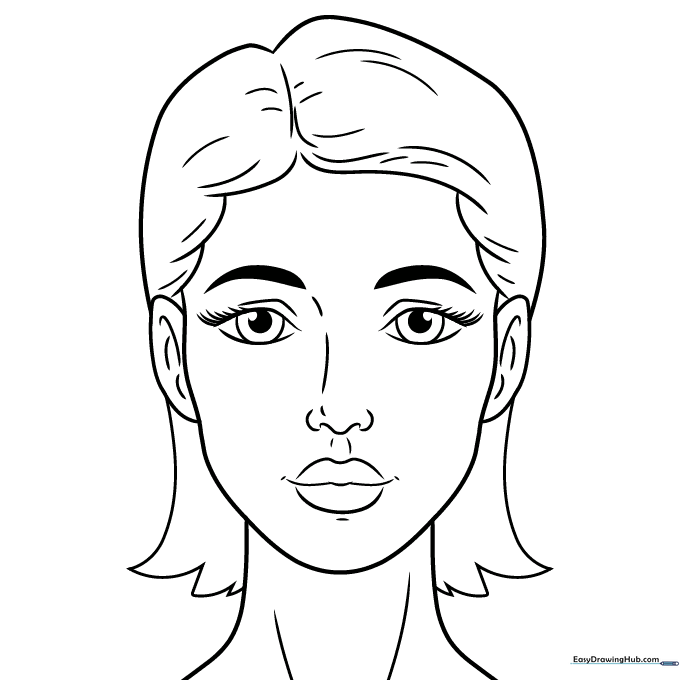
Step 9: Final Contours
Add final curved lines to contour the neck and add texture to the hair. Tip: Use a darker pencil for these final lines to make your drawing pop, and erase any stray construction lines from earlier steps.
Step 10: Personalize Your Character
Your outline is complete! Now, have fun adding color. You can experiment with different hair colors, makeup styles, or accessories to make this character truly your own.
More Tutorials


