How to Draw a Cute Face Mask: Easy Step-by-Step Guide
This tutorial is perfect for young artists ages 5+ who want to practice drawing symmetrical shapes and character expressions. All you need is a pencil, an eraser, and your favorite coloring markers. Follow along to create a stylish, cat-themed face mask that builds both confidence and drawing precision.
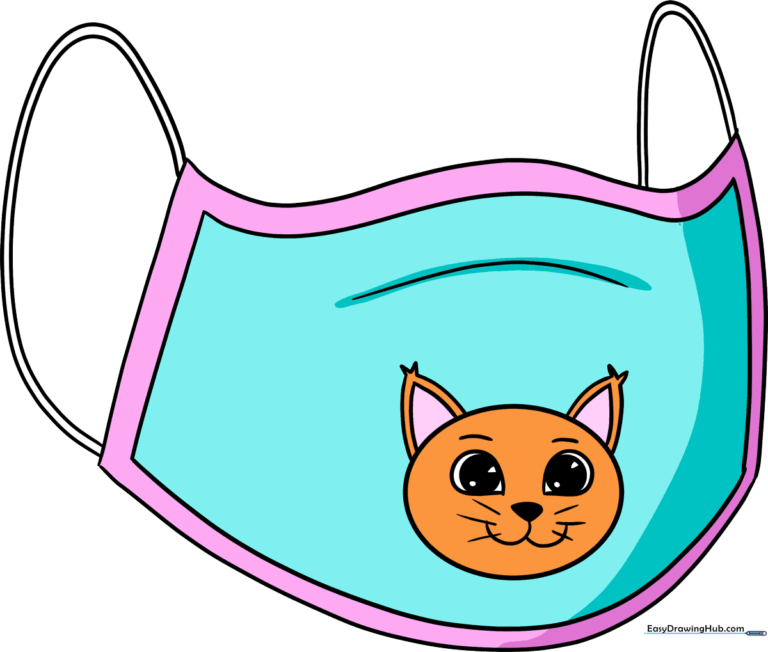
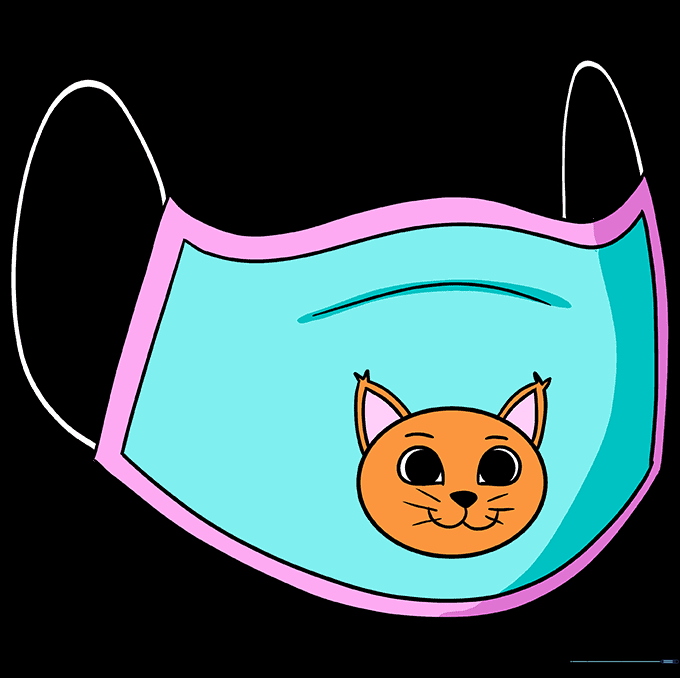
🎯 Final Result
Step-by-Step Instructions
Step 1: Sketching the Base Shape

Start by outlining the side and bottom of the mask. Draw a slightly curved line for the side and a long, gentle curve for the bottom. Teacher's Tip: Keep your pencil pressure light so you can easily adjust the shape if it feels lopsided.
Step 2: Closing the Mask Outline
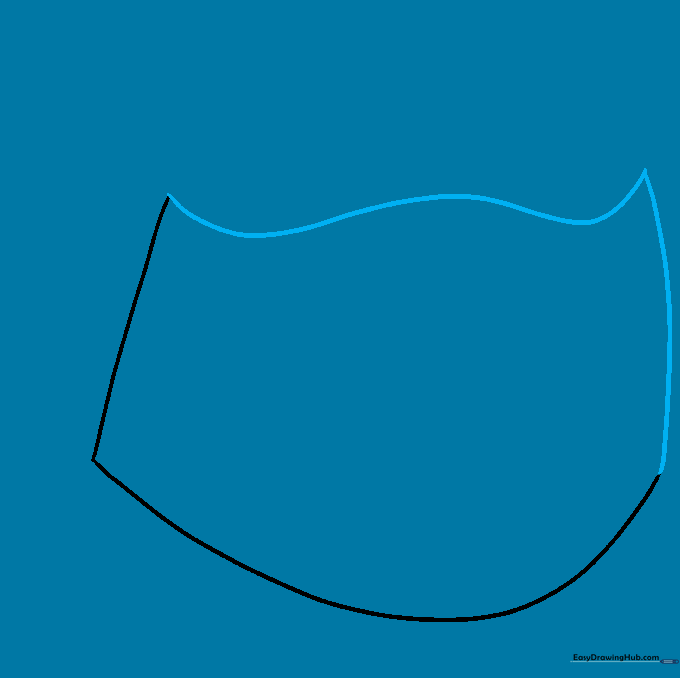
Draw the top and the remaining side using curved lines to close the shape. Ensure the top and sides meet at distinct points. Teacher's Tip: Try to mirror the curve from the first side to keep your mask looking balanced.
Step 3: Adding the Hem Detail

Draw a straight line parallel to the side and a curved line parallel to the bottom. This creates the fabric hem. Teacher's Tip: Focus on keeping the gap between your lines consistent—this is great practice for steady hand control!
Step 4: Completing the Hem
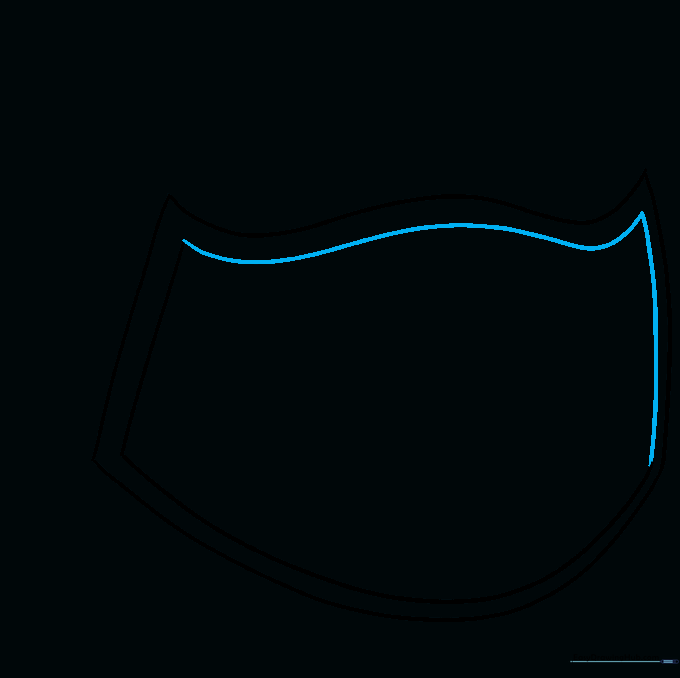
Draw curved lines parallel to the top and remaining side to finish the edging. Teacher's Tip: If your lines aren't perfectly parallel, don't worry—real fabric folds aren't always perfect either!
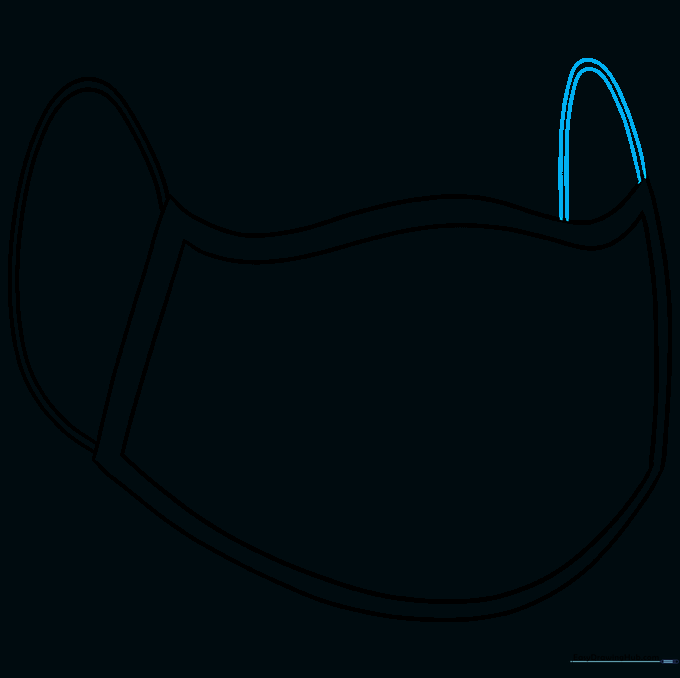
Step 5: Drawing the Ear Loop
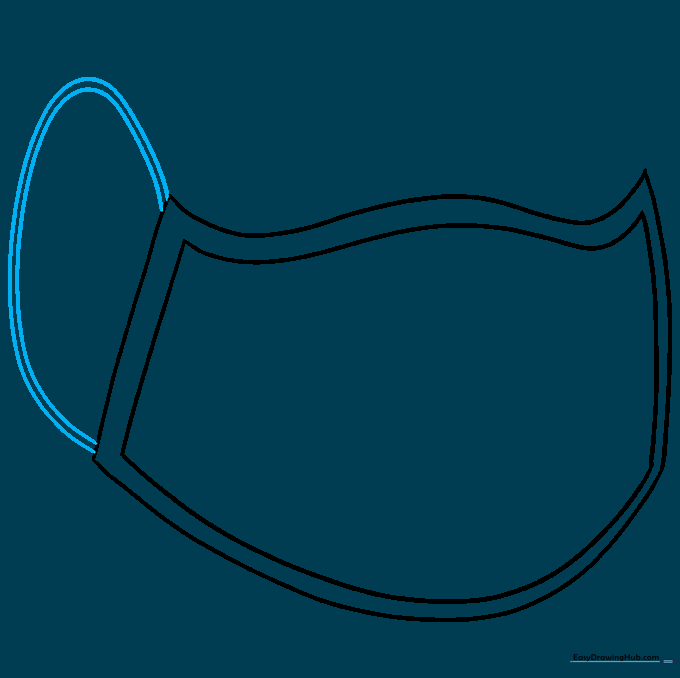
Draw two long, 'C' shaped parallel lines on one side to form the ear loop. Connect them to the top and bottom corners. Teacher's Tip: Imagine the loop is made of soft elastic—keep your lines smooth and rounded.
Step 6: Adding the Second Loop
Repeat the process on the opposite side with another set of 'C' shaped lines. Teacher's Tip: Check that your loops are roughly the same size so the mask looks comfortable to wear.
Step 7: Starting the Chibi Cat
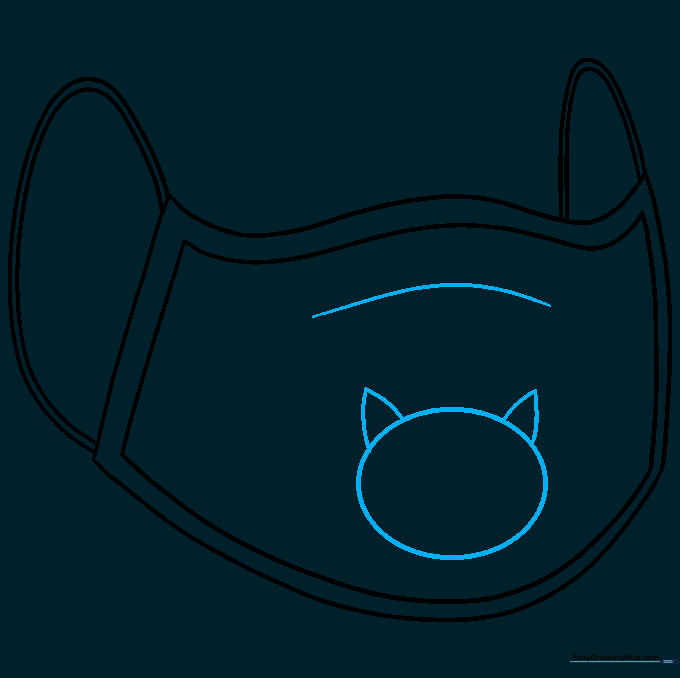
Add a contour line across the front of the mask. Now, let's add a cute cat face! Draw an oval for the head and two small triangles for the ears. Teacher's Tip: Keep the cat's head centered for a professional look.
Step 8: Cat Facial Features
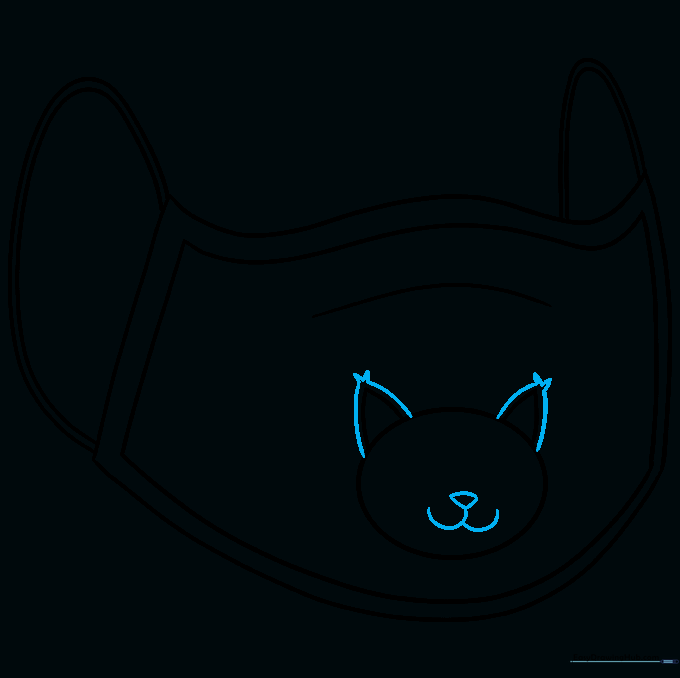
Detail the ears with inner lines and a 'V' shape. Add a small upside-down triangle for the nose and a 'W' shape for the mouth. Teacher's Tip: Small, delicate lines make the face look much cuter!
Step 9: Eyes and Whiskers
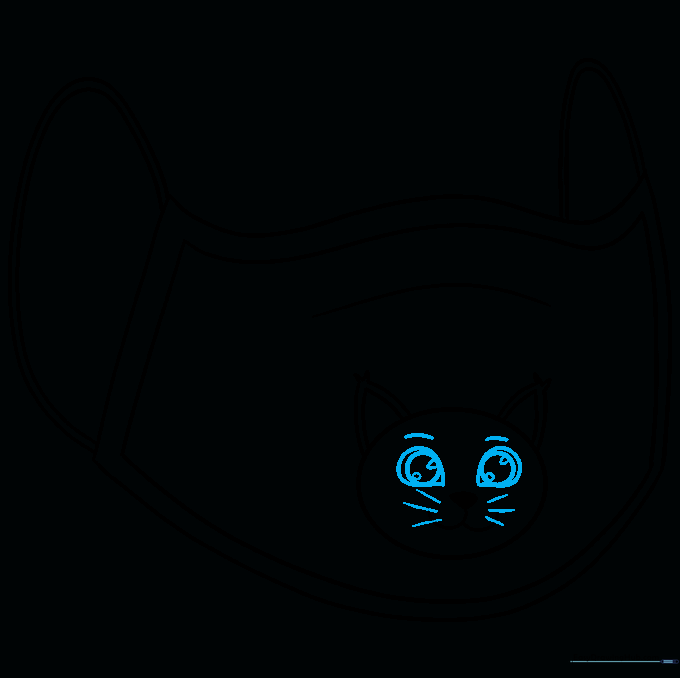
Draw teardrop shapes for the eyes with large pupils inside. Add eyebrows and whiskers using short, quick strokes. Teacher's Tip: Use a darker pencil or marker for the eyes to make them pop.
Step 10: Coloring Your Masterpiece
Time to bring your mask to life with color! Use bright, cheerful colors for the mask fabric. Teacher's Tip: Try using a light blue or pink for the mask and a contrasting color for the cat to make it stand out.
More Tutorials


