How to Draw a 3/4 View Face: Easy Step-by-Step Guide
Ready to take your character drawing to the next level? This 3/4 view tutorial is perfect for artists ages 7+ looking to add depth and personality to their portraits. All you need is a pencil, an eraser, and a sheet of paper to start practicing this essential perspective.
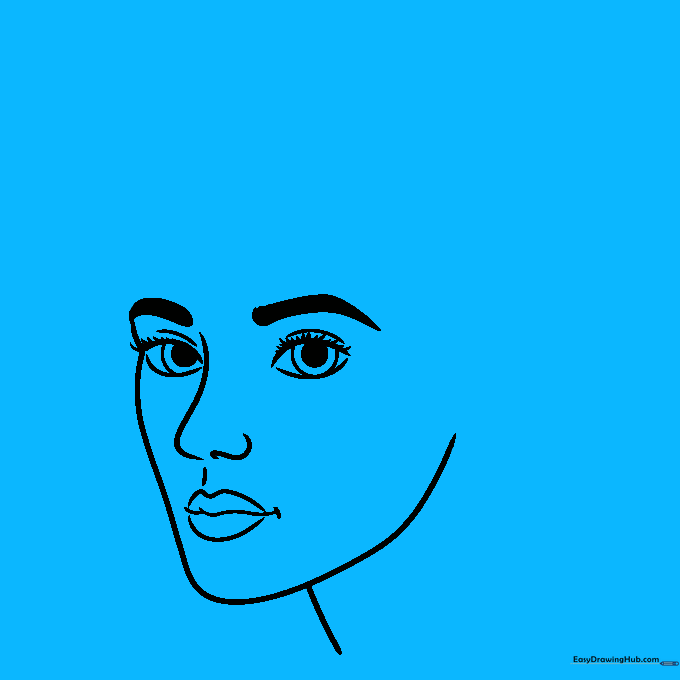
🎯 Final Result

Step-by-Step Instructions
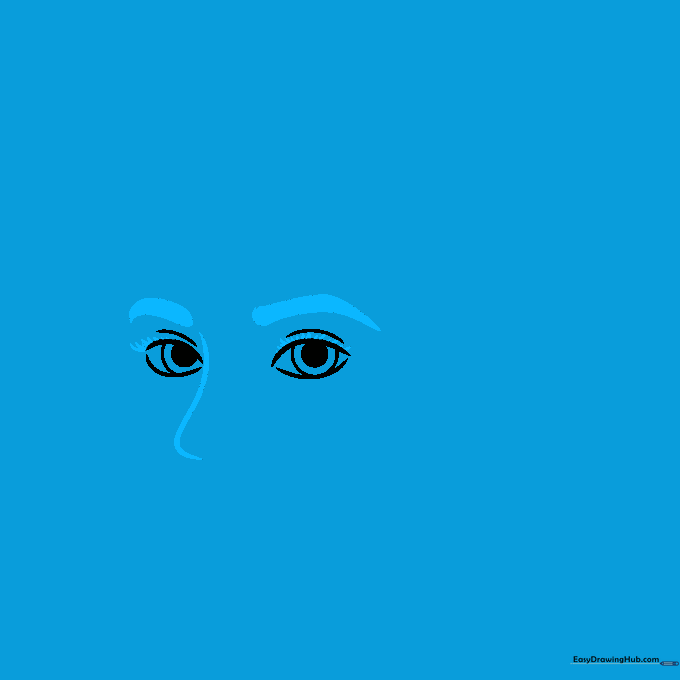
Step 1: Sketching the Eye Shapes

Draw two lemon-shaped outlines, making the one on the right slightly wider to suggest the angle of the head. Add a circle inside each for the iris and a small dash above for the eyelid. Teacher's Tip: Keep your pencil pressure light so you can easily adjust the symmetry later.
Step 2: Defining Brows and Nose
Add expressive, pointed eyebrows above the eyes. Sketch a small hook shape to represent the bridge of the nose, and add short, flicking dashes for the eyelashes. Teacher's Tip: Use quick, confident strokes for the lashes to give them a natural, fluttery look.
Step 3: Refining the Nose and Mouth
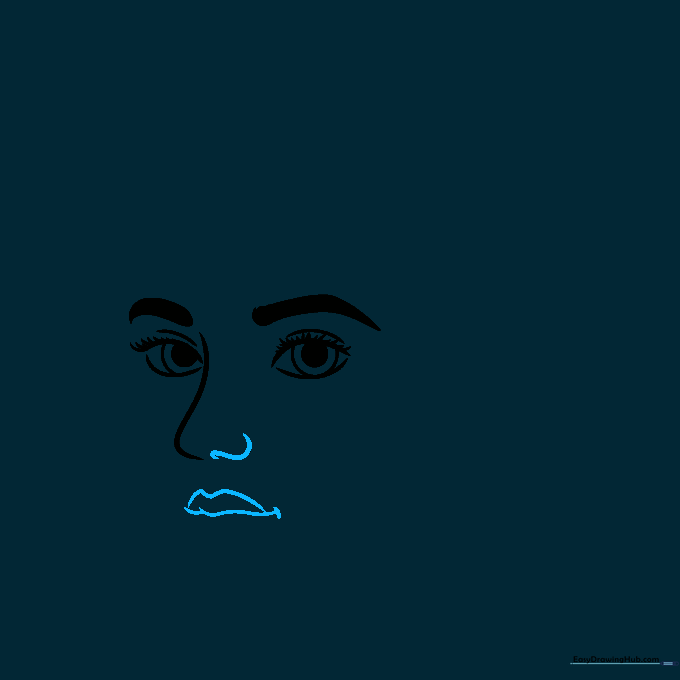
Outline the nose with a soft loop. For the mouth, draw a gentle wavy line, then add two 'hill' shapes above it for the upper lip. Make the second hill wider to emphasize the 3/4 turn. Teacher's Tip: The mouth should follow the curve of the face, not a flat line.
Step 4: Shaping the Jawline
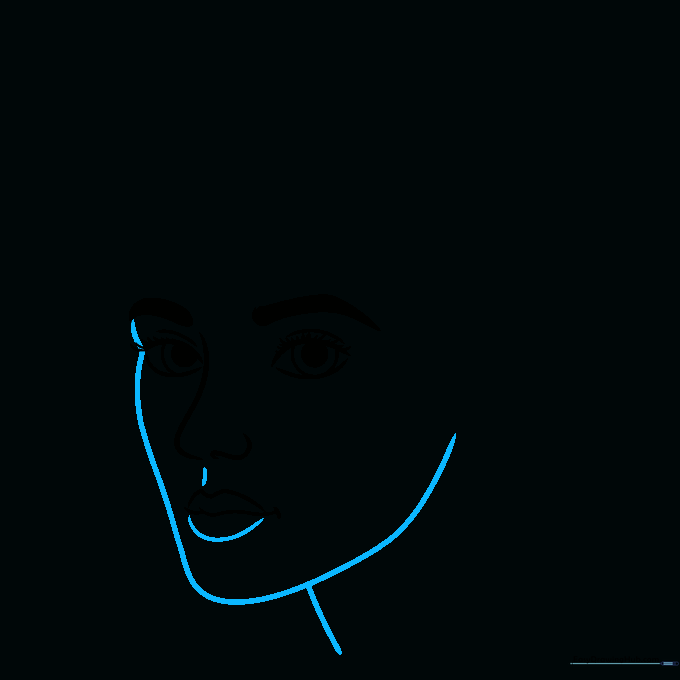
Draw a soft, wavy line on the left to define the cheek, then curve it down and around to form the jaw. Add a small dash under the nose and a loop for the lower lip. Draw a simple vertical line for the neck. Teacher's Tip: Keep the jawline rounded for a softer, more youthful appearance.
Step 5: Adding Hair and Ears
Frame the face with two sweeping lines for the hair. Add a loop on the right side for the ear, including small curves inside for detail. Teacher's Tip: Ears usually align with the space between the eyes and the nose—check your placement!
Step 6: Constructing the Hairline
Draw a large curve over the head to create a teardrop shape for the hair. Add rounded triangle shapes to create volume. Teacher's Tip: Don't draw the hair tight against the skull; leave a little space to make it look natural and bouncy.
Step 7: Detailing the Hair
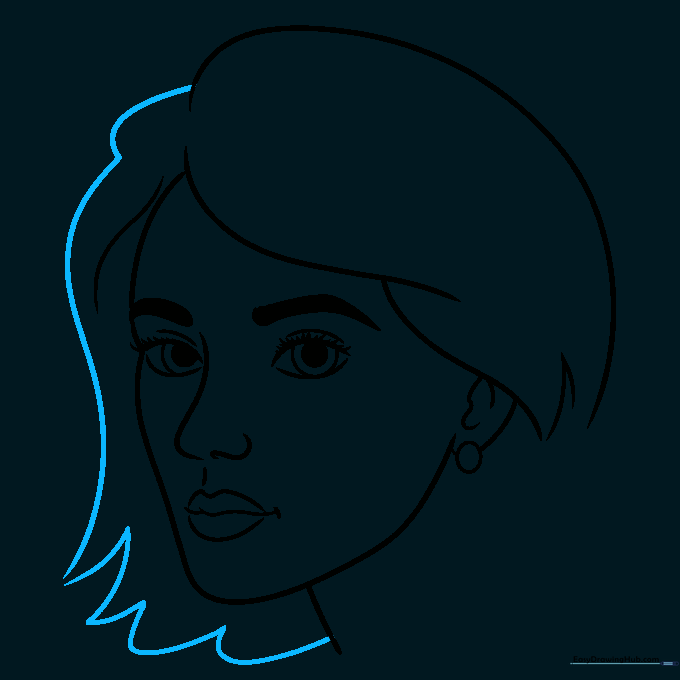
On the left side, draw a loop and a long vertical curve, finishing with wavy lines and triangles to suggest hair strands. Teacher's Tip: Vary the size of your triangles to make the hair look less uniform and more realistic.
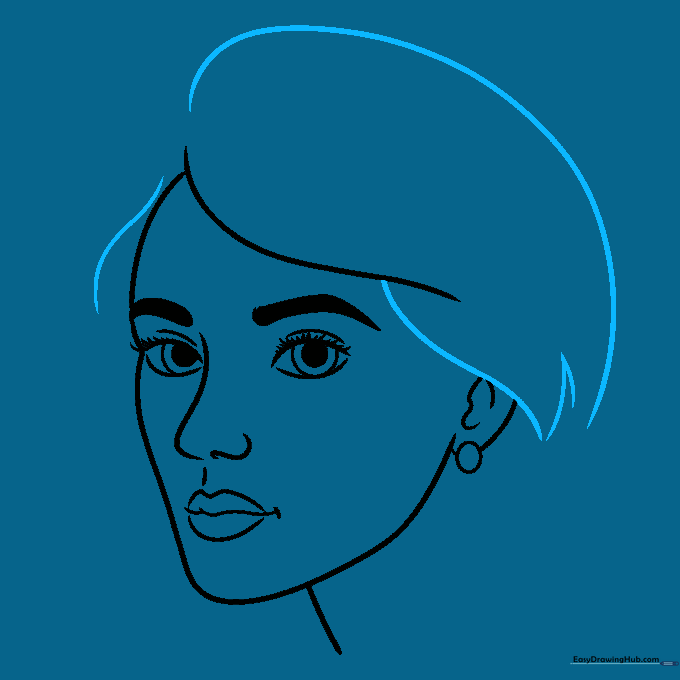
Step 8: Finalizing Hair Shape
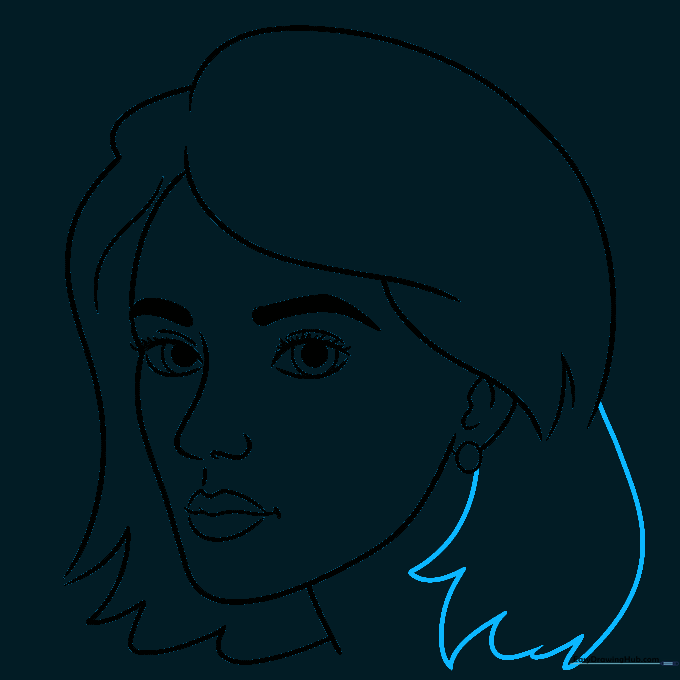
Use expressive, wavy lines to outline the hair on the right, connecting it back to the main head shape. Teacher's Tip: Follow the flow of the hair—imagine how it would fall naturally over the shoulders.
Step 9: Adding Texture
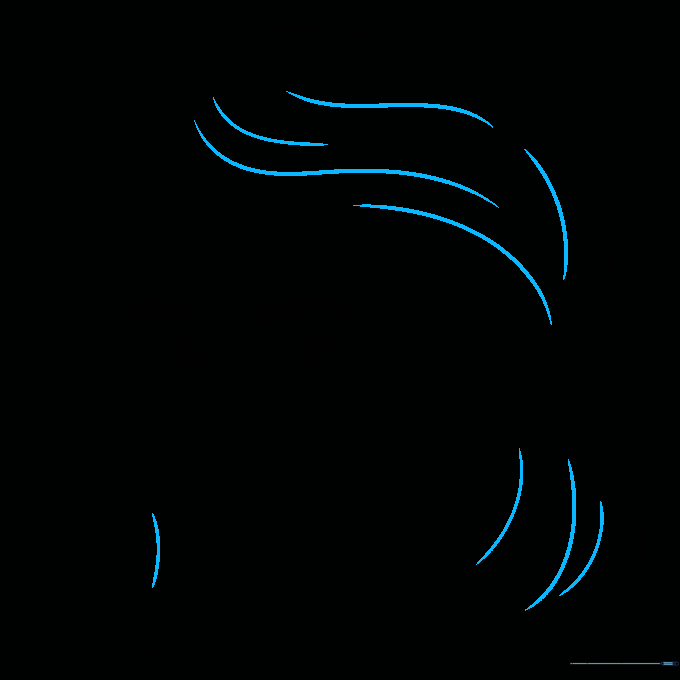
Add a few internal wavy lines within the hair to create depth and texture. Teacher's Tip: Don't overdo it! A few well-placed lines are better than too many, which can make the drawing look cluttered.
Step 10: Inking and Coloring

Trace your final lines with a black marker or pen. Fill in the pupils and eyebrows with black. Use your favorite colors for the hair, eyes, and skin. Teacher's Tip: Try using complementary colors like pink and green for a vibrant, artistic pop!
More Tutorials


