How to Draw a Dumb Cane Plant: Easy 10-Step Guide
Bring a touch of nature to your sketchbook with this fun, beginner-friendly Dumb Cane plant tutorial. Designed for artists ages 5 and up, this activity uses simple shapes to build confidence and fine motor skills. Grab your pencil, eraser, and paper, and let's grow a beautiful houseplant together!
🎯 Final Result

Step-by-Step Instructions
Step 1: Sketching the Pot and Base
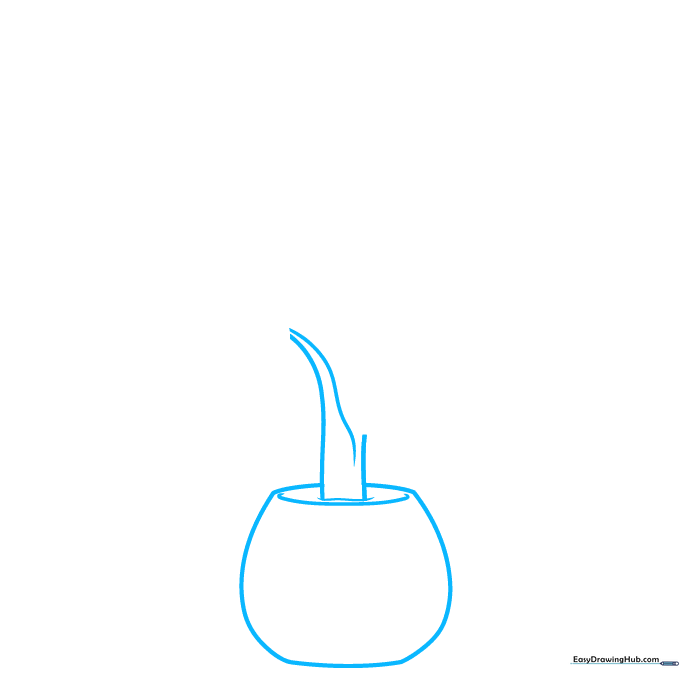
Start by drawing the flower pot using a simple, rounded shape. Add a 'C' curve at the top and a wavy line for the soil. Tip: Keep your pencil pressure light here so you can easily erase the lines where the stem meets the soil.
Step 2: Forming the First Leaf
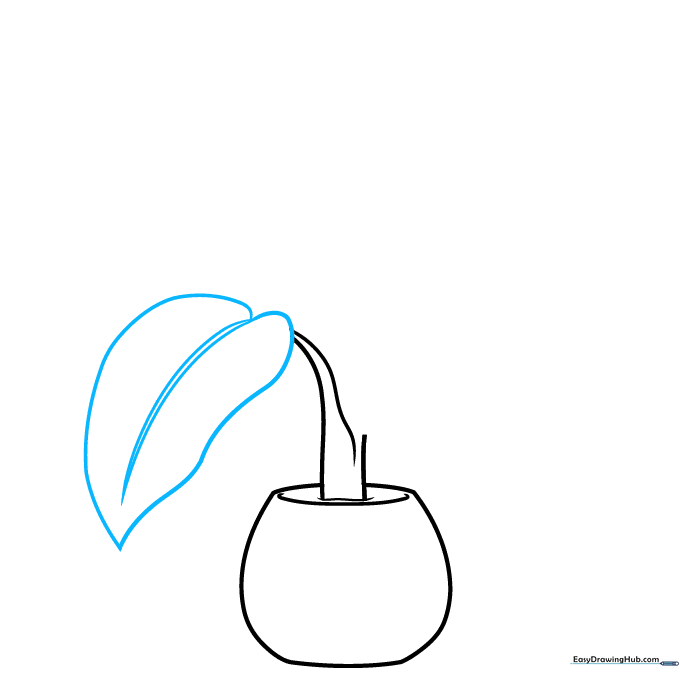
Use two curved lines that meet at a point to create the stem, then enclose a heart-like shape at the end for your first leaf. Tip: Don't worry about making it perfect; nature is full of unique, organic shapes!
Step 3: Adding Leaf Veins
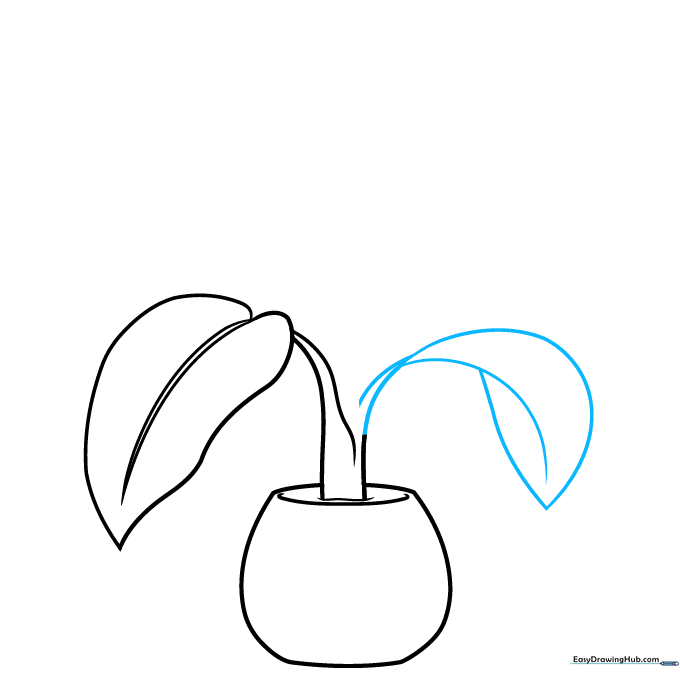
Extend the stem and add a central vein to your leaf using overlapping curved lines. Tip: Use a smooth, continuous motion to keep the stem looking fluid and natural.
Step 4: Creating Depth
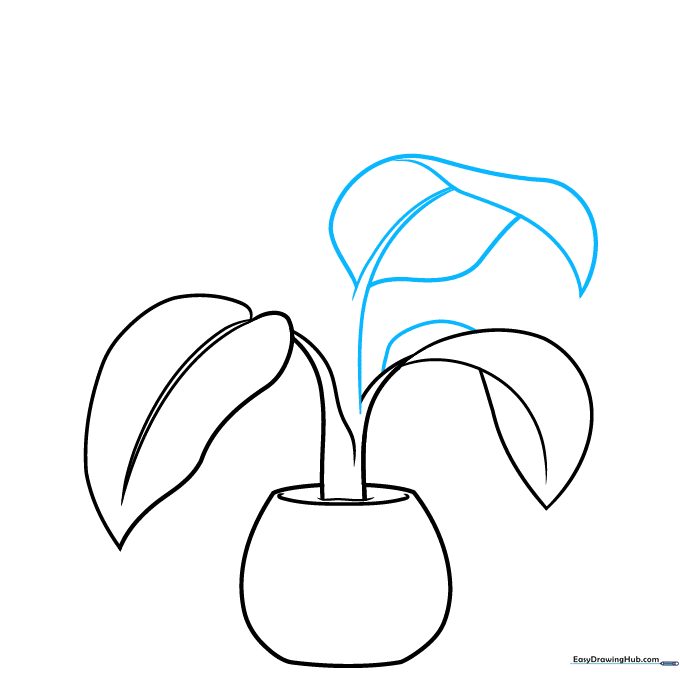
Add a semicircle on top of the leaf to give it a 3D folded look. Extend another curved line to start the next leaf. Tip: Overlapping lines are the secret to making your drawing look less flat!
Step 5: Refining the Leaf Structure
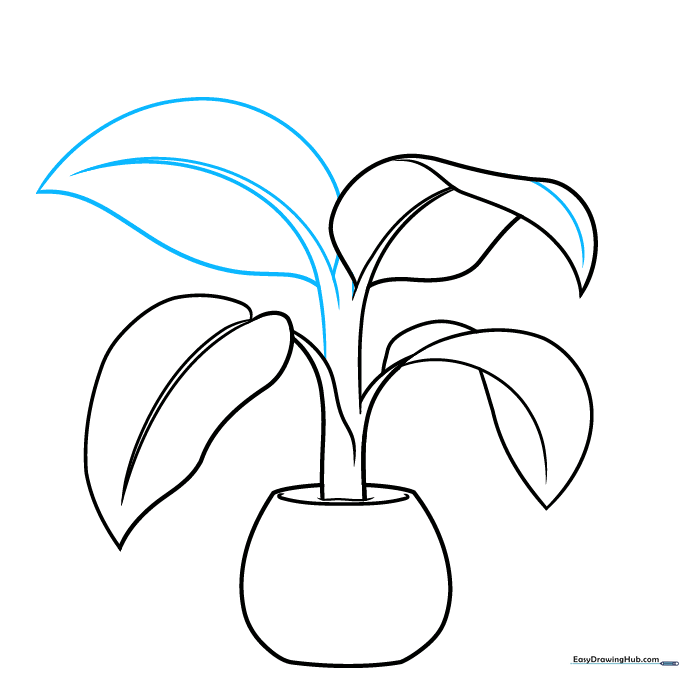
Draw a line down the center of the leaf and add sharp points to the edges. Tip: Use quick, confident strokes to make the leaf edges look crisp and healthy.
Step 6: Adding More Foliage
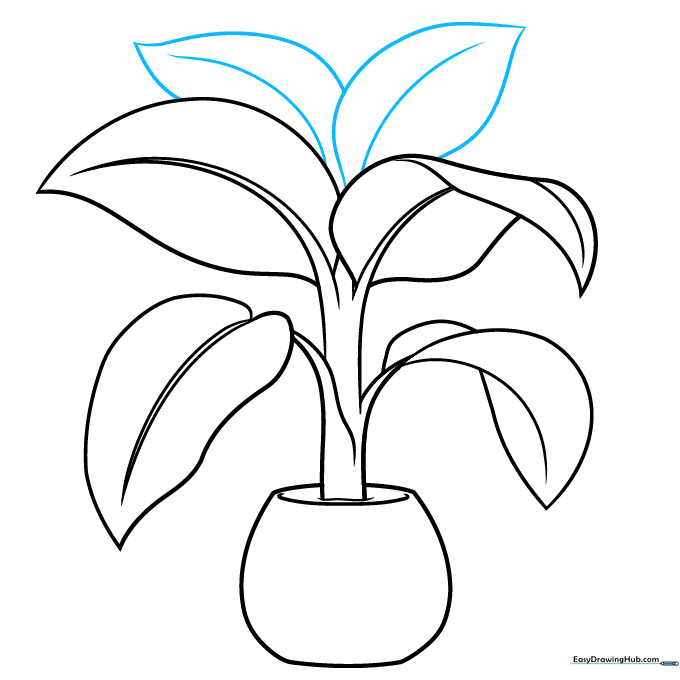
Add two more leaves at the top using long, sweeping curved lines. Tip: Vary the size of the leaves to make your plant look more realistic and balanced.
Step 7: Adding Texture
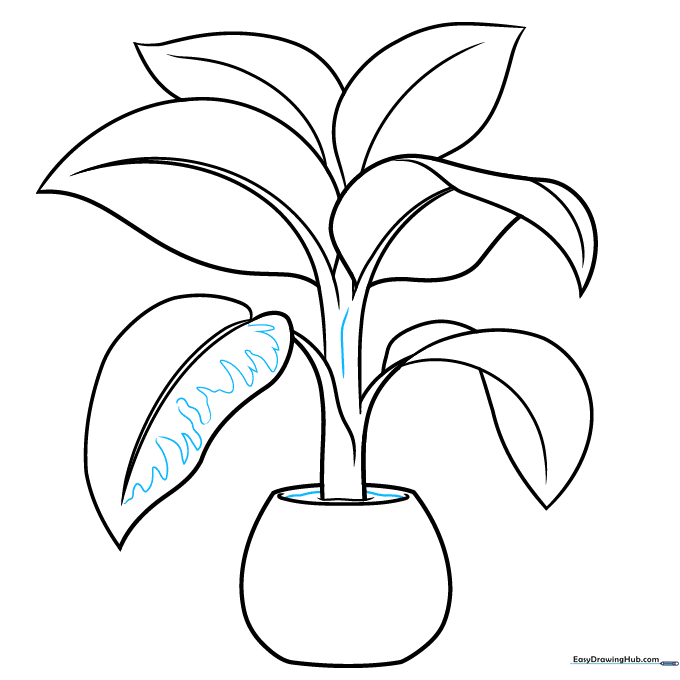
Add a curved line to the stem for texture, then use a zigzag line to sketch the variegated pattern on the leaves. Tip: Keep the zigzags irregular so they look like natural plant markings.
Step 8: Leaf Details
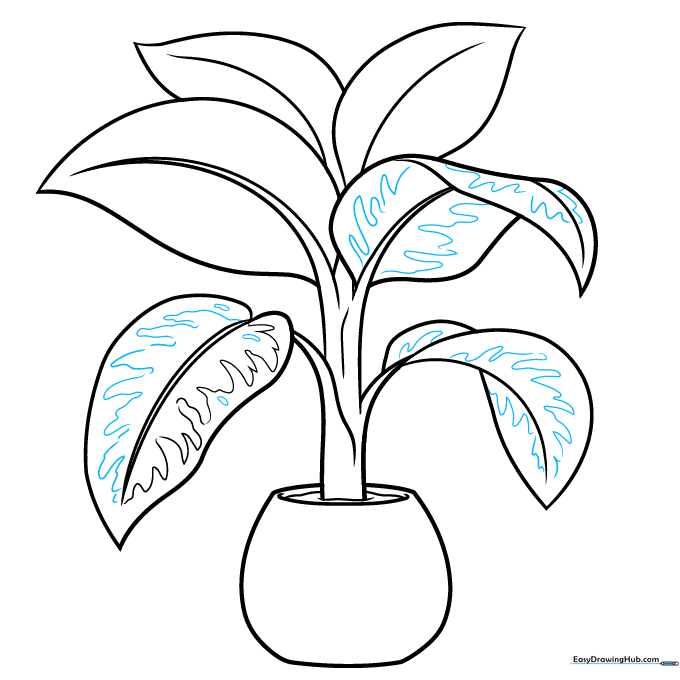
Continue adding wavy zigzags and small rounded shapes to the sides of each leaf. Tip: Think of these as little 'islands' of color that will be filled in later.
Step 9: Final Touches
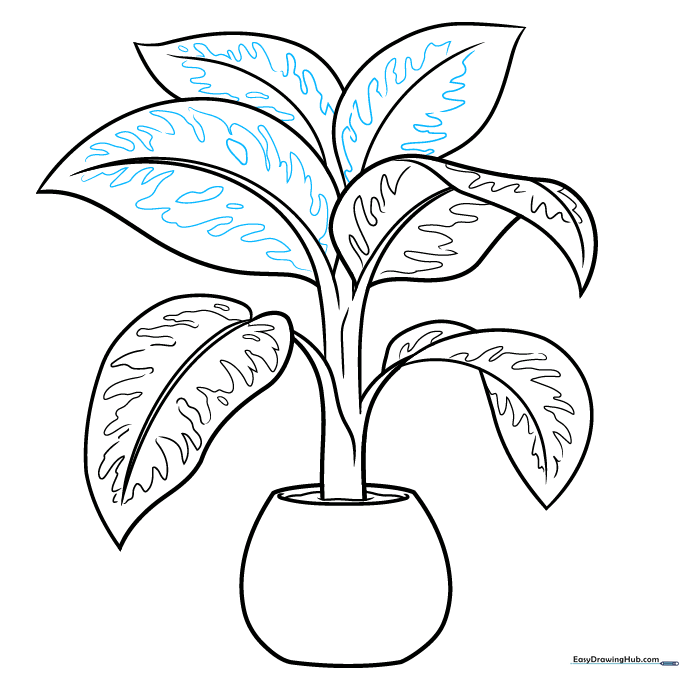
Review your drawing and add any final zigzag lines to ensure the leaves look full and detailed. Tip: Check your work against the reference to make sure all leaves have consistent patterns.
Step 10: Bring It to Life with Color
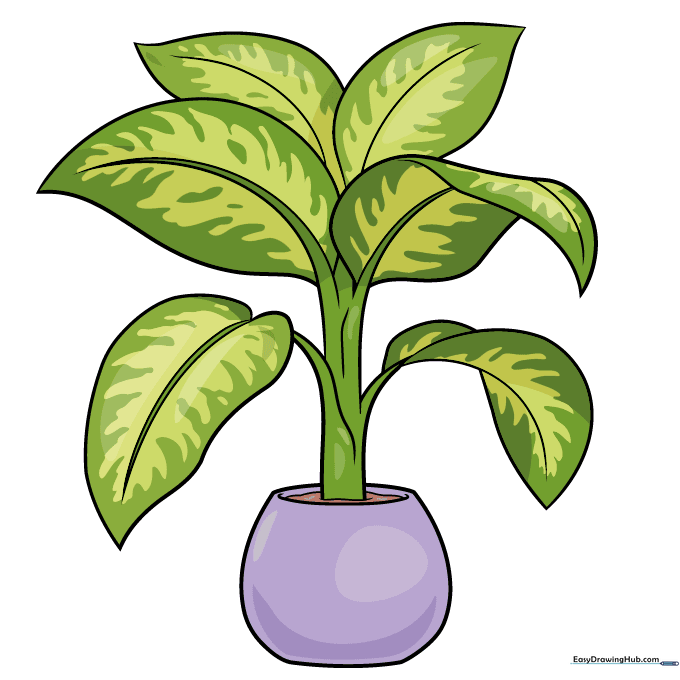
Time to color! Use deep greens for the outer leaves and lighter yellows or whites for the center variegation. Tip: Use a light touch with your colored pencils to blend the colors smoothly.
More Tutorials


