How to Draw a Duck: Easy 9-Step Guide for Kids
Ready to bring a friendly duck to life? This tutorial is perfect for young artists ages 5 and up. All you need is a pencil, an eraser, and a piece of paper to start building your character from simple shapes.
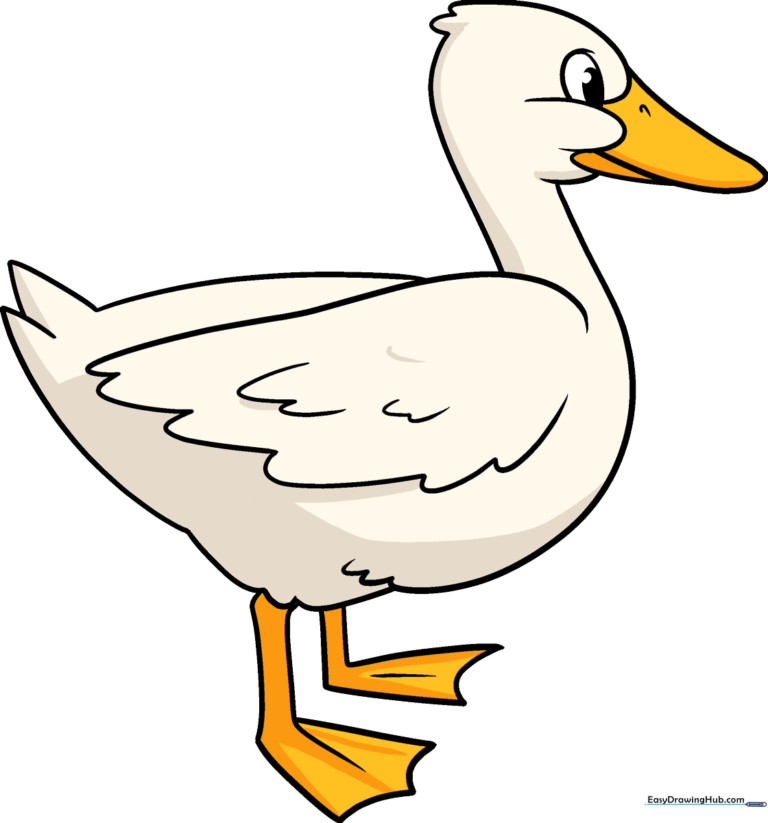
🎯 Final Result
Step-by-Step Instructions
Step 1: Sketching the Eye
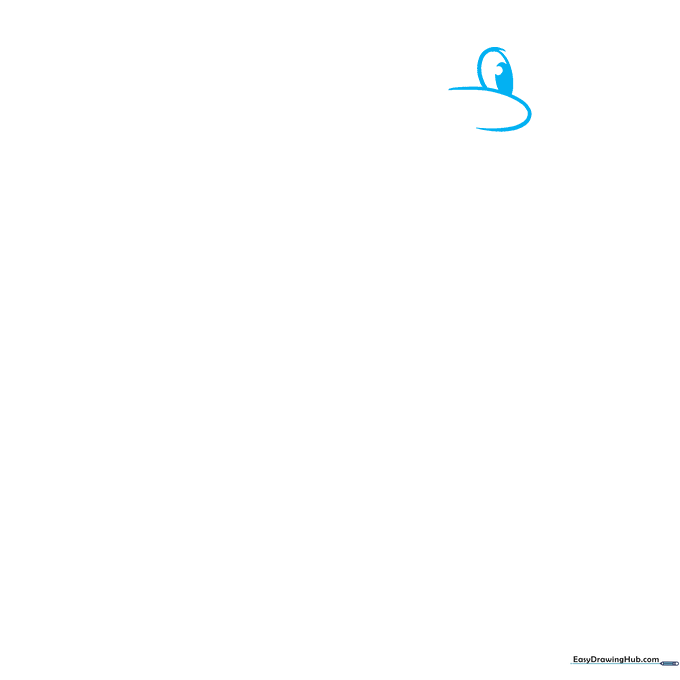
Start by drawing a sideways “U” shape for the cheek. Add a partial oval on top, then place two smaller circles inside for the pupil. Teacher's Tip: Keep your pencil pressure light so you can easily adjust the eye placement if needed.
Step 2: Forming the Beak

Use overlapping curved lines to connect the top of the head to the beak. Tip: Think of the beak as two slightly flattened ovals stacked together to give it that classic duck look.
Step 3: Adding Head Details
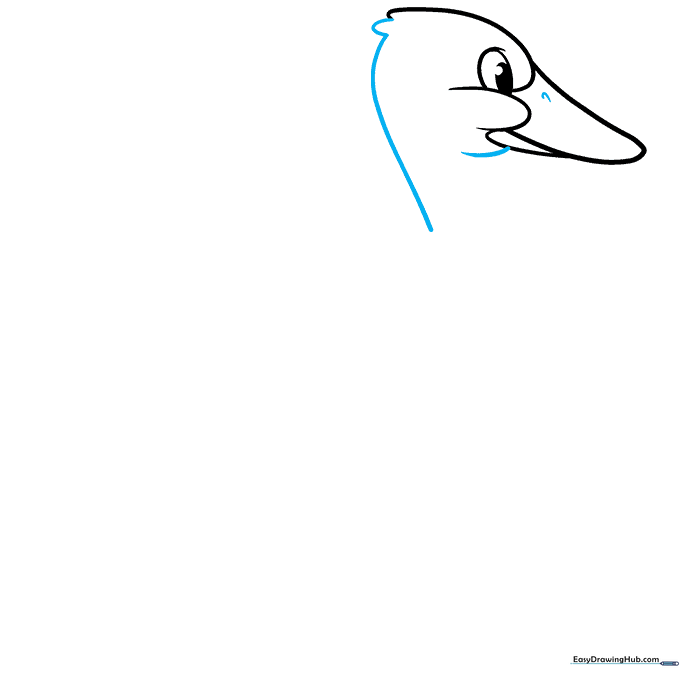
Add a small “U” shape for the nostril and a tiny tuft of feathers on the back of the head. Complete the head shape with a smooth curve. Tip: A single small feather adds personality and makes your drawing look more professional.
Step 4: Sketching the Body
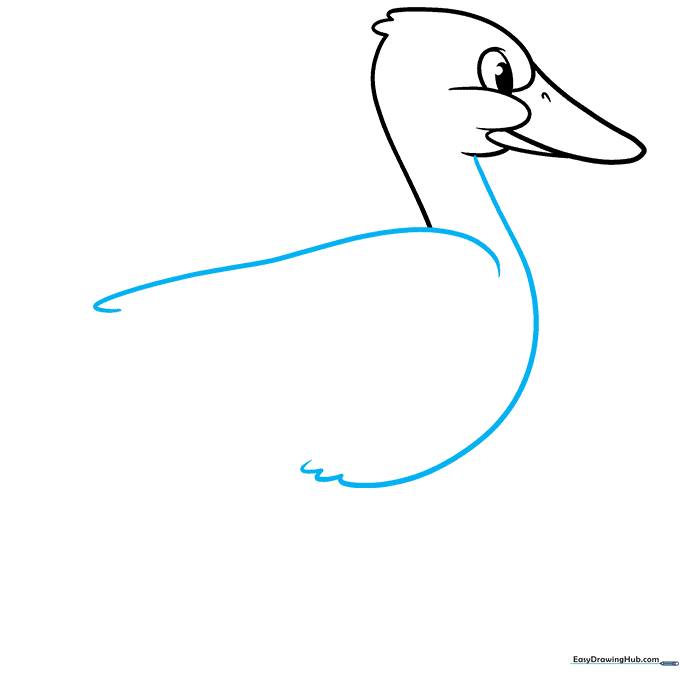
Draw a long, sweeping curve from the face to create the neck and belly. Use small “U” shapes along the bottom to suggest soft, fluffy feathers. Tip: Vary the size of your 'U' shapes to make the feathers look natural.
Step 5: Defining the Wing
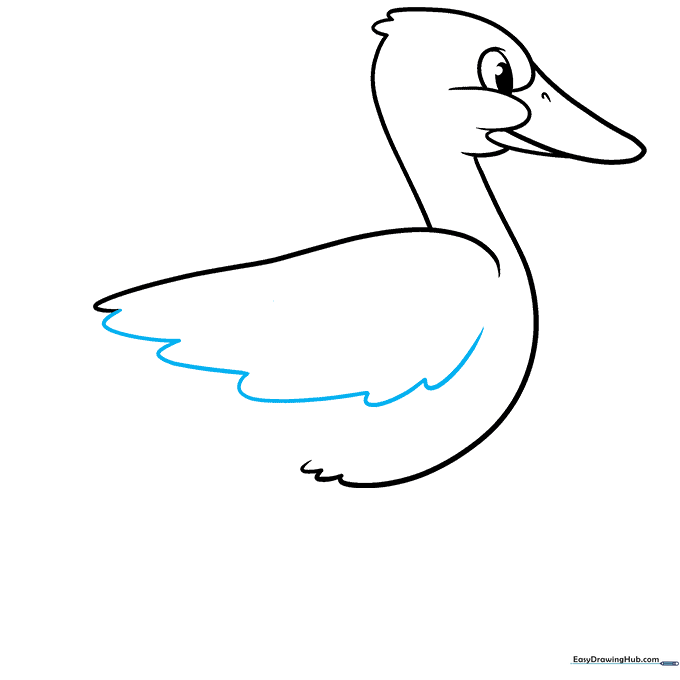
Use a series of connected, scalloped curves to form the bottom edge of the wing. Tip: Imagine you are drawing a row of small clouds to get that perfect, rounded feather shape.
Step 6: The Tail and Back
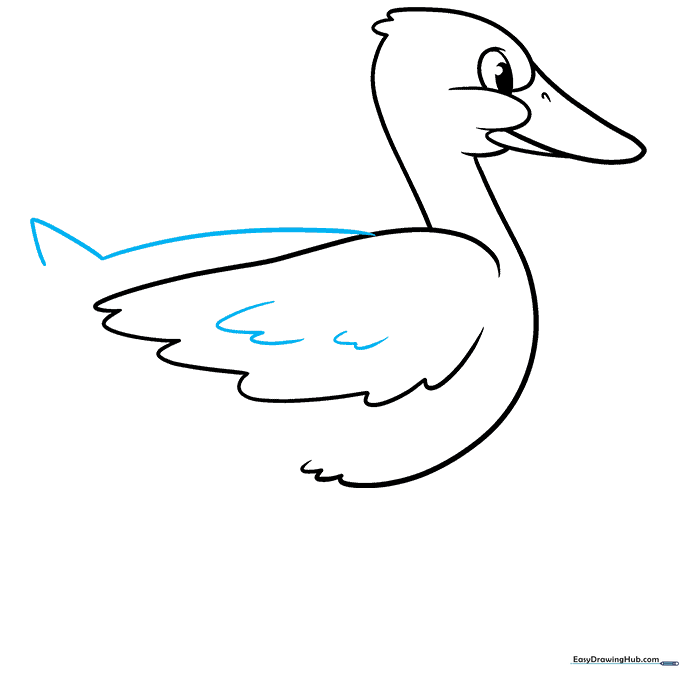
Draw the back with a long curve, ending in an inverted “V” for the tail. Add extra curved lines on the wing to show feather layers. Tip: Keep your lines fluid to give the duck a sense of motion.
Step 7: Closing the Body
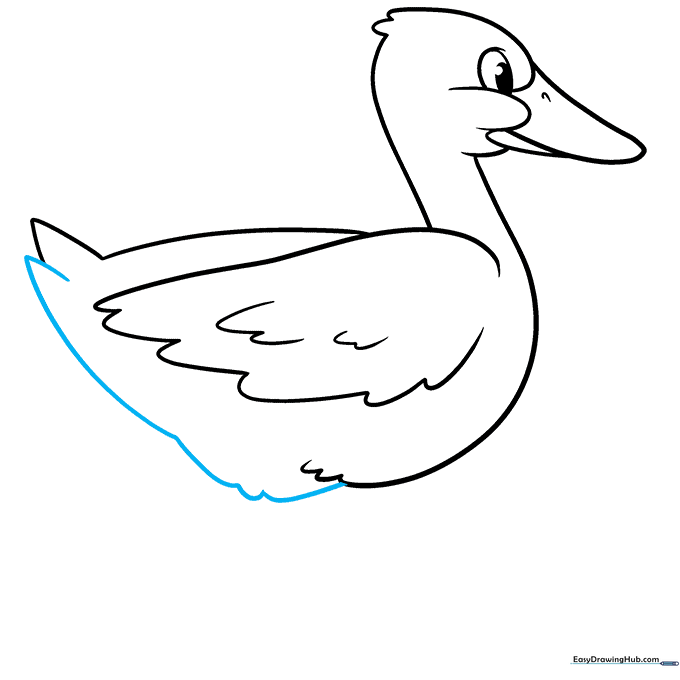
Connect the tail to the belly with a smooth curve. Make sure to leave a small gap or bump where the leg will attach. Tip: This is a great time to erase any overlapping guide lines from earlier steps.
Step 8: Drawing the First Foot
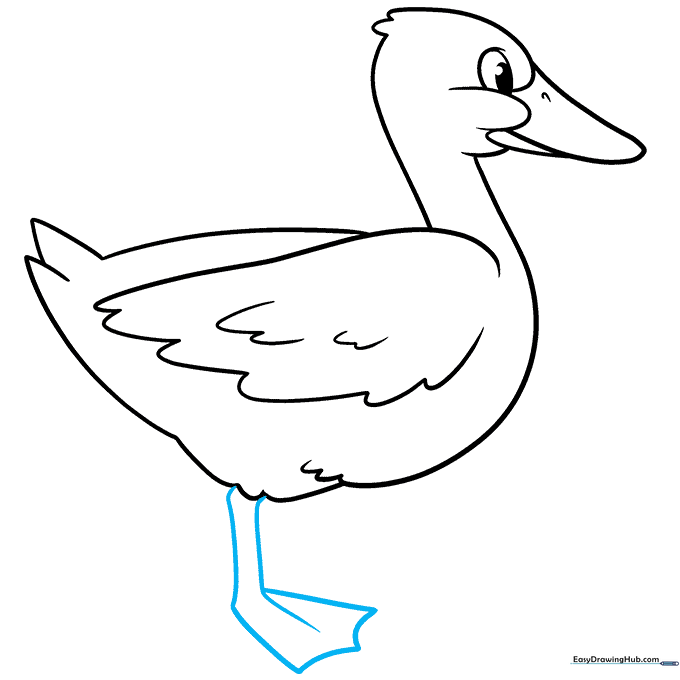
Draw the leg with two parallel lines, then create a webbed foot using scalloped curves. Tip: Ducks have wide feet for swimming, so don't be afraid to make them look nice and chunky!
Step 9: Finalizing the Legs
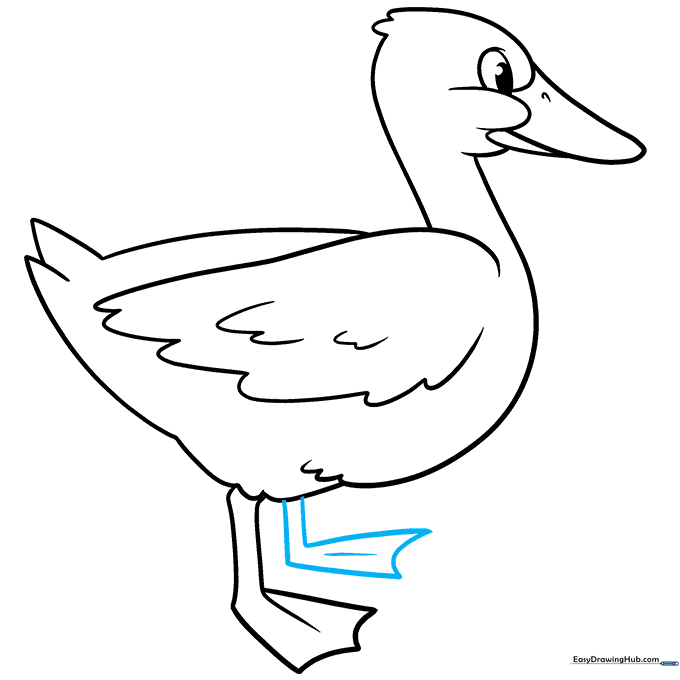
Add the second leg and foot behind the first one to give your duck a 3D look. Tip: Drawing the second foot slightly higher makes it look like the duck is standing on the ground.
Step 10: Bring Your Duck to Life with Color
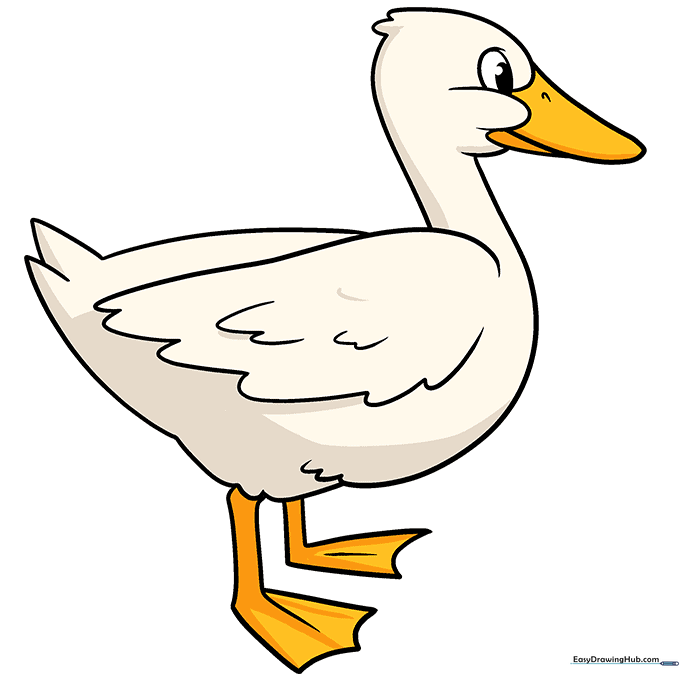
Your outline is ready! Use bright oranges for the beak and feet. For the feathers, you can go classic white or get creative with mallard greens, browns, or even blues. Tip: Use light pressure with your colored pencils to blend colors for a softer look.
More Tutorials


