How to Draw a Dreidel: Easy 10-Step Guide for Kids
Celebrate the Festival of Lights by drawing your own traditional dreidel! This activity is perfect for children ages 5 and up, requiring only a pencil, paper, and your favorite markers. Follow these simple steps to master the geometric shape of this iconic spinning top.
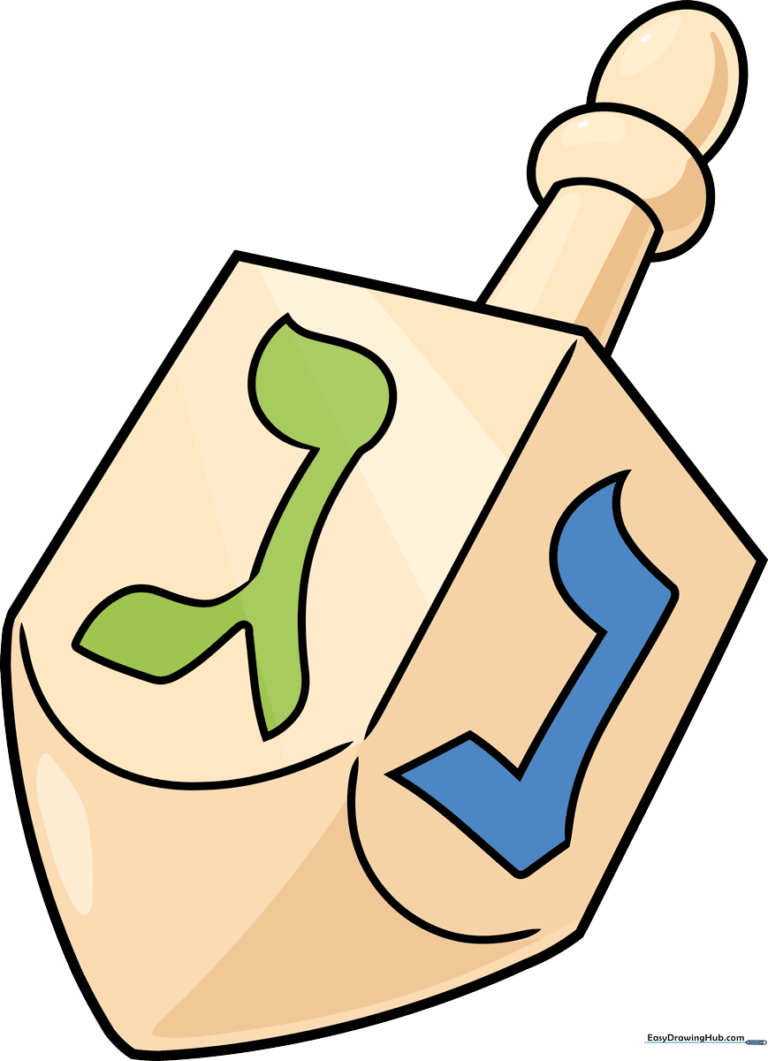
🎯 Final Result
Step-by-Step Instructions
Step 1: Sketching the Top Base
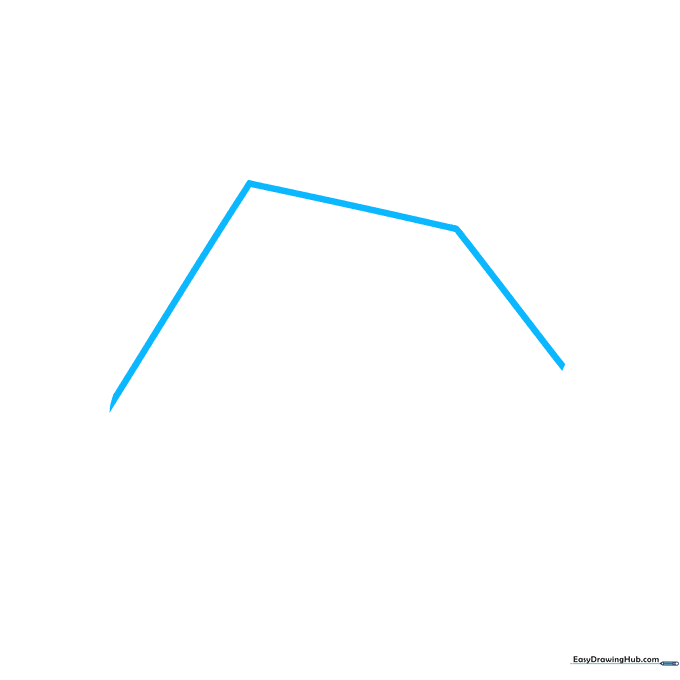
Start by drawing four connected straight lines to form a wide, inverted 'V' shape. Teacher's Tip: Keep this light; it's the foundation for your entire drawing.
Step 2: Forming the Body
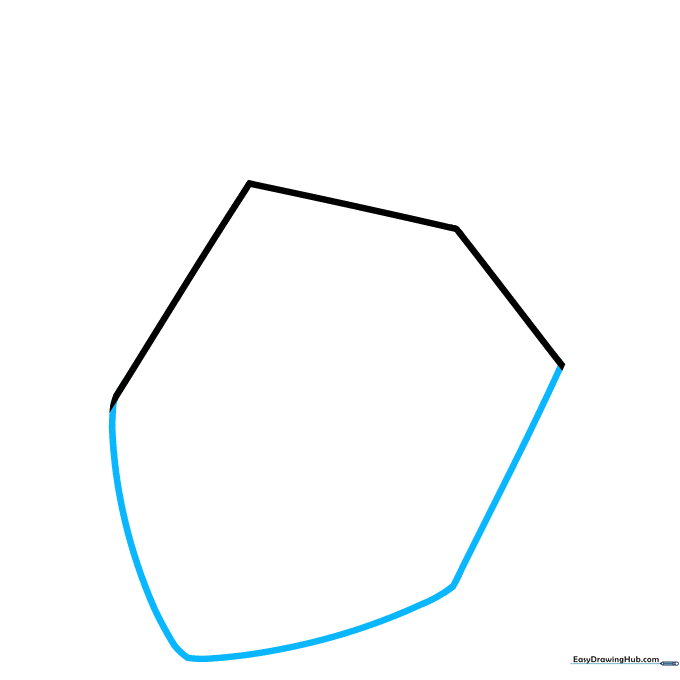
Add a straight line downward and connect it to the other side with a pointed, curved base. Teacher's Tip: Imagine you are drawing a diamond that has been stretched out.
Step 3: Adding Dimension
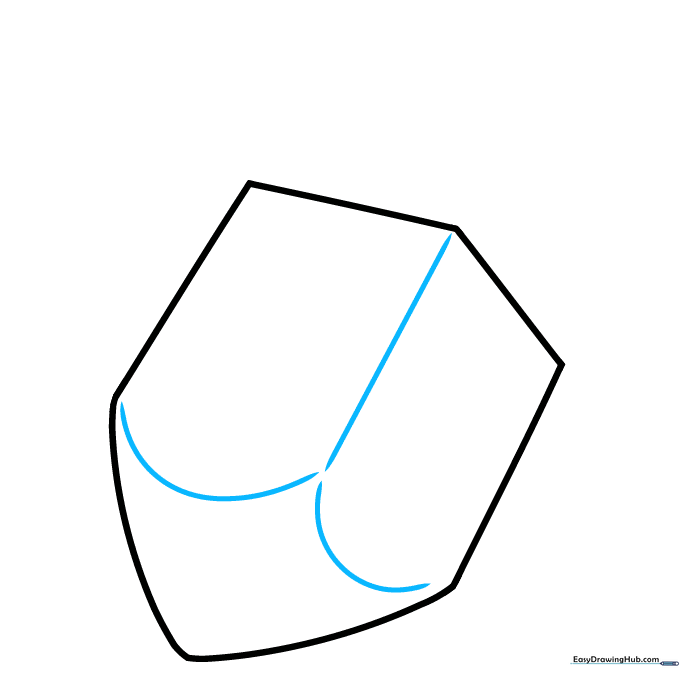
Draw a vertical line down the center and two 'U' shaped curves at the bottom. Teacher's Tip: These curves add depth, making the flat drawing look like a 3D object.
Step 4: Drawing the Handle
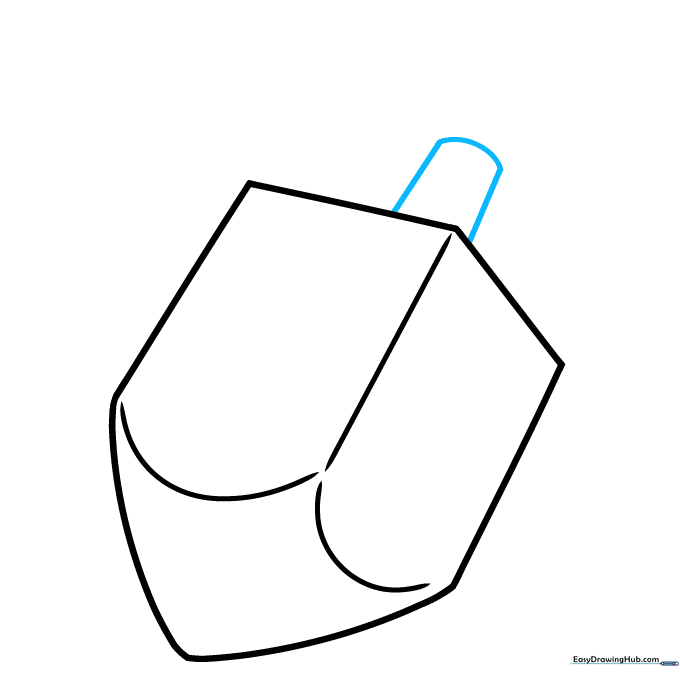
Place a rounded rectangle on top of the body. Teacher's Tip: Keep the handle centered so your dreidel looks balanced and ready to spin.
Step 5: Finishing the Handle
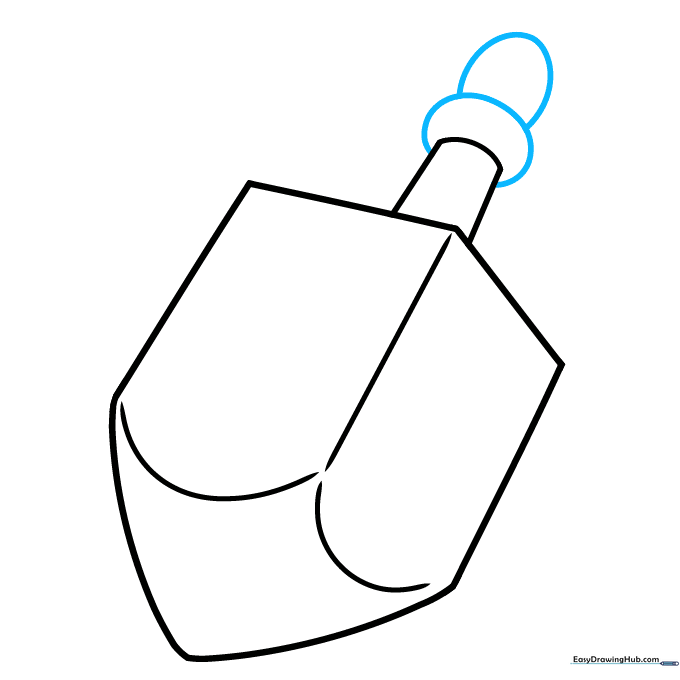
Draw two partial ovals on top of the handle. Teacher's Tip: These small details represent the top of the stem where you hold it to spin.
Step 6: Starting the Hebrew Letter
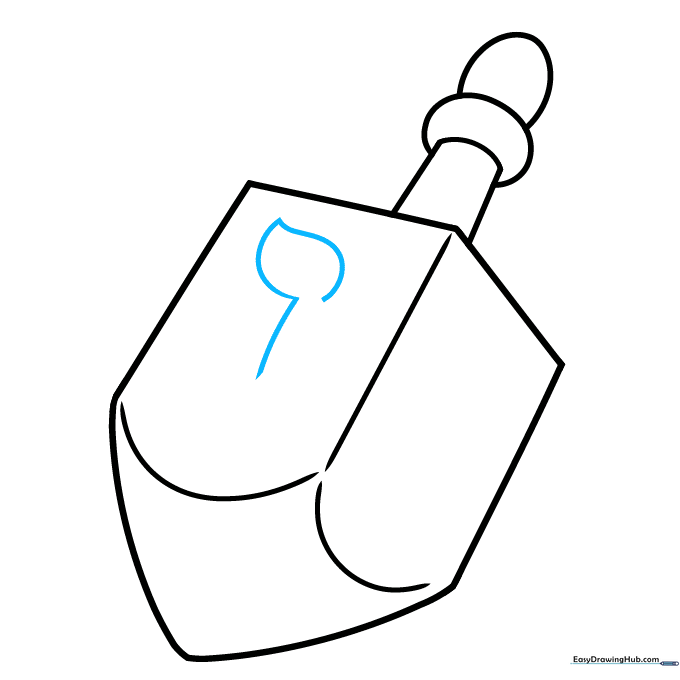
Draw a partial teardrop shape on the side of the dreidel. Teacher's Tip: Take your time here; Hebrew letters have unique curves that look great when drawn slowly.
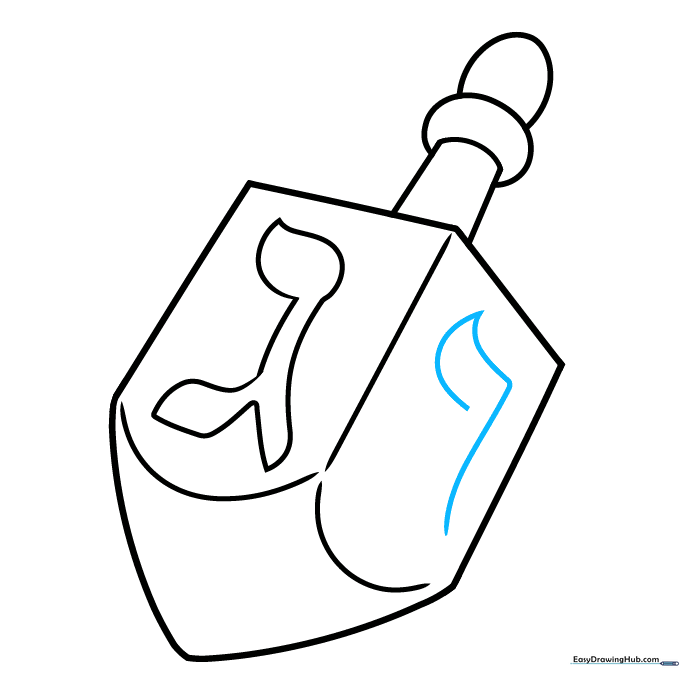
Step 7: Completing the Gimel
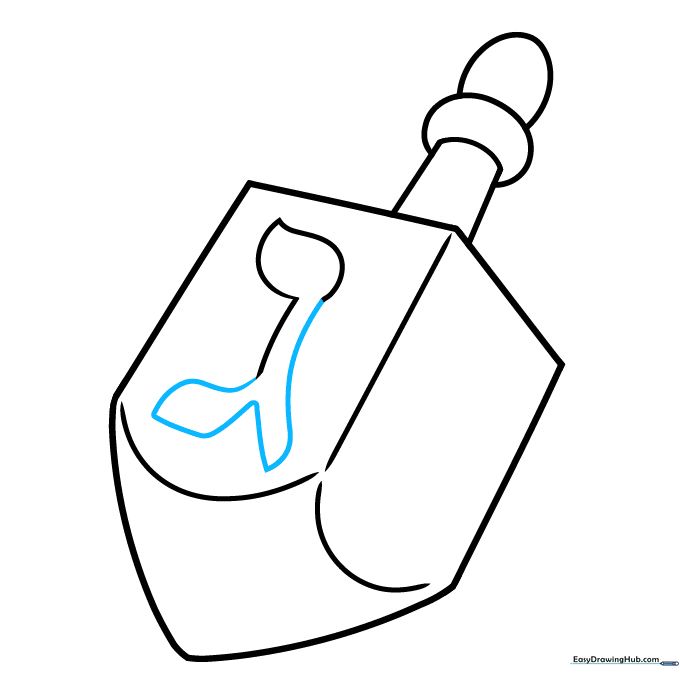
Use curved lines to finish the letter 'Gimel'. Teacher's Tip: This letter represents the word 'entire'—a fun historical fact to share while you draw!
Step 8: Adding the Second Letter
Draw a shape resembling an eighth note on the other side. Teacher's Tip: Keep your lines smooth to match the style of the first letter.
Step 9: Completing the Nun
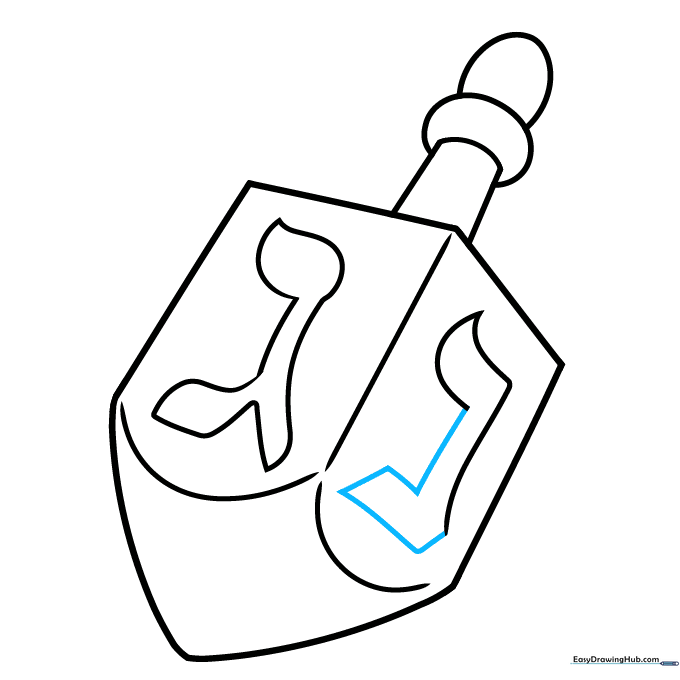
Add straight lines to finish the 'Nun'. Teacher's Tip: This letter means 'nothing' in the game—don't worry, your drawing is definitely something special!
Step 10: Color and Polish
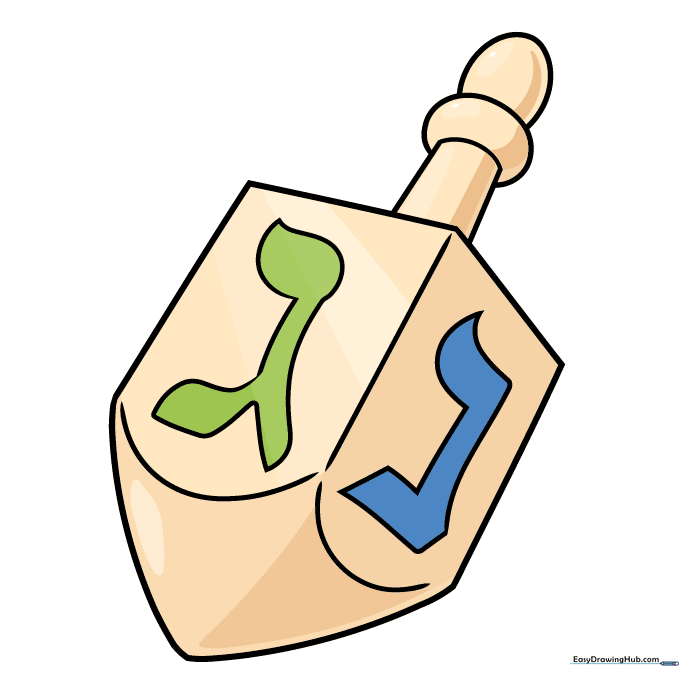
Outline your drawing with a marker and add color. Teacher's Tip: Use metallic gold or silver to give it a classic, festive look.
More Tutorials


